-
Tween Bedroom Makeover Details and Sources
You guys! I must apologize. In the final reveal post, I said that I would share all of the Tween Bedroom Makeover Details and Sources with you last week. Oops! Over a week has passed and I’m just now getting around to finishing up this post. Part of it was probably laziness and the other part was burn out. I hear that completely overhauling a room in just 6 weeks can do that to a person. *wink* However, I’m ready to jump back in and tell you all about it.
Some of the links in this post are affiliate links. Click here to read my full disclosure.
To see all of the before photos, mood board, and all of the final photos of this space, click here!
As I already mentioned, this room was completely renovated. After some major gutting of the old carpets, we added new floors (peel and stick faux wood) and painted the walls (Benjamin Moore Gray Owl in Satin @ 50% ), trim, and doors (Behr Pure White in Semigloss).
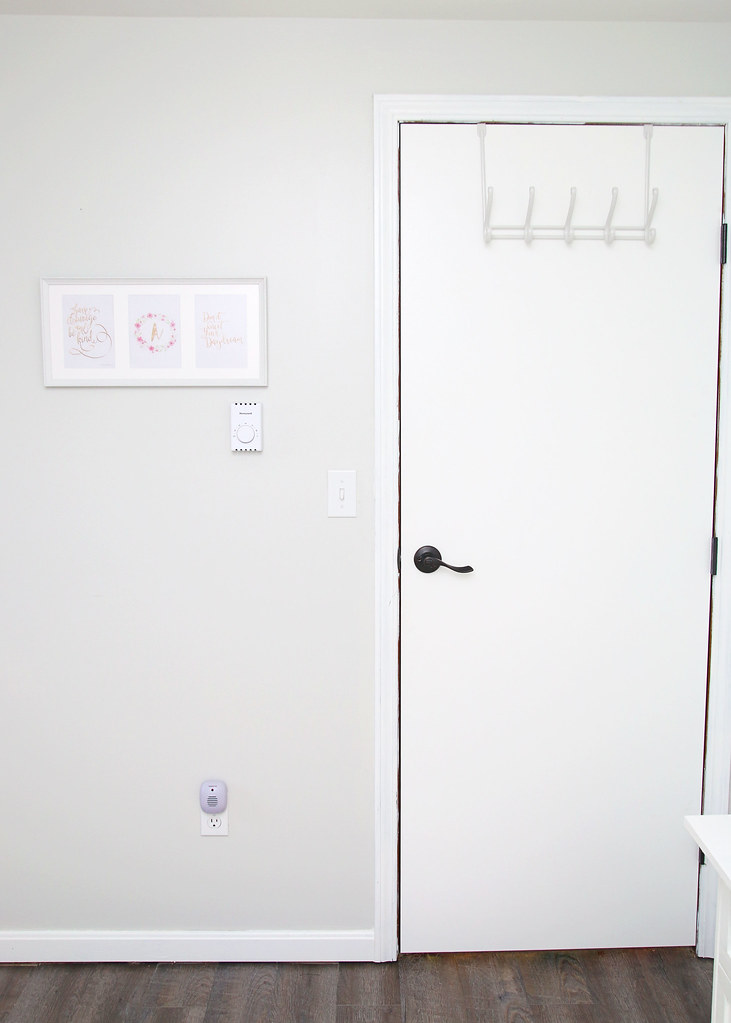
Over Door Hooks | Door Handle | Thermostat
We also replaced all of the electrical outlets, switches/plates, and the ugly almond thermostat.
Aren’t these printable art pieces perfect? Guess what!? They were all free!
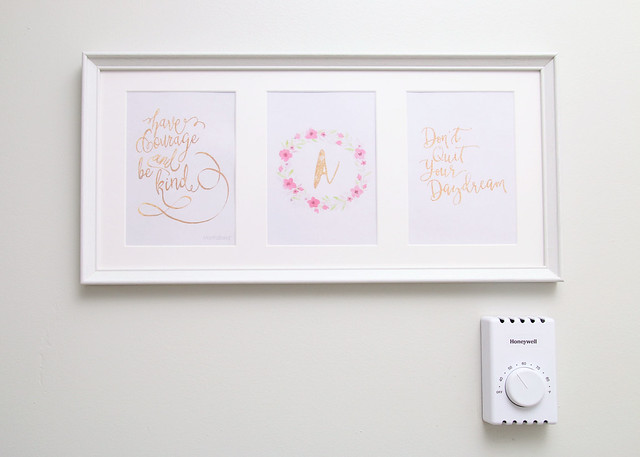
Have Courage Be Kind | Glitter Initial | Don’t Quit Your Daydream | Frame
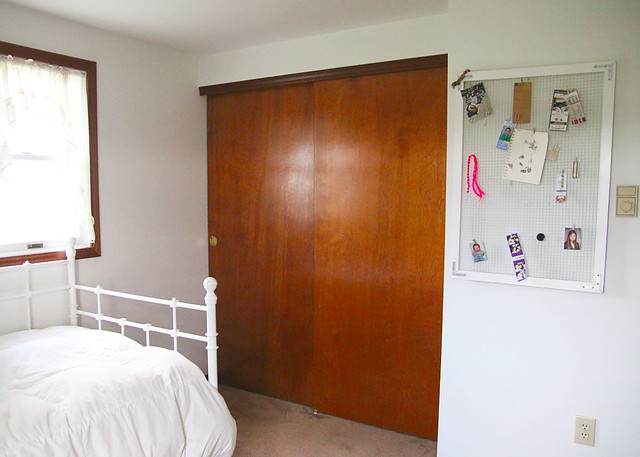
Since this room was craving some storage, we added large white boxes in the closet to help corral clutter and collections.

White Storage Boxes
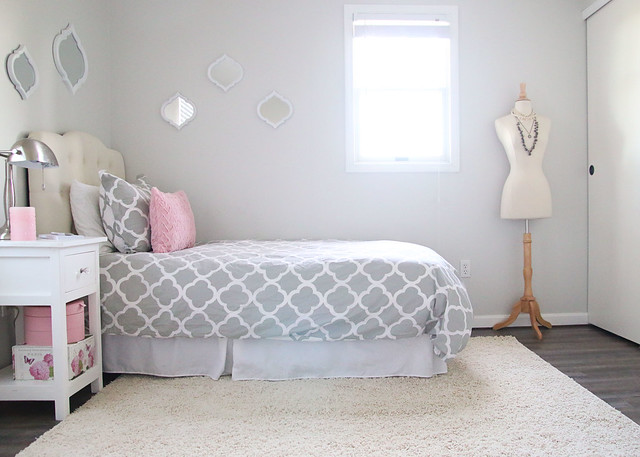
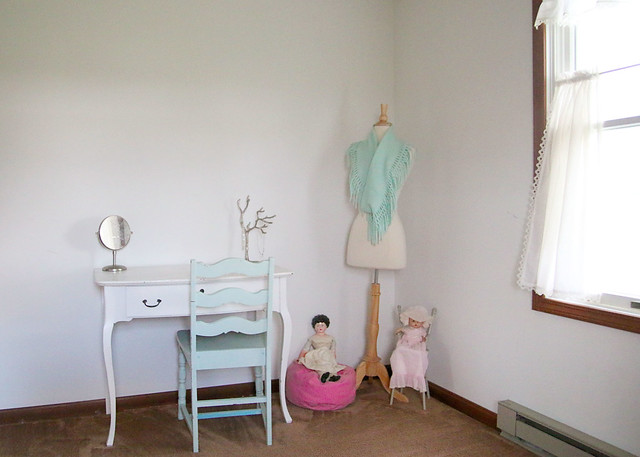
This pretty dress form is now a display area for new and vintage necklaces. Our creative girl also likes fashion and design, so her fabrics and sewing machine are just behind the doors of the closet. When inspiration hits, she can remove the necklaces and pin up a new outfit .

Dress Form | Blinds
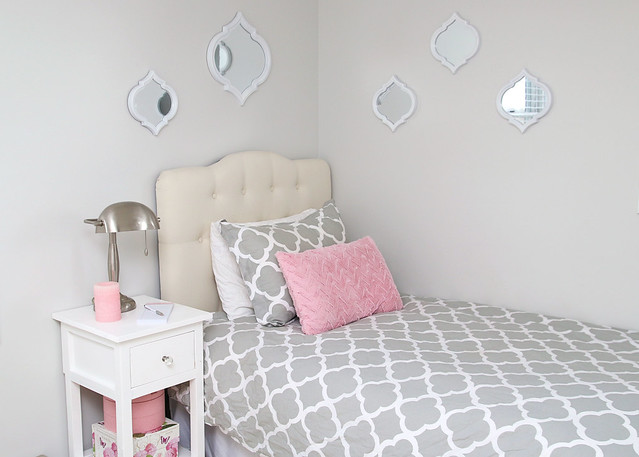
Finding a tufted headboard that our daughter liked and also fit our budget was a bit of a challenge. It seemed that every place we looked was out of stock of this particular one. However, after a little waiting, we were able to score this puppy and it looks so beautiful in this space.
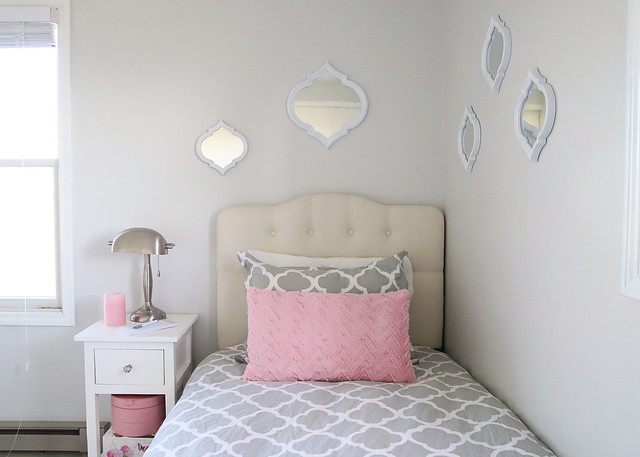
Headboard
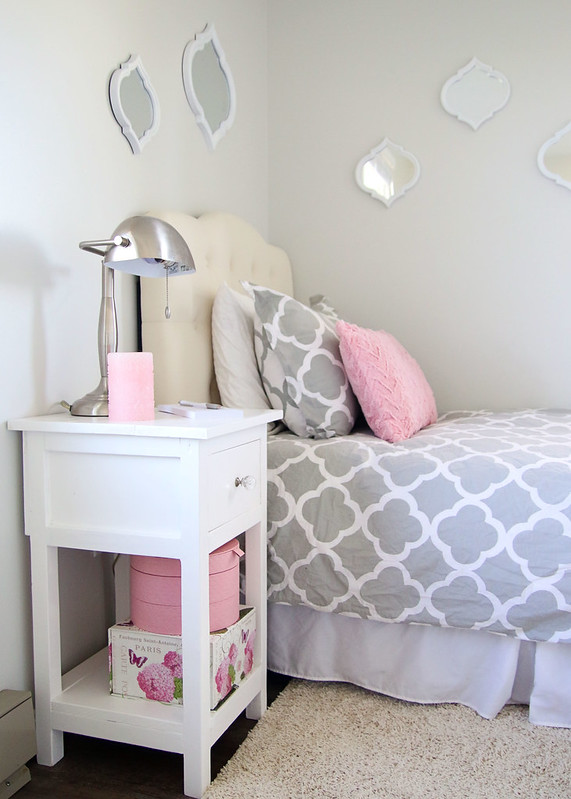
Aren’t these Morrocan mirrors cute? We snagged them for just $16 from Marshalls. The scale is a little off for my liking, but my daughter loved the shape and they just happened to go with the room.
The nightstand was a last minute idea. My hubby built this one from scratch, using building plans from Anna White. A drawer and a few pretty boxes below add more storage to this small room.
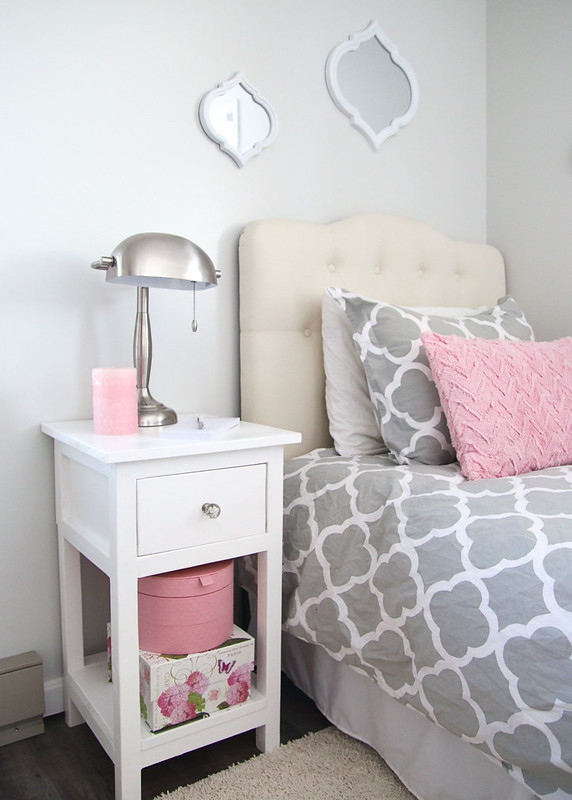
Drawer Knob | Pink Storage Box | Floral Storage Box
The gray and white clover pattern bedding was our first purchase for the room and one that we are so happy with. The duvet cover is reversible (gray on white) and adds some nice pattern in here.
Duvet & Sham | Pink Pillow
By looking at this room, you probably wouldn’t guess that our daughter’s favorite color is purple. What? That’s right. The girl loves all things lavender. However, when looking for inspiration, she kept coming back to rooms that featured touches of pink and ultimately decided she liked the warmth and softness of a light pink color vs. purple.

Lamp – Passed On From Family | Pink Flameless Candle | Notepad
One item I haven’t talked about yet is this plush, cream, shag carpet we picked out. Since the new floors are pretty dark, we wanted to brighten the area with a soft rug. This fluffy option is perfect for stepping onto right out of bed in the morning. Or practicing splits and stretches. Whatever you may fancy.
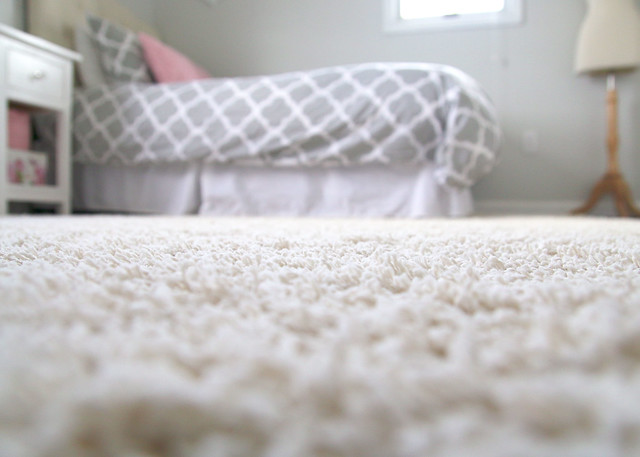
Area Rug
And if you’ve been following along, you may remember chandelier-gate 2016. (OK, it wasn’t really a scandal.) This pretty little number gave us a few installation problems, but luckily we worked them out.
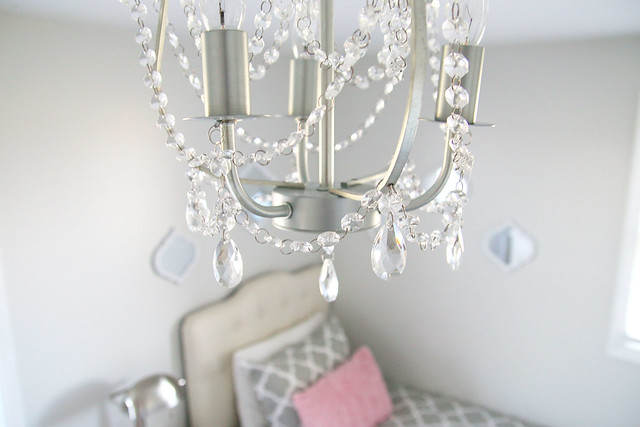
Chandelier | Ceiling Medallion
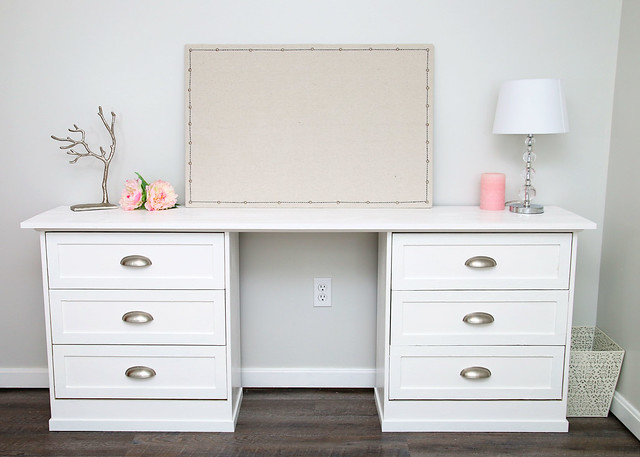
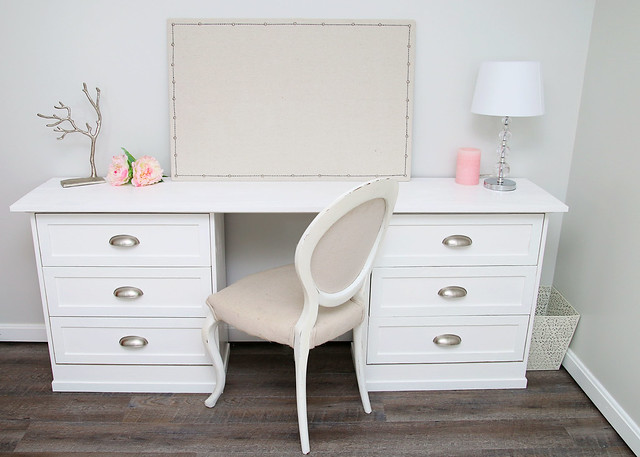
I already shared the details of how we built this “dresker” using two small chests of drawers. It is such a functional piece of furniture in this room since it doubles as both a dresser and a desk.

3 Drawer Chest | Drawer Pulls | Chair | Faux Sheepskin | Waste Can
The swivel chair and faux sheepskin were a few last minute requests from our daughter…
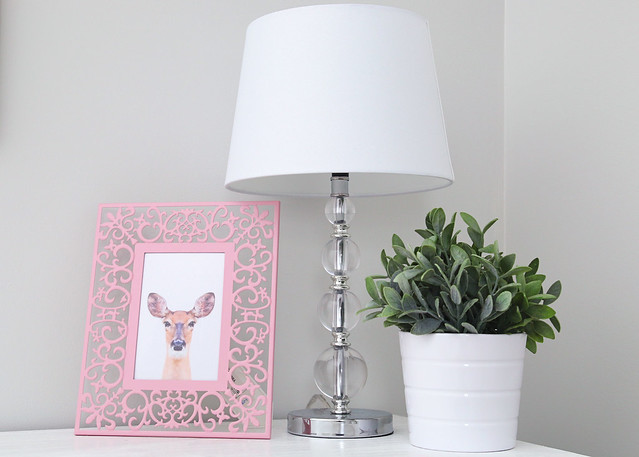
Pink Frame | Deer Print | Lamp | Plant & Pot
Along with some of these pretty accessories.
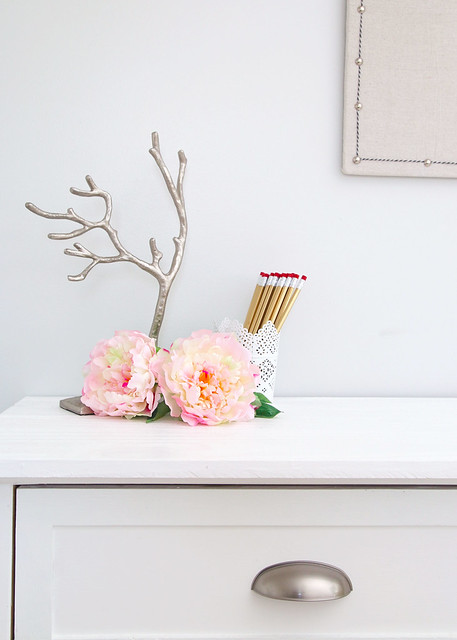
Jewelry Tree | Flowers | Pencil Holder
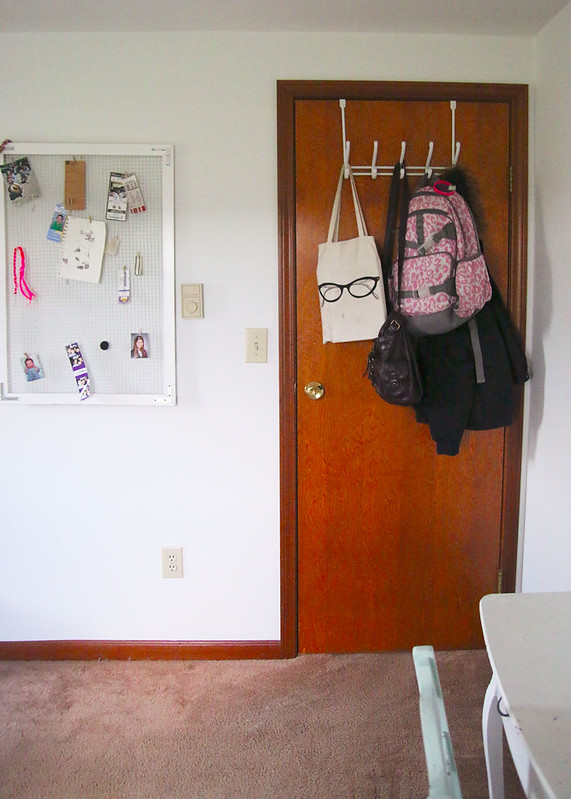
We wanted a place for the little miss to display photos and important reminders, so I whipped up this easy pinboard with an old corkboard, some dropcloth, baker’s twine, and upholstery tacks.
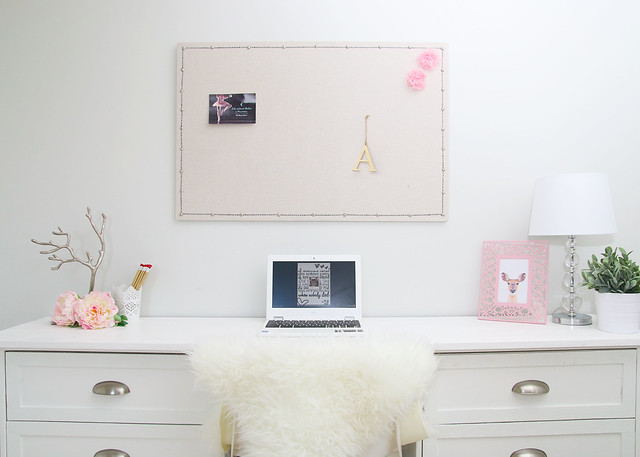
White Chromebook | Pom Pom Stickers
Wowza! I think that covers all of the tween bedroom makeover details and sources. We are so happy with how this room turned out and it is currently our favorite space in the house. Now we need to get working on some other rooms! Hmmm… I wonder which one will be next?
-
Build It Yourself, Family, Kids, Pets, Furniture Makeovers, Home Decor, One Room Challenge, Organization & Storage, Painting Projects, Room Makeovers, The Country House
Tween Bedroom Reveal
You guys! It is the end of week six of the One Room Challenge and to say that I am ecstatic would definitely be an understatement. These past six weeks have been a crazy whirlwind of work, but we are so excited with the way everything turned out. Check out our Tween Bedroom Reveal!
But first, let’s go back to the beginning and review where we started. Ugh. This room really needed some help.
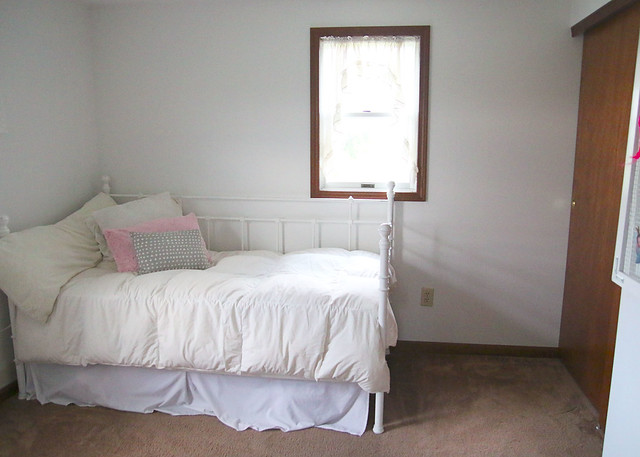
The old carpet and dark trim were just not working for us, not to mention the mismatched random furniture and lack of accessories just made to room look blah.
OK. Now, scrub your brain of those old, mismatched images and let’s move on to the pretty pics!
After some brainstorming with my daughter about how she wanted her room to look, plus some research to achieve that look on a budget, we came up with a beautiful and affordable mood board and design plan.

Here’s what was on the to-do list…
- Remove old carpet and replace flooring
- Paint walls, trim, & doors
- Replace old electrical plates, outlets, and switches
- Add new lighting
- Install window coverings
- Create a workspace that can also double as clothes storage
- Bring in color and textures with accessories
- Organize craft & art supplies, books, toys, and clothing
Come on in. Stay awhile.
This room is now our favorite in the house and we hope you enjoy the visual tour as much as we (especially our daughter) are loving the real thing. Let’s start at the entry door and work our way around the room.
Since this reveal is so pic heavy, I will be sharing more details and all of the sources next week in a separate post. Enjoy!


There was so much to do and we didn’t know if six weeks would be enough time to finish! Thank goodness we’ve lived to tell the tale of our first One Room Challenge. Now I think it is time to hibernate for the winter and recover from this whole process. Well, maybe just for the weekend. *Wink*
If you have missed any of the progress in this room, feel free to go back and check out how we went from meh to marvelous!
-
Build It Yourself, Family, Kids, Pets, Furniture Makeovers, Home Decor, One Room Challenge, Painting Projects, Room Makeovers, The Country House
Ikea Rast Dresser Desk
Can you believe that it is week 5 of the One Room Challenge? That means that there is only one week left and oh my goodness, we have so much to finish up! Last week, I teased that we had an exciting build that I would be sharing this week and I’m happy to say that we’ve finished it! Check out our Ikea Rast Dresser Desk!
(Affiliate links included for your convenience. Click here to read my full disclosure.)
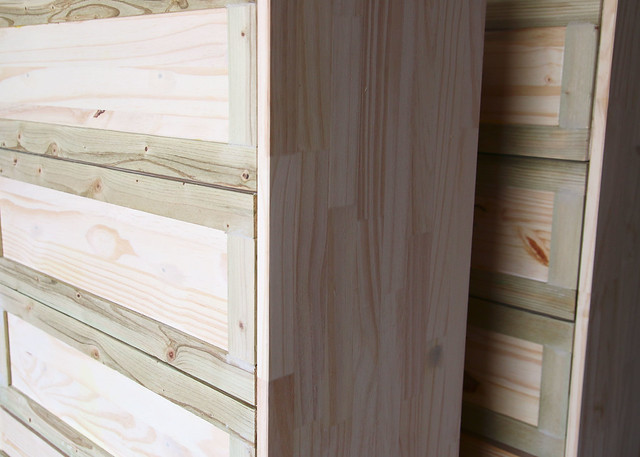
In the DIY blog world, completing a Rast hack is sort of a right of passage and there have been some really amazing variations done. So, when we started working on our tween daughter’s bedroom, we decided to use two unfinished ones that we had temporarily been using as nightstands.
Unfinished Ikea Rast 3-drawer chest

Even though she already has a small dresser, our daughter needed some more storage. She also needed a desk for homework and such. Since she doesn’t have a large room (10’x12′), finding a way to fit so many different types of furniture pieces in was a bit challenging. So, after some brainstorming, we decided to donate our nightstands to the cause and make what we lovingly refer to as a “Dresker”. That’s right. A dresser and a desk in one.
Since our little dressers were already put together, it was just a matter of spiffing them up. We started by adding lattice pieces to the front of the drawers, a 1×4 piece of wood to the bottom front, and more lattice as trim around the bottom.
Then they both got a few coats of white primer/paint.
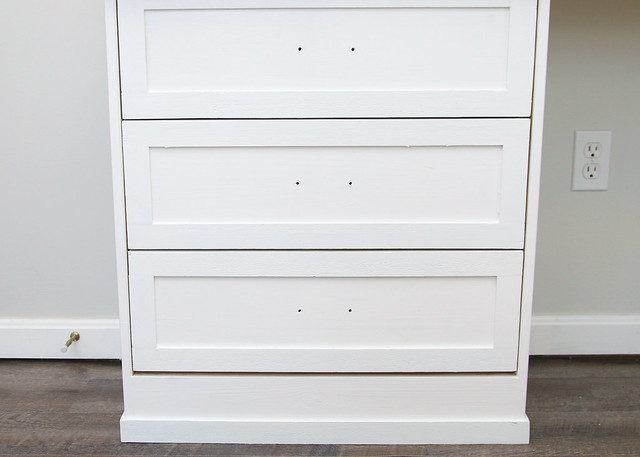
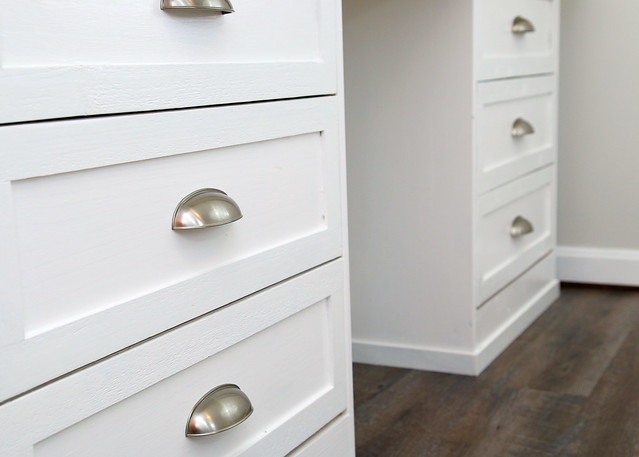
And some new, shiny cup pulls.
We brought them in from the garage after painting so that we could set them up in the room and attach the top pieces.

For the top, we used a 72″ x 15″ piece of poplar screwed in from inside the drawer and trimmed underneath with quarter round.

Finally, the top was painted to match and the dresker was finished!
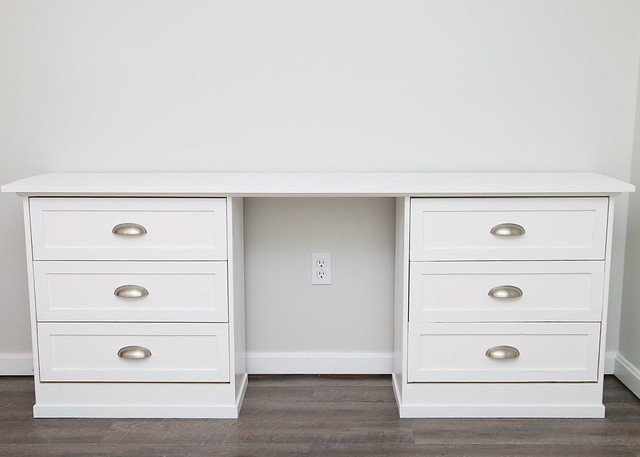
Isn’t it glorious? We are so happy with how it turned out and think that this piece will work great for the various needs of a growing tween.
With only one week left, I feel like we are going to be super busy over the next several days trying to finish up all that we have to do. Here’s what is still on the to-do list.
Remove old carpet and replace flooringPaint walls, trim, & doorsReplace old electrical plates, outlets, and switches- Add new lighting
Install window coveringsCreate a workspace that can also double as clothes storage- Bring in color and textures with accessories
- Organize craft & art supplies, books, toys, and clothing
See what we’ve done in previous weeks!
Go to Week
1 || 2 || 3 || 4 || 5 || 6 -
Bed, Blinds, and Beads
Can you believe that it is week four of the One Room Challenge?! That means that there are only two more weeks until we wrap this up. YIKES! We still have so much to do!
This week I’m sharing the Bed, Blinds, and Beads, A.K.A. some bits and pieces of what we’ve been up to. You know, the things that we’ve finished and the stuff that has gone wrong. Oh yes. There is always something that goes wrong. Especially this late in the game. Without further ado…
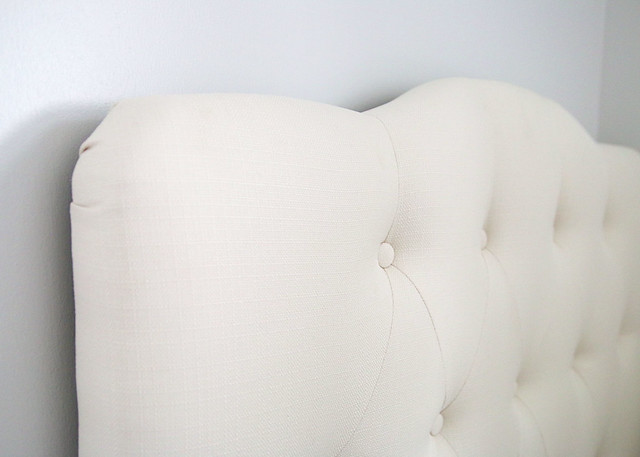
The Bed (Headboard)
This is one of those items that we were so looking forward to getting! When I first spoke with my daughter about the things she would like to have in her room, her biggest request was a tufted headboard. So we scoured the internet looking for a piece that would fit her liking and also our budget. I found this headboard and we fell in love.
However, I was slow to pull the purchasing trigger and the headboard was sold out the next day. Everywhere. A week passed and even though I looked every day, I could not find it in stock. We were so frustrated because there really wasn’t anything else that fit the bill like the wavy curves of this beauty.
Finally, through some sort of miracle, we found it online at Walmart and it was shipped to our home within a few days. Yay!
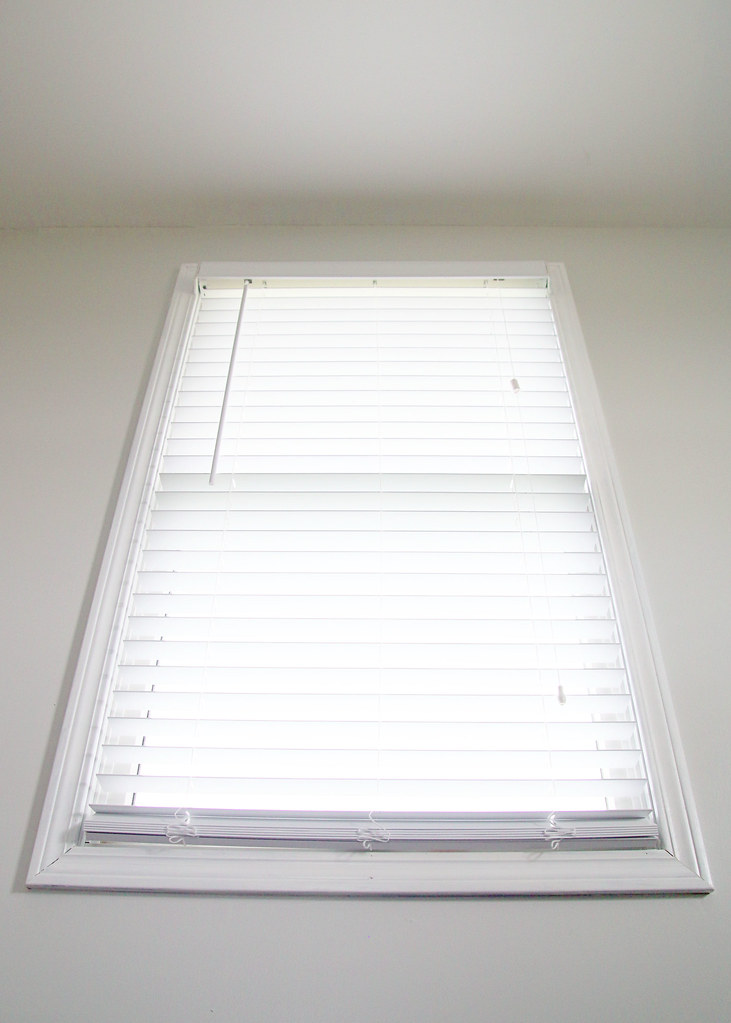
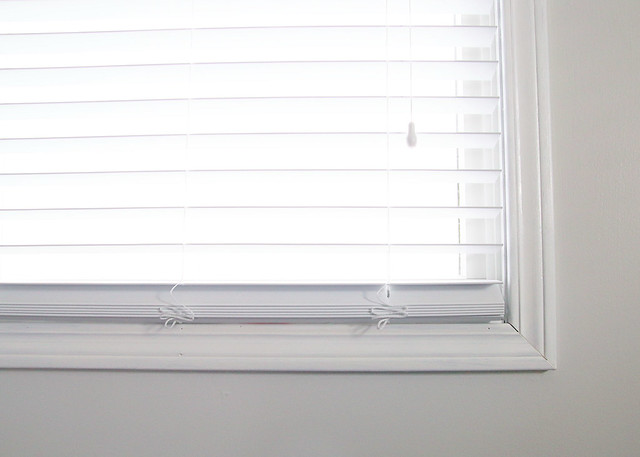
The Blinds
Because of the electric baseboard heaters in our daughter’s bedroom, we knew that we wouldn’t be able to use full-length curtains. I absolutely love curtains and how they can easily soften a room, so I was a bit disappointed that they wouldn’t work in here. For now, we opted for white faux wood blinds. They are plain and simple, but totally get the job done.
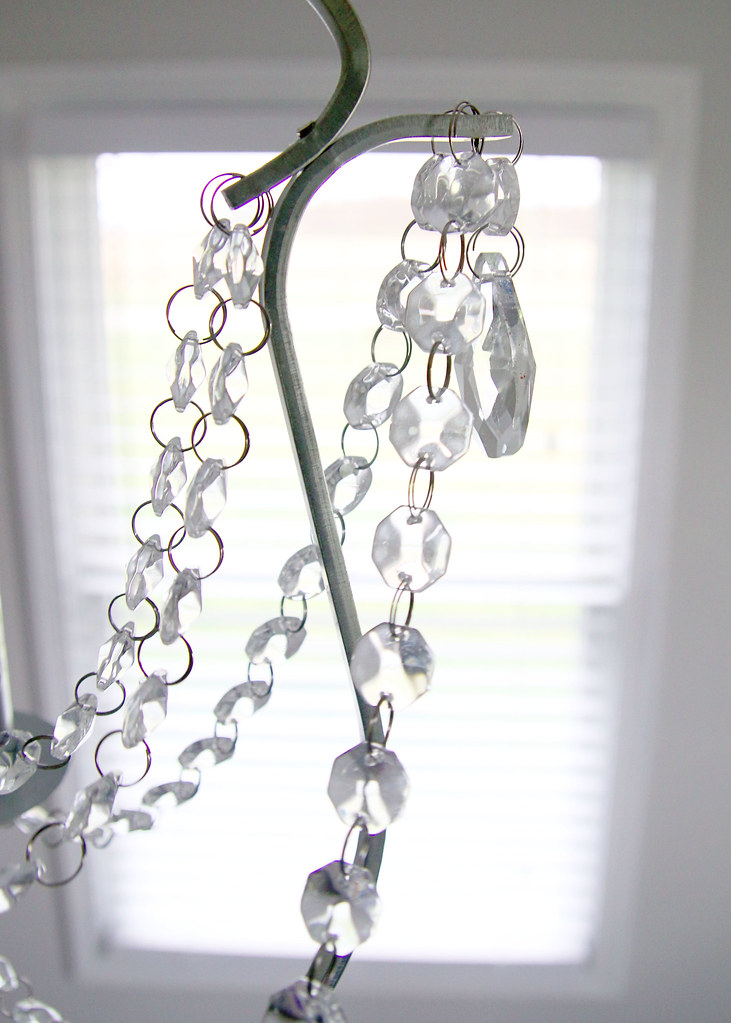
The Beads (Chandelier)
So pretty, but such a pain in the booty. We thought we would be able to quickly install this lovely chandelier from Ikea, especially since my hubby has replaced plenty of light fixtures before. We were wrong. It came with attached pieces that have been, ahem, interesting to attempt to remove. So, we are mulling over our options, since we don’t want this chandelier hanging almost down to the floor.
Barring any other major setbacks (oh, please let this lighting thing work out!) we are doing ok. Let’s check and see what is still on the to-do list.
Remove old carpet and replace flooringPaint walls, trim, & doorsReplace old electrical plates, outlets, and switches- Add new lighting
Install window coverings- Create a workspace that can also double as clothes storage
- Bring in color and textures with accessories
- Organize craft & art supplies, books, toys, and clothing
We are currently working on an exciting building project that will knock your socks off. I’ll be sharing that next week, so stayed tuned!
Catch up below!