-
Build It Yourself, Family, Kids, Pets, Furniture Makeovers, Home Decor, One Room Challenge, Painting Projects, Room Makeovers, The Country House
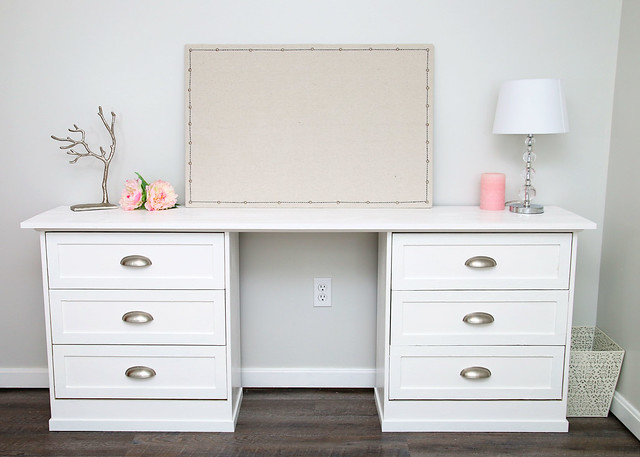
Ikea Rast Dresser Desk
Can you believe that it is week 5 of the One Room Challenge? That means that there is only one week left and oh my goodness, we have so much to finish up! Last week, I teased that we had an exciting build that I would be sharing this week and I’m happy to say that we’ve finished it! Check out our Ikea Rast Dresser Desk!
(Affiliate links included for your convenience. Click here to read my full disclosure.)
In the DIY blog world, completing a Rast hack is sort of a right of passage and there have been some really amazing variations done. So, when we started working on our tween daughter’s bedroom, we decided to use two unfinished ones that we had temporarily been using as nightstands.
Unfinished Ikea Rast 3-drawer chest

Even though she already has a small dresser, our daughter needed some more storage. She also needed a desk for homework and such. Since she doesn’t have a large room (10’x12′), finding a way to fit so many different types of furniture pieces in was a bit challenging. So, after some brainstorming, we decided to donate our nightstands to the cause and make what we lovingly refer to as a “Dresker”. That’s right. A dresser and a desk in one.
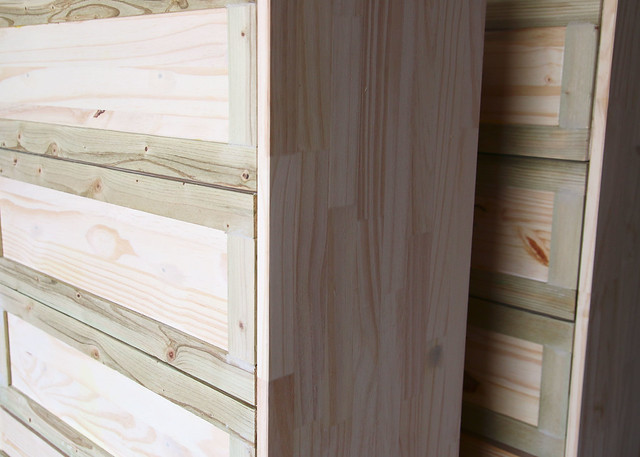
Since our little dressers were already put together, it was just a matter of spiffing them up. We started by adding lattice pieces to the front of the drawers, a 1×4 piece of wood to the bottom front, and more lattice as trim around the bottom.
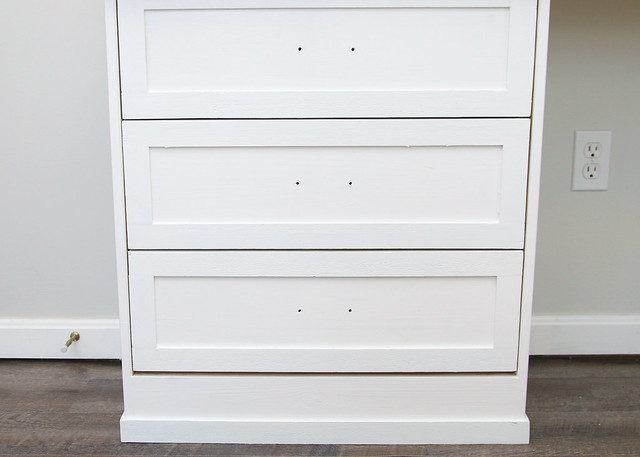
Then they both got a few coats of white primer/paint.
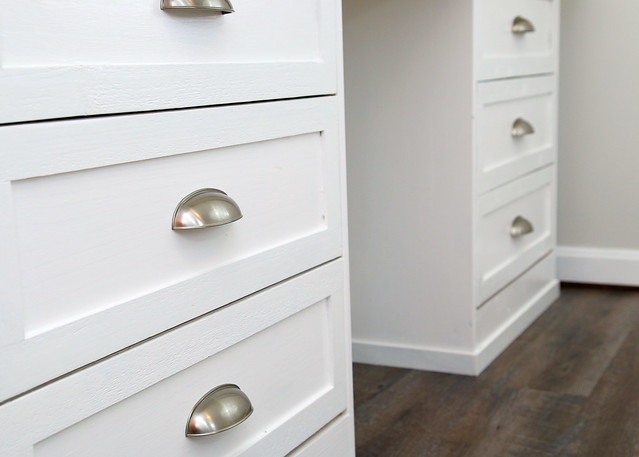
And some new, shiny cup pulls.
We brought them in from the garage after painting so that we could set them up in the room and attach the top pieces.

For the top, we used a 72″ x 15″ piece of poplar screwed in from inside the drawer and trimmed underneath with quarter round.

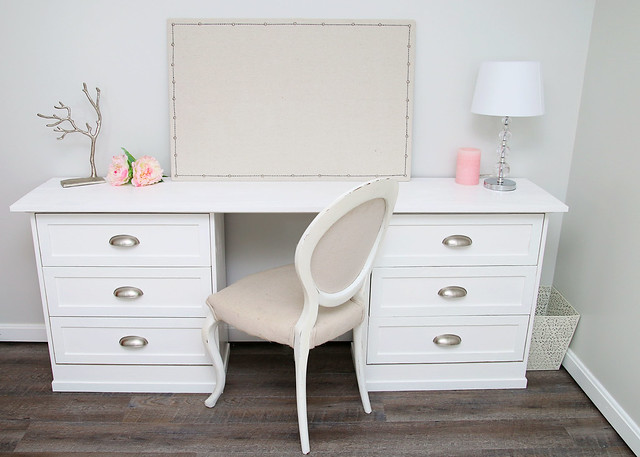
Finally, the top was painted to match and the dresker was finished!
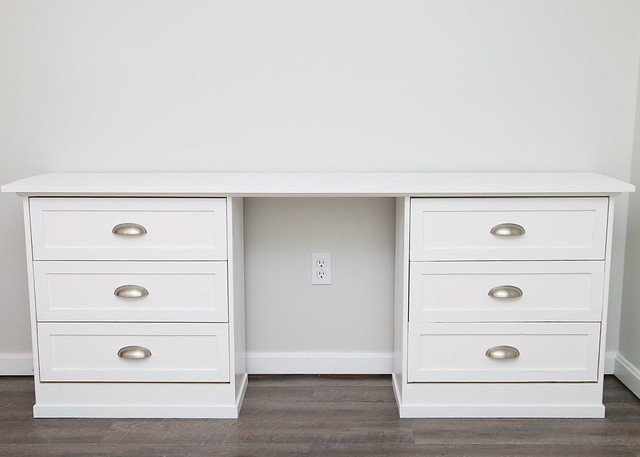
Isn’t it glorious? We are so happy with how it turned out and think that this piece will work great for the various needs of a growing tween.
With only one week left, I feel like we are going to be super busy over the next several days trying to finish up all that we have to do. Here’s what is still on the to-do list.
Remove old carpet and replace flooringPaint walls, trim, & doorsReplace old electrical plates, outlets, and switches- Add new lighting
Install window coveringsCreate a workspace that can also double as clothes storage- Bring in color and textures with accessories
- Organize craft & art supplies, books, toys, and clothing
See what we’ve done in previous weeks!
Go to Week
1 || 2 || 3 || 4 || 5 || 6 -
New Flooring/Paint
Welcome to week three of the One Room Challenge! It has been so much fun to join in as a linking participant. I can’t believe how fast these three weeks have passed and how far we still have to go. However, I’m excited to report that we are finished the new flooring/paint.
If you are just joining in, let me get you caught up! During the first week, I shared the before photos of our daughter’s bedroom. And last week I gave you a glimpse into the design plans with a fun and girly mood board, plus a detailed project list for our tween bedroom makeover.
OK, back to the room…
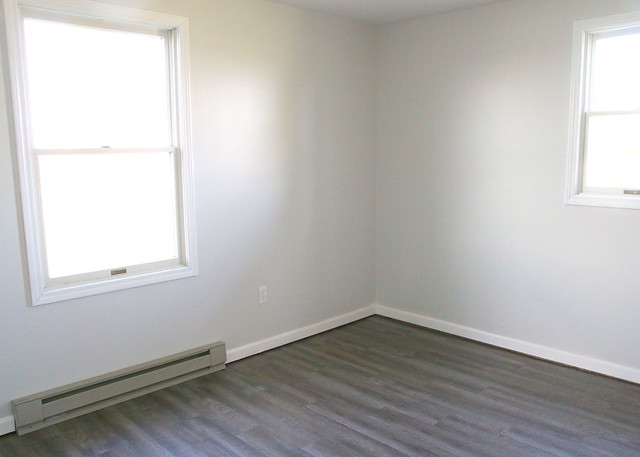
Originally, the walls in the bedroom were painted with a flat white paint and the floors were covered with stained, rusty/brown carpet. Not necessarily the look we were going for. So we decided to completely gut the room. Paint is always such a cheap and simple way to update a room, and since were are trying to stick to simple updates on our house, for now, we also went with an inexpensive flooring option.
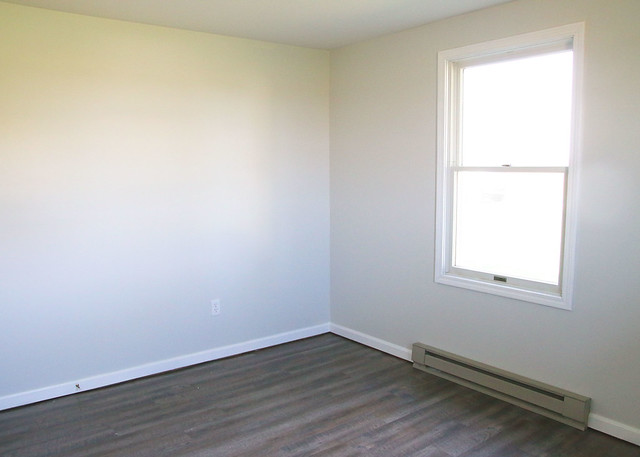
For the walls, we chose the color Gray Owl by Benjamin Moore lightened by 50%. We really liked the color in our powder room at The City House. The color is a warm gray with some yellow undertones, but not greige at all. It is the perfect light and airy color for this space.
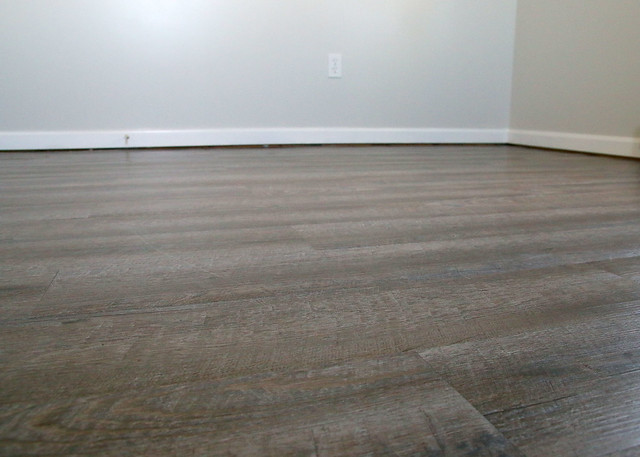
I’ve mentioned before that we aren’t sure what the situation will be in a few years with this home since it is a bit smaller than we would like. Build on? Build new? Either way, for now, we opted for an inexpensive peel and stick wood look flooring. It was so easy to install! I loved it in the store, but when we put it in, I was no longer sure. I thought maybe it was too cool. However, after living with it for a week, I’ve changed my mind again. I’m in love!
It was so easy to install! I loved it in the store, but when we put it in, I was no longer sure. I thought maybe it was too cool. However, after living with it for a week, I’ve changed my mind again. I’m in love and I think the accessories and colors we are adding will warm it up.
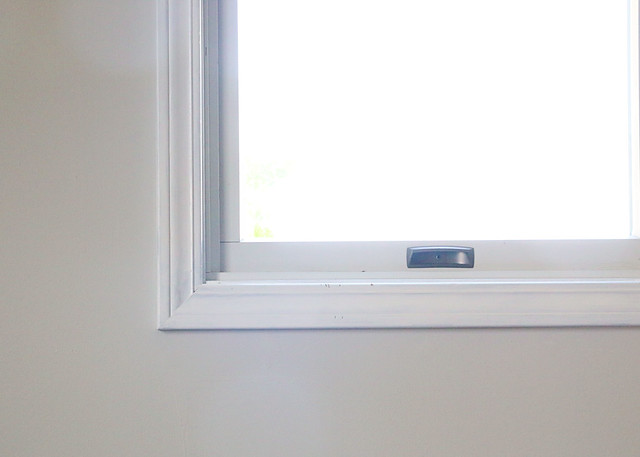
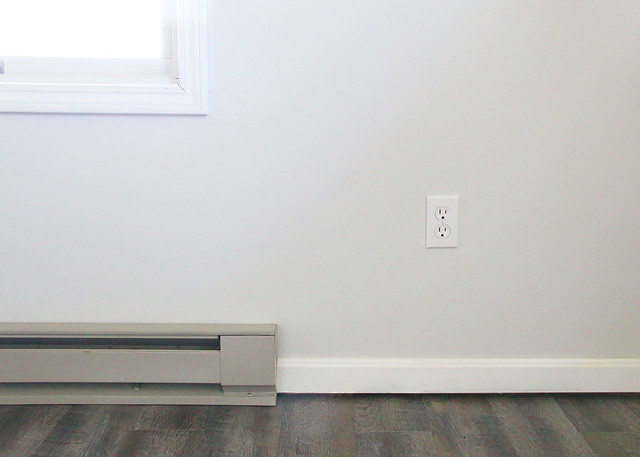
We also changed out all of the almond colored outlets/switches to match the white trim. However, I have yet to figure out what to do with that ugly electric baseboard heater. I’m not really sure if I can paint it with a high temp paint or not. It’s such a frustrating thing to try to decorate around (no curtains allowed). I would appreciate any advice or knowledge you may have for dealing with these eyesores!
So far, we are extremely happy with the results of this room! The paint color is perfect and the flooring makes the room feel clean. And since everyone loves a good before and after, here is how the room looked when we first moved in (left) and now (right). Huge difference, right? What do you think of our new flooring/paint?

We would love for you to continue following along!
-
The Boredom Jar
The weather has been so nice here this spring! All winter long, I could not wait for the weather to get warmer so that we could get outside and play. Being cooped up in the house during the winter makes us all grumpy and it was such a mood booster when we were able to enjoy the sunshine. But the novelty of playing outside quickly dissipated for my kids, so I decided to create the Boredom Jar to alleviate that problem.

This post contains affiliate links for your convenience. Click here for my full disclosure policy.Initially, my kids could not get enough of the outdoors. They were having so much fun making up games, playing at the park, and riding bikes. However, as the weeks went on, I started to hear those infamous words, “Mommmmm, I’m boooored.” Even after suggesting a couple of activities that they could do, they were still BORED after only a few minutes and wanted to watch TV or play on the iPad. And that was not going to cut it. I needed to figure out a way to get them disconnected from electronics and doing something good for them.
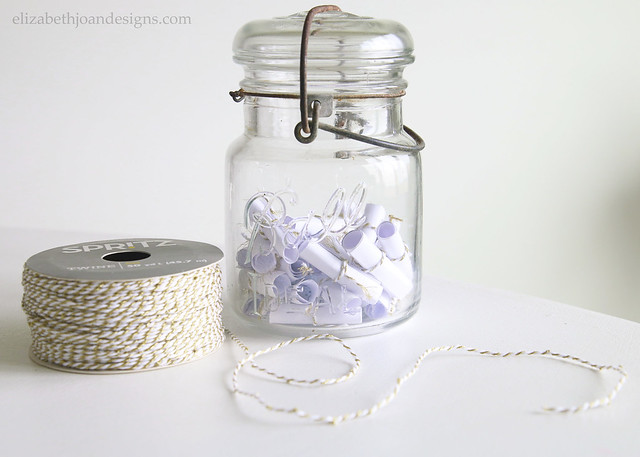
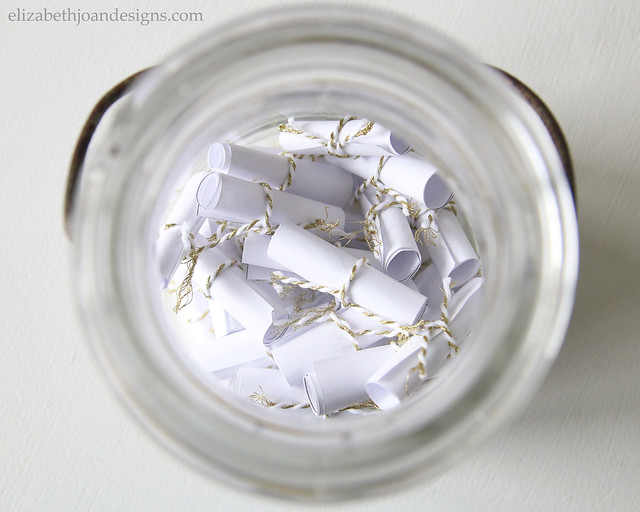
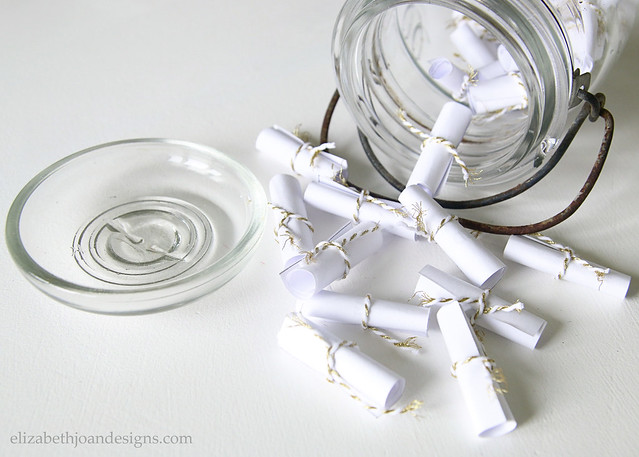
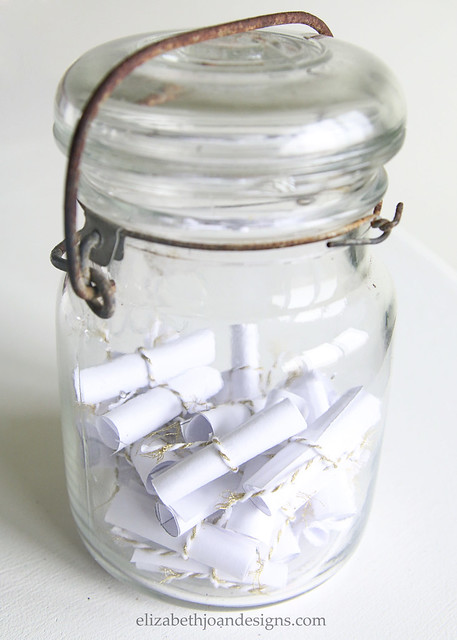
The Boredom Jar, as I call it, is a little vintage jar that contains tiny scrolls with an activity written on them. Each scroll is tied with some gold baker’s twine to keep the contents a secret until it is chosen. If my kids say they are bored, then they get to pick out one scroll from the Boredom Jar and they must do that activity.
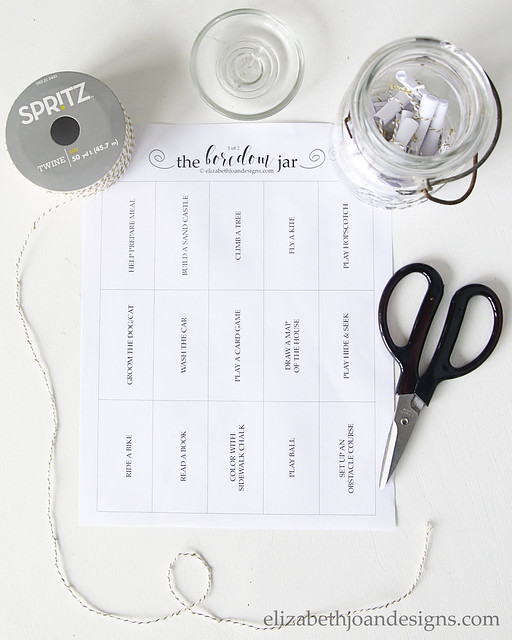
I didn’t want to reward the kids with some amazingly awesome trip to an amusement park or taking them for ice cream just because they were bored, so I created some printable pages with activities that they could do on their own, as well as some chores, with minimal help from mom and dad.
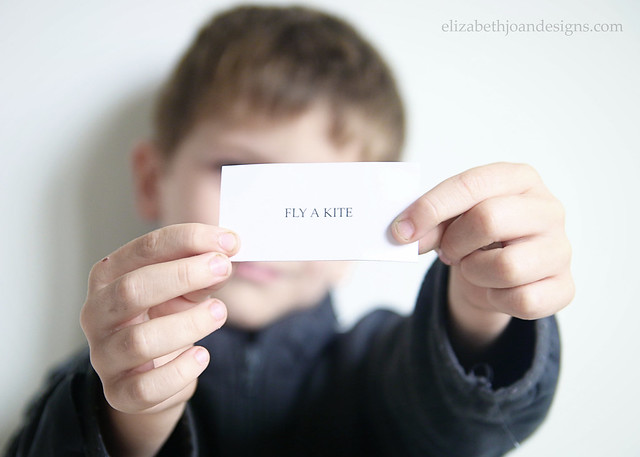
When they pick something out of the Boredom Jar, they do not know what kind of activity they will be getting. Something fun? Yay! Or some kind of chore? Bummer. They know that they will be taking a chance, but hopefully, this will help in the long run teach them how to entertain themselves and come up with ideas of things to do without the need for electronics.
Almost all of the activities listed are spring, summer, or fall appropriate, which means that we will be able to use these throughout most of the year. Obviously, some of them won’t be able to be used if there is inclement weather, so they will have to pick a new scroll.
To make your own Boredom Jar, find a jar with a lid (this one is similar to mine) and click on the links below to download and print the Boredom Jar printable. Enjoy!
The Boredom Jar Printables – Page 1
The Boredom Jar Printables – Page 2These printables are currently FREE for download for personal use only. However, this is subject to change in the future, so snag them at no cost while you still can! (View Terms of Use.)
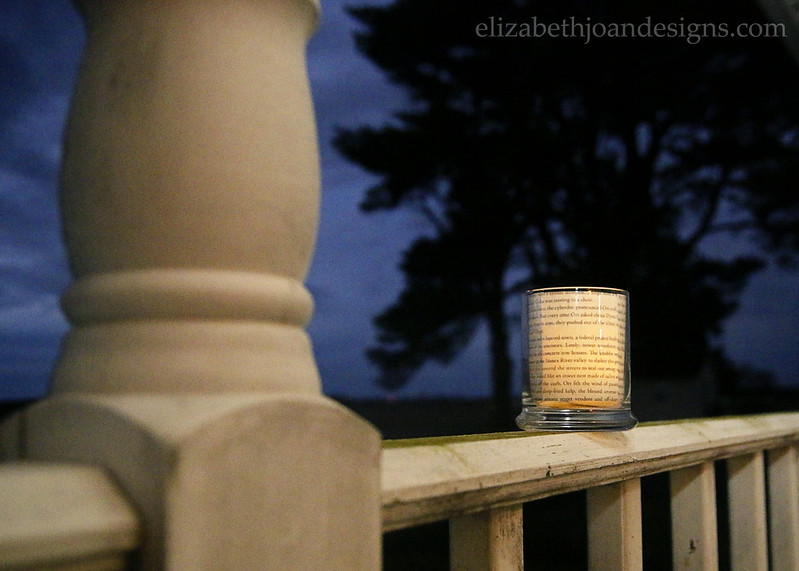
________________________________________________________________________________ Did you happen to see my latest contributor post over at Domestically Speaking? If not, head on over and check out these fun Book Page Candle Holders!
-
Kids’ Bedroom Makeover Progress
It has been forever since I’ve shared an update on our kids’ shared bedroom! (I think the last update was in May 2015.) However, I’m excited to finally share the finished wall and trim paint, along with the furniture pieces in the room. We just need to get a few more decorative items and the kid’s bedroom makeover will be complete!
You may remember that we decided to put both of our kids (one girl, now 11, and one boy, 4) in the same bedroom per their request. Click here to find out more about our original plan. They love to be together and the extra space it created allowed for a playroom.

We painted the bedroom Stonington Gray by Benjamin Moore. It is the perfect gray paint color and looks awesome in any light.

Even though she lost some storage space, our daughter loves sitting and doing homework here.
In the room, there is the vanity turned desk that we used to have in our bedroom. When the room change-a-roo happened, we did not have space for a big desk, so we swapped and our daughter has been using this one.
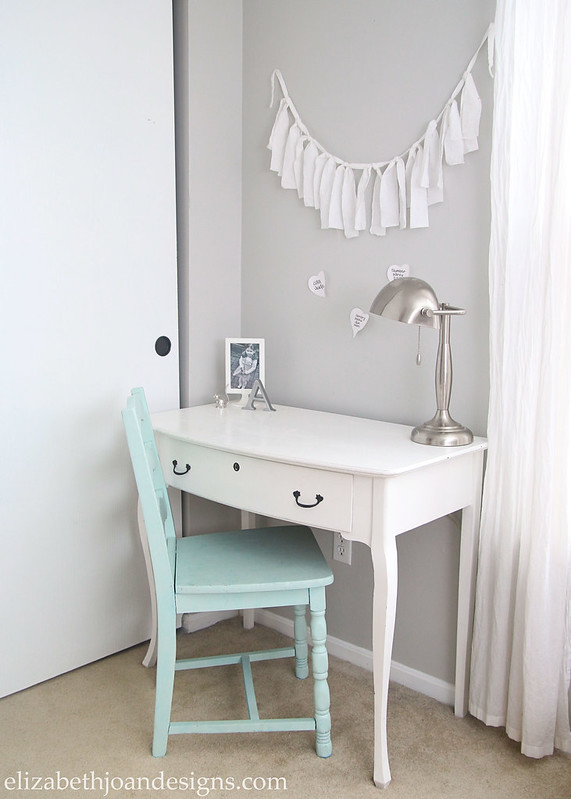
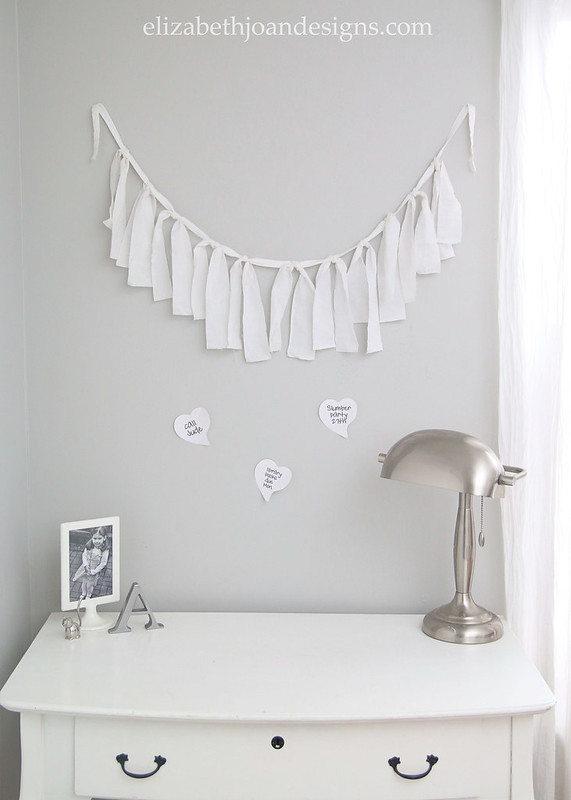
I whipped up this fabric garland in just a few minutes and I think it adds the perfect touch of femininity to her little corner of the room.
Next, is this old dresser which we painted and added drop pulls. For awhile, it served as our entertainment stand, but we moved it into the kids’ bedroom since it was big enough to hold both of their clothes.
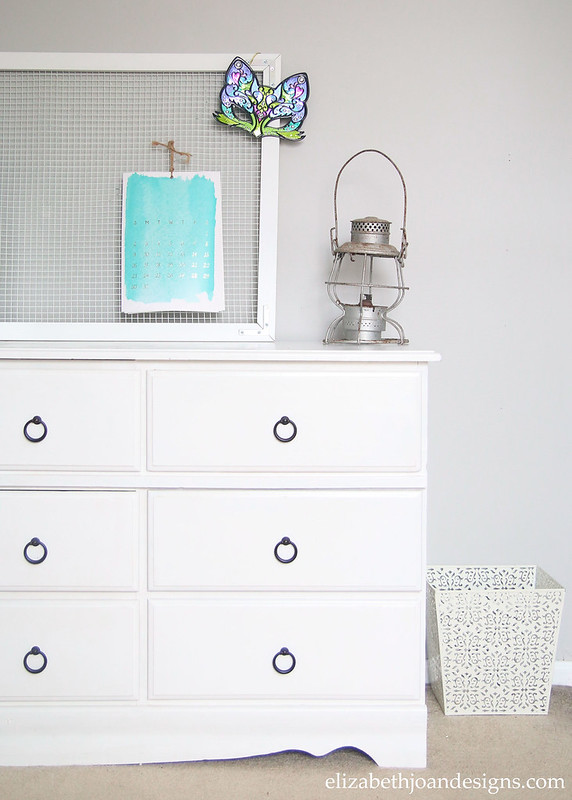
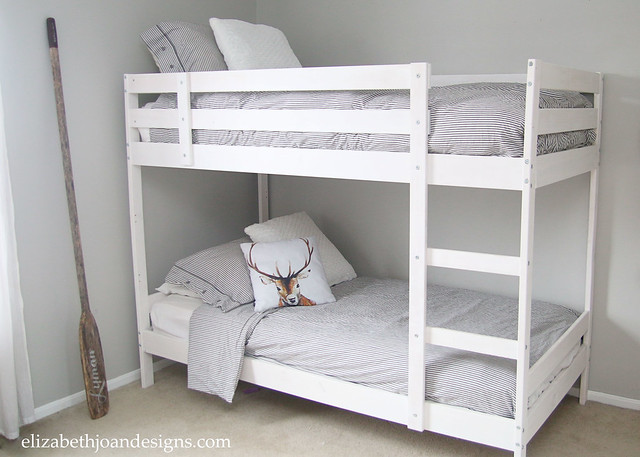
There is still some accessorizing to be done in here! We already have an old oar that we would like to hang on the wall above the beds. Also, there is some artwork that we may purchase/DIY to make a gallery wall above the dresser. However, we still really like the wire mesh pin board and if we keep it, there probably won’t be room for more. Oh, and curtains! I definitely want to get some new ones up in here.
Last, but not least, if you were worried about the lack of kid stuff in the room, it’s there. Most of the toys are in our playroom, but we keep a crate of stuffed animals under the window and they usually have a few on their beds too. (I pulled all of them off for pictures). The rest of their stuff stored under the bed or tucked away tightly in the closet.

This space is looking good and it feels great to be making some progress. Plus, the kids love their room and that’s what matters most!