-
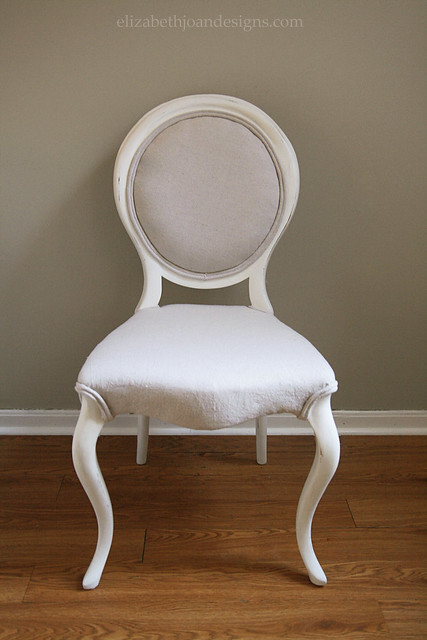
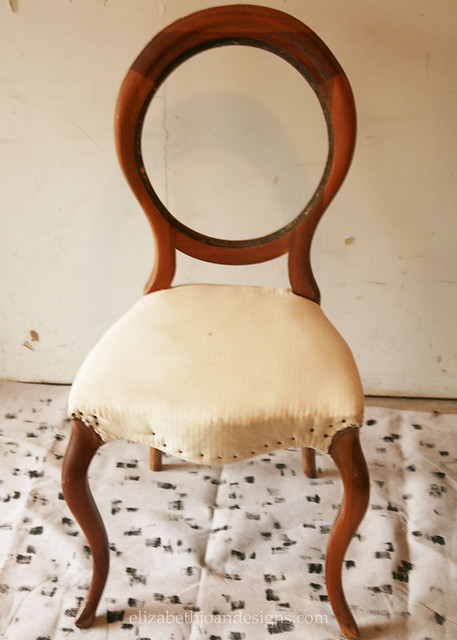
Adventures in Upholstery
When I posted about my vanity/nightstand/desk, we were considering a chair to go with it from Ikea. This is not that chair.
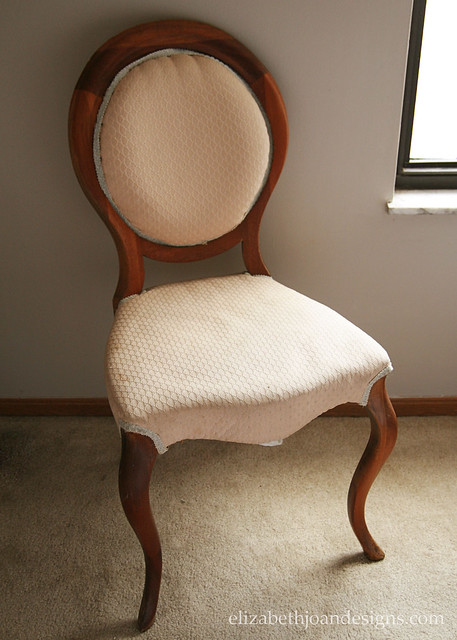
Back in April, while visiting Emily, I mentioned that I was still needing a chair for our “office.” Lucky for me, Emily keeps a hoard of curbside treasures in her basement and among them was a beautiful old chair that needed a little love. And since she didn’t have room on her plate to take on another project at the time, she graciously helped me squish this chair, along with about 700 other items from her house into my car. 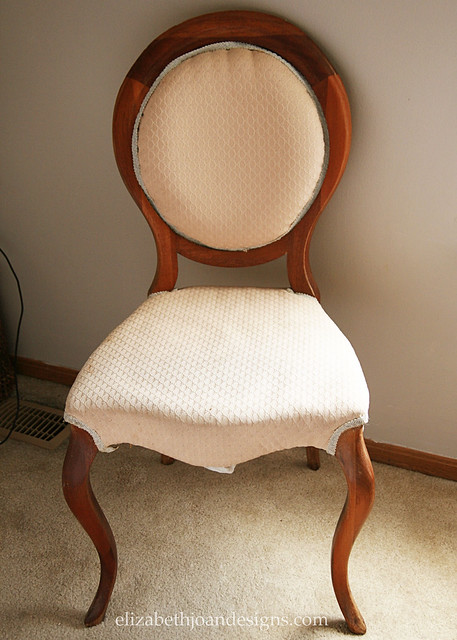
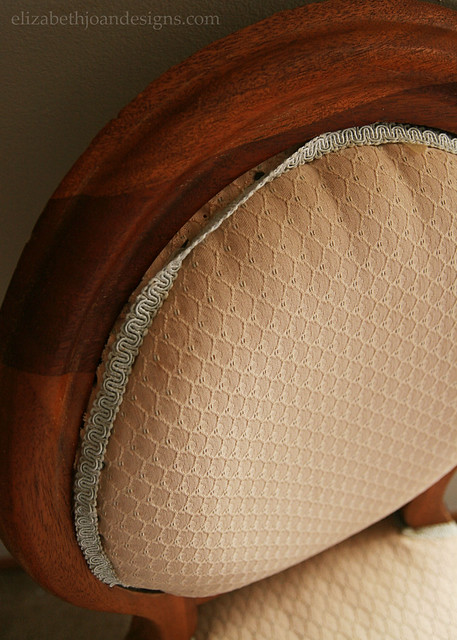
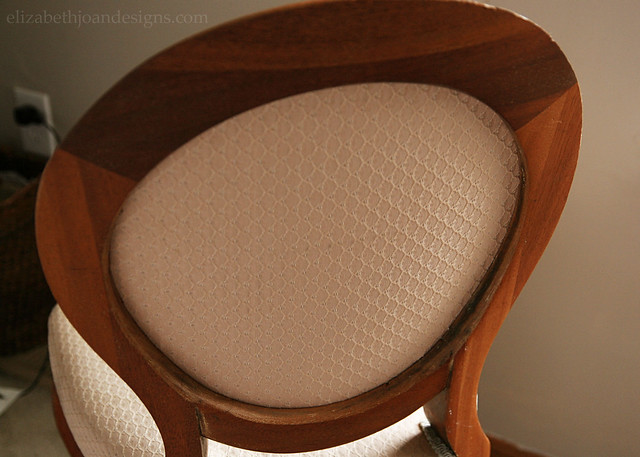
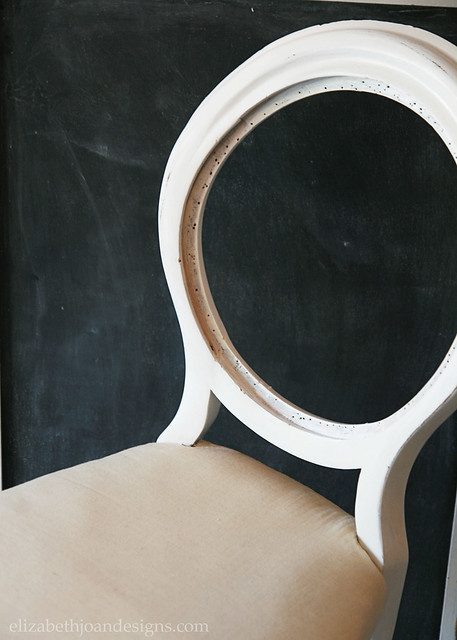
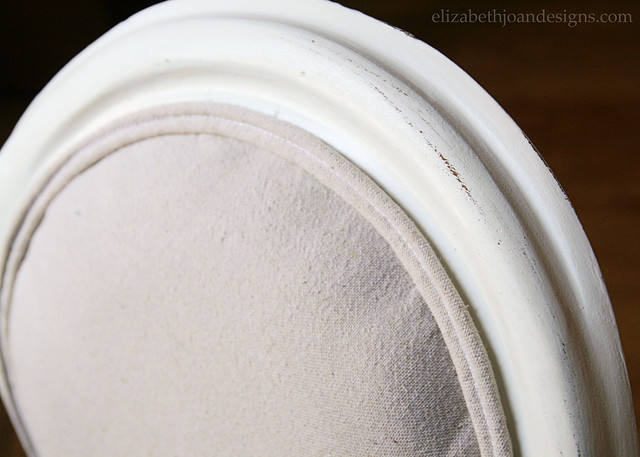
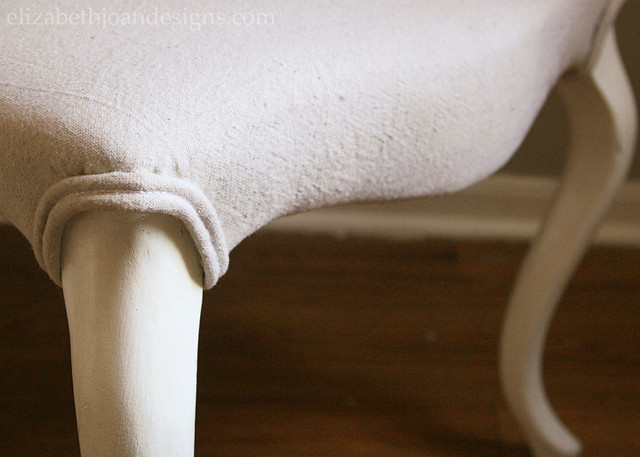
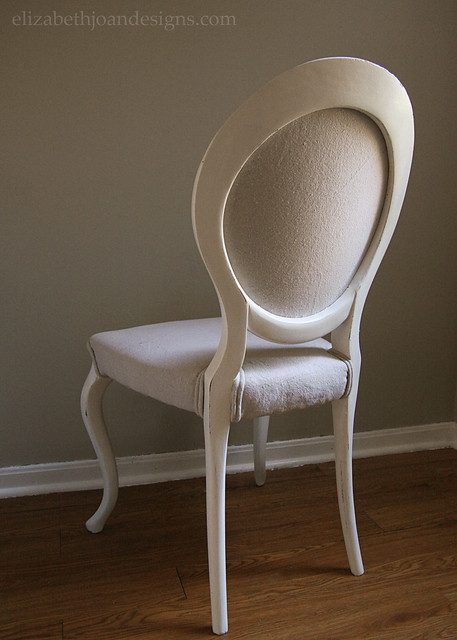
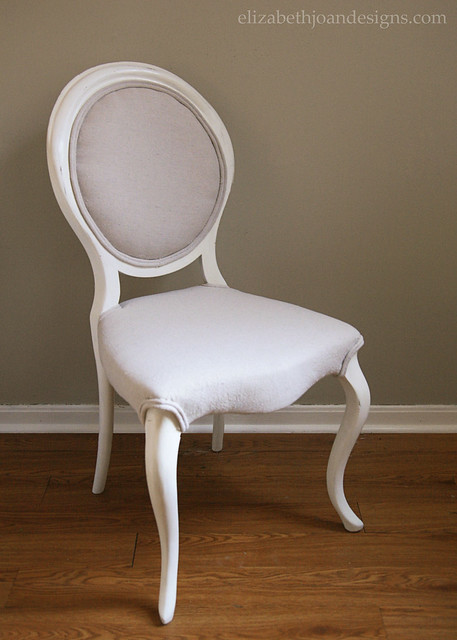
After a little looking around, I found this inspiration piece from Restoration Hardware. So, I grabbed my supplies and got started. First, I rippedremoved the existing fabric, back cushion, etc., and set it aside. Unlike the fabric, the seat was in pretty good condition, as well as foam back piece. The hardest part was pulling out all 2 million of the rusty, tetanus laced upholstery tacks that attempted to hold the whole shebang together.Next, the frame got a few coats of white paint and primer, plus a little sanding to give it an aged look.
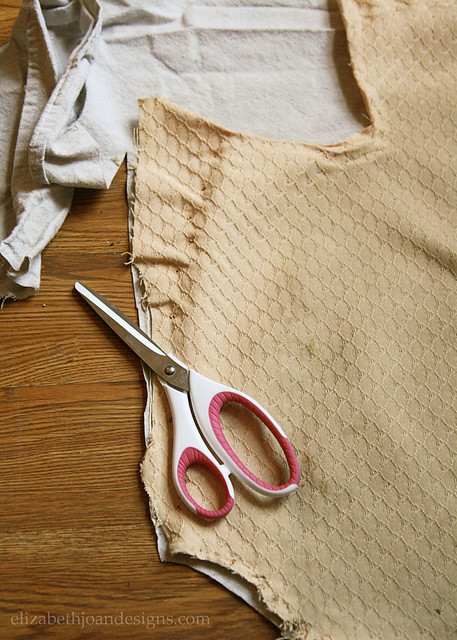
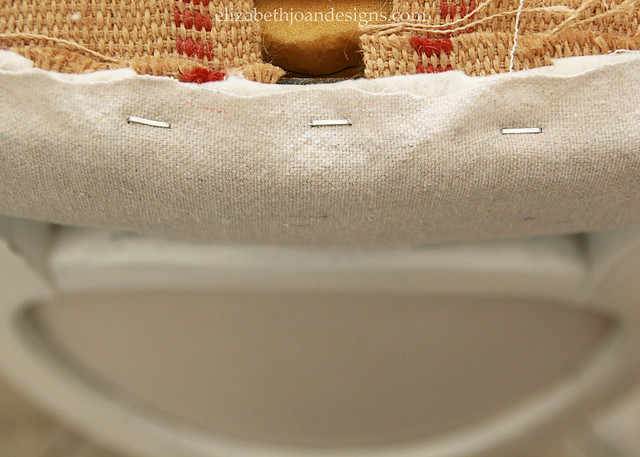
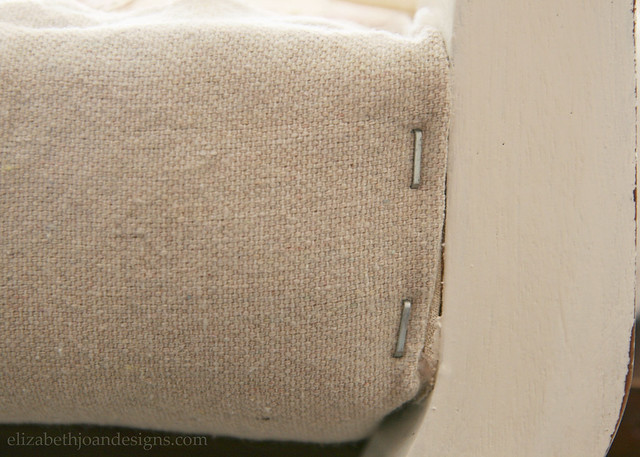
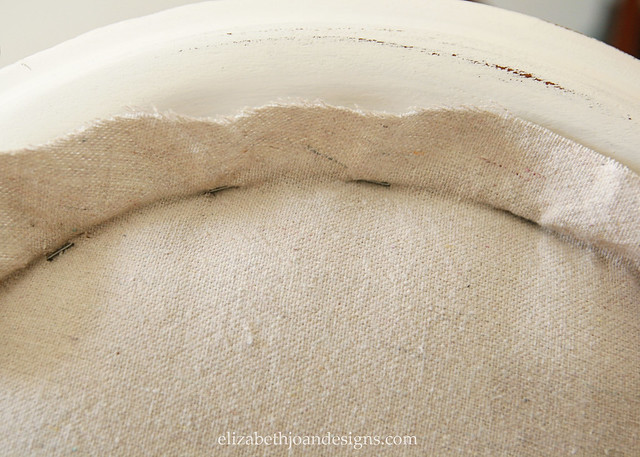
I made sure to trim any excess fabric beyond the staples.
_______________________________________________________________________ You may also like:
Scoop Chair Redo 
Vanity Makeover 
Lazy Upholstering 
Painting Upholstery -
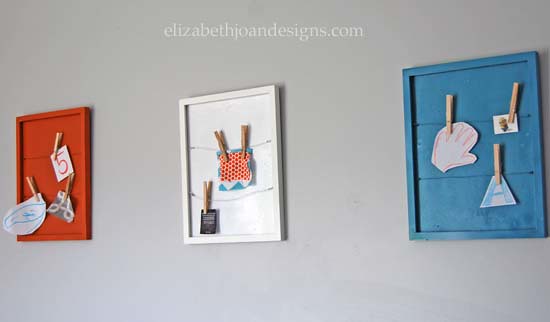
Land of Nod Inspired Memo Boards
Our playroom is still coming along slow and steady. It is the “Little Engine That Could” of the rooms in our house. I constantly have to keep telling myself, “I think I can. I think I can. I think I can.”
Recently, I have been working on completing the final touches. For some of the wall decor, I wanted to make something that brought in color, but still served a purpose. That is when I stumbled upon these cute Memo Boards from Land Of Nod. They are perfect for our needs and an easy DIY project.
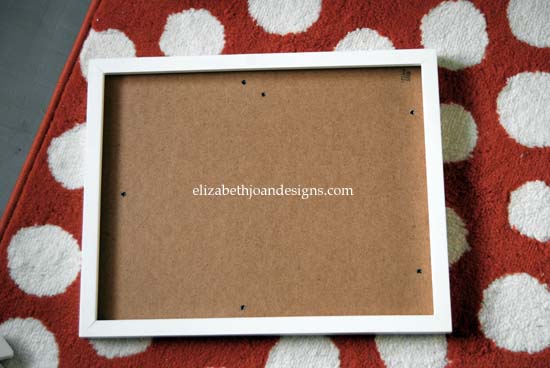
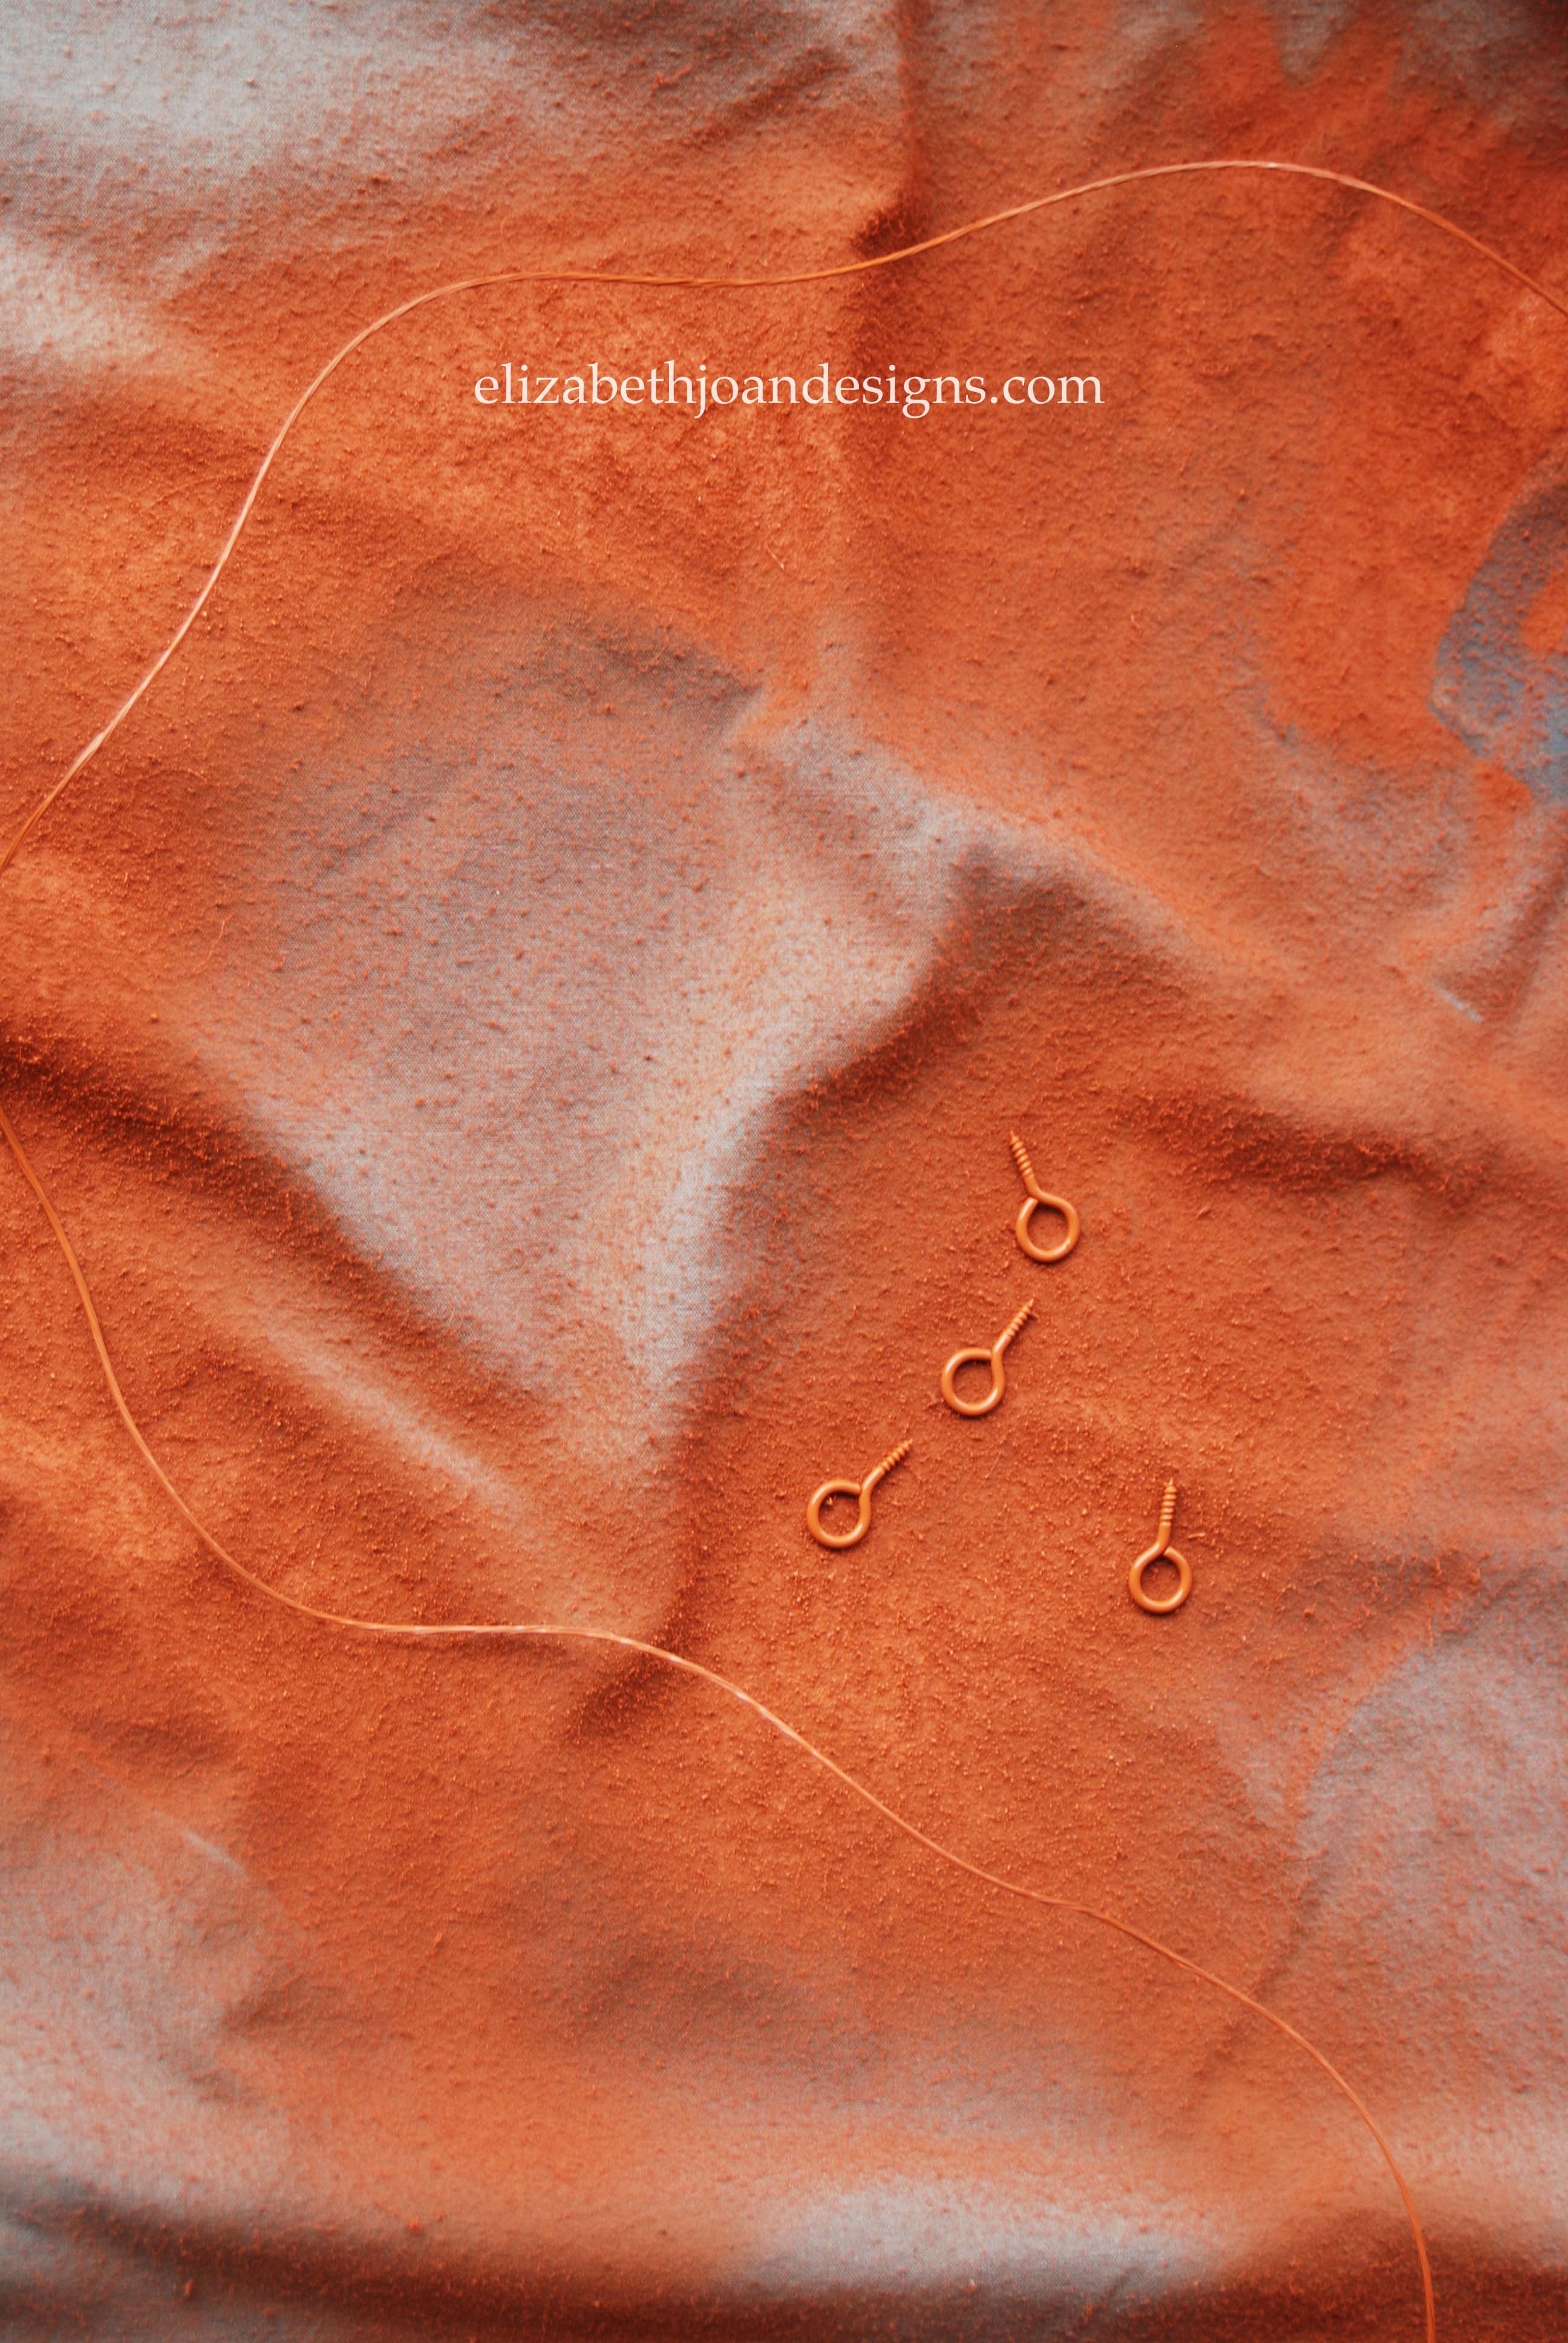
They are really easy to make with a picture frame with a backing, eye-hooks and wire. Here is how I made them:
First, I went through our unused picture frames we have in our basement and came across a few of these awesome IKEA Ribba frames to use.
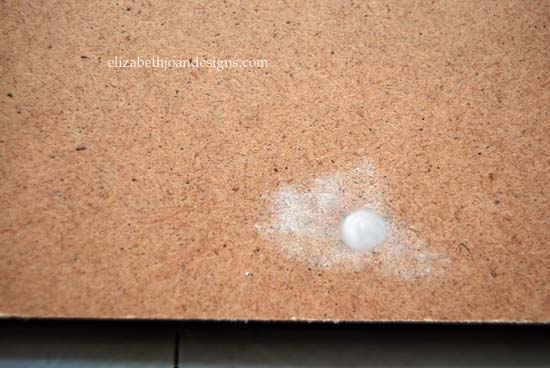
To cover up the tiny holes in the backing, I smeared a bit of nail hole filler across the spots.
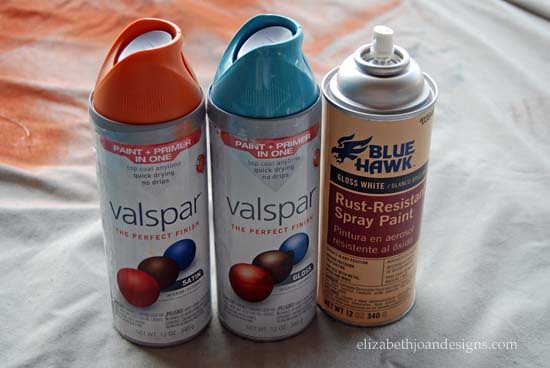
Next, I spray painted all of the components. I wanted three of these memo boards to hang up. One in orange, one in aqua and one in white. (For the white one, I did not paint the frame, as it was already white.)
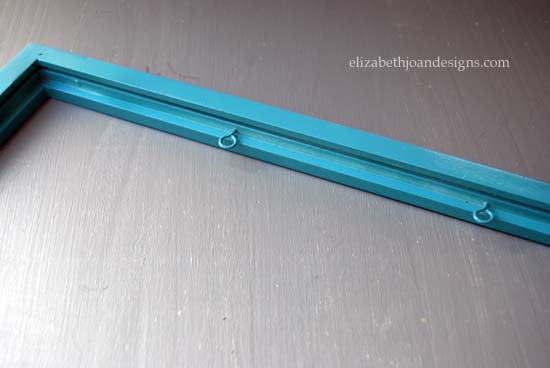
Then, I measured along the edge of the frame. Once I had decided where I wanted the wire to go across, I drilled holes for the eye-hooks and screwed them in.

I continued until all four hooks were inserted into each frame.
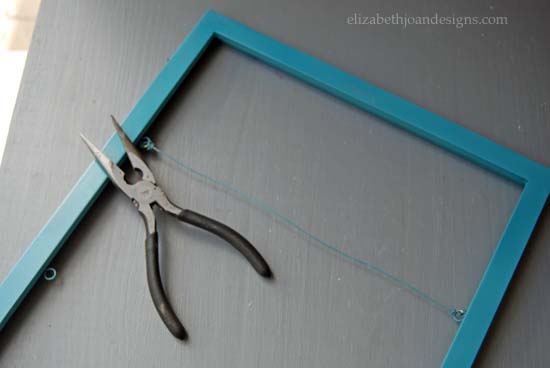
After that, I used pliers to tightly string the wire across the frame, through the eye-hooks and twisted at the ends.
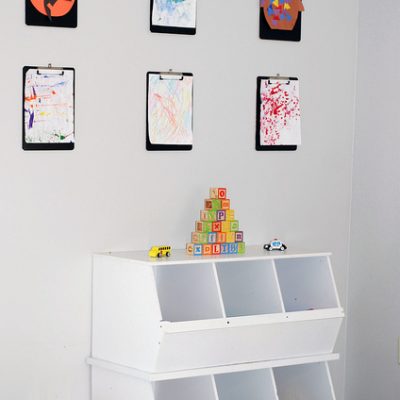
Finally, I placed the backing on the frame and starting hanging artwork using clothes pins. (The large clothes pins are working fine for now, but I think the next time I am out shopping I may consider picking up some of the smaller ones.)

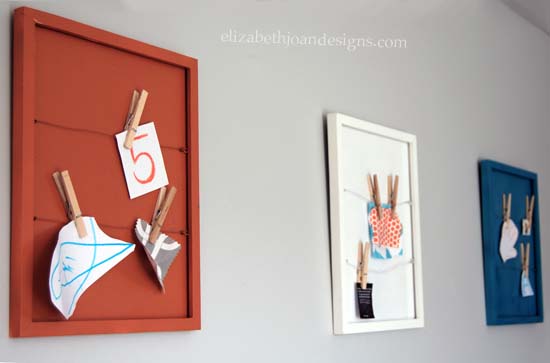
Aren’t they cute? I am in love with them! Perfect for displaying the kids’ art! How do you display your child’s artwork?
_______________________________________________________________________ You may also like:
Clipboard Art Display 
Paint Dipped Box Baskets 
Ikea Trofast Makeover 
Toy Rotation -
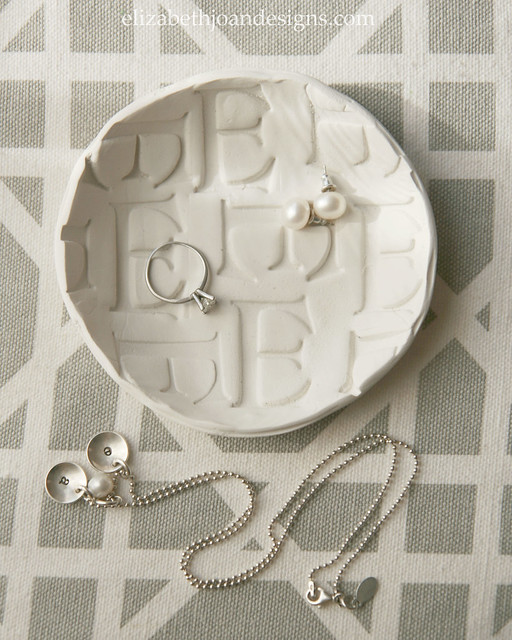
Monogrammed Stamped Clay
Last week, Emily came to visit. Yay! While we were at our parent’s home, they shared with us that they had found our grandfather’s old letter stamp set. So cool!
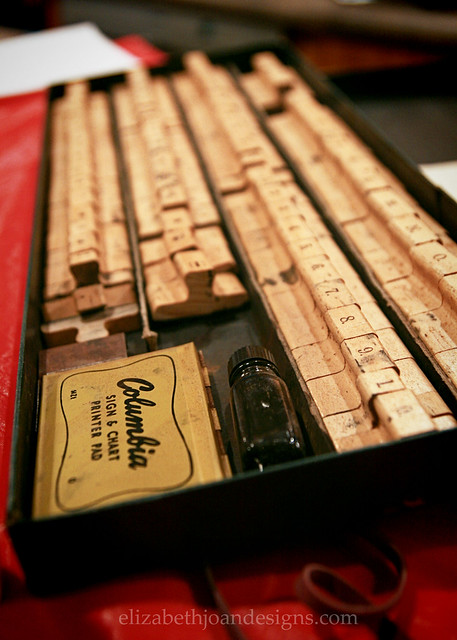
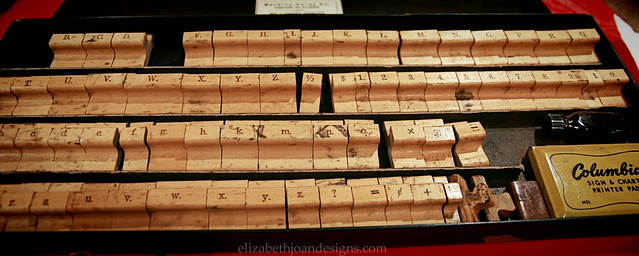
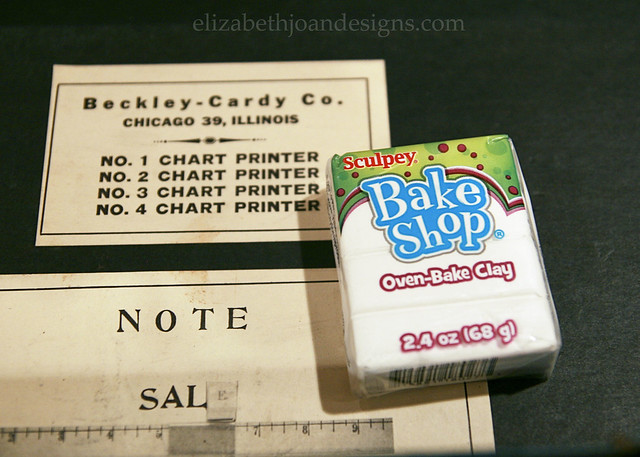
There was this great idea from a Better Homes & Gardens magazine (I believe the original photo from the magazine had a super cute leaf pattern stamped onto clay) and our step mom, Beth, suggested that we use Grandpa’s stamp set to make our own stamped clay project. So we rounded up some oven bake clay and got to work.
First, we each took a portion of the clay and worked it in our hands to loosen it up. Like we were giving it a deep tissue massage. Ahhhhhh. Next, we used a rolling pin to flatten clay.

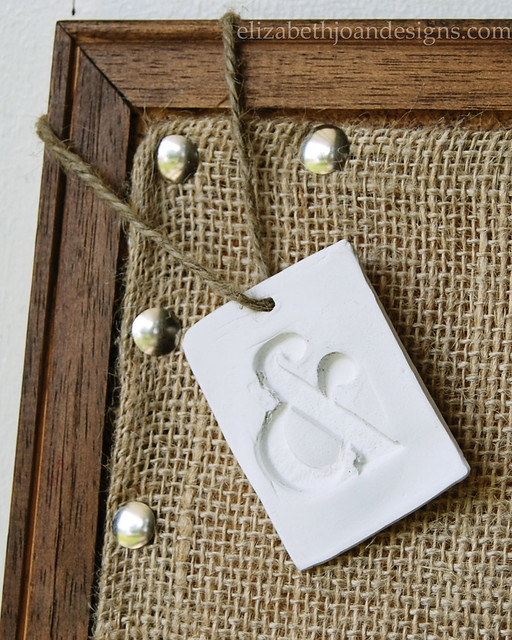
Then, with a little oil on each stamp to keep it from sticking, we pushed the stamp into the clay. Emily chose an ampersand, which she cut around and poked a hole through to make a hanging ornament.

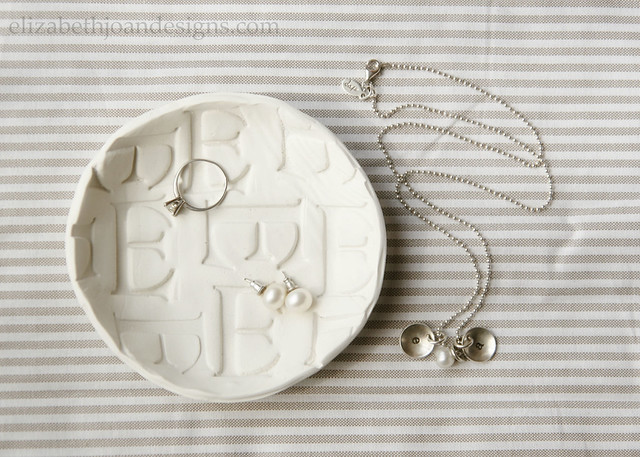
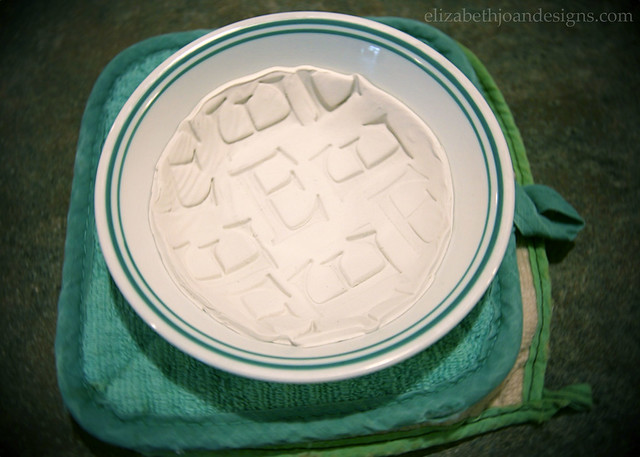
And I did a pattern with the letter E. Natural choice, right? You can see that I put the circle into a small bowl (oiled) to form it into a dish shape.
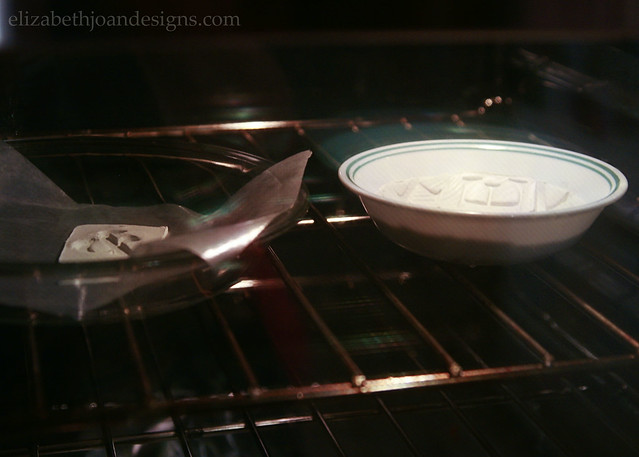
Each piece was baked in the oven at 250 degrees for 15 minutes. Just enough time to take a quick shower or straighten your hair. Or whatever you like to get done in 15 minutes.
After everything is cooled, you can sand the edges if things need smoothed out a bit. We love how both of our projects turned out!
____________________________________________________________ You may also like:

Ruler Drum Shade 
Closet To Office Part 3 
DIY Dining Table 
Wire Mesh Pin Board -
IKEA Trofast Makeover
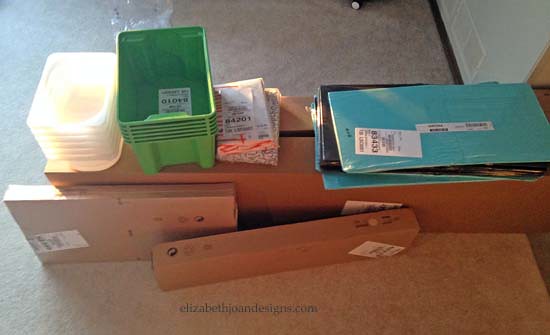
Have you ever seen something in a store or online and thought “Wow! That would be perfect! Too bad it’s not the right size or color I am looking for.” That is exactly how I felt about the IKEA Trofast wall storage unit.
When looking around online I saw the Trofast and wanted a white unit for our playroom. This put me in sort of a Goldilocks state of mind. The white ones were too big. The natural wood ones were the correct size and wrong color, but painting a natural colored one white, would be just right. So to give my own fairy tale a happy ending, I did just that.

Photo credit: ikea.com I put together a long list of IKEA items I wanted. This included the Apa storage box I recently made-over, and of course the Trosast along with many other items I will be sharing soon, and. After I placed my order online, I anxiously waited for my shipment to arrive.
Yay! It was finally here and time for the transformation to begin.
First, I lightly sanded each wood section of my wall storage.
Next, I painted a coat of primer on the bare wood and I let it dry over night.
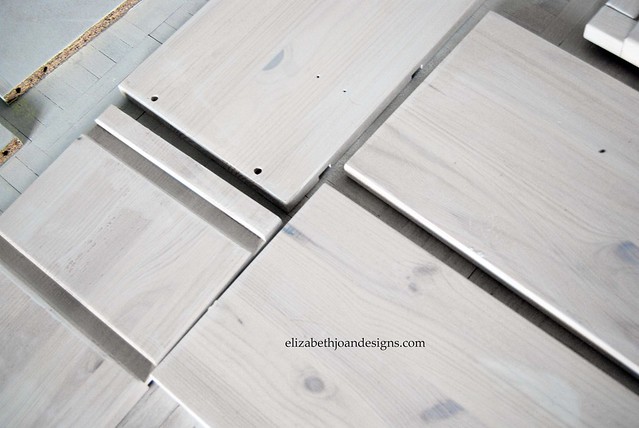
Following that, two coats of white semi-glossy paint were applied and left to dry/cure for a couple days. I didn’t want any chipping paint or my hard work would have gone down the drain.
Just like with the Apa, I enlisted the help of my husband with assembling the unit.
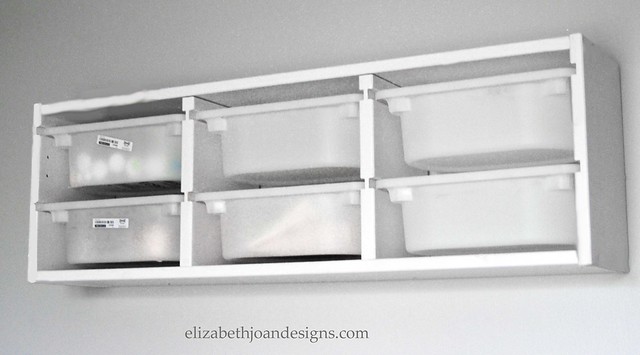
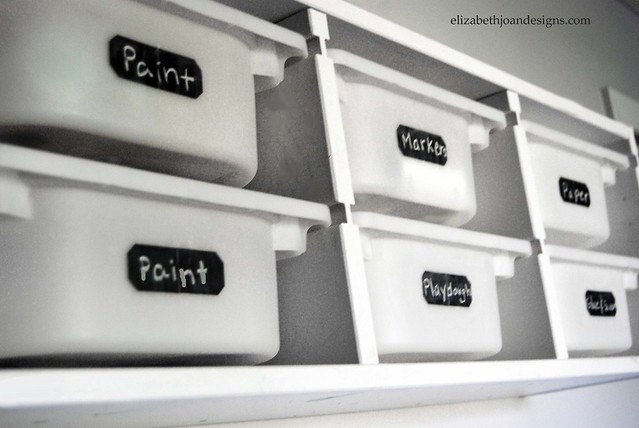
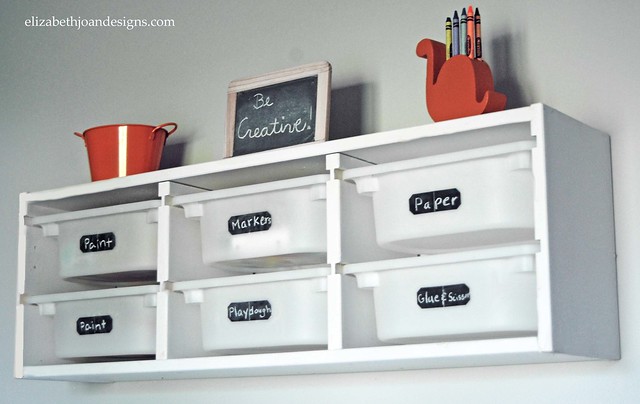
My new white Trofast has six plastic bins that we use to store the kids art supplies in. They were screaming for labels. My love for chalkboards and decisive nature steered me right toward these adorable stickers I found at Target.
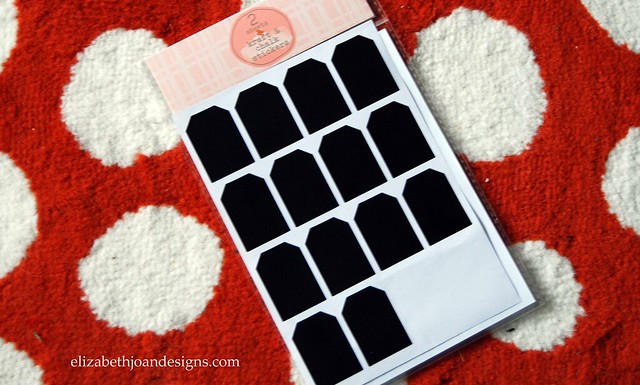
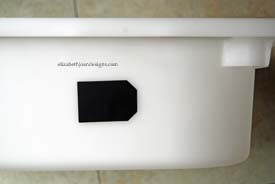
I put two labels on the front of each bin to give myself plenty of writing space. With these I have the freedom to erase my markings, which equals no commitment on what we store in them.
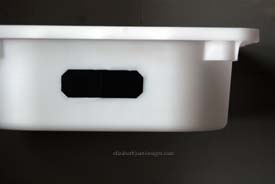
Then, I primed each tag by rubbing chalk on it.
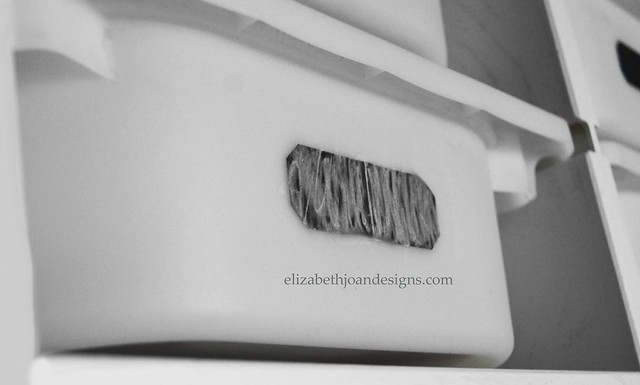
Finally, I labeled each drawer with the appropriate name.
I love how this whole piece turned out! It has been such a wonderful addition to our playroom.
What is your favorite storage piece for kids’ art supplies? Leave a comment; we would love to hear from you!
_________________________________________________________________________________ You may also like: 
Chalkboard Paint Accent Wall 
Ikea Apa Storage Makeover 
Faux Metal Letter
Paint Dipped Box Baskets
Clipboard Art Display
Toy Rotation