-
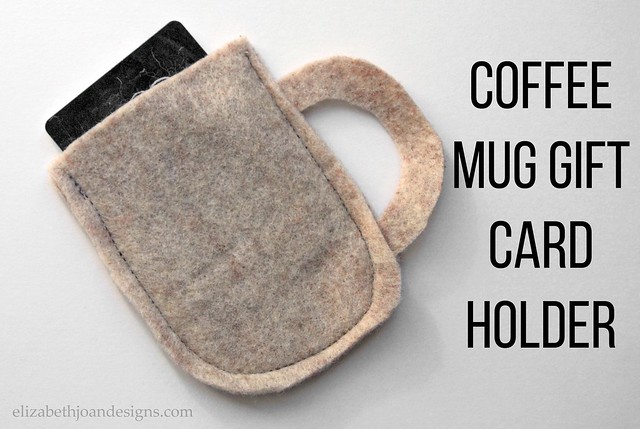
Five Minute Friday: Coffee Mug Gift Card Holder

Welcome to 5 Minute Friday. This is a weekly post where we share quick tips, projects, and recipes that can all be completed in 5 minutes or less! The topic this week is Coffee Mug Gift Card Holders.
To make this super easy, adorable, gift card keeper you need wool felt, scissors, paper, pencil, sewing machine or needle and thread.

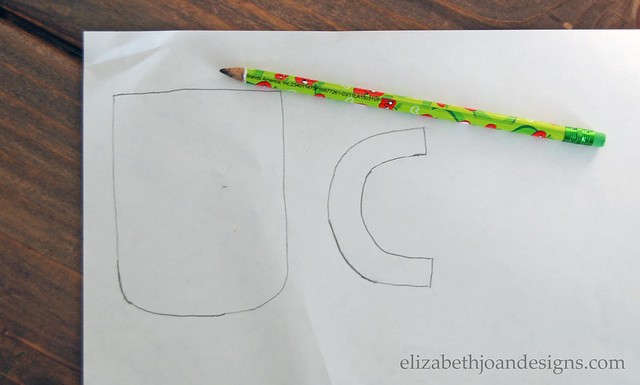
First, create a template by drawing on paper what you would like your mug and handle to look like. (I am one of the world’s worst drawers. So if I can do it, I know you can too.) FYI: The mug portion and the handle are separate templates. Make sure you make the mug big enough to hold a gift card and remember to account for seam allowances too.
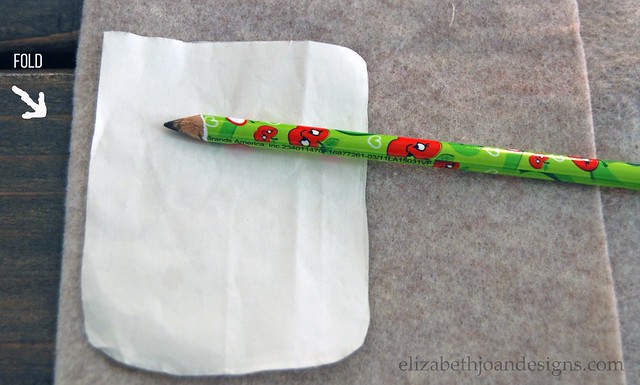
Next, cut out your templates with scissors and lay them flat on the felt. Trace around them with the pencil or chalk. You need 2 mug pieces and 1 handle piece. I folded the fabric when tracing the mug section on so I could trace and cut the 2 cup pieces at the same time. When selecting your fabric for this project keep this in mind that the felt I used was fairly thick. If you choose a thinner fabric you will end up with a floppy handle.
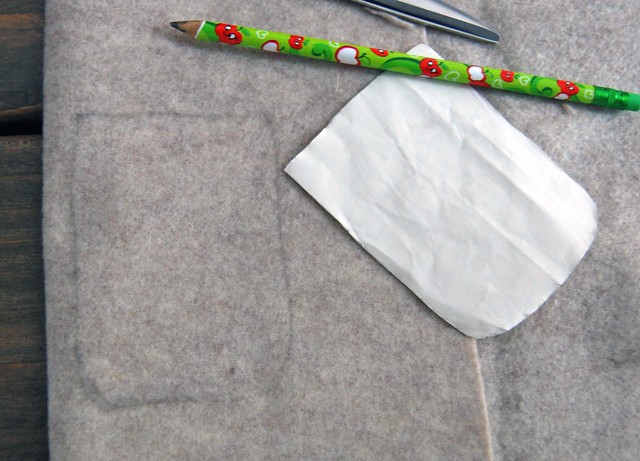
Then, remove the paper and start cutting out your felt shapes.
After that, lay the two mug pieces one directly on top of the other and insert the tips of the handle in between the two pieces.
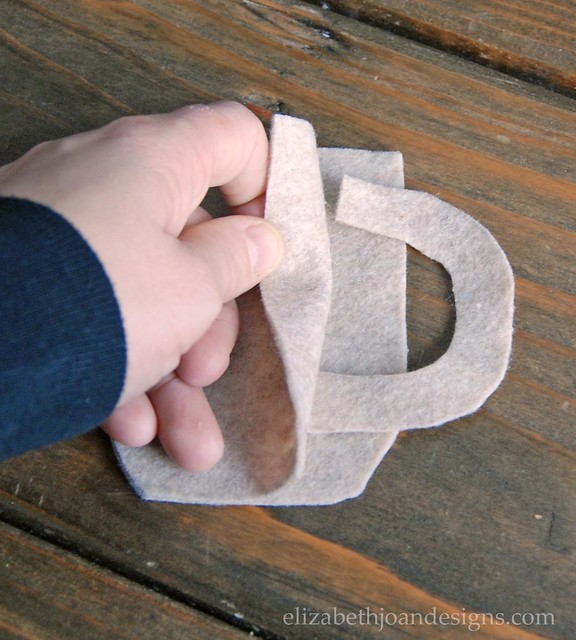
Finally, sew down one edge of the mug, across the bottom, and up the other side securing the handle in place.

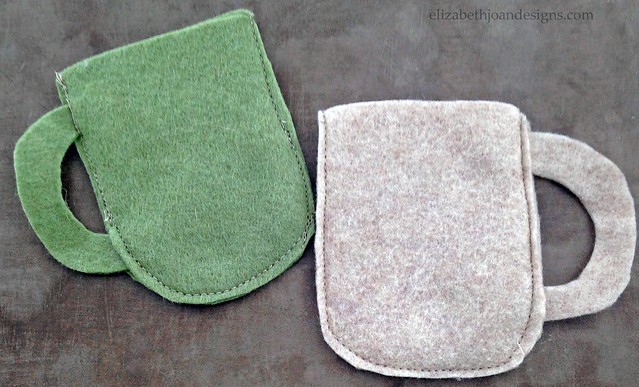
Trim any loose thread and you have yourself a very cute coffee gift card holder. Happy Gift Giving!
______________________________________________
You may also like: 
Nightstand Makeover 
Rusty Plant Stand Makeover 
Faux Roman Shade 
Faux Topiaries
-
Five Minute Friday: Pumpkin Pie Dip
Welcome to 5 Minute Friday. This is a weekly post where we share quick tips, projects, and recipes that can all be completed in 5 minutes or less! The topic this week is Pumpkin Pie Dip.
Pumpkin season is upon us. This quick dip will fulfill all of your pumpkin cravings in just a few minutes.

Ingredients
2 Cups – Canned Pumpkin
1 – 3.5 oz. Pkg. – Vanilla Instant Pudding
1 Tbs. – Pumpkin Pie Spice
1 tsp. – Cinnamon
1 – 8 oz. Container – Cool Whip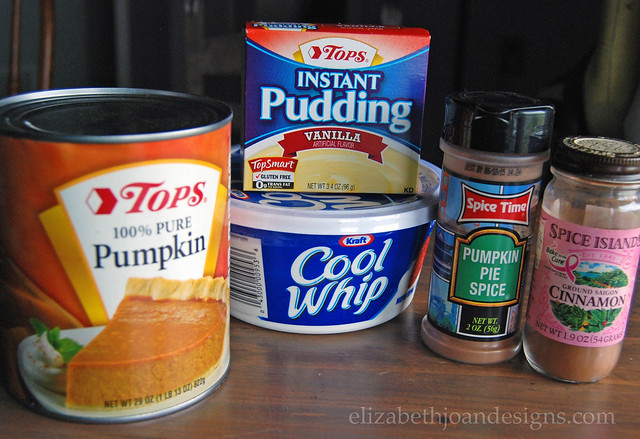
Kitchen Tools
Can Opener
Large Mixing Bowl
Wooden Spoon
Measuring Spoons
Measuring Cups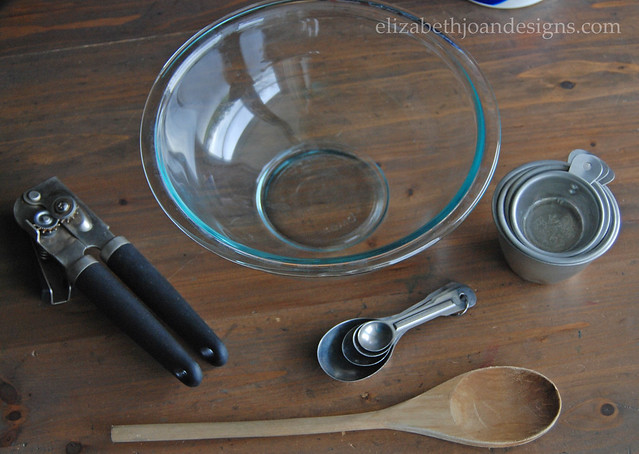
First, add the pumpkin, pudding, and spices to a large mixing bowl. Mix until well combined.
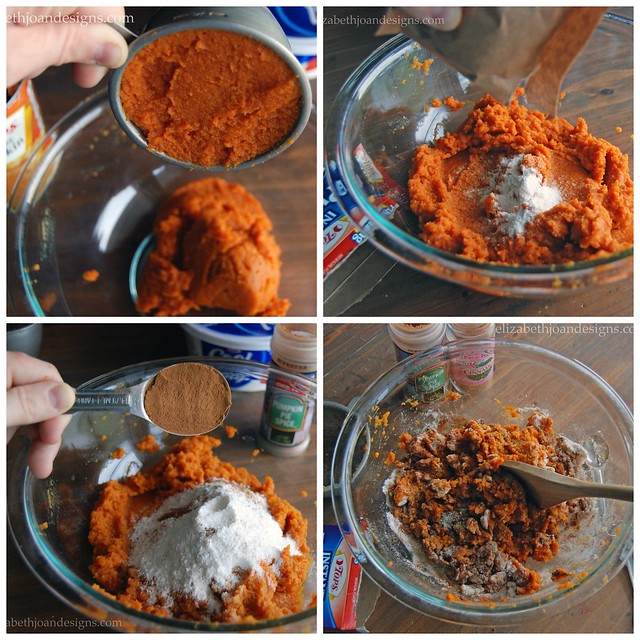

Next, fold in the cool whip.
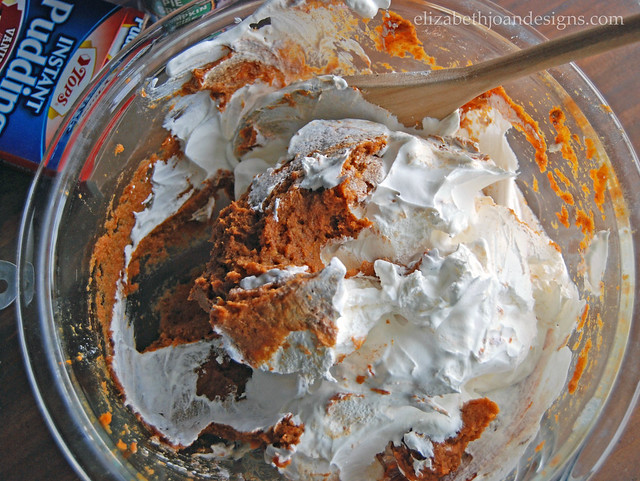
Mix until smooth and creamy. Pop the dip into the refrigerator until ready to serve. Enjoy this delicious dessert with apples and graham crackers.
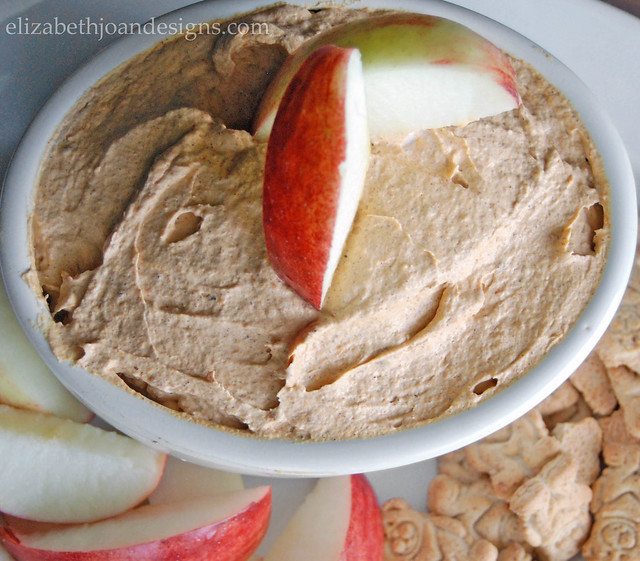
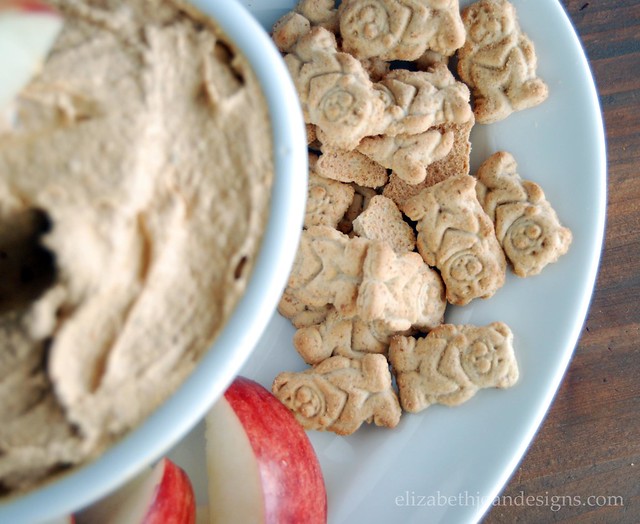
My little guys love eating dip with teddy bear grahams. Yummy!
Pumpkin Pie Dip from Elizabeth Joan Designs
Ingredients
2 Cups – Canned Pumpkin
1 – 3.5 oz. Pkg. – Vanilla Instant Pudding
1 Tbs. – Pumpkin Pie Spice
1 tsp. – Cinnamon
1 – 8 oz. Container – Cool WhipPreparation
Combine pumpkin, pudding, and spices in a bowl and mix together thoroughly. Fold in the cool whip and mix until smooth and creamy. Refrigerate until ready to serve. Enjoy with apples and graham crackers.______________________________________________
You may also like:
Mediterranean Chicken Packets 
S’mores Bars -
5 Minute Friday: Printable Thanksgiving Leftover Bags
Welcome to 5 Minute Friday. This is a weekly post where we share quick tips, projects, and recipes that can all be completed in 5 minutes or less! The topic this week is Printable Thanksgiving Leftover Bags.

It’s mid-November and we are quickly approaching my favorite holiday, Thanksgiving. Turkey, corn, mashed-potatoes, cranberry salad and pumpkin pie! Yum! With all of that delicious food there is bound to be mounds of leftovers. Now, only if you had cute bags to send some of that food home with your holiday guests…Oh wait you can! Just follow this super easy tutorial and you will be all set.
Supplies
– Paper Bags- the plain old brown lunch ones work great
– Printer- I have an inkjet and these bags turned out awesome! Results may vary with a laser printer.Ready! Here we go!
Step 1:
Place your brown paper bag against a plain piece of computer paper in your printer so the ink prints on the same side as the flap. There is a seam down the non-flap side of the bag that makes printing difficult if you try using it.
Step 2:
Print one at a time. The plain computer paper will feed through with your bag. And that’s it!
Super easy, right?
Click the image below for the free PDF link. Please download the file and open with Adobe Reader to ensure proper print sizing. When printing, make sure that Page Scaling is set to “None.”

For more freebies, check out our Printables gallery.
All of our printables are currently FREE for download for personal use only. However, this is subject to change in the future, so snag them at no cost while you still can! (View Terms of Use.)
_____________________________________________ You may also like:

Grateful Art 
Buffet Table 
Brightening The Foyer 
DIY String Painting
-
Knit Vases
Warm up your holiday decor with these cute knit vases!

I have a few unfinished knitting projects our grandmother was working on before she went into the nursing home. Grandma did teach me to knit. As you know, practice makes perfect and well, I didn’t practice. So instead of trying to finish her work, I decided to combine these pieces with a few of her old canning jars to make some cozy holiday vases.

First, using a rotary cutter, I cut out sections to fit around the jars.

Then, the knit fabric was wrapped around the jars and secured with safety pins. I knew the backs of mine would not be seen, so I sort of haphazardly placed my pins. If yours will be seen, you may want to hide thems a little more or use a hot glue gun instead.

Finally, I filled my vases and was done. It only took about five minutes from start to finish!
I love that I was able to find a use for these special hand knit pieces that would otherwise have just sat in a box in my basement. If you do not have your grandmother’s unfinished knitting projects and want to make these vases, there is no need to worry. You can achieve this same snugly decor look with an old sweater.