-
Pocket Hand Warmers
The weather outside is frightful. Like -35 wind chill. Yikes. And with the blustery weather we’ve had lately, it just seemed like a no brainer that I should whip up some toasty hand warmers to keep our family warm when we step outside.

I’ve seen a bunch of different tutorials and ideas for hand warmers similar to these on Pinterest (love this look from Armommy,) but I wanted to share the way I made them, just in case your hands need a little warming as well.
Warning: This project requires a sewing machine, that is, unless you have copious amounts of time to hand sew. Unfortunately, my sewing machine hates fabric thicker than tissue paper. (Thanks to my parents for trying to fix it!) After way too much time spent messing with that dinosaur of a machine, I stole my daughter’s brand new one and finished these off.
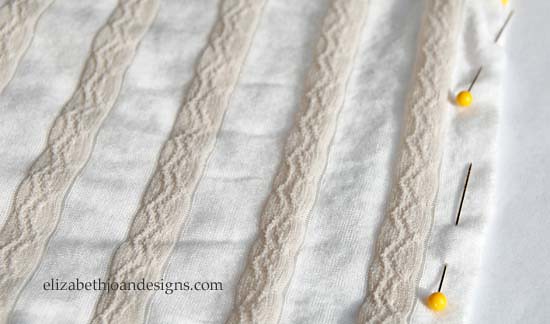
To start out, I cut out two 3″x3″ pieces of fabric and placed the wrong sides together, pinning them so they wouldn’t slip apart while I was sewing.

Next, I sewed along each side…

But left a small opening so I could add some rice filler.

Then, with some pinking shears, the edges were trimmed to prevent fraying.

Using a funnel made from paper, I poured 1.5 tablespoons of brown rice into each hand warmer and sewed the opening shut.


To warm these little guys up, just pop a pair of them into the microwave for 10-20 seconds (times may vary) and put them in your coat pockets. No more chilly winter hands!

-
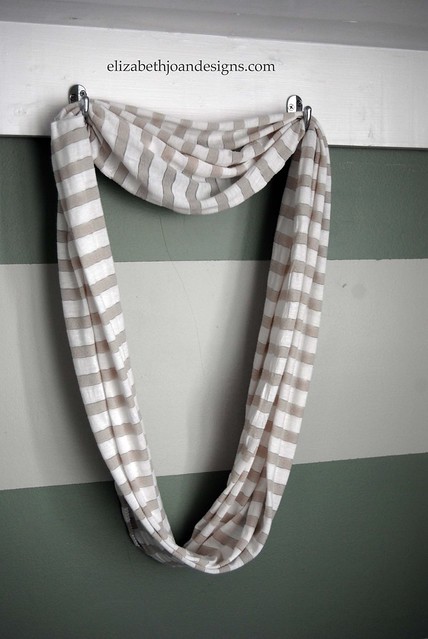
10 Minute DIY Infinity Scarf
It is COLD outside. Brrrr! With such cool temperatures, it is very important to stay warm when venturing out. I decided to make an infinity scarf to keep myself toasty and looking adorable while doing it.
To make your own in 10 minutes or less, follow along with what I did.
Supplies Needed
1 1/2 yards of fabric
Rotary Cutter
Cutting Mat
Fabric Ruler/ Straight Edge
Straight Pins
Sewing Machine
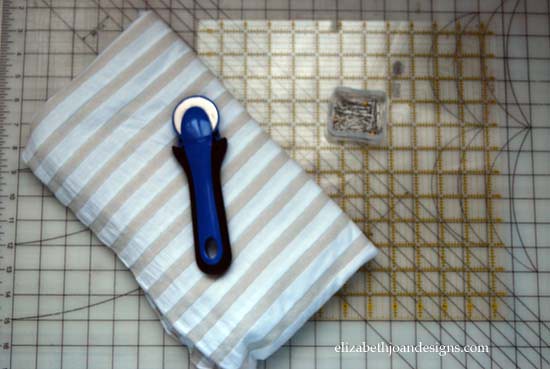
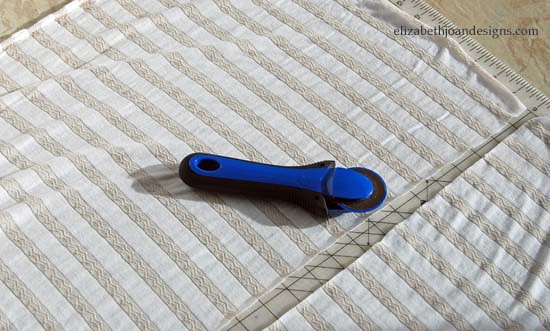
First, I spread the fabric out on my cutting mat and used the rotary cutter and straight edge ruler to cut a strip of fabric that was 54″ long by 20″ wide.
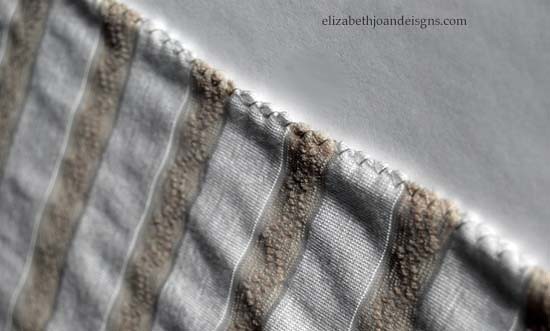
Next, I sewed a zigzag stitch down both sides of the fabric measuring 54″. This will help so my scarf doesn’t unravel on me while I’m wearing it. That could be almost as embarrassing as showing up for school naked and nobody wants that.
The two edges measuring 20″ were lined up, right sides facing each other and pinned together. This is especially important if you are using a stretchy fabric like I did, as the stretchiness can make it more difficult to sew.
With a straight stitch and a 1/4″ seam allowance, I sewed the ends together. Then, I flipped it right side out and was finished.
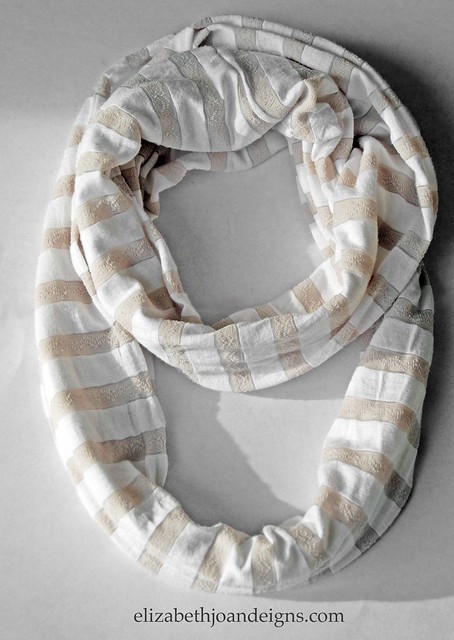
This took what seemed like no time at all and it is super cute. I am now ready to brave the negative temps. Well, maybe I’m not that brave.
-
Book Page Wreath
It is super cold here right now. A thick layer of snow is covering the ground and the wind is blowing like a banshee. And apparently it is only supposed to get colder in the coming days. Like frost bite cold. So what do you do when it is freezing outside and your eyelashes freeze from the tears being blown out of your ducts by the wind? You DIY a book page wreath, of course. All you need are a few supplies and a couple of hours. Yes, I said hours, because these things take time. So grab your favorite movies and start a marathon.
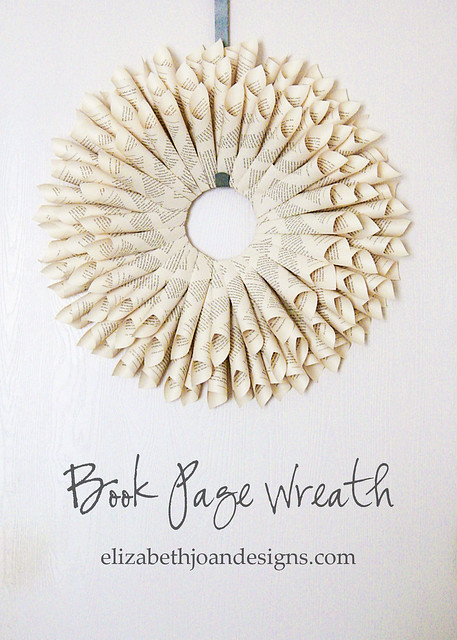
Book page wreaths are nothing new. I’ve made a few over the years and Emily just shared a cool way to decorate a gift with one. There are a million different ways to do it, but my favorite way is to roll the pages into a cone shape.
My supplies for this wreath include:
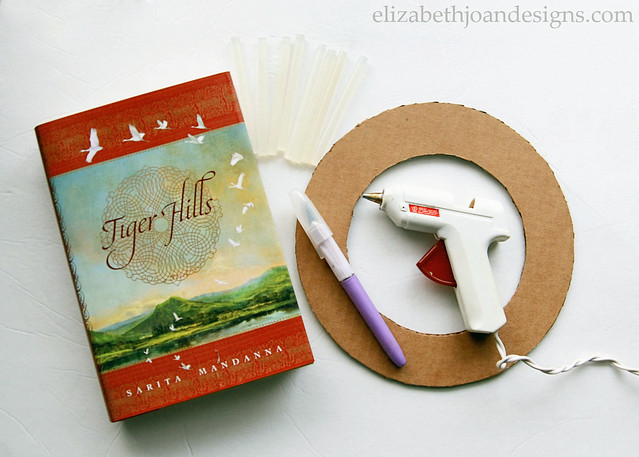
– Book from the dollar store
– Wreath form of some sort
– Craft knife or scissors
– Glue gun
– Glue sticks, lots of themI may have felt a little bit bad that I had to murder a book for this project, especially since is had such good reviews on Amazon, but it only cost a buck, so it was worth it.
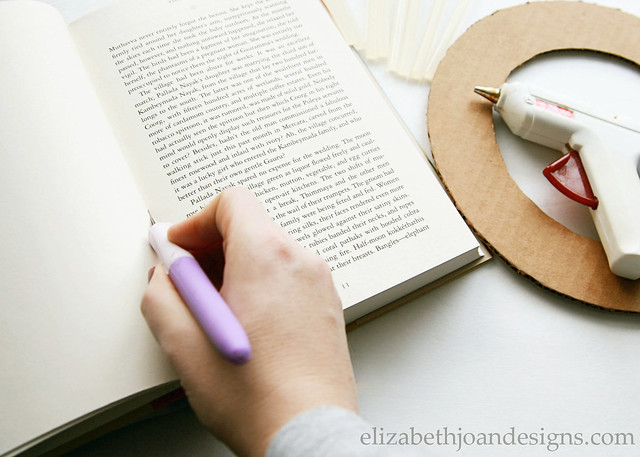
To start out, I used my craft knife to cut out a bunch of pages from the book and then ripped a few of them into strips.
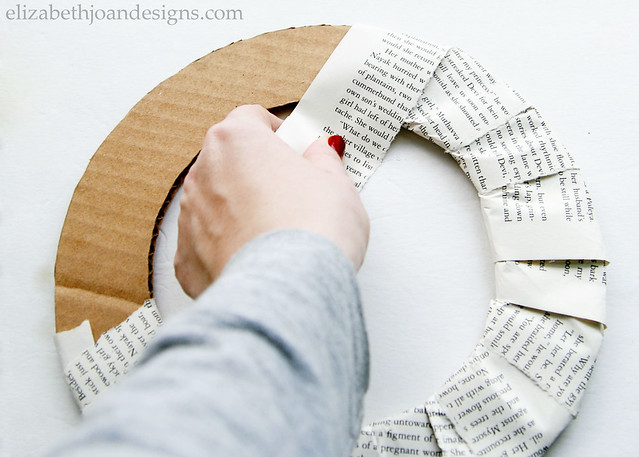
The strips were then wrapped around a homemade cardboard wreath form. I usually buy wreath forms from the dollar store, but they were sold out, so I had to improvise.
Next, I started rolling papers. That sounds a little weird, huh? I rolled individual book pages into a cone type shape and added a spot of glue on the side to secure them.

Working on one side of the covered wreath form, I attached the rolled pages, one by one, all the way around the circle.
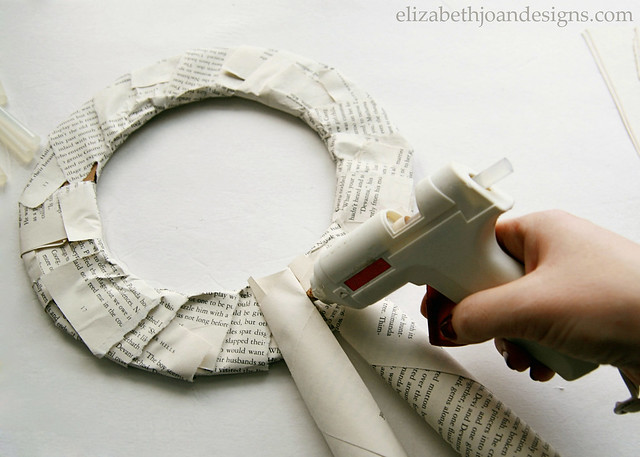
Aren’t glue guns wonderful? My blistered fingers are telling another story, but I quite enjoy the ease of attachment that the handy little
phalanges burnerglue gun provides.
Once I was finished with the first side, I flipped it over and started gluing more pages onto the second side, kind of staggering them between the ones behind them.

The rest of the wreath is completed by adding more layers on top of the previous ones and gradually moving everything in towards the middle until desired fullness is achieved. For this wreath, I used only fours layers of rolled book pages, but I’ve done up to seven in the past. It all depends on how much time and how many fingers you are willing to sacrifice.
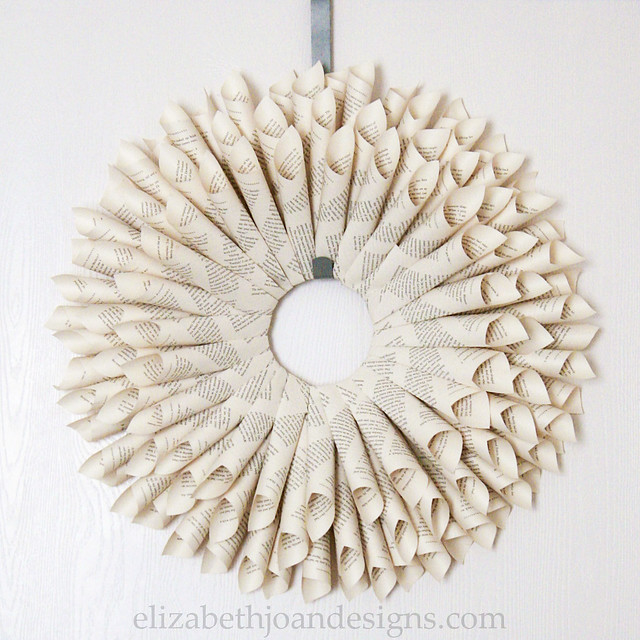
When you are finished, you can hang your wreath up on a door hanger or over a mirror. Both look quite lovely. Oh, and try not to glare too hard at anyone who comes within a few feet of it, threatening the hard work and long hours you put into your beautiful literary work.
-
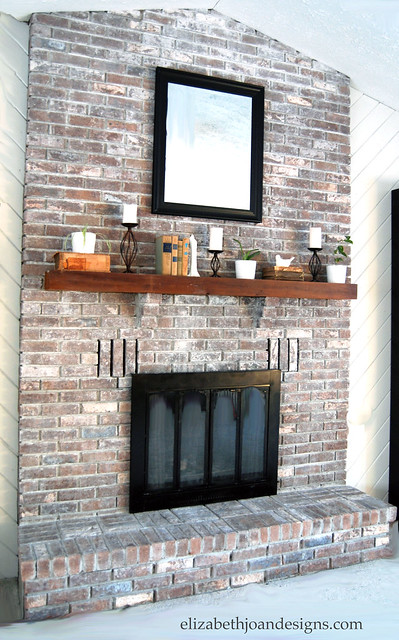
Stained Wood Mantel
I recently whitewashed our brick fireplace and was hoping someday I would have time to stain our mantel black to match the bookshelves in our great room. Our great room is the main room of our house that we all hang out. Any project in our there requires strategic planning. With Adam off work for two weeks, it gave me a little extra time and help with the kiddos to be able to tackle this project.
Here is what it looked like after whitewashing but before staining.
First, I covered the hearth and carpet with a canvas drop cloth to reduce the chance of a major accident.
Next, I lightly sanded the wood to remove the old finish. It also removed some bird poop looking paint spots from the spill I had while whitewashing. (Oops!)


Then, using a rag, I wiped off all the dust, dirt, and gunk.
Finally, I applied Rust-Oleum Ultimate Wood Stain in ebony with a paint brush to the mantel.

I worked in small sections.

After about 2 minutes, I used an old rag to wipe off any excess stain that did not soak into the wood. I chose to skip a finish on the mantel because it is not an area that gets a lot of use.

We love the cohesive look this gives our great room and I am super excited I didn’t spill any black stain on our beige carpet. Whoohoo!
