-
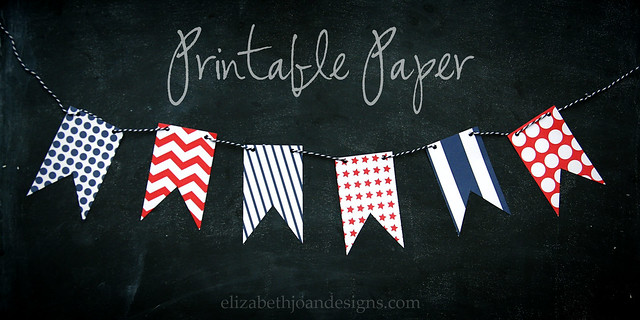
Printable Paper Collection & BBQ Blog Hop
Summer is officially here and in full swing. And that means it’s time for outdoor parties and backyard BBQ’s. Woohoo! Every party needs some fun decor and to help you out, I’ve created a fun collection of printable papers that can be used in a ton of ways to dress up any shindig.
But wait, there’s more! We’ve joined up with some amazing bloggers to share even more projects and recipes to make your summer BBQ a hit. Be sure to check them out at the bottom of this post! There are so many fun ideas you can use to turn printable paper into fabulous party decorations.
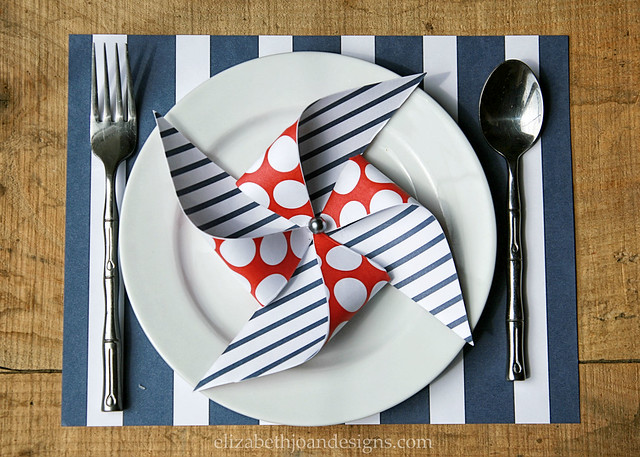
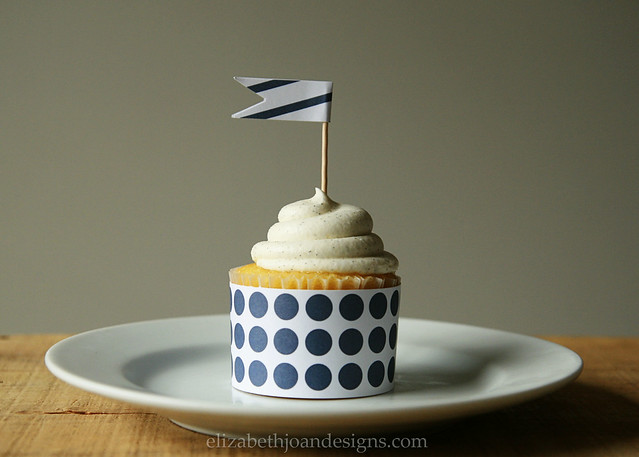
From buntings and banners to pinwheels and place mats, the possibilities are endless.
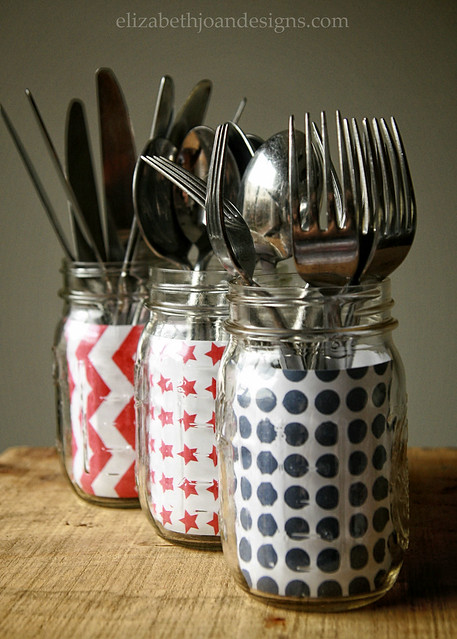
Many times, all you need are scissors, glue, and a little creativity.
You can download this printable paper and tons of other FREEBIES from THE GALLERY.
Ready for more? Check out these other amazing ideas to liven up your next BBQ!  9. Club Narwhal 10. For My Love Of
 -
Your Designs This Time – No. 15
Welcome to Your Designs This Time No. 15. What have you been up to this summer? If you are in need of some ideas, check out our Summer List. Thank you to everyone who has linked up and made this a success. Your projects are so inspiring and we love seeing all of them. We will be sharing more of your awesome ideas on Facebook, Twitter, and Google Plus throughout the week. Also, be sure to check out/follow our Pinterest boards too. We are pinning all of our favorites.
We want to congratulate entry #228 Amanda W., the winner of the $50 Pottery Barn Gift Card Giveaway, and thank everyone who celebrated our Blogiversary week with us!
Now on to this weeks linkup:
The Features
Melissa at A Prudent Life shared her creative idea of a woven top remote box. Too cute!

This Pottery Barn knockoff table, from Kristi at Making In The Mountains is absolutely beautiful.

Are you looking for simple ideas for making a room your own? Look no further than these 5 easy ways to personalize your space from Megan at Latte Everyday.

Amanda at Burlap and Babies transformed an old broken mirror into this awesome framed chalkboard. Love it!

Using supplies already on hand, Christina, from Operation Home, made this stunning art piece for her home. This tutorial is a must see!

The Details
– Each week we will be featuring our favorites, as well as choosing a lucky few for our monthly “We Dig It” posts. By submitting a link, you authorize Elizabeth Joan Designs to feature your project on our blog and social media. (This includes a photo from your project’s post and a link back to your blog.)
– Link up only YOUR OWN new designs, projects, or ideas.
– No Etsy stores, giveaways, or link parties please.
– We love seeing your latest projects, and by linking up, you authorize Elizabeth Joan Designs to send you a weekly invitation to Your Designs This Time.
– We would love for you to follow us! Find Elizabeth Joan Designs on Facebook, Pinterest, Bloglovin’, Erin’s Instagram and Emily’s Instagram.
– Please feel free to add our button to your blog or a visible link back to the this post, so others can join in.

-
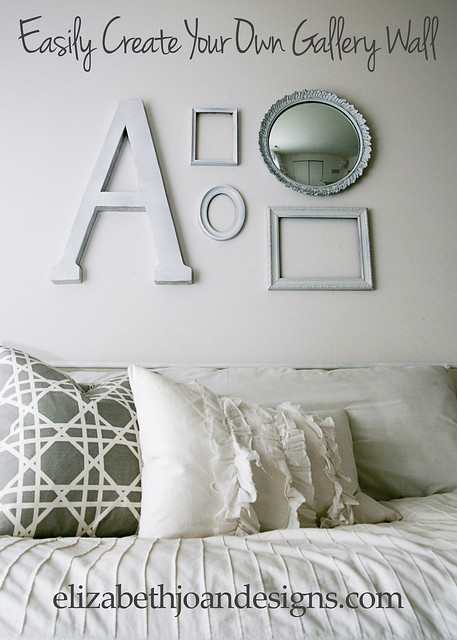
Easy Gallery Wall

*Repost*
I’ve always loved the look of gallery walls, so for my very first blog project/post way back when, I decided to create one for my daughter’s bedroom. I know that there are 750 million ways to hang a photo, but this is my favorite way to create an easy gallery wall.
To start, I gathered all of the frames and pieces that I could potentially use and had laying around our house.

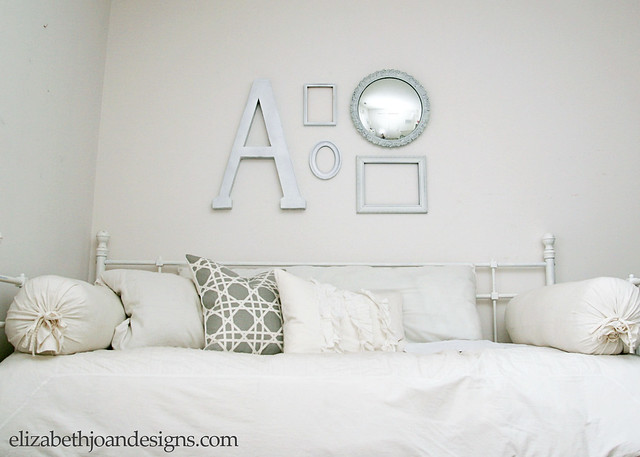
Next, I started to arrange the pieces into different configurations, trying to find the best combination. To keep it simple, I chose three empty (ghost) frames, a round mirror, and the letter “A.” And by simple, I mean easier. Easy like Sunday morning. Not that adding more frames would have really been harder. Maybe more like Saturday morning.

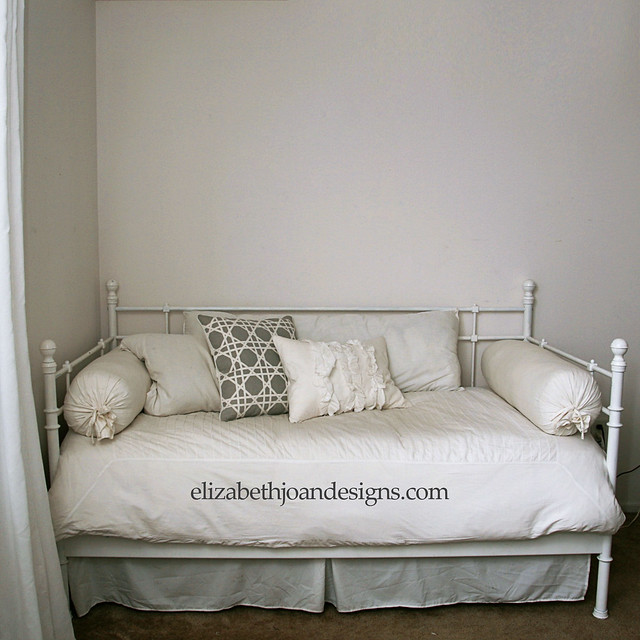
This sad empty wall above our daughter’s bed was where we chose to hang everything.
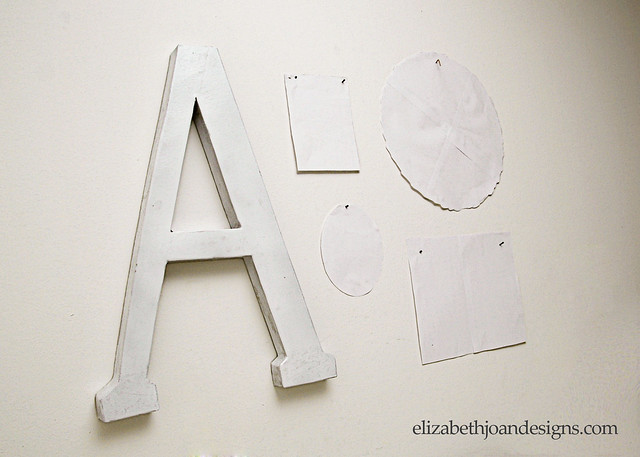
After spray painting each piece white (for a cohesive look,) I traced around the outside of each frame and the mirror onto regular printer paper. A few of the items required paper that was taped together for more surface area, but this could also be achieved by using newspaper for the larger pieces.
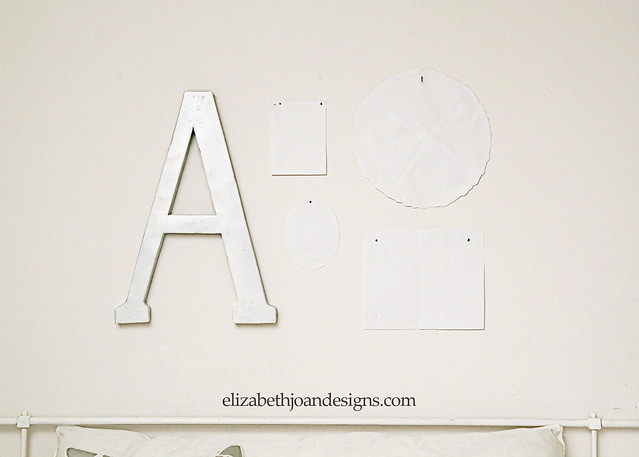
I made sure to mark on each where the nail would go. Then, I taped everything to the wall in the configuration that looked best and added nails to the appropriate spots on the papers.
Finally, we pulled all of the papers off and hung up all of the frames. Lookin’ good!
_______________________________________________________________________________
Giveaway
Don’t forget to enter for a chance to win a $50 Pottery Barn Gift Card here. Good luck!_______________________________________________________________________________ You may also like:

Anniversary Art 
Wire Mesh Pin Board 
Land of Nod Inspired Memo Boards 
Simple Silhouette -
Tips for Cleaning Your Clothes Iron
*Repost*
For those of you out there who make mistakes, I am here to tell you, that you are not alone. I myself, have made one or two.
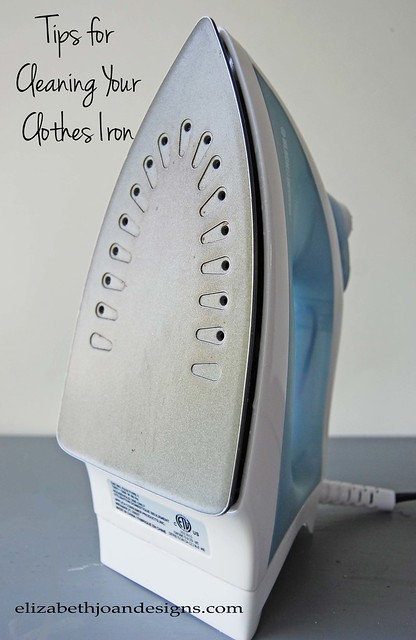
Enter the dirty clothes iron.
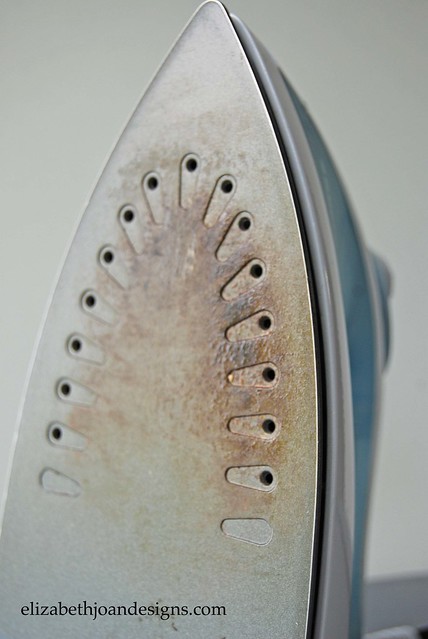
About a year ago, I was making an Easy no-sew receiving blanket for a friend’s baby. I quickly realized my clothing iron was in desperate need of a good scrub down when it left a sticky brownish splotch on the clean new fabric.
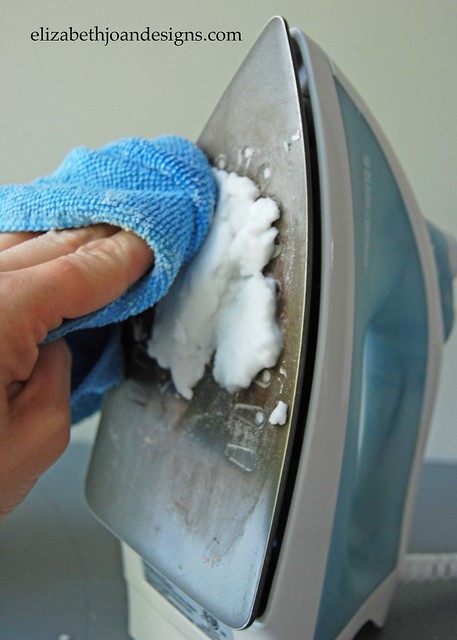
There was so much gunk stuck to the metal plate on the iron, that it reminded me of gooey tar on an old country road during the heat of the summer. Yuck!
So, here’s how I cleaned off that hogwash.
Fist, I mixed up a paste consisting of vinegar and baking soda. No exact measurements here. I just mix until it was a paste consistency.
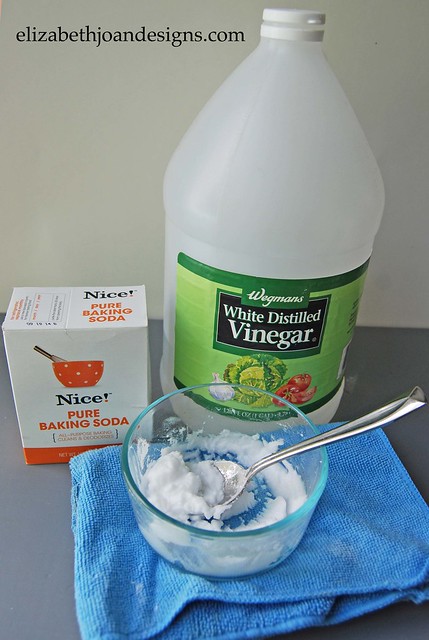
Next, using a soft cloth, I rubbed the mixture onto the dirty iron. I scrubbed a little bit and the gunk came right off. Yay! To clean the water tank, I just rinsed it out with a solution of 2 parts water and 1 part vinegar.
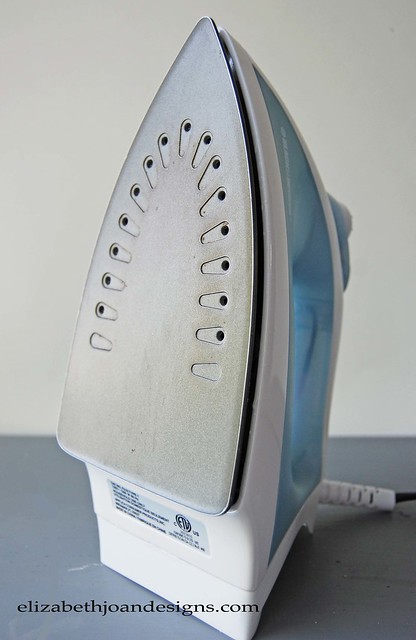
Worked like a charm!
Have you made this mistake before? If yes, let us know the best method you found for cleaning your clothing iron, or did you just toss it in the garbage, buy a new one, and call it day? Leave us a comment. We’d love to hear from you!
___________________________________________________ Giveaway
Don’t forget to enter for a chance to win a $50 Pottery Barn Gift Card here. Good luck!___________________________________________________
You may also like:
How To Clean Makeup Brushes 
Weekly Cleaning Checklist 
Spring Cleaning 
File Cabinet To Garage Storage