Easy Gallery Wall

*Repost*
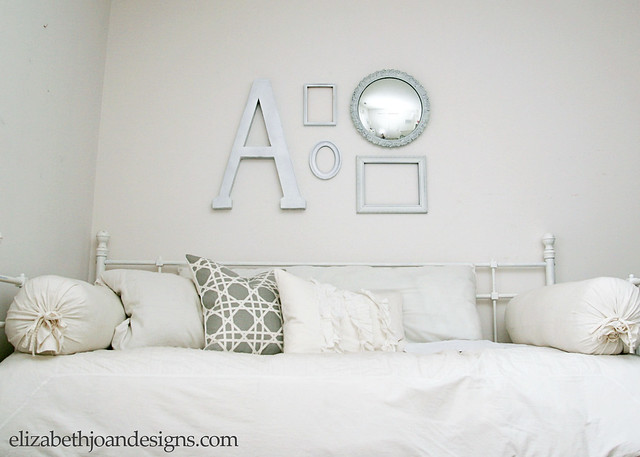
I’ve always loved the look of gallery walls, so for my very first blog project/post way back when, I decided to create one for my daughter’s bedroom. I know that there are 750 million ways to hang a photo, but this is my favorite way to create an easy gallery wall.
To start, I gathered all of the frames and pieces that I could potentially use and had laying around our house.

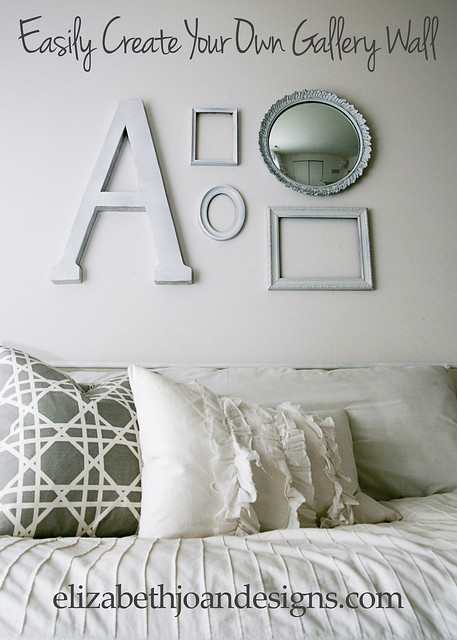
Next, I started to arrange the pieces into different configurations, trying to find the best combination. To keep it simple, I chose three empty (ghost) frames, a round mirror, and the letter “A.” And by simple, I mean easier. Easy like Sunday morning. Not that adding more frames would have really been harder. Maybe more like Saturday morning.

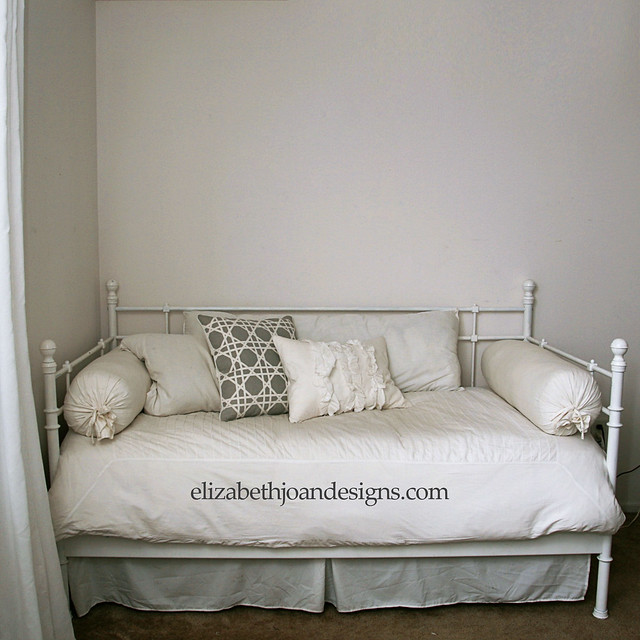
This sad empty wall above our daughter’s bed was where we chose to hang everything.
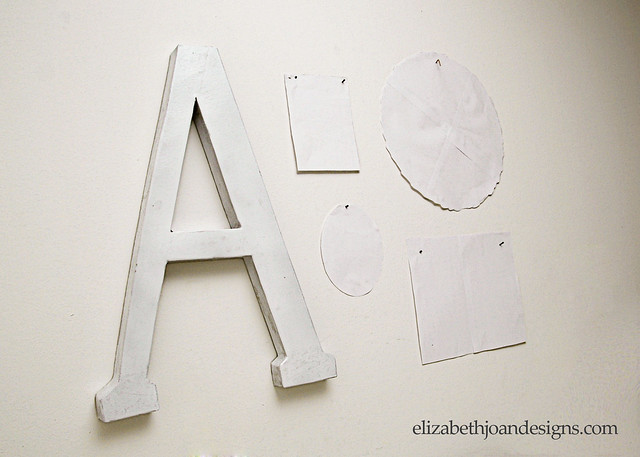
After spray painting each piece white (for a cohesive look,) I traced around the outside of each frame and the mirror onto regular printer paper. A few of the items required paper that was taped together for more surface area, but this could also be achieved by using newspaper for the larger pieces.
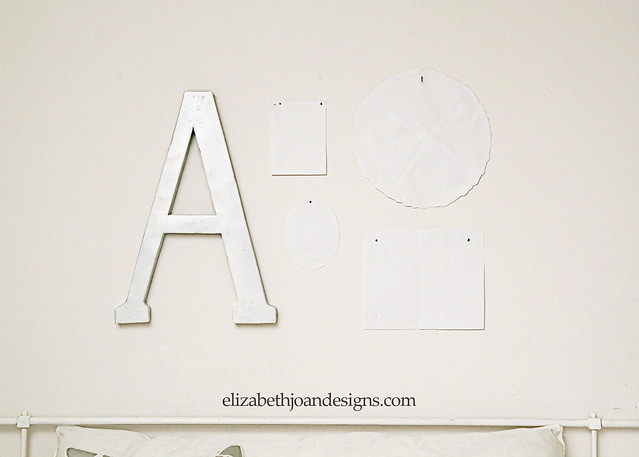
I made sure to mark on each where the nail would go. Then, I taped everything to the wall in the configuration that looked best and added nails to the appropriate spots on the papers.
Finally, we pulled all of the papers off and hung up all of the frames. Lookin’ good!
Giveaway
Don’t forget to enter for a chance to win a $50 Pottery Barn Gift Card here. Good luck!
You may also like:


2 Comments
Treana B
The gallery wall in our house is possibly my favorite DIY we have done (I mean besides the kitchen, and all of the walls upstairs). :) Love this! Thank you so much for sharing on the Merry Monday linky party! We hope you come back this week! – Treana @ House of Bennetts
Erin
Thanks, Treana!