-
Beat the Summer Heat with an Ice Block Treasure Hunt
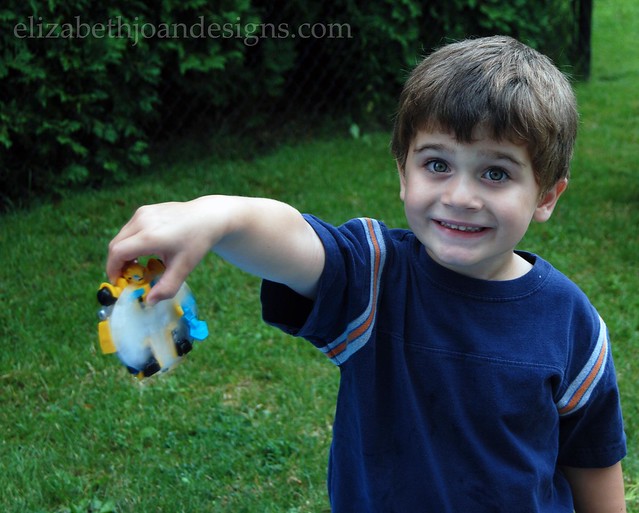
My kids will start their new school year in about three weeks. But until then, we are doing whatever we can to stay cool in this 90 degree weather we’ve been having. I have been sneaking my kids’ toys and freezing them in a bowl of water to beat the summer heat with an ice block treasure hunt. I have seen this project done a few different places across the web and my kids have enjoyed it so much that I wanted to spread the joy.
Supplies
Plastic toys
Freezer safe bowls
Water
Wooden Hammer
Bowl of warm water
ScoopStep 1:
Place the plastic toy in a freezer safe container.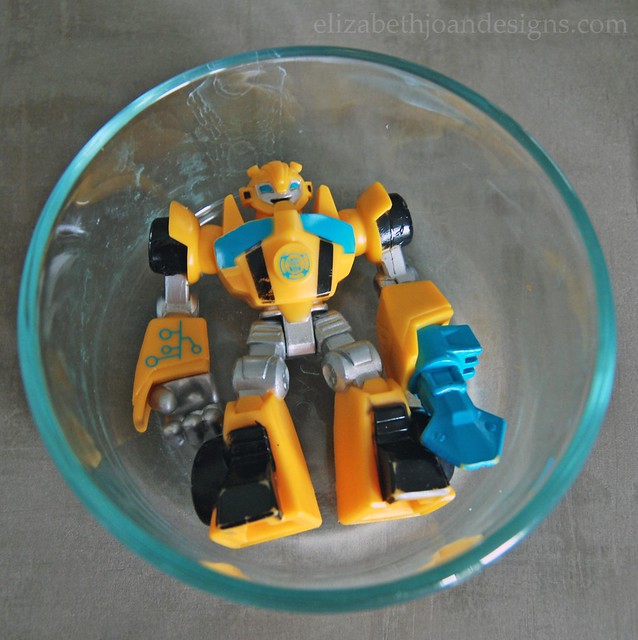
Step 2:
Add enough water to the bowl to cover toy completely.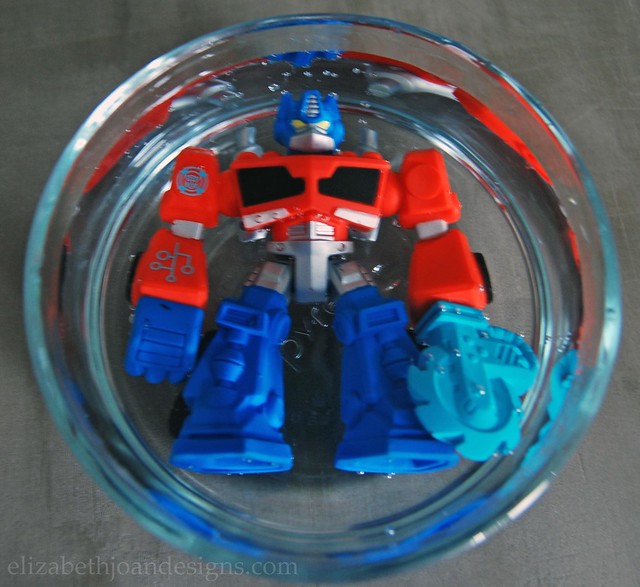
Step 3:
Place the bowl in the freezer. I usually do more than one at a time and let them freeze overnight.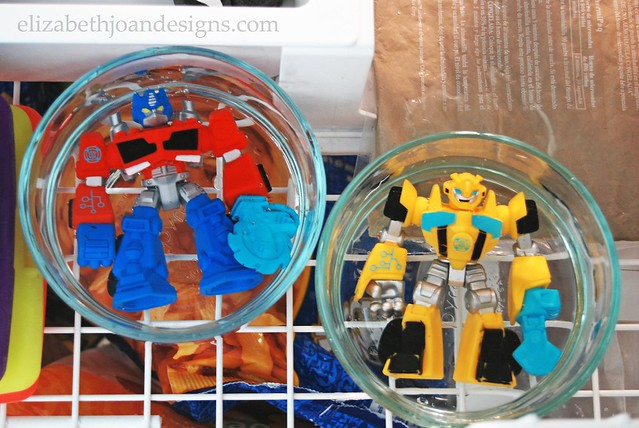
Step 4:
Take the bowl out of the freezer and gently remove the ice block from the container. If you are having a hard time releasing the ice from the bowl, scoop a little Luke-warm water on the bottom. My kids work in their water table. I find that it is a lot less mess this way. If you do not have a water table, I am sure a plastic container would do just fine too.*Do not hit glass container with hammer. That never turns out good. Trust me.
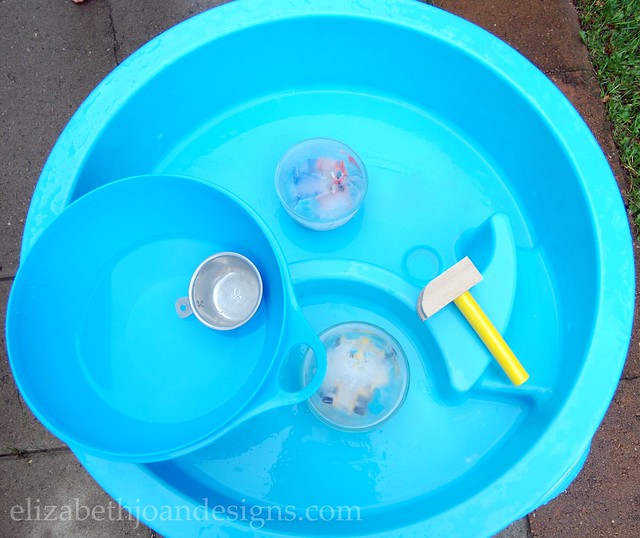
Step 5:
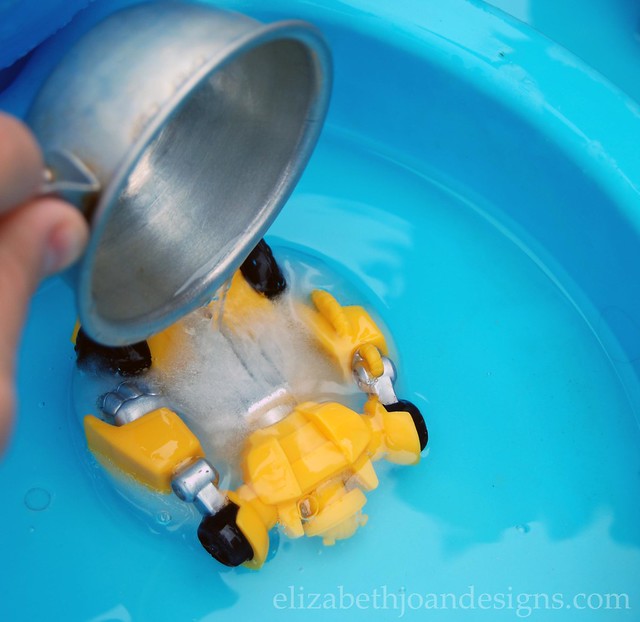
Use hammer, Luke-warm water, and scoop to thaw the ice and free the toy.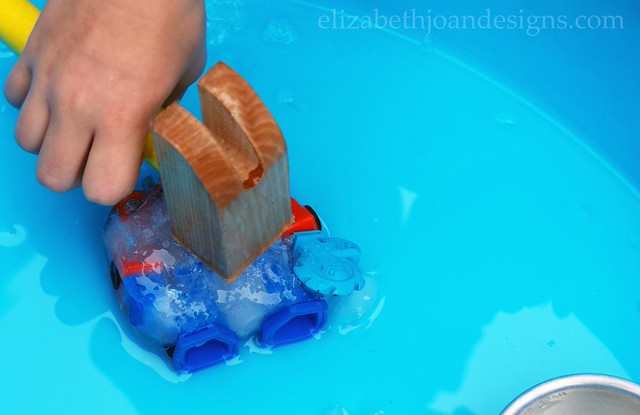
Well, that’s all there is to it. Pretty simple huh? My kids LOVE this so much that they can get hours of enjoyment out of it each time we do it.
_____________________________________________ You may also like:

Toy Organization 
Monogrammed Stamped Clay 
Toddler Entertainment 
Wire Mesh Pin Board
-
Easy Drop Cloth Dog Bed (Washable Too!)
I’ve been kind of slacking when it comes to blogging and social media lately. To be honest, I’ve just felt overwhelmed with school and extracurricular activities starting for the kids. Plus, we decided to add a puppy to our family and that has been keeping us hopping. Trying to work in the time to get projects finished (or even started) has been difficult. Luckily, I found some time to whip up this easy drop cloth dog bed that is also washable!
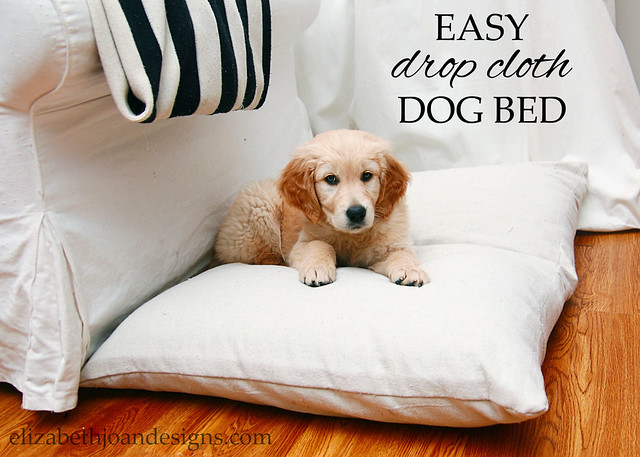
That cutie up above is our sweet little golden retriever pup, Harper. I knew when we brought her home that in addition to her crate, I wanted a special place for her to lounge and nap when we were just hanging out. Dog beds from pet stores seem to be ridiculously over priced and there aren’t really many neutral options, which is what we wanted. So I decided to make this one from a couple of cheap pillows and some drop cloth, which brought the total cost of this puppy bed to around $13.

To start, I removed the drop cloth from the package and ran it through the washer and dryer. (I like to bleach my drop clothes to neutralize the small colored threads in them and washing the fabric helps to soften it some.)

While I waited for the dryer to finish, I hand stitched the two pillows together, overlapping the corners just a bit and also stitching in the middle to really secure them together.

Once the drop cloth was dry, I cut it in half length wise and ironed it. Next, I placed the joined pillows together on top and wrapped the fabric around to figure out the approximate size the cover would need to be. I wanted an envelope closure (here’s a really good tutorial), so that the pillows could easily be removed and the fabric washed if it got dirty. After I lined everything up, I trimmed off more excess fabric.

Then it was time to sew. Since one edge was already finished, I only had to hem one side.

After that, I turned the fabric inside out, lined everything up, and stitched along the top and bottom seams.

Finally, I inserted the pillows and the bed was finished!

Harper loves her new bed! I’ve found her lounging on top and chewing on a toy a couple of times and she has even fallen asleep there several times.

Now if we could just get this potty training thing figured out!

_____________________________________________________________
You may also like:

Apple Candle Holders 
Adventures In Upholstery 
Fish Bowl Cover 
Freezer Paper Stenciled Treat Bag -
18 Amazing Back to School Ideas
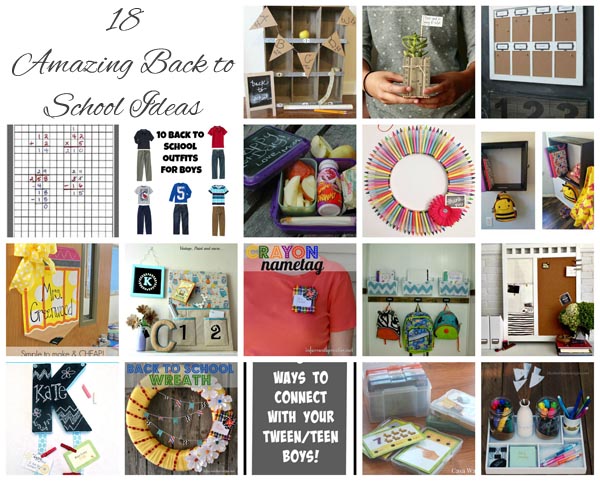
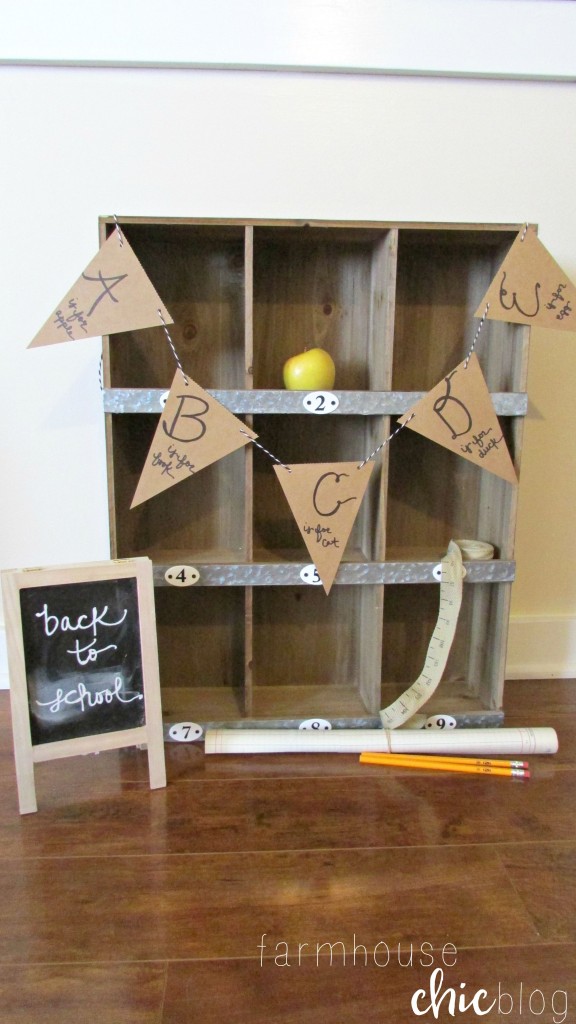
Back to School Vignette from Farmhouse Chic Blog
Ruler Succulent Planter from Elizabeth Joan Designs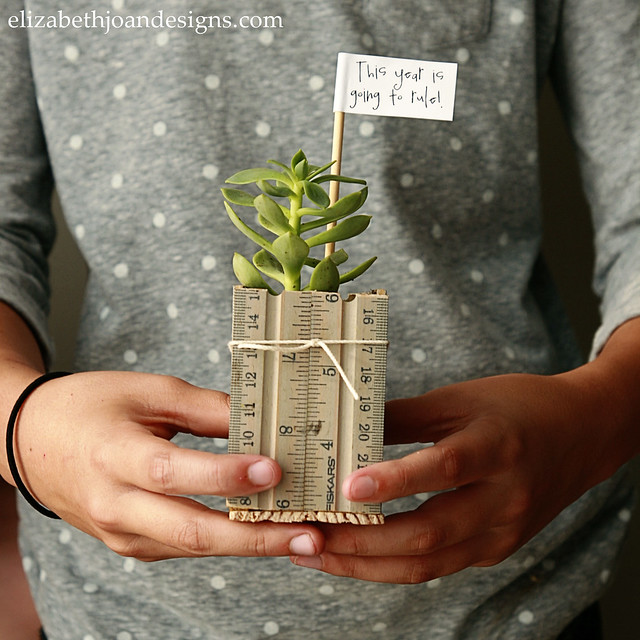
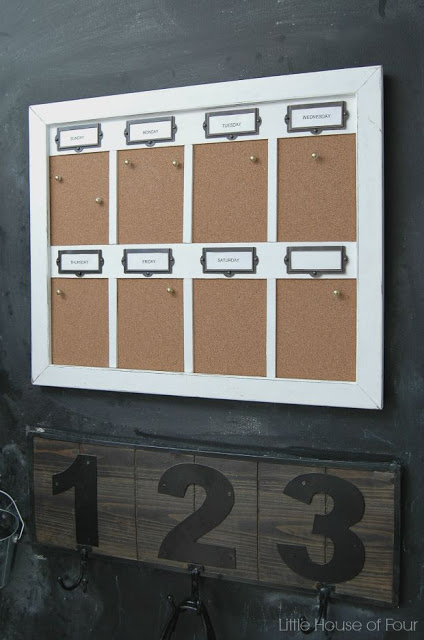
DIY Weekly Cork Board Organizer from Little House of Four
How to Organize Math Problems from I’m not a Trophy Wife

10 Back To School Outfits for Boys from Tastefully Frugal

Chalkboard Lunch Containers from Little House of Four

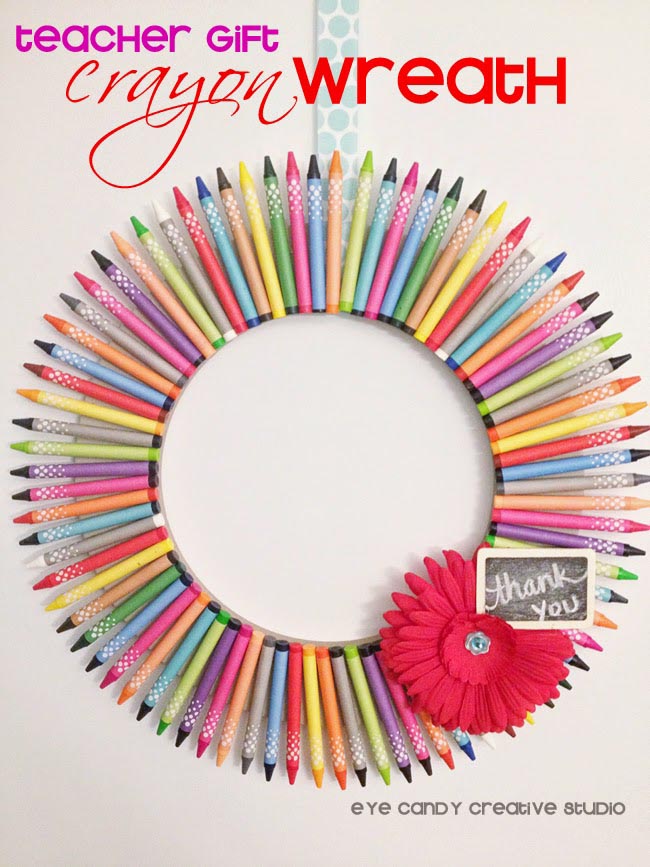
Crayon Wreath Teacher Gift from Eye Candy Creative Studio
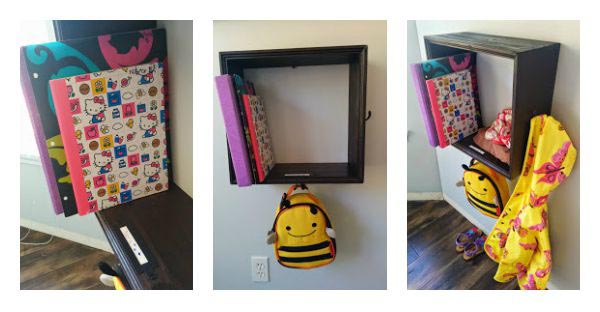
Shadow box Organizer from Our House, Now a Home
DIY Door Hanger – Personalized Teacher’s Pencil from 3 Little Greenwoods

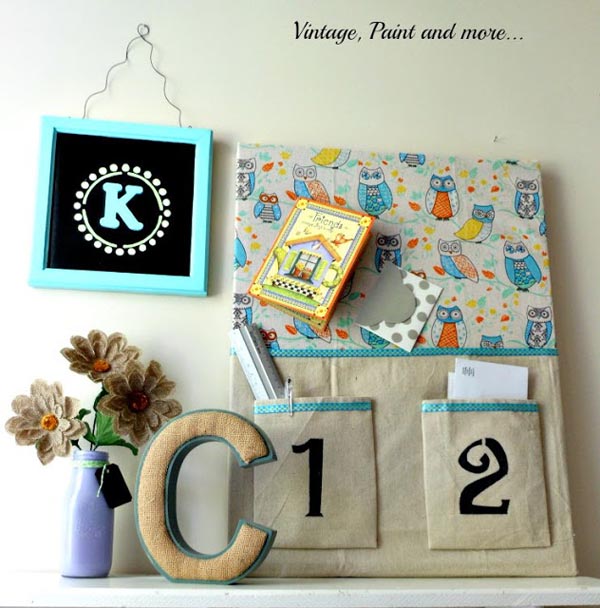
DIY Dorm Decor from Vintage, Paint, and More
Crayon Name Tag from Infarrantly Creative

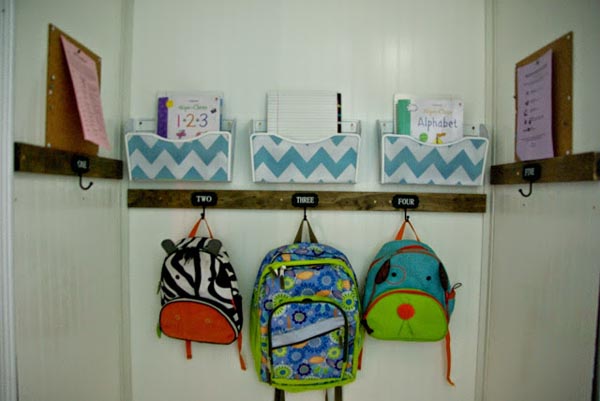
Mudroom Organization from Our House, Now a Home
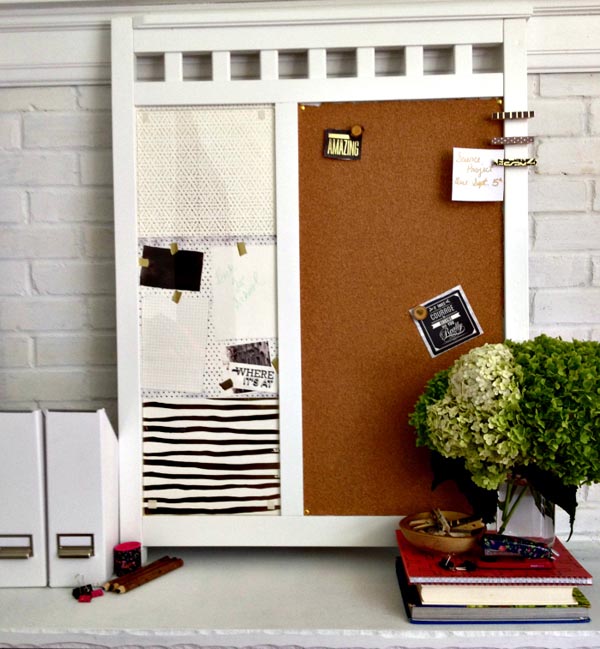
DIY Bulletin Board+ Accessories from Houseologie
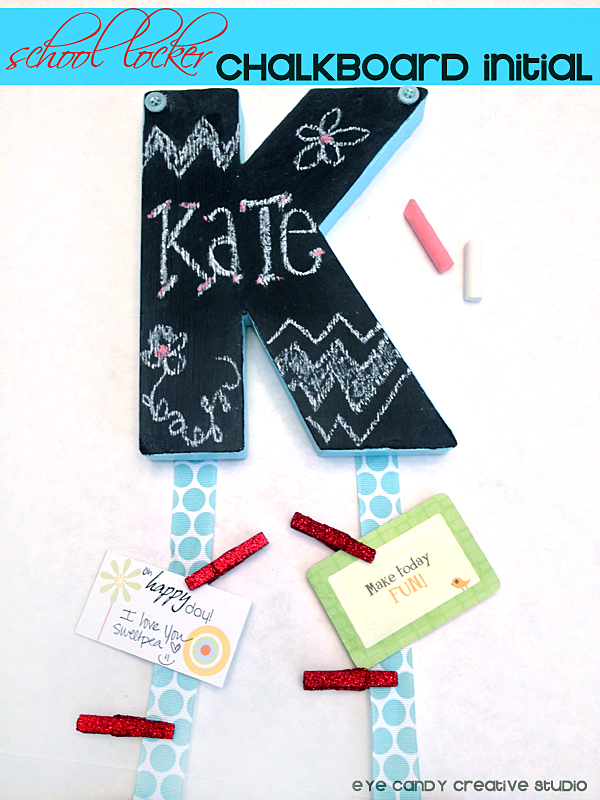
DIY School Locker Chalkboard Initial from Eye Candy Creative Studio
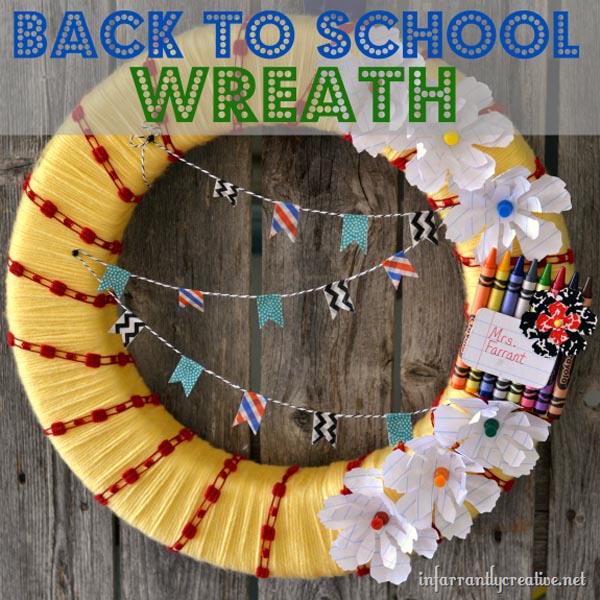
Back to School Wreath from Infarrantly Creative
5 Ways to Connect with your Tween/Teen Boys from I’m not a Trophy Wife

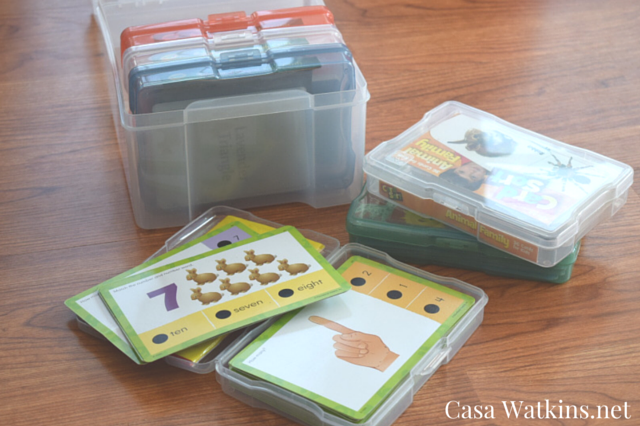
How I Got Rid Of Flashcard Clutter from Casa Watkins
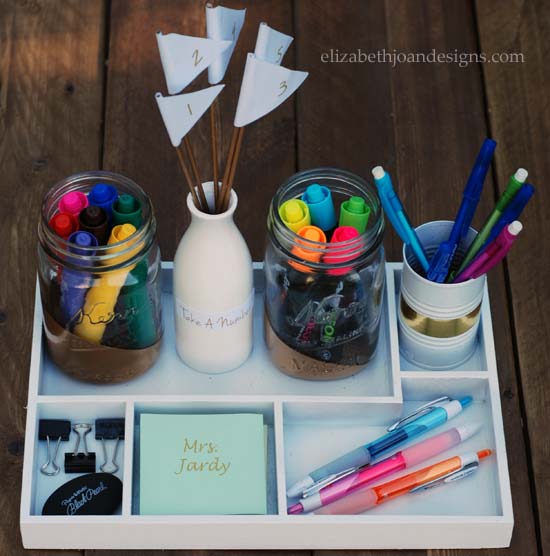
DIY Teacher Desk Organization Station from Elizabeth Joan Designs
-
DIY Upholstered Bed Fame: Part 1
If you have read our blog in the past several months, then you probably have been tracking the progress of my oldest son’s Vintage Airplane themed room. But what you didn’t know; is that I have simultaneously been working on my younger son’s Vintage Car themed bedroom. Today I will be sharing the first of many posts for this room, a DIY Upholstered Bed Fame.
Well, let’s get right down to it.
Bed Frame SuppliesDrill
Screws
Tape Measure
Circular Saw
3 ½ yards of quilt batting from the roll – cut in half width wise to have a total of 7 yard total.
3 ½ yards of fabric – cut in half width wise and sewed together to make a long strip
Plywood – cut to 38″x74″
Rectangular frame – (2) plywood cut to 38″x14″, (2) plywood cut to 74×14″
Support board- (1) 2×4 cut to 4’3″, (2) 2×2 cut to 7″- attached 2x2s to 2×4 with screws (see picture 6)
Box Spring support rails – (2) 2x2s cut to 6′, (2) 2x2s cut to 1′First, my handy husband used a circular saw to cut each wood piece indicated in the supplies section. This frame is for a standard twin size bed measuring 38×74.

Next, he built the outside of the bed frame by lining the frame boards up in a rectangular shape and drilling screws in for attachment.

Then, the rails were added to the inner part of the frame 6″ from the bottom. We used a level to make sure our son wouldn’t be sleeping on a slope. These will hold up the main plywood piece that the box spring fits on.

After that, the plywood board was carefully placed and attached to the side support rails.

Then, to the give the main plywood piece some additional support, he adhered the support-board to the bottom center of the large board. We made a mark for the center, then attached the board with two screws equal distance from the center.

Here is what the bottom looked like after the support board was attached.

To give this fame a little softness, we wrapped the entire outer portion of the rectangle with quilt batting and used the staple gun to secure it. First we tucked and stapled the batting to the top. Then we did the same to the bottom.

Finally to finish off the look of this bed, we used the same method as we did for the quilt batting to add the fabric. I picked up my fabric at Walmart for $1 per yard. Score! This is how it looked with just what box spring in it.
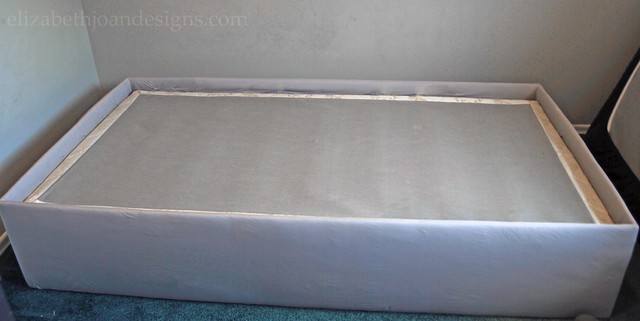
If you like what you see, come back soon and check out part two of this post to see the final results! Headboard and all!
*Update: Final Results have been posted! Come check out how the bed turned out!*
_____________________________________________ You may also like:

Reclaimed Wood Fence Headboard 
Heriloom Dresser Makeover 
The Key to Painting Laminate Furniture 
Kids’ Shared Bedroom