-
Our Experience with Ardex Concrete Counters
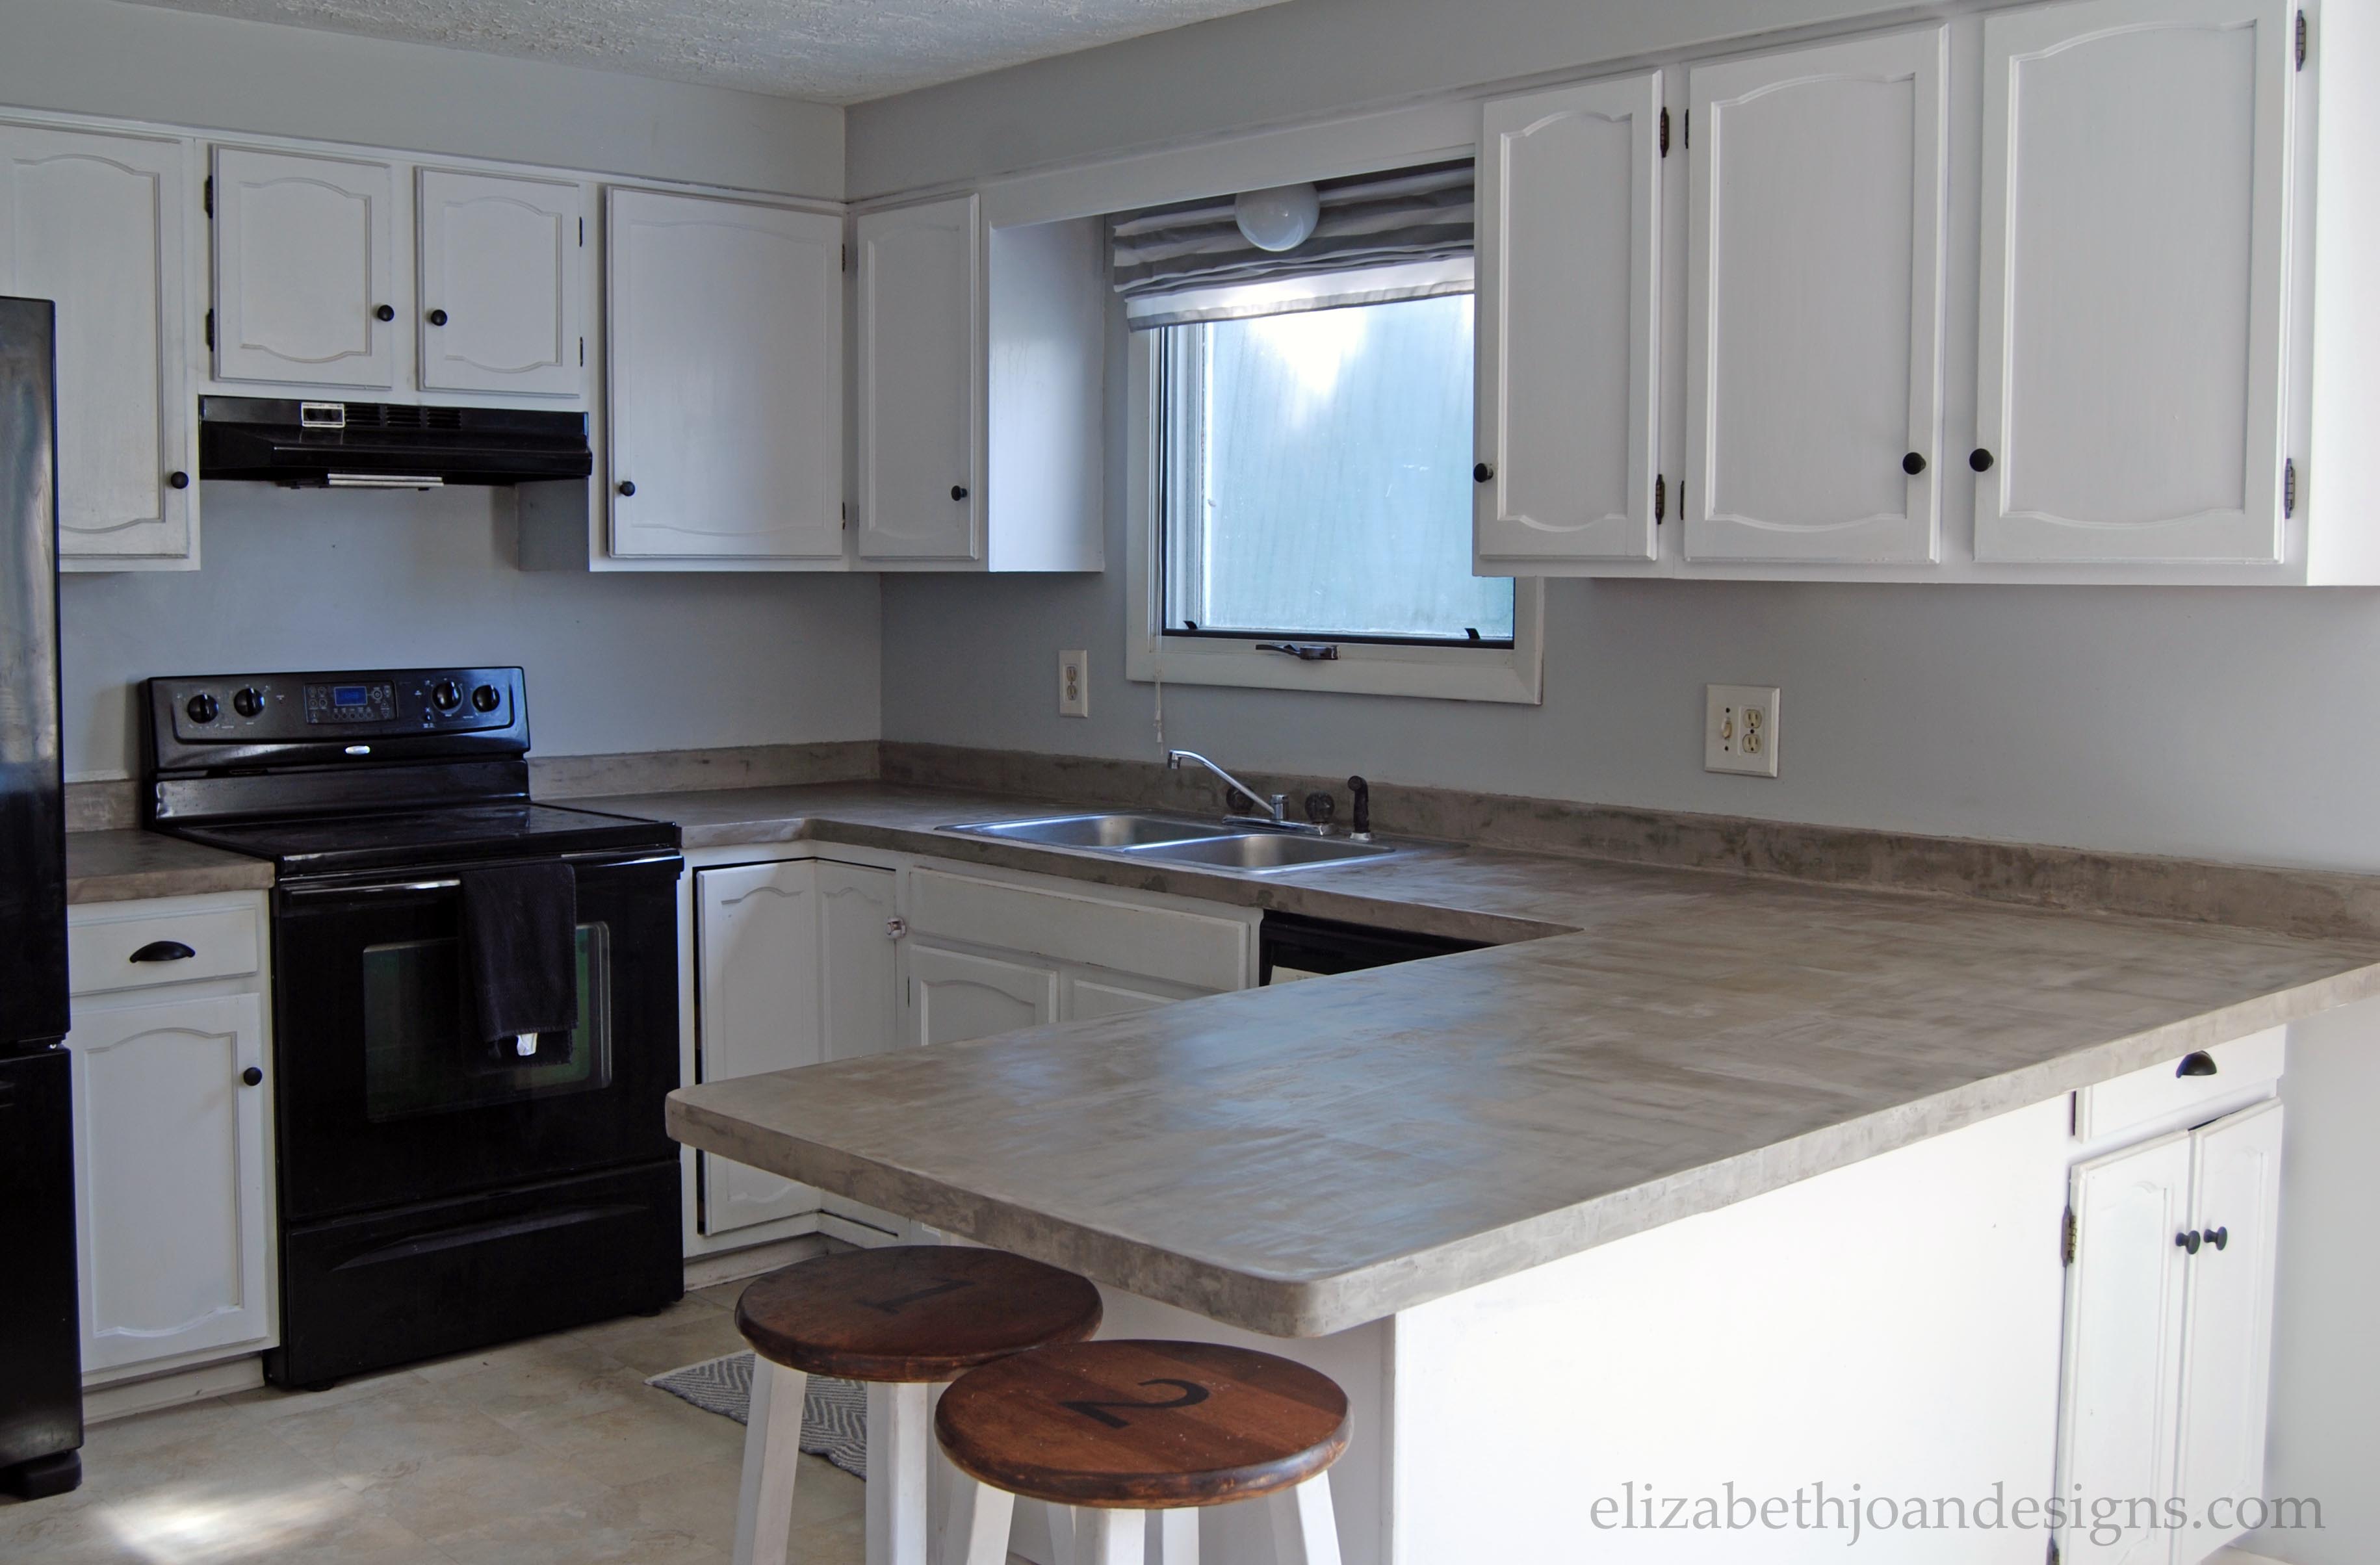
This post by Little Green Notebook on concrete counter tops was the first I had seen of its kind and I was immediately inspired. I knew right then and there that I had to do that! It’s been a little over a year since I originally saw that post and I have finally made over my kitchen counter tops. So today, I am sharing Our Experience with Ardex Concrete Counters.
Supplies
(2) Ardex Feather Finish Concrete Bags
(1) 1 Gallon Bucket
(2) 1 Quart Measuring Cups
Hand Sanding Block
Sand Paper of a Variety of Grits
(1) 4″ Putty Knife
(1) 10″ Trowel
Supplies not pictured
(1) 1″ Putty Knife
(1) 12″ Taping Knife
Plastic Drop Clothes
Painters Tape
Paint Stirrers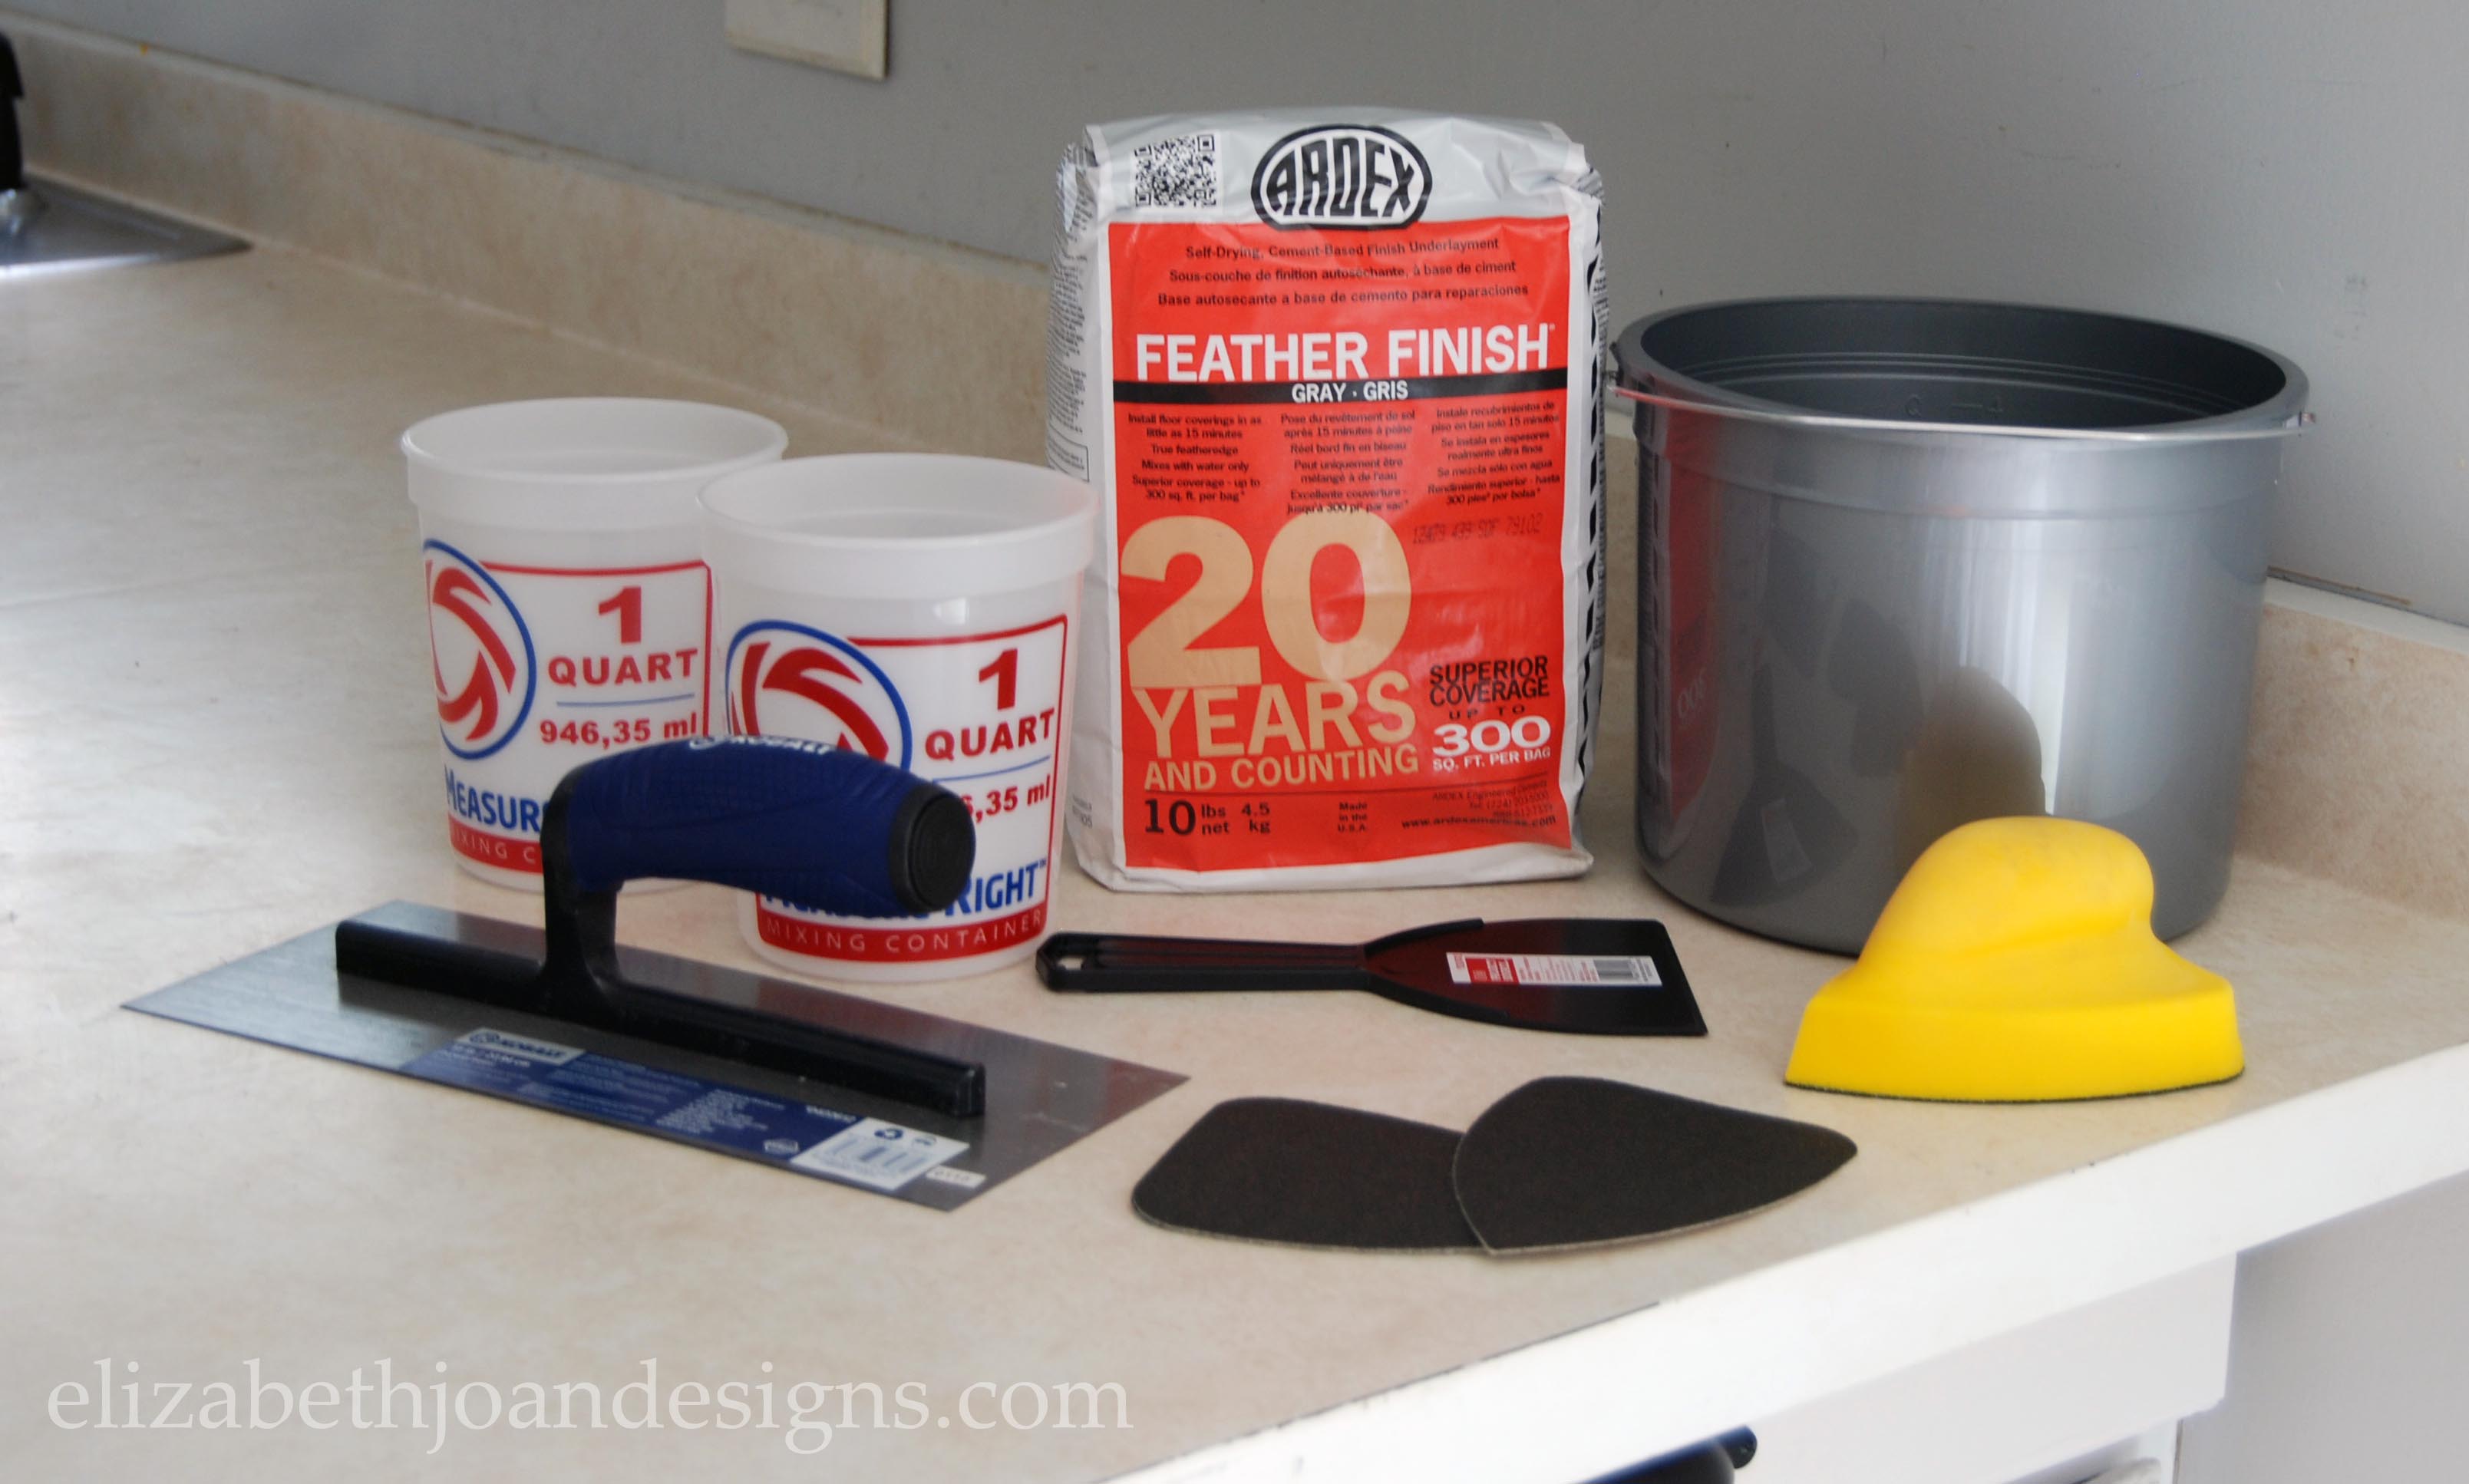
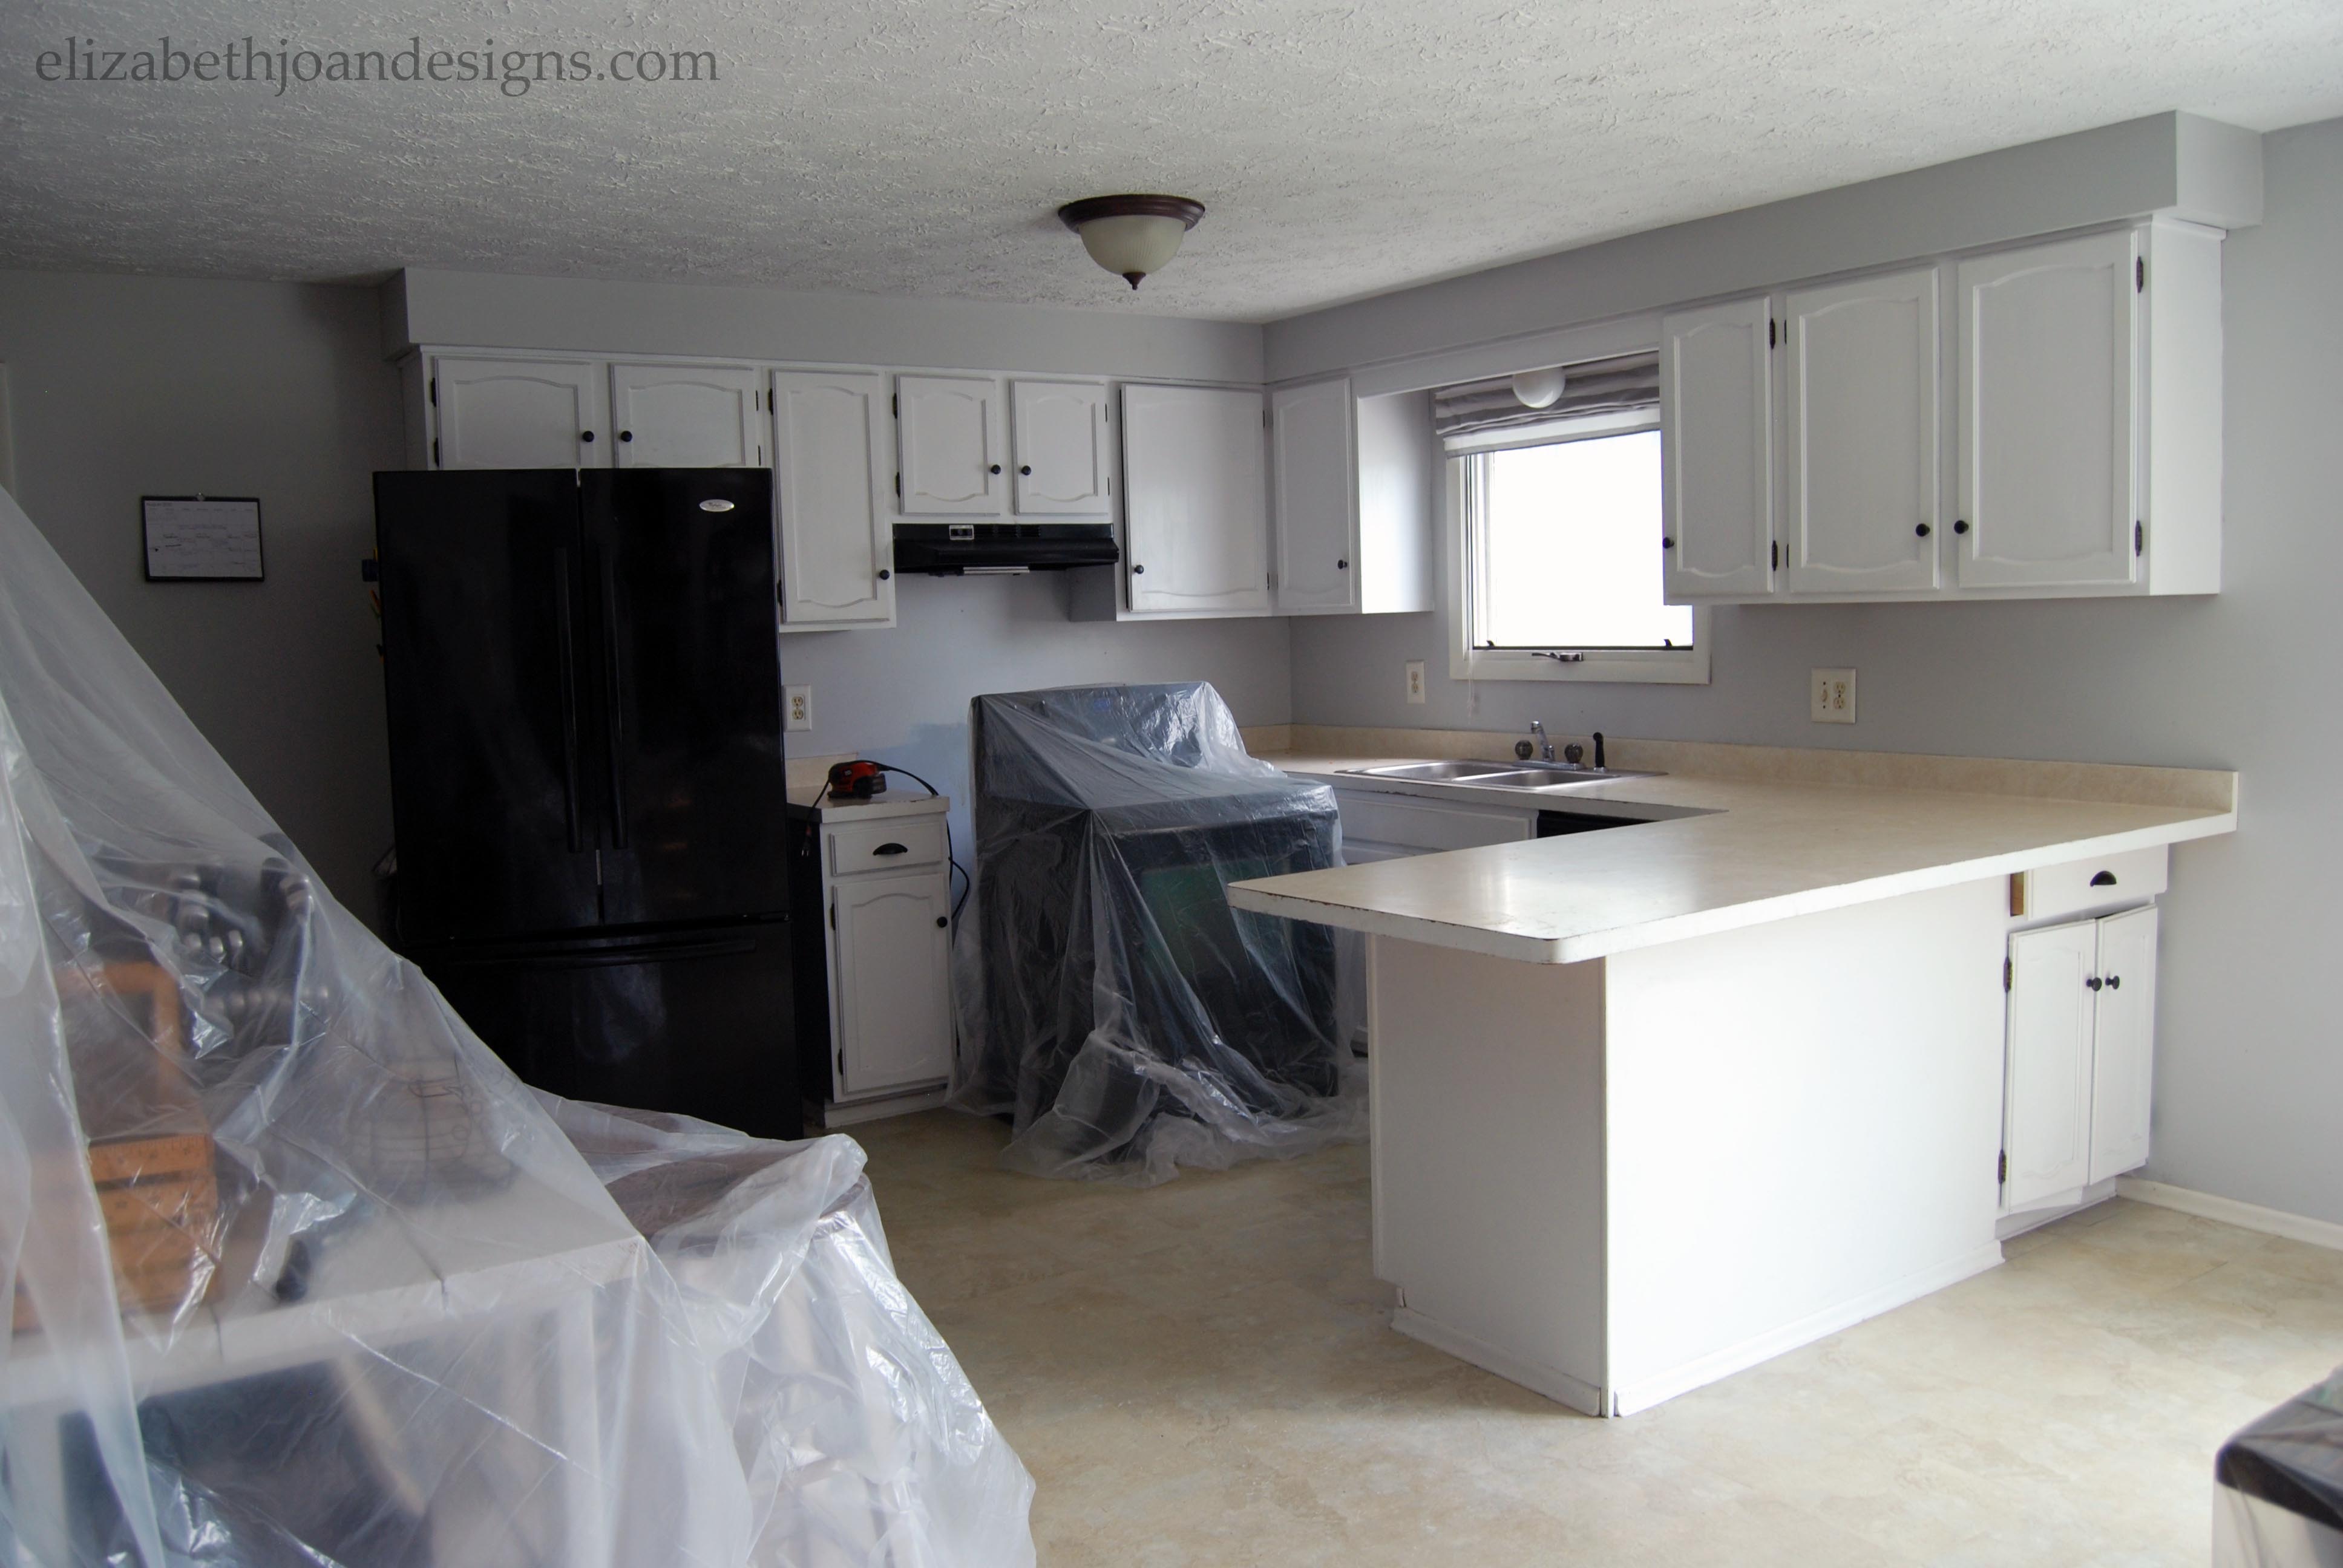
First, I prepped the work area by covering all surfaces except the floor with plastic drop cloths. Our house has such an open floor plan that I even walled off the kitchen with plastic in an attempt to contain the upcoming dust storm.

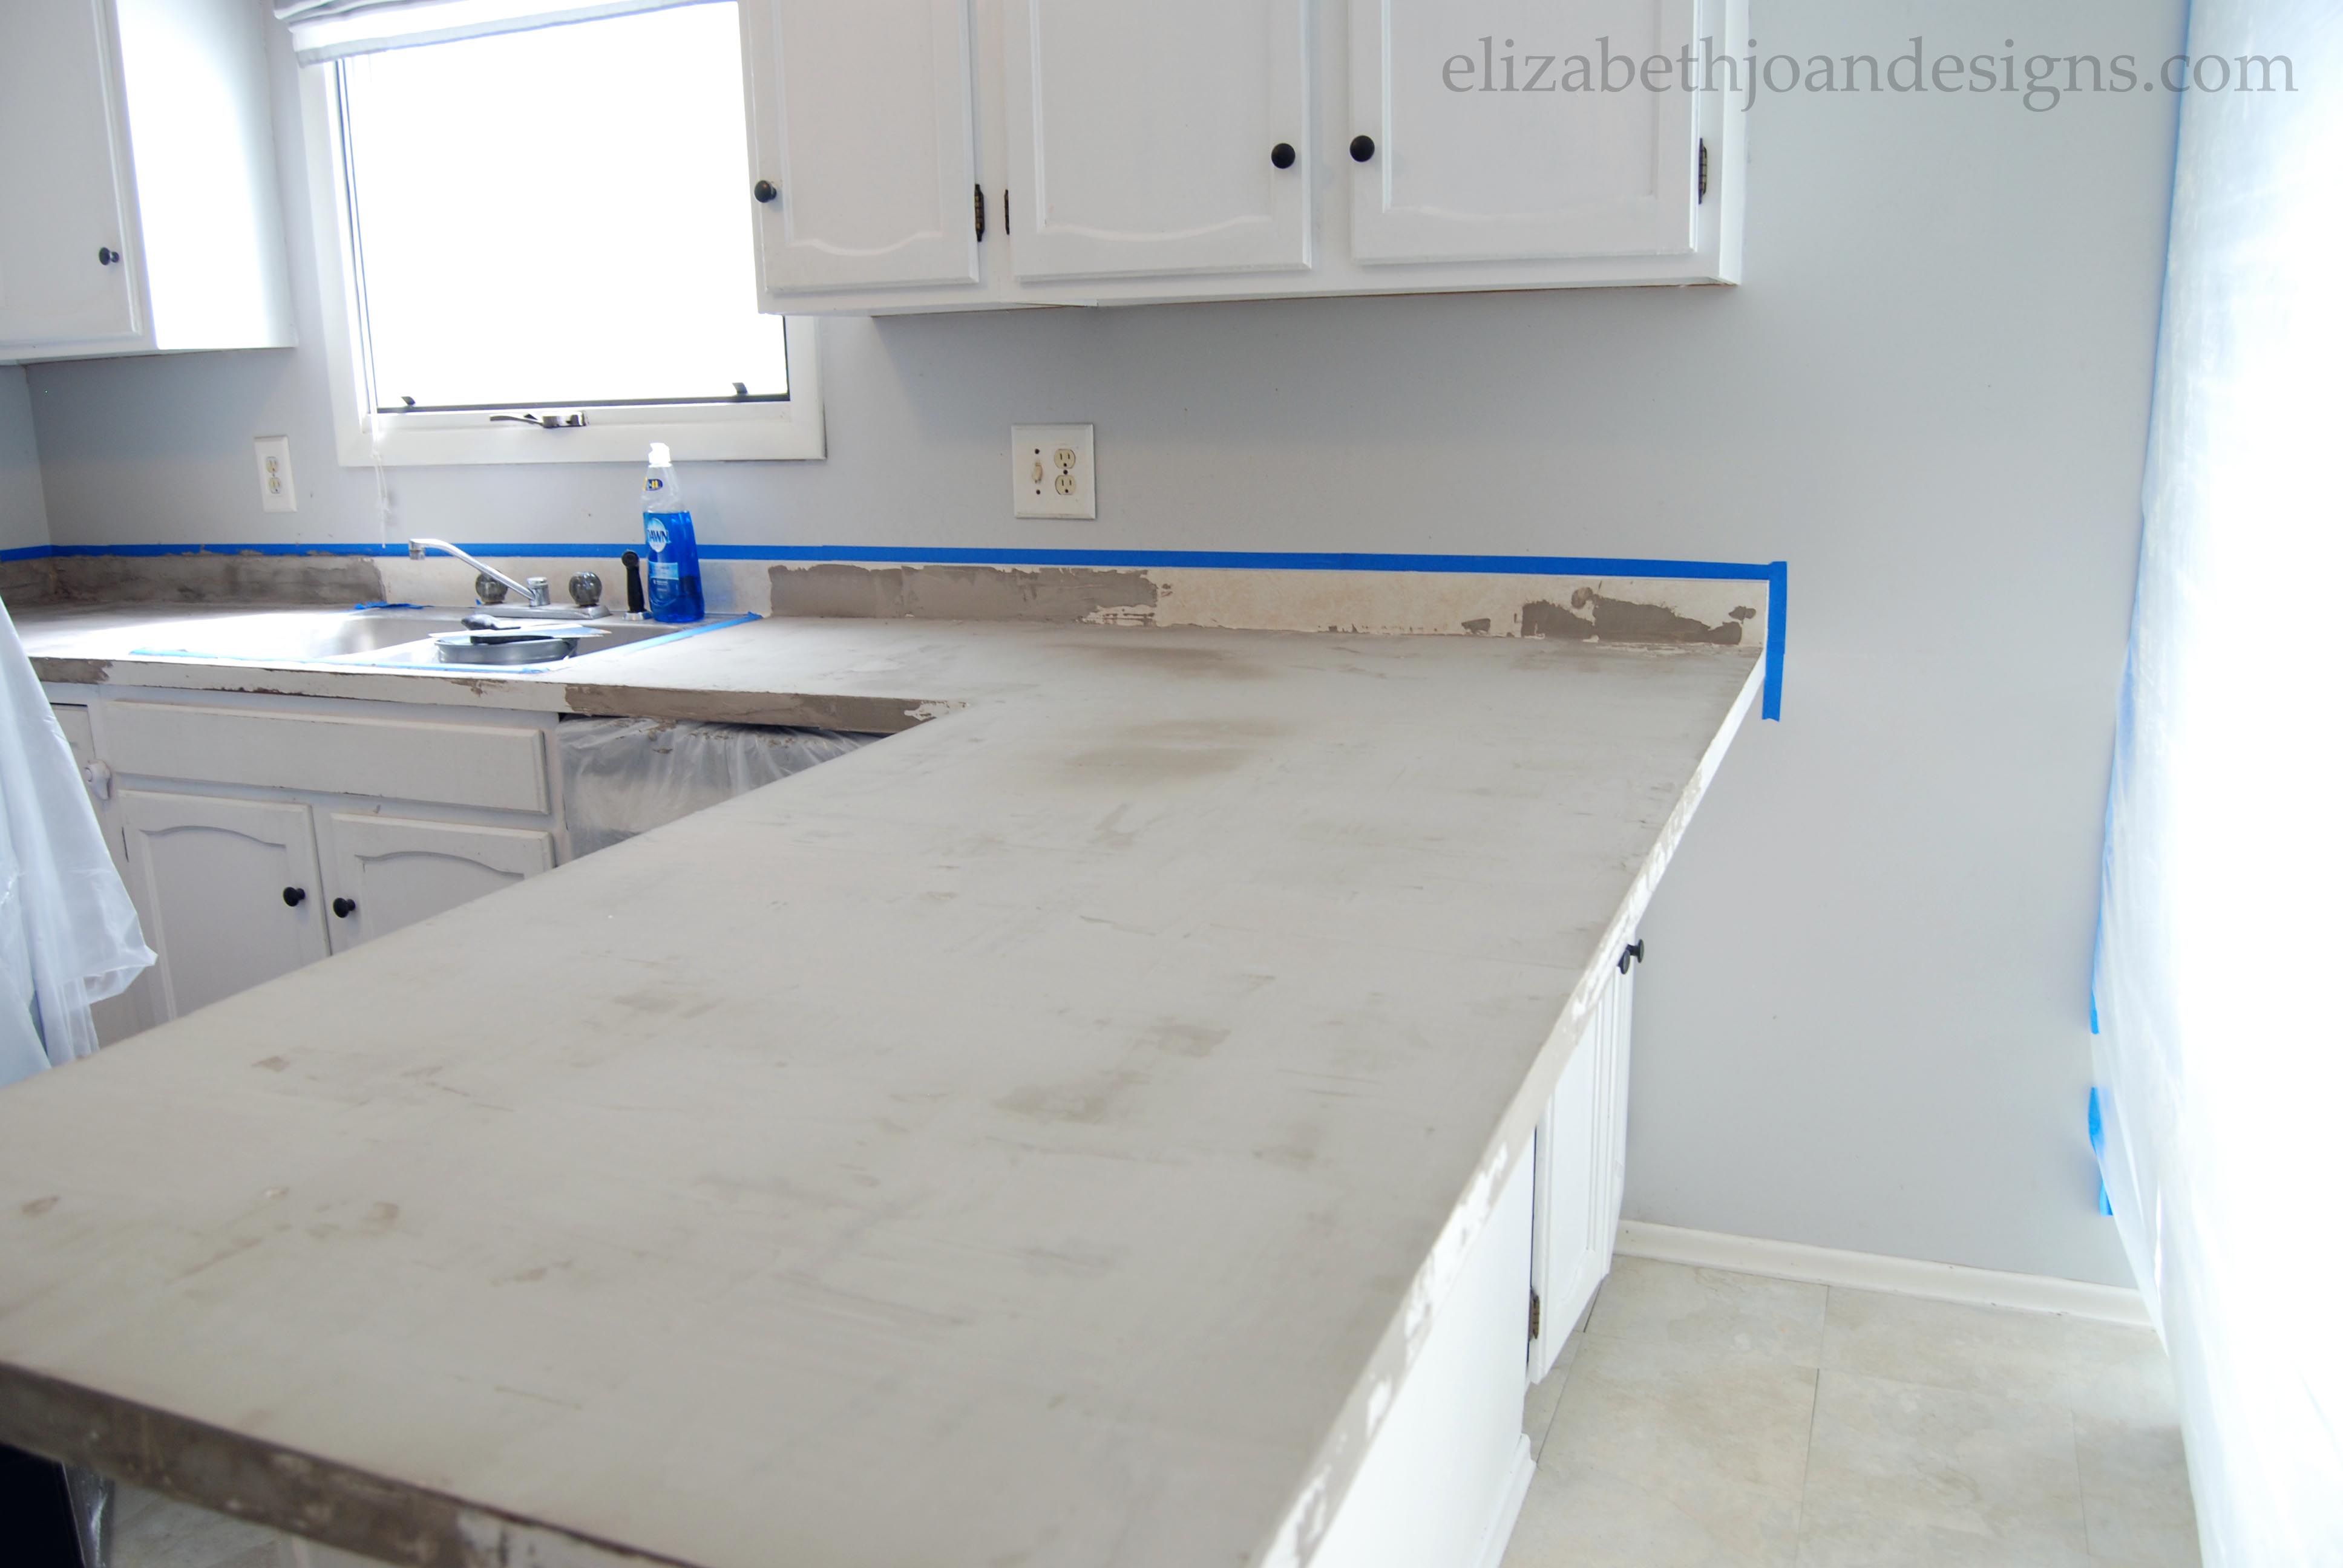
I also taped all along the wall and edge of the sink. This worked great for keeping a nice clean edge.
Next, 50 grit sandpaper was used to rough up the surface of the preexisting laminate counter top.
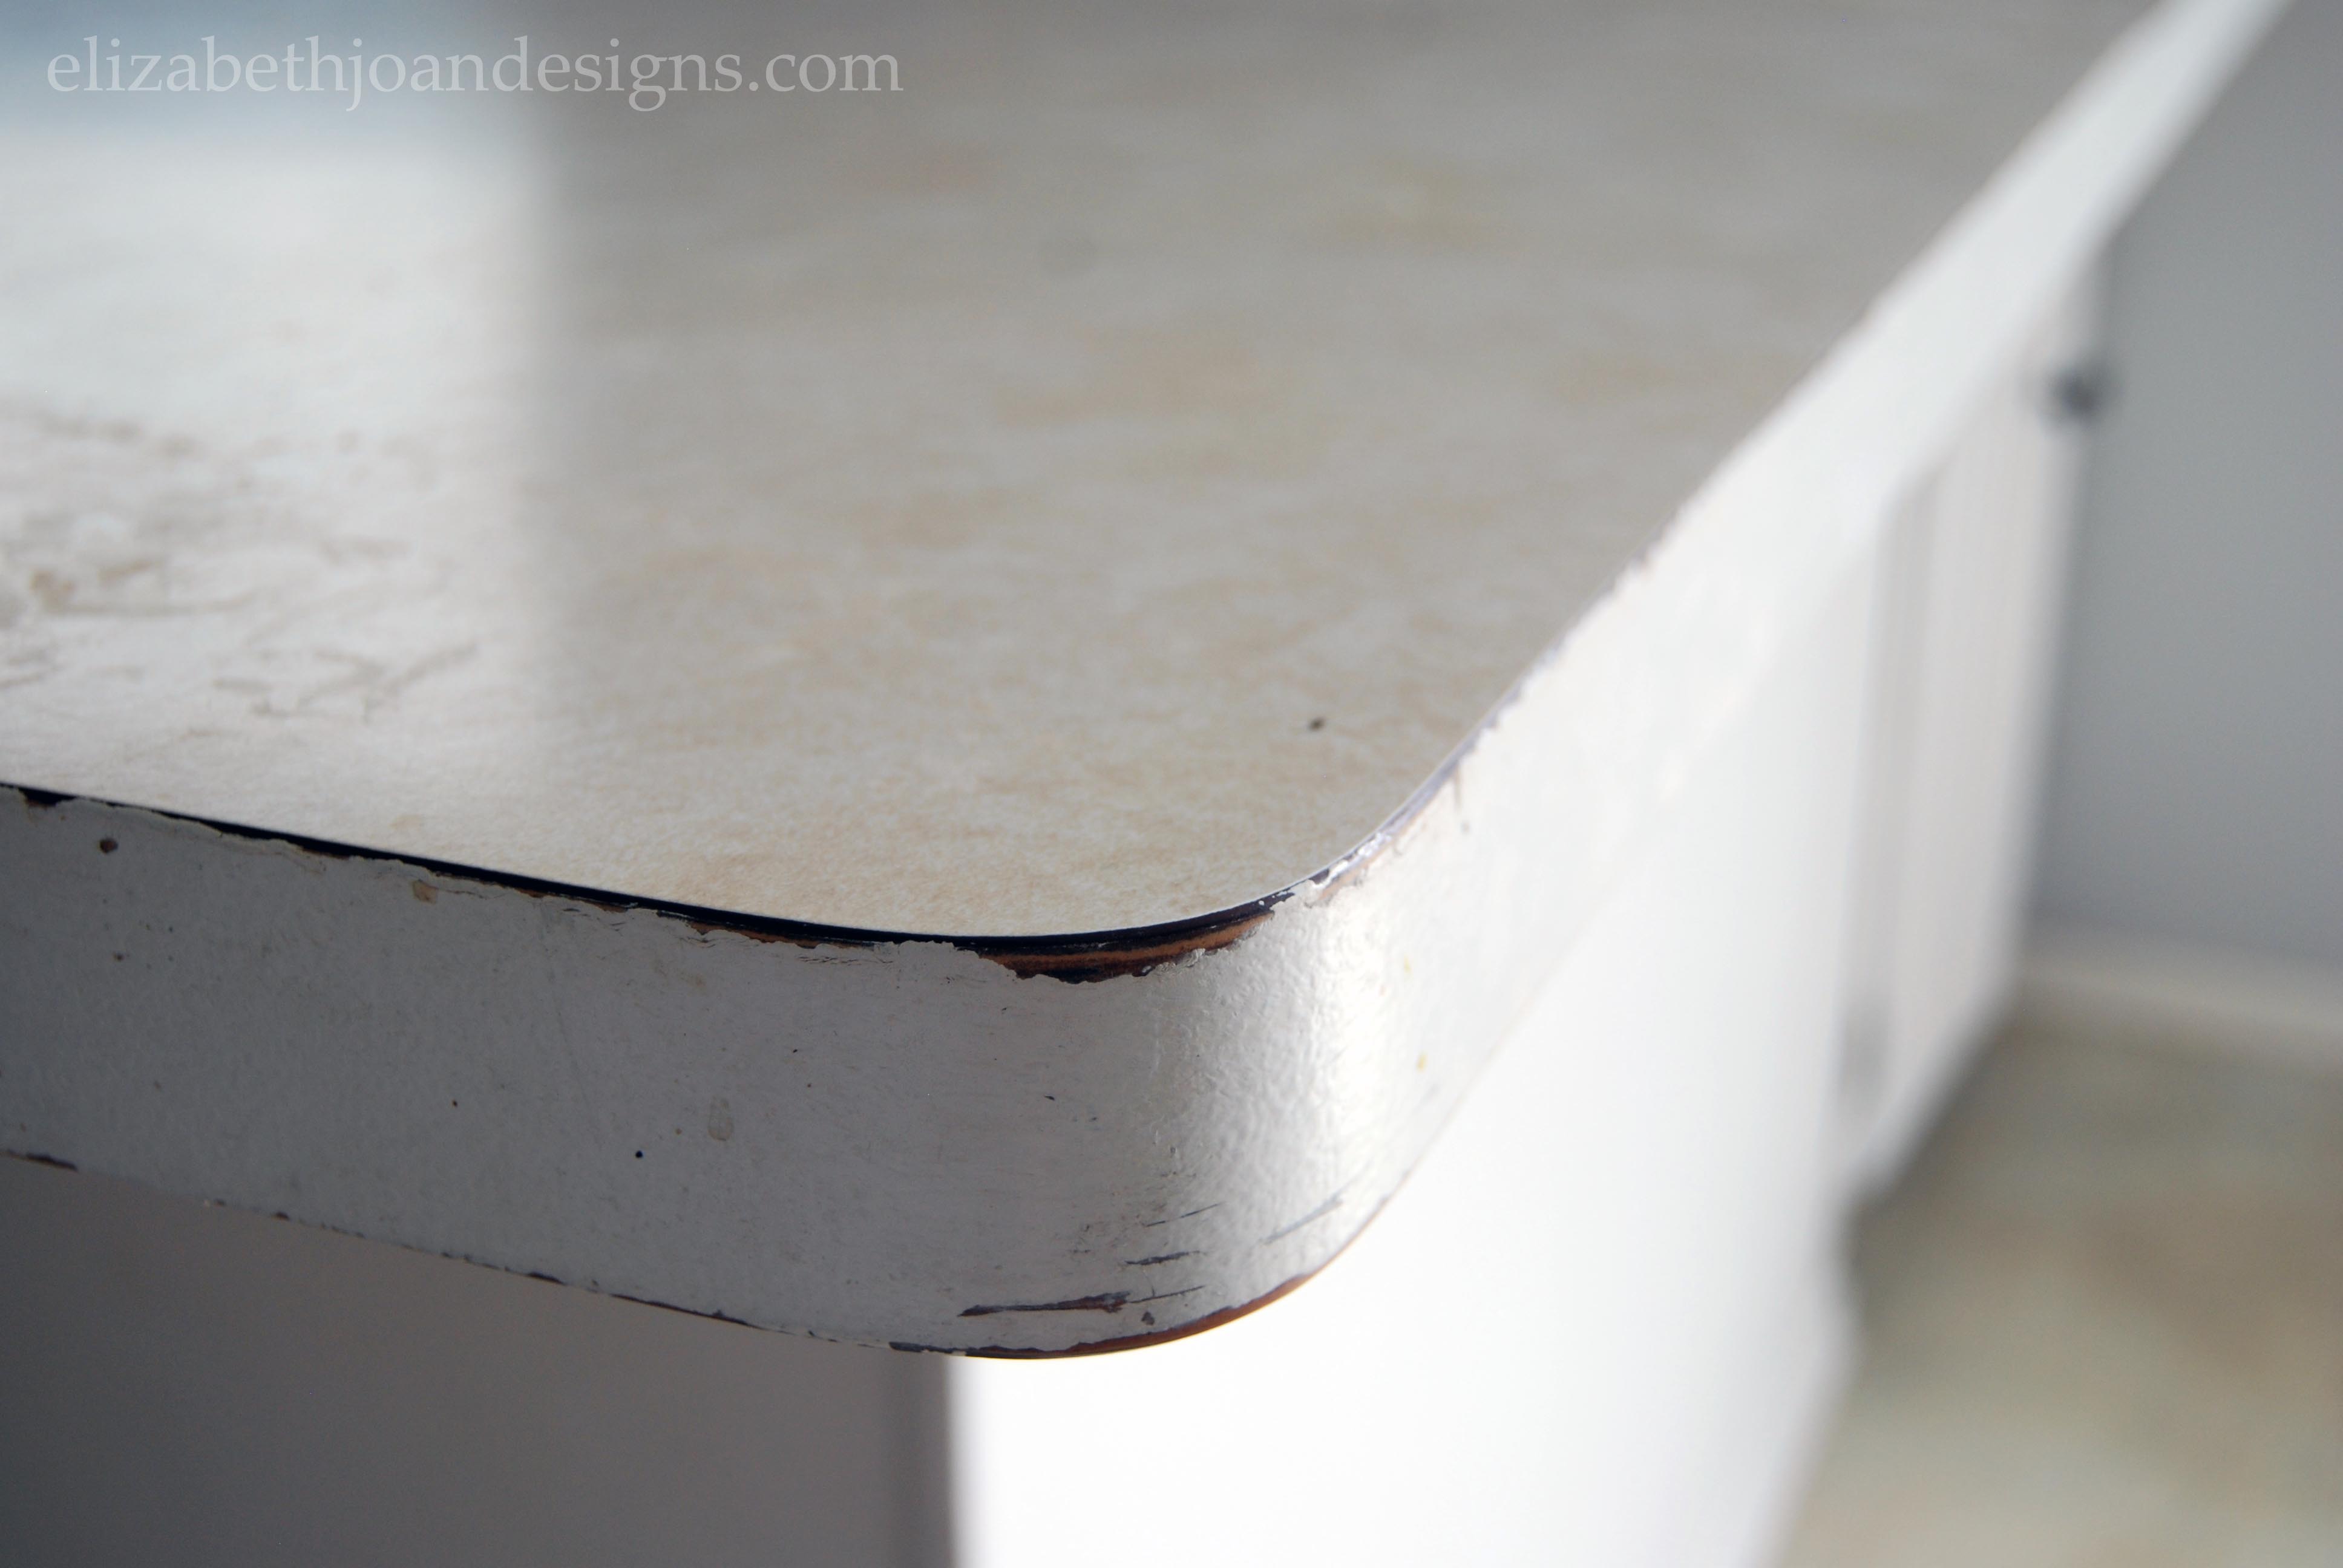
The old off-white laminate had so many flaws, it really was time for an update.

Then, I mixed up water and the concrete powder. The Ardex package calls for 2 parts powder and 1 part water. After trial and error, I concluded that 1.5 parts powder to 1 part water worked best for me.
After that, I applied the toothpaste like concoction to the counters using the trowels, 4″ and 1″ putty knives for the small spaces, and the 12″ knife and 10″ trowel for the larger areas.

Here is what it looked like during the first coat.
To mold the edges of the counter I would let the concrete mixture dry a little and form an edge with my fingers while wearing rubber gloves.

I let every coat completely dry (there were four coats total) then I hand sanded the dry concrete using 80 grit and 120 grit sand paper.

This process was A LOT of work and made a huge mess.

Finally, I used a shop vac to clean up the big grubby mess. This took forever, but I am so glad to rid our floors of little grimy footprints.
I am in love with how these counters turned out! They really are beautiful!
Please come back soon and check out the sealing process. I can’t wait to share the rest of this fun DIY with you!
* UPDATE * The Counters are Sealed! Check out the process and see a few tips and lessons I learned along the way!
________________________________________________________________________
Here are a few other projects we’ve done in our kitchen that you may enjoy seeing.
Painted Dishwasher _____________________________________________ You may also like:

Magnetic Oven Mitt 
Grain Sack Stripe Stool 
Open Shelving in the Kitchen 
Dining Room Progress
-
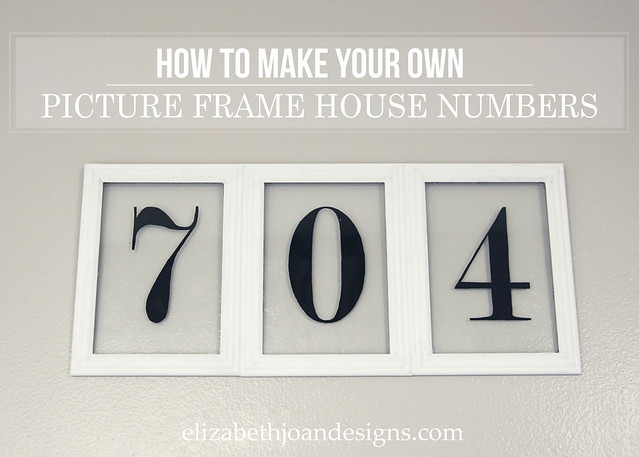
Picture Frame House Numbers
Last month we shared how to make these fun Picture Frame House Numbers over at Table & Hearth. These are super easy to whip up, only cost a few bucks, and are completely customizable. Since, we had some great feedback about this project, we are sharing it here too!
I love the look of windows used as decor and this project totally captures that feel. For this project, you will need:
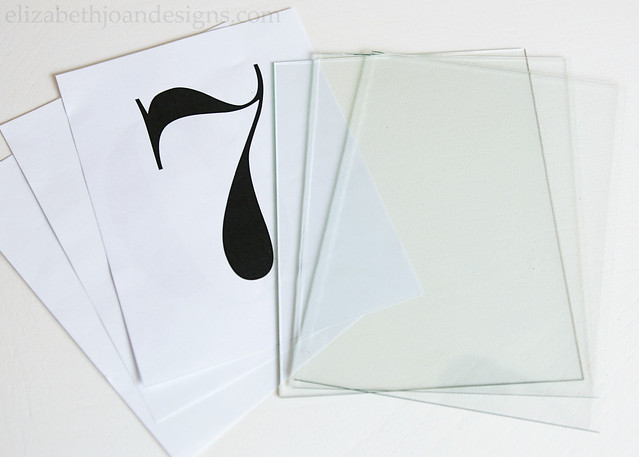
- Enough photo frames to accommodate the numbers of your address
- E6000 Industrial Strength Adhesive (or something similar)
- Acrylic Paint
- Small Paint Brush
- Wax Paper
- Tape
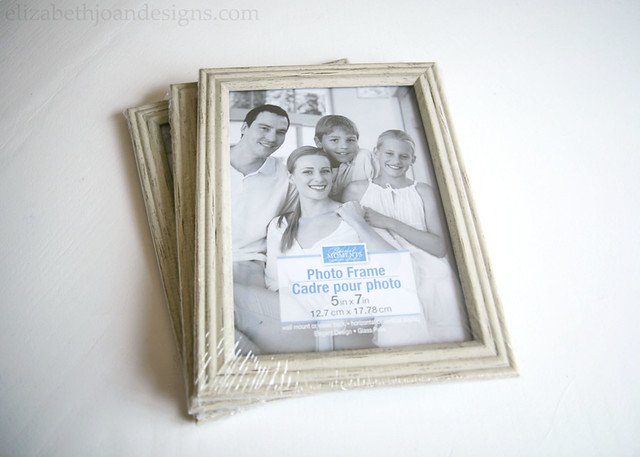
To start, gather some basic photo frames and make sure to look for ones that have a flat side/edge. I found these 5×7 frames at the dollar store.
 Unwrap the frames (if new), remove the backing and glass, and set them aside. Lay all of the empty frames next to each other on wax paper and glue the edges together by applying the E6000 to the sides that will join up.
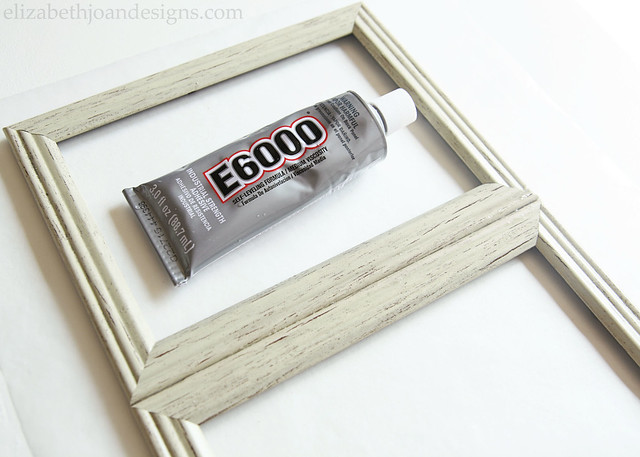
Next, individually print out the numbers of your address onto regular printer paper. (Need numbers or letters? Snag some for free here!)
Attach each number to one of the glass inserts from the frames with tape, being super careful not to cut yourself. We don’t want any injuries.

Once everything is all lined up, flip the glass over. You will be painting on the back of the glass so that the front has a smooth and shiny finish. Using the paint brush, fill in the numbers using the numbered paper pieces as your guide. You don’t have to have a ridiculously steady hand to paint this and the great part about using acrylic paint is that you can clean up any oopsies with a little water on a paper towel.
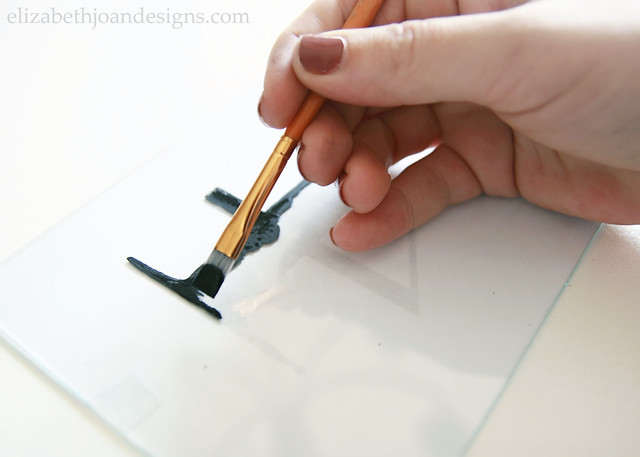
After the first coat was dry, I was still able to see through parts of my numbers, so I just went over it again, trying to fill in any empty spaces.

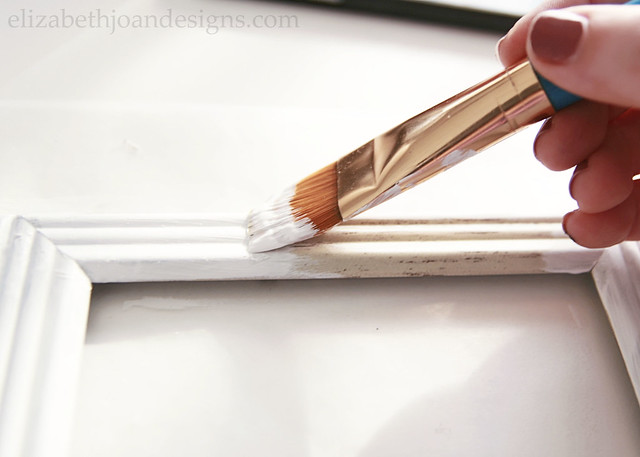
While the numbers are drying, feel free to add any hanging hardware to the backs or paint the frames themselves. Mine were a chippy cream color and I wanted them to be a little less rustic, so I used some white chalk paint to brighten them up.
Finally, run some E6000 around the inside edges of the backs of the frames and replace the glass pieces with the painted sides up. After a little curing time, your Picture Frame House Numbers will be ready to display! These would look great hanging on the porch next to the front door or inside your home as part of a vignette. They would also make a great housewarming gift and could even be modified to accommodate a name, since you can choose how many frames you would need.

Thank you for stopping by to check out this tutorial! We hope you enjoyed this project and would love to see your creativity if you try this one out.
_______________________________________________________________
You may also like:

2×4 Art 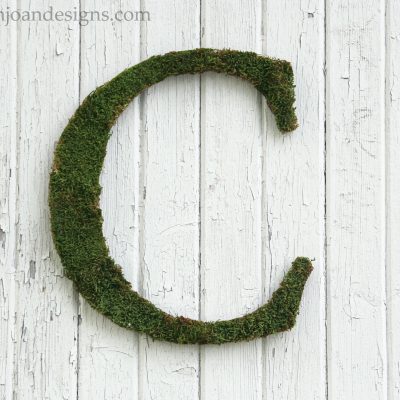
Moss Letter 
French Lettered Milking Stool 
5×7 Letters and Numbers -
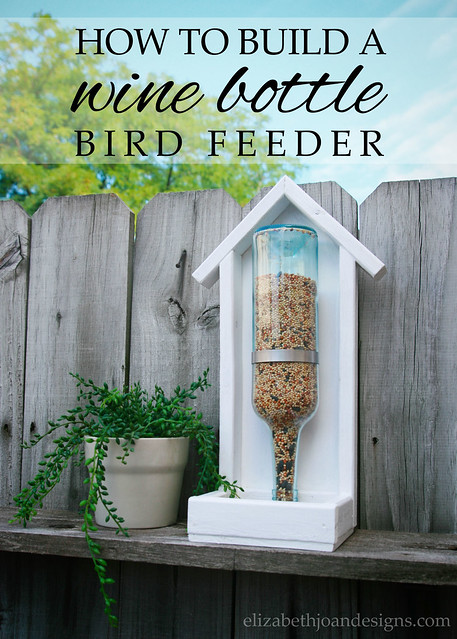
How To Build A Wine Bottle Bird Feeder
September has been a crazy month. However, with the kids in school now, it’s time to get back to business. And since it’s the 15th, that means it’s time for another installment of The Home Depot Gift Challenge. Today, I am sharing How To Build A Wine Bottle Bird Feeder and the best part is that it isn’t ridiculously hard to make if you have a few tools on hand!
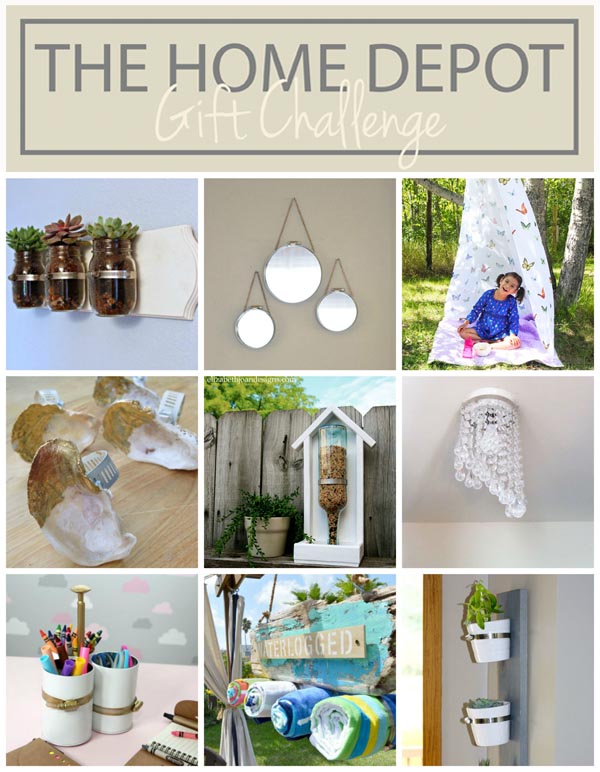
Check out the other fun projects in the challenge at the end of this post and let us know what you think of our bird feeder!
In the past, we’ve shared 10 Minute Rope Curtain Ties, 2×4 Artwork, a Pegboard Luminary, Wood Box Caddy, and an Industrial Book Rack. If you remember, a different item is chosen from The Home Depot by one of our group members and then we each make a gift to be given to a different recipient each month. Luckily for me, this month’s gift is for ourselves. Woohoo!
This challenge is in no way associated with The Home Depot. We just love their stuff!

Affiliate links are included for convenience. Click here to view my disclosure policy.
I was inspired to create a wine bottle bird feeder from a pin I saw on Pinterest (How to Make a Wine Bottle Bird Feeder from Down Home Inspiration) and modified the design to my liking.
Supplies List:
8 foot 1″x2″ pine furring strip
4″x6″ 4 Ft Poplar Hobby Board
3″-5″ Stainless-Steel Hose Clamp
750 ML Wine Bottle
Table Saw (Or have the nice people at The Home Depot make the cuts for you!)
Miter Saw or Miter Box (and Hand Saw)
Drill (This is our favorite!)
Clamps (Optional)
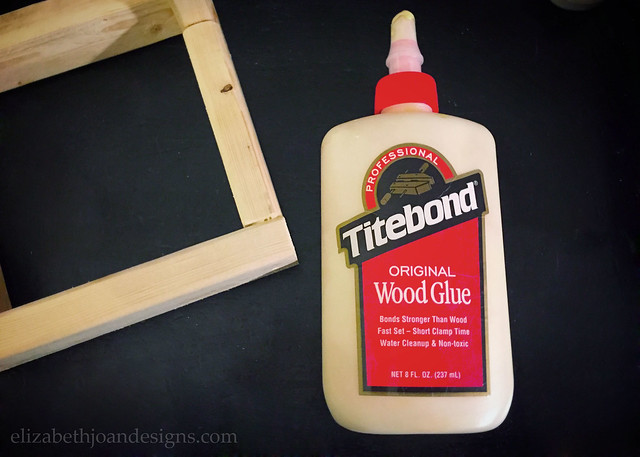
Wood Glue (Or nails/screws if the feeder will get wet)
Paint
BirdseedCut List (from left to right below):
2 – 1″×2″ Furring Strips at 3 5/8″ (the sides)
1 – 1″×2″ Furring Strip at 4 5/8″ (the back)
1 – 1″×2″ Furring Strip at 6″ (the front)
2 – 1″x2″ Furring Strips at 6″ (the roof) with a 45° cut at one end of each
2 – 1″x2″ Furring Strips at 12″ (the vertical sides) with a 45° cut at one end of eachAlso:
1 – Poplar Hobby Board at 6″×6″
1 – Poplar Hobby Board at 6″×13 1/2″ with a 45° cuts on both sides of one end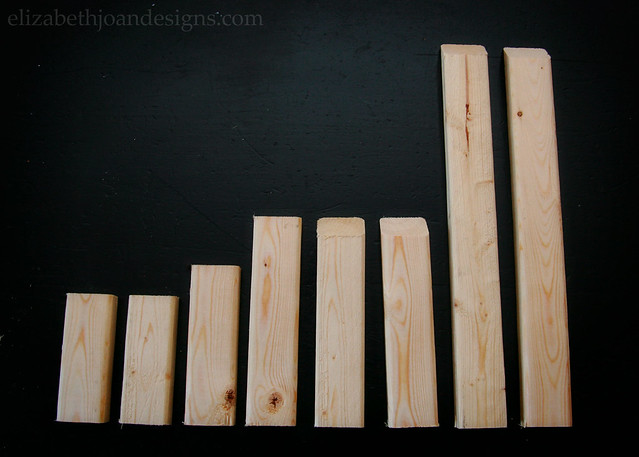
Ok, I’m sure reading all of those supplies and cuts may have you feeling overwhelmed, but trust me, you can do this and it won’t be that bad. Here are the furring strips and a view of how they will be glued together.
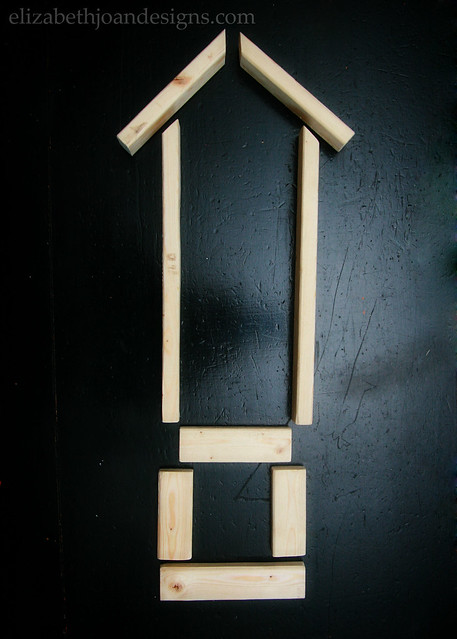
If you are using clamps, this will go faster, but I opted not to. Everything still stuck together just fine. (If you are worried about things holding up, feel free to screw/nail your pieces together after they are glued.)
To begin, place the 4 5/8″ furring strip between the bottom back of the two 12″ furring strips and glue. After that, continue to glue piece by piece, next attaching the two 6″ strips to each other on the angle, then to the top of the 12″ pieces. Finish up with the two 3 5/8″ side pieces glued to the 12″ furring strips and the 6″ piece added to the front of the 3 5/8″ strips. Sound confusing? Yes, the wording probably is, but please refer back to the photos above or below.
Next, glue the cut poplar hobby board pieces to the back and bottom of the frame.

Lookin’ pretty good!

Then, use the drill with a small drill bit to create two slits (I did 3 holes in a line for each) in the back of the feeder for the hose clamp to go through. The clamp will go around the wine bottle and through the back where you will be able to adjust the tightness.

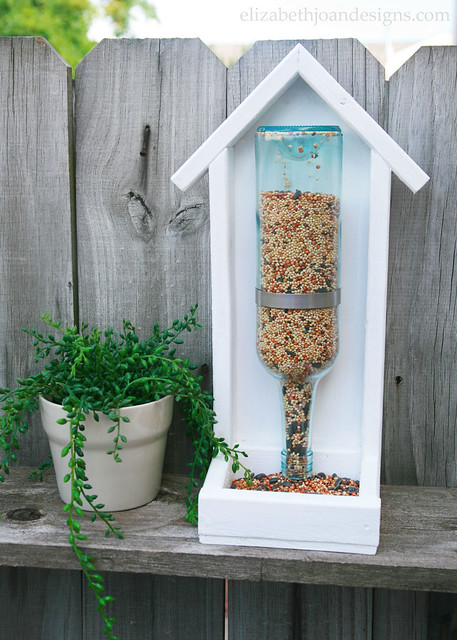
After that, paint or stain your feeder. I chose white paint (shocker) and once everything was dry, I added the wine bottle with birdseed. To place it, turn the feeder upside down insert the bottle through the hose clamp and tighten it on the back, leaving just a few centimeters between neck of the bottle and the bottom of the bird feeder.
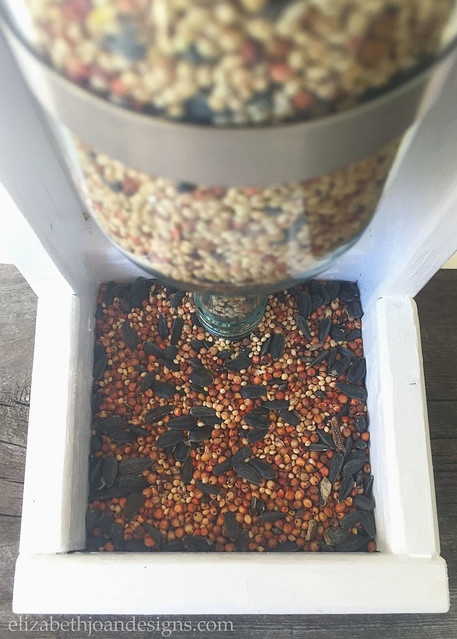
Doesn’t it look cool!?! I placed ours on top of an outdoor shelf on our fence, but you could easily add some hardware to hang it or attach a stake to the back and place it in the ground. Hopefully, we get some sweet birdies to come and visit, however, I’m sure the squirrels are plotting their bird feed takeover.
Check out the other super fun projects in this challenge by clicking on the images below!
____________________________________________________________________________
You may also like:
5×7 Letters and Numbers 
Easy Drop Cloth Dog Bed
2×4 Art 
10 Minute Curtain Tie Backs -
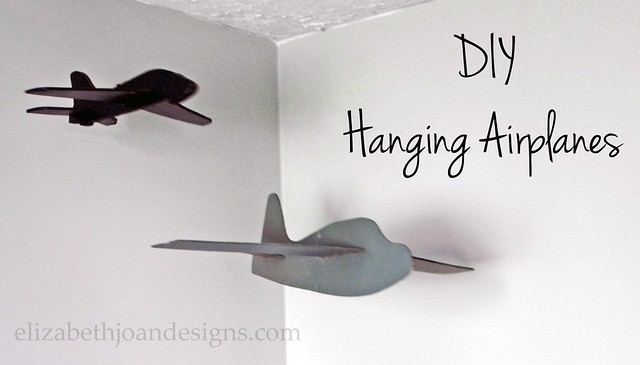
Super Cheap & Extremely Easy Hanging Airplane
To accent my oldest son’s vintage airplane room, I have been searching for ideas on how to make or buy a light-weight simple aircraft to hang from the ceiling. I wasn’t having too much luck until one day I was holding a monthly swap party and a friend of mine showed up with a foam glider she was ready to part with. It was the perfect thing to make a super cheap and extremely easy hanging airplane.
Supplies
Foam glider
Paint (in any color your little heart desires)
Primer
Thread
Single hole punch
Eye-hook
First, I carefully removed the glider from the package and coated it with primer.
Next, 2 coats of blue paint that I had left over from another project were applied to the plane’s surface.

After the glider was finish drying, I punched a hole in the center with a single hole punch.
Finally, I attached the eye-hook to the ceiling, strung the plane with neutral colored thread, and hung through the eye hook and securely tied a knot. This will hopefully keep it from gliding through my son’s bedroom in the middle of the night.

My little guy was so pleased with how this turned out that he immediately requested another. I picked up the second glider at the dollar store and spray painted that one.

You really can’t beat that price for this project!
_____________________________________________ You may also like:

Easy Gallery Wall 
Upcycled Tripod Table 
File Cabinet Garage Storage 
Chalkboard Succulent Planter


