-
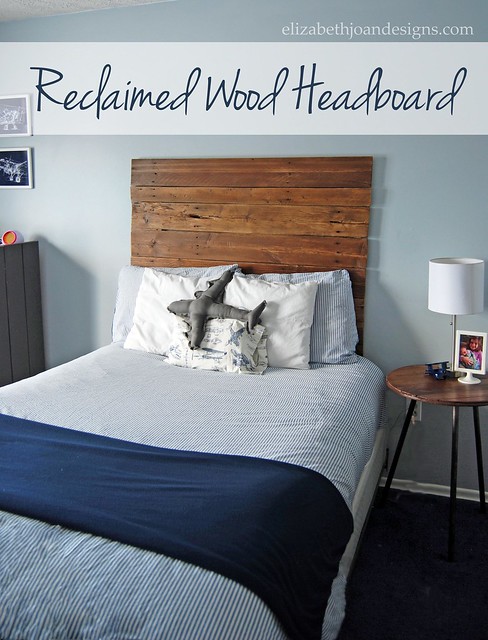
Reclaimed Wood Headboard
During a drive to the store one evening, I spotted an old 6′ stockade fence tossed to the curb. Well, of course I had to pick it up. Free lumber! To fit this wood in our Pontiac Vibe I had to push the passenger’s and the driver’s seats as far as they could possibly go forward. Good thing I’m short. My knees were a bit more jammed into the dashboard than I like, but for these extremely weathered planks, it was totally worth it. I decided this material would be perfect for creating a reclaimed wood headboard for my son’s vintage airplane room.
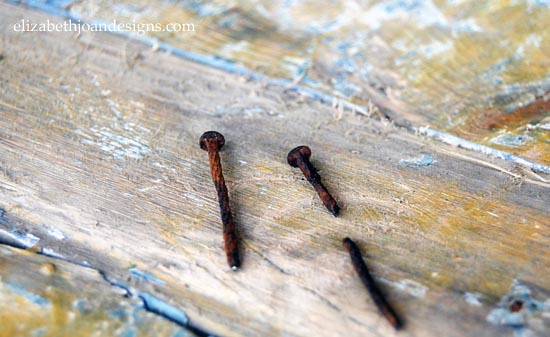
*This post contains Amazon Affiliate links.The first step I took to create the headboard was disassembling the fence and removing all nails.

Sure that may sound like an easy task, but I assure you it was not. The rusty nails kept breaking apart and getting stuck in the wood. It took a while, but I did eventually get all those little spikes removed.
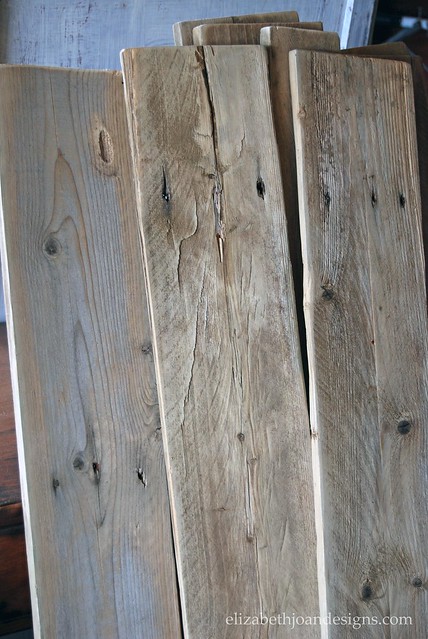
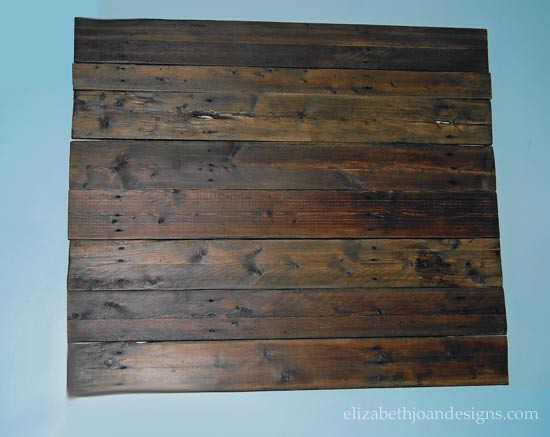
Next, I used my mouse sander to smooth out each board.
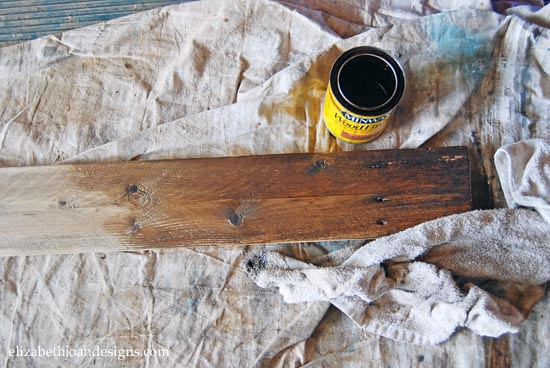
Then I stained each board using my favorite stain, Minwax Special Walnut and added a nice protective finish with three coats of Minwax Polycrylic
.
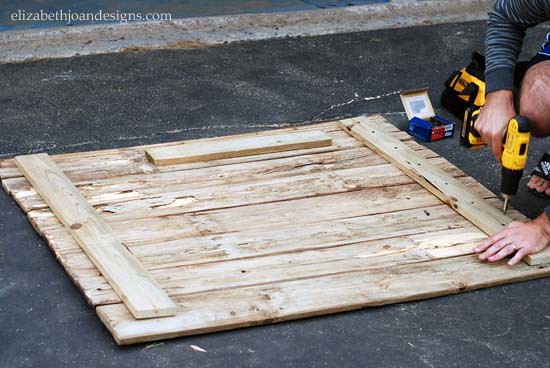
After that, my husband used the drill to screw two 1″ thick boards perpendicular to the planks. He made sure to secure each plank to these wood pieces for stability. We also added a third piece that was attached parallel to the top plank. This board is what we used to attach the entire headboard to the wall. (More on that in a minute.)
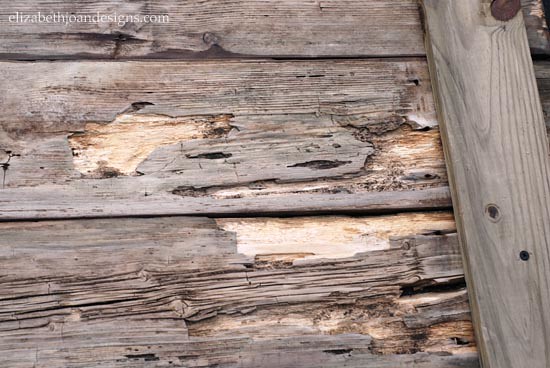
As you can see, the wood possessed LOTS of character right from the beginning. And if that wasn’t enough…
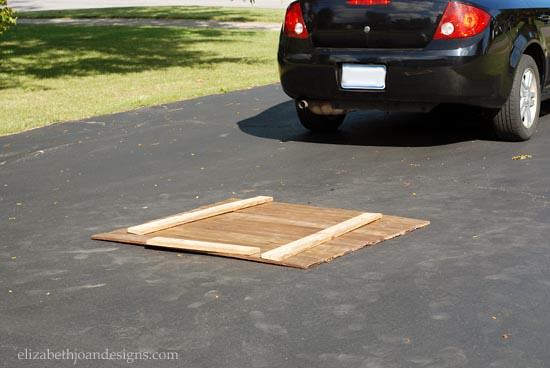
We accidentally drove right over the headboard when making one of those emergency trips to the hardware store mid-project. Oops! (If you work on a lot of projects, then you probably understand the type of emergency I am referring to.)
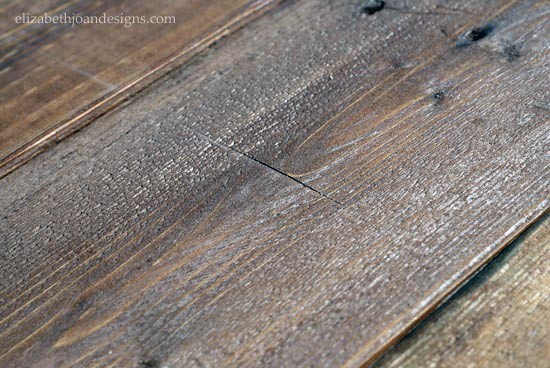
Look real close. You can see a big ol’ ding across the planks. Good thing we like that “weathered” furniture look or we would have had some extra work to do.
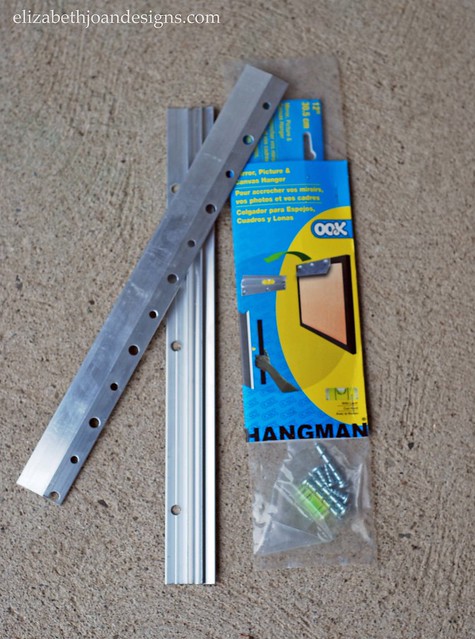
For the last step of this project, I had purchased a French Cleat Picture Hanger Kit
and closely followed the instructions on the packaging to attach the headboard to the wall of my son’s room. This little do-dad was the perfect find for hanging up something so heavy.
Of course this step took two people to accomplish, because I had no interest in breaking my back and I probably would have if I would have attempted this as a solo task.
This project turned out awesome! I could not be more proud of all of our hard work we put into this headboard.

The price to us was $10. Woo-hoo! We had to purchase the French cleat, but everything else we had on hand. The most important part though, is that our son loves it!
_____________________________________________________________________________ You may also like:

Desk Makeover 
Upcycled Tripod Table 
Upcycled Corkboard 
Open Shelving in the Kitchen -
Anniversary Decor
My wonderful husband, Adam, and I celebrated our 7th anniversary this past Sunday. We typically don’t make a big deal out of this special day since it is so close to Christmas. We usually cook a fun meal together and play a board game. No gifts. But this year, I was extremely inspired by a beautiful post on Ways to Strengthen your Marriage from Dwelling in Happiness to make a little extra effort to show my hubby how much he means to me. With sticking to our “no gifts” pact, I had to get creative with some anniversary decor.

Sunday morning while Adam was out of the house for a bit, the kiddos and I went down to the basement and retrieved my box of wedding decor. Our buffet table was decorated with all of our mementos and when Adam arrived home he was pleasantly surprised.
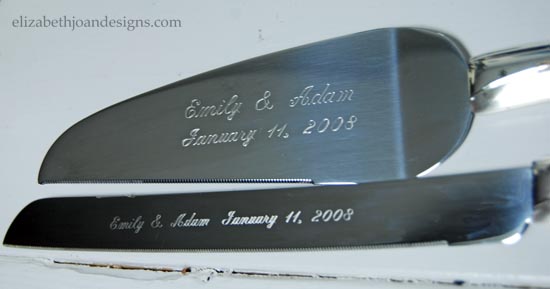
Our wedding took place in a restaurant overlooking the Long Beach, California skyline. Our amazing engagement and wedding photos were taken by Mimi Teller Photography. And in true Emily fashion, most of the decor was DIY. Here are a few of my favorites.
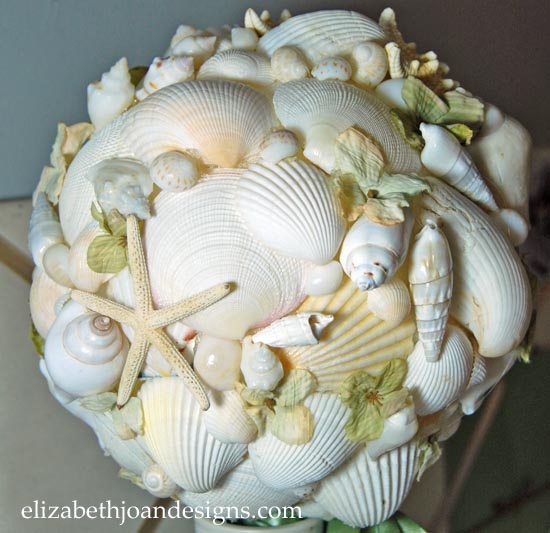
In lieu of traditional flowers for my bouquet, I opted for sea shells. This was a very budget friendly option. First, I took a medium Styrofoam ball and inserted a wooden dowel in it to create the handle. Next, shells were hot glued to the entire surface of the ball. Finally, I wrapped fabric around the handle and accented the bouquet with faux flowers.
I have a love/hate relationship with this bouquet. Adam and I learned one of our first true lessons on compromising with our wedding planning. He wanted a more traditional wedding and I wanted the complete opposite. After a lot of convincing, I won the battle of having a shell bouquet instead of flowers. Then, I made the bouquet and realized it was more like a weapon than a bouquet. At this point, I no longer wanted to lug this “club” down the aisle.
This change of mind led to another disagreement. This one turned out in Adam’s favor by him saying “You are carrying that shell bouquet down the aisle or your not walking down it.” Even though I was 100% sure he didn’t mean that, I humored him by using it. In the end, I was pretty happy carrying it.
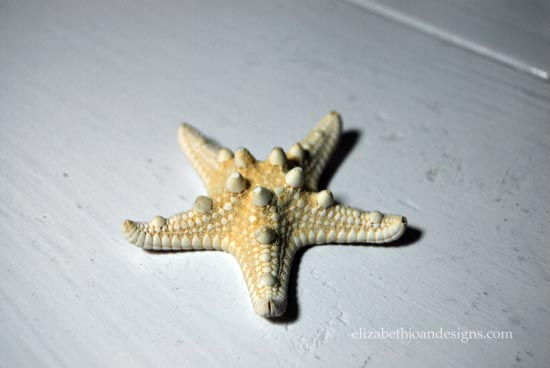
Adam wore this starfish as his boutonniere. A bar pin was attached to the back of it using hot glue. (If you couldn’t tell, we kind of had a whole sea shell theme happening with the decoration.)
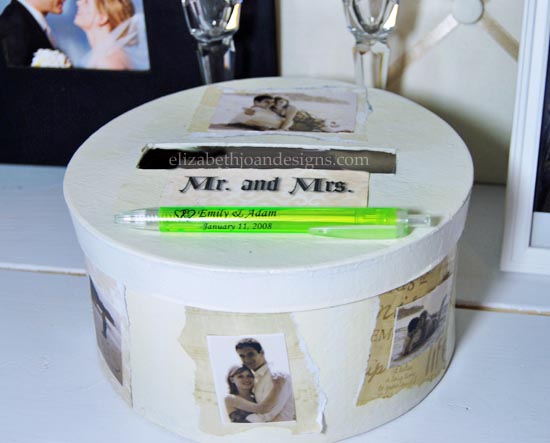
For our card holder, I spray painted this hat box off white and Mod Podged our engagement photos to it. Isn’t it cute? I love how it turned out. Now it has become the best place to store all of our wedding keepsakes.
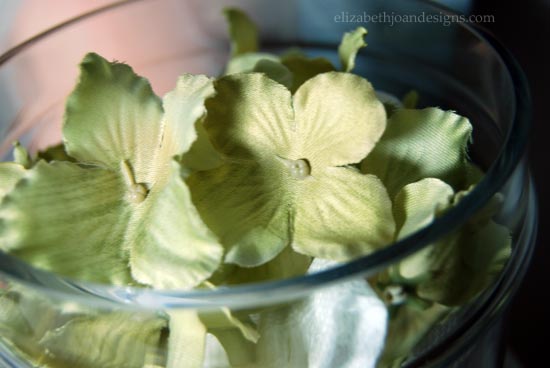
These little faux flowers were scattered down the aisle by our adorable little flower girl. (Erin’s daughter who is now 10! Wow, time really flies!)
Adam and I were season pass holders at Disneyland during our time in Southern California. So it just seemed perfect for us to end our wedding weekend at the “Happiest Place On Earth” with our family.

We really enjoyed spending our anniversary reminiscing about our wedding and time we spent living California. With having two little ones, making time for “us” is hard to come by these days, so this really was a great way to spend our anniversary together.
Next year, I may just have to make this adorable anniversary art that Erin shared.

________________________________________________________________ You may also like:

Hardware Change-A-Roo 
Closet To Office Part 3 
Wall Decal Coasters 
Lighting Swap -
Upcylced Dollar Store Placemats
Today, I am sharing upcylced dollar store placemats. This an easy customizable project that works for any meal you are needing a little extra table decorating.

During one of my many trips to the dollar store, I picked up a few of these placemats.
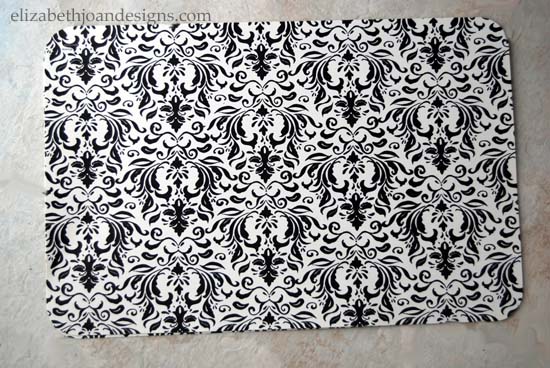
I was not in love with the style of them, so I decided to paint them with chalkboard paint. Obviously, spray paint would have been my first choice. Unfortunately, I did not have any chalkboard spray paint on hand, so I mixed up some of my own chalkboard paint using grout and latex paint.
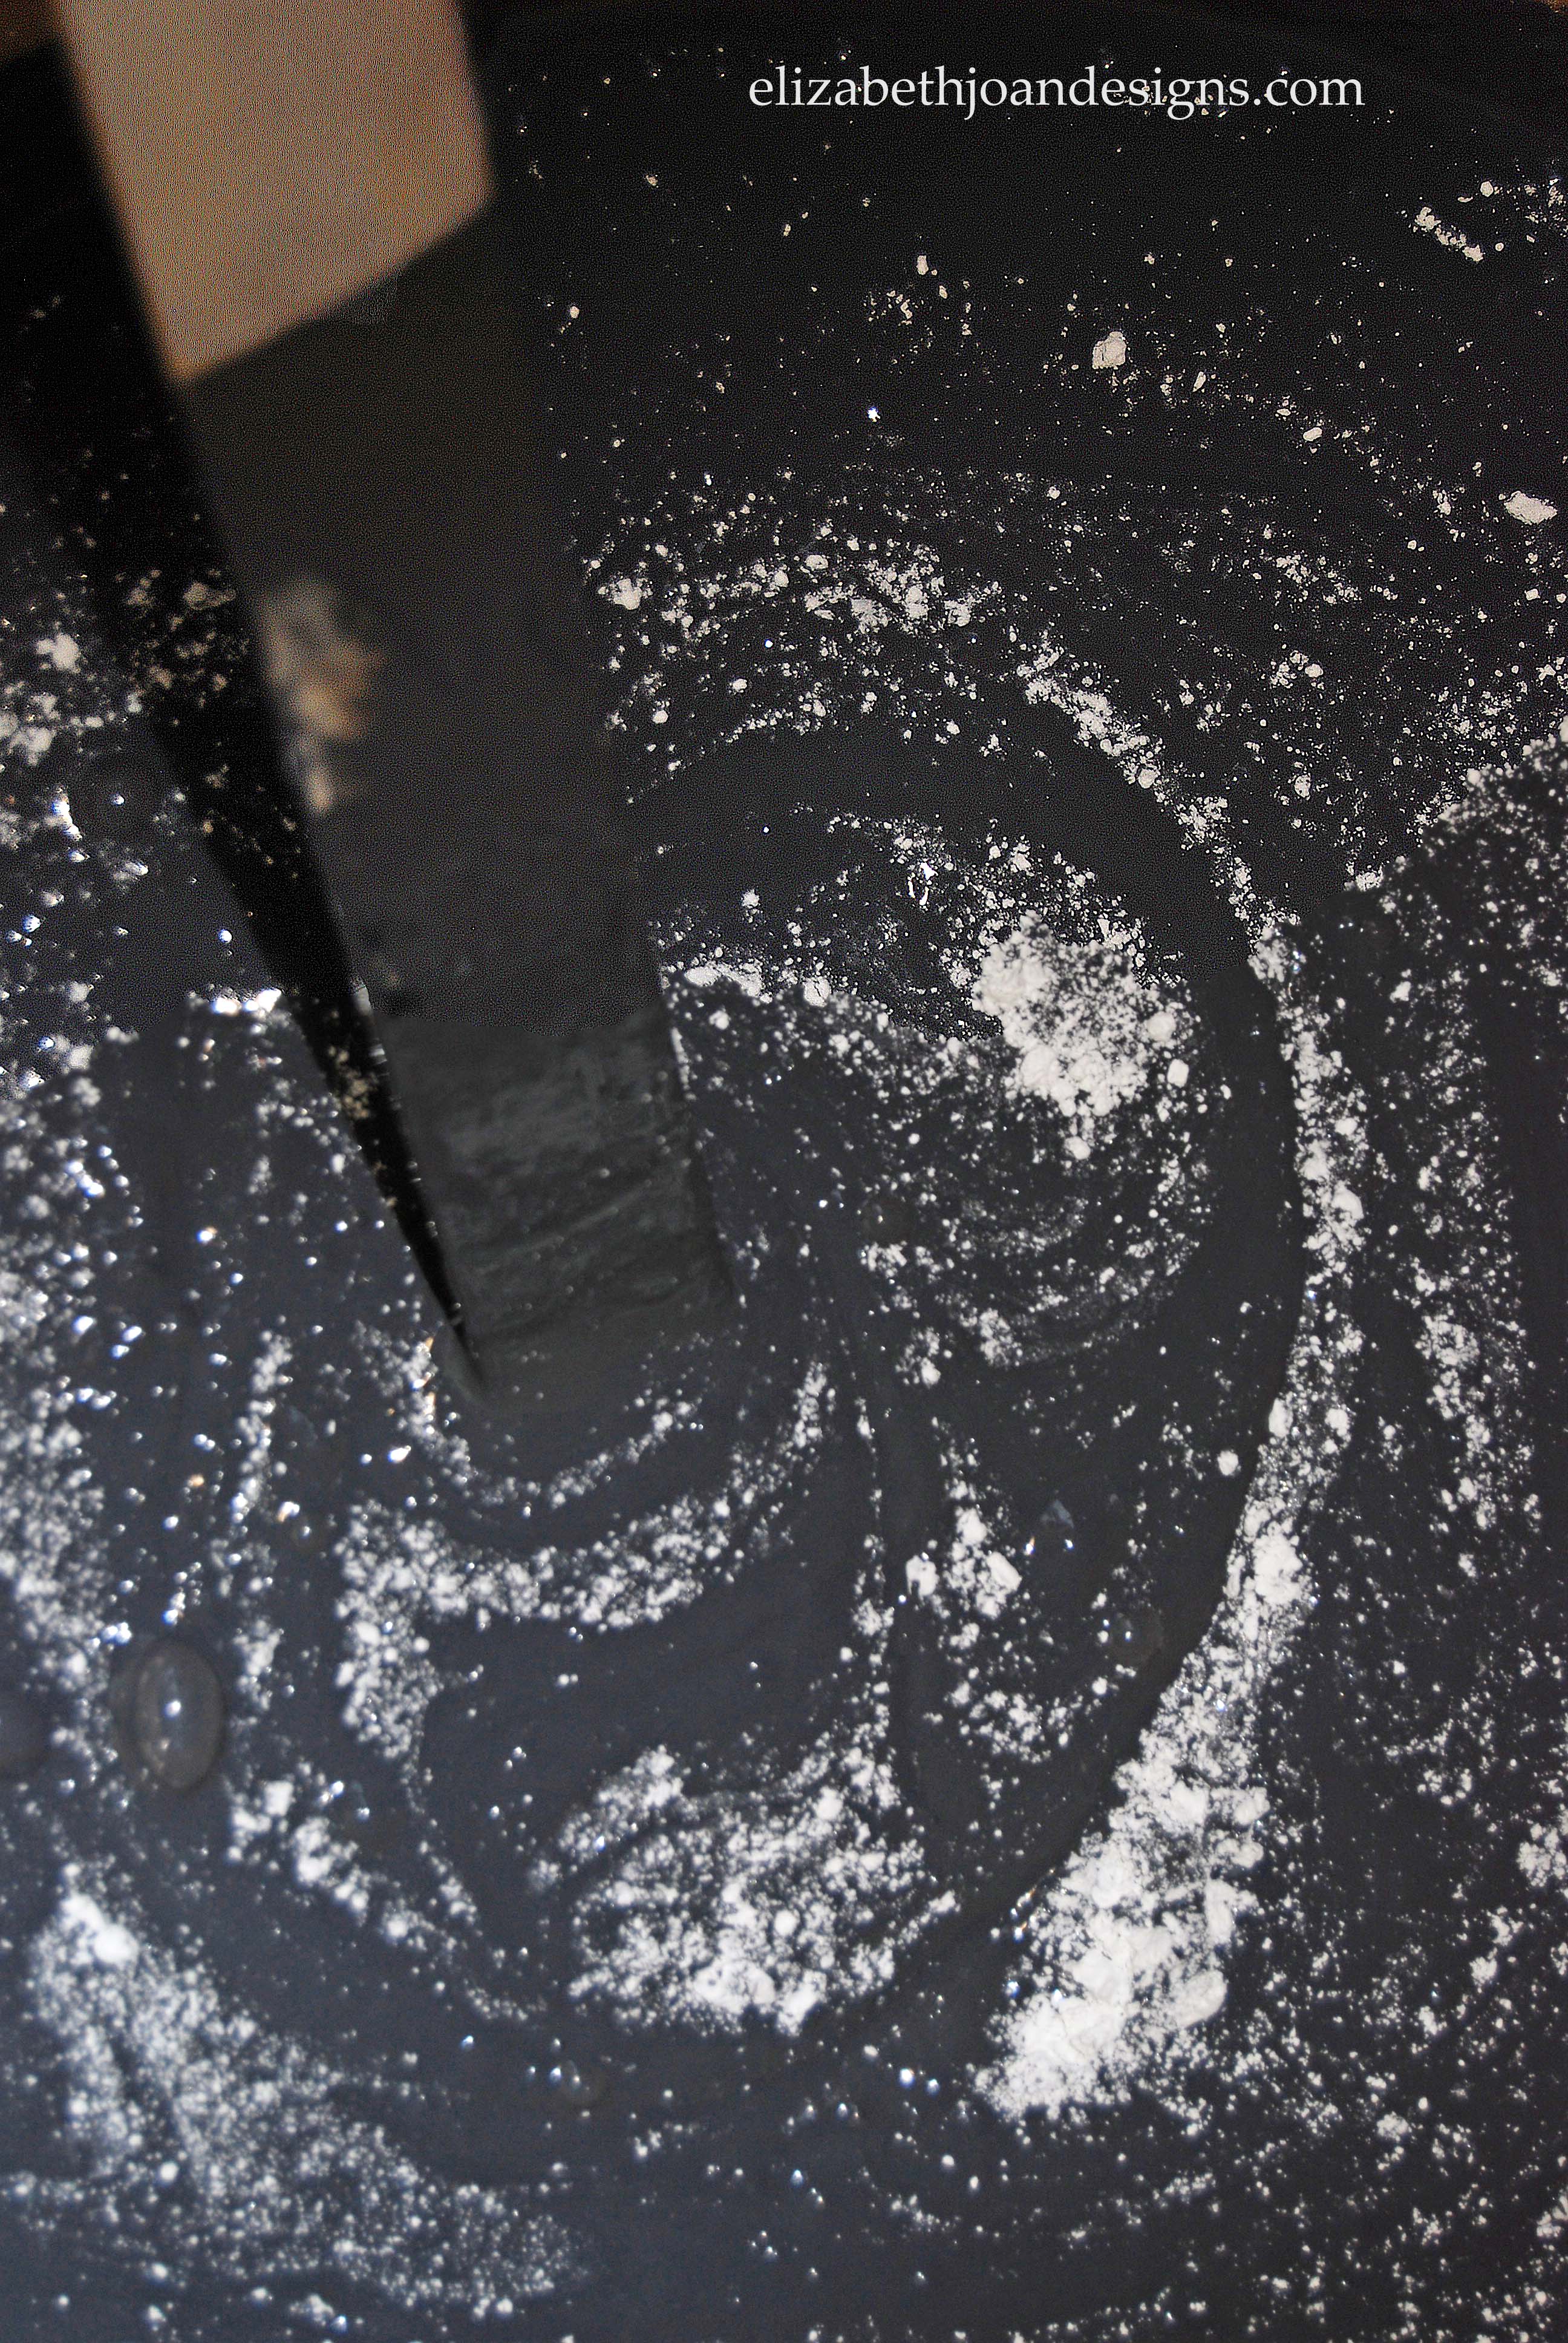
Next, each mat received several coats of my concoction.
Then, I rubbed a piece of chalk all over the mats to prime them. This step is extremely important. It prevents your first chalk marks from being permanent. I was really diggin’ the brush strokes that were present.

Finally, I wiped the placemat clean and started doodling.

But wait… there’s more!
I got the brilliant idea to add washi tape to the placemats to create colored patterns.

What do you think?
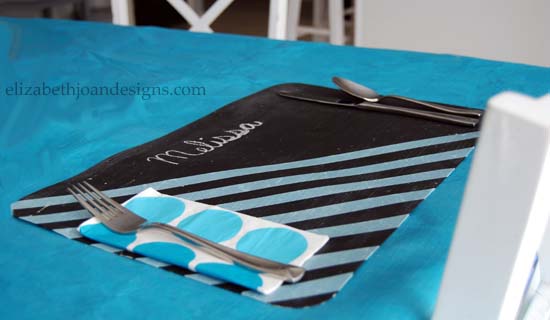
I am in love! My favorite part is that you can just remove the washi tape when you are finished, wipe the mat down, and you are left with a blank surface ready to be customized again for your next event.
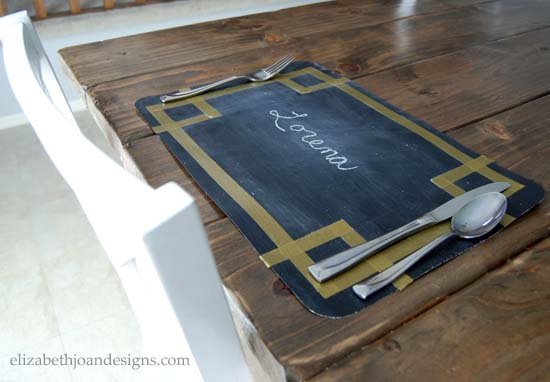
With or without the decorative tape, these babies would be a great addition to any holiday get together, birthday celebration, or party you are hosting.
_____________________________________________________________________________________
You may also like:

Ten Minute Infinity Scarf 
Pocket Hand Warmers 
Clothes Iron Cleaning 
Office/Workspace Reveal -
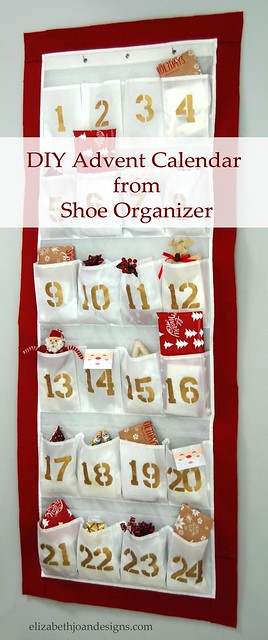
Advent Calendar Made from Shoe Organizer
I love a good count down to any holiday, so making an Advent calendar this year was a no-brainier. I found inspiration here while browsing the holiday section. To me, using a 24 slot over the door foot-gear organizer made the most sense for my budget.
Follow along and you can make your very own Advent Calendar!
Supplies
– 24 pocket over the door shoe rack – white
– Red wool
– Gold paint
– Spouncer
– Reusable number stencils
– Scissors or rotatory cutter
– Glue gun and glue sticksFirst, I began making my Advent calendar by stenciling numbers in sequential order to the fronts of the 24 pockets on the sneaker holder. I used my spouncer, gold paint, and stencils to make the
flawlessnumerals.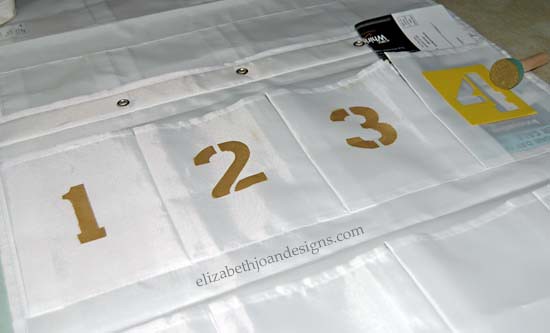
My recommendation to you if you are attempting this project, is to splurge a little bit on the plastic stencils vs. paper. Once my papers ones got wet, they started to pucker which made it hard to get crisp lines. There were also hours spent sitting around waiting for the paper stencils to dry. I had to reuse the 1 and the 2 many, many times so I am sure you can image the boredom I put myself through.
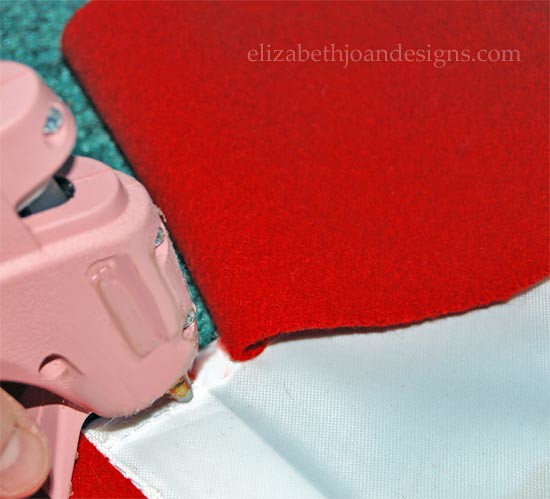
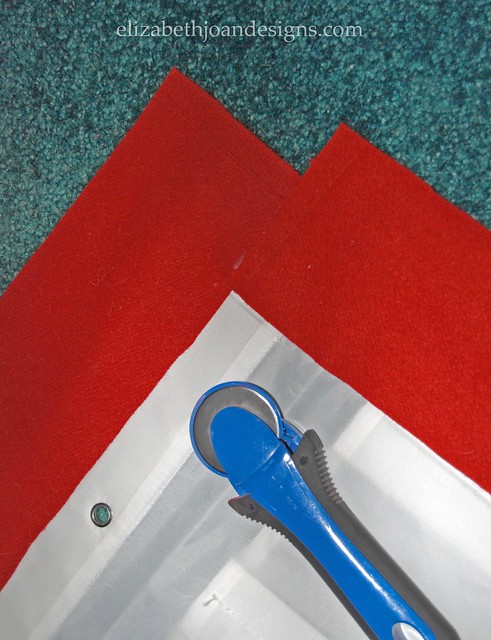
Next, I cut 4 strips of the red wool about 5 inches wide that are for the outline of the calendar. There was no exact science to this, I just eyeballed it. The red wool I used was something I had inherited from my grandmother. This just seemed like such a wonderful project to use this special fabric for. It adds another layer of meaning and a pop of color to the Advent calendar. I used the hot glue gun to attach the fabric strips to the edges of the footwear organizer and trimmed the entire border with a rotatory cutter to give it clean straight edges.
< 
Finally, it was time to hang it up and place all kinds of Christmas goodies for our little ones in the pockets. There are a few toys and candy dispersed throughout the days, but most of the pockets have a festive family activity for us to do.
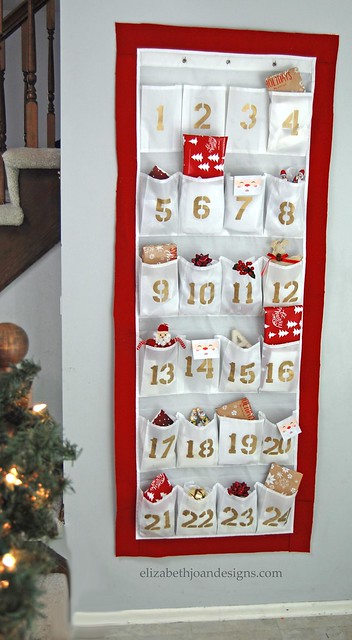
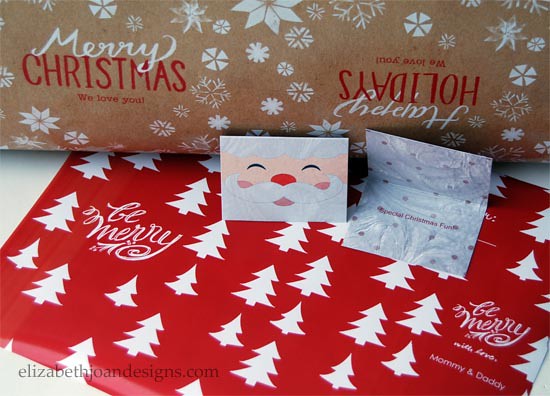
Just because I love personal touches, I decided to use these adorable personalized gift wraps and gift tags from Tiny Prints to conceal our packages and write special messages in.
I am really excited how this project turned out and our boys really love it too!
____________________________________________________________________ You may also like:
Festive Paper Stars 
Whitewashed Brick Fireplace 
Chalkboard Tins 
Knit Vases