-
Vintage Airplane Room Update
If you follow our blog regularly, first off THANK YOU. Secondly, you may have been wondering what’s happened with the “big boy” bedroom transformation I have been working on for my oldest son. Well, it’s not quite finished yet. (I know, I am taking forever.) But, I do have a vintage airplane room update to share with you of what we have done so far.
Let’s go back to the beginning. Here is what the room looked like before we started.
Our journey began with a new wall color. We had the paint color matched to Restoration Hardware’s Atmosphere Blue. My son helped me sand down each of the stripes that were part of his nursery and he also assisted with painting the walls. He really enjoys helping with any project.
One by one, we crossed projects off the list the desk, chalkboard and pin board, nightstand, headboard, and lighting.
(See how to create a clickable image with multiple links.) Still to come…
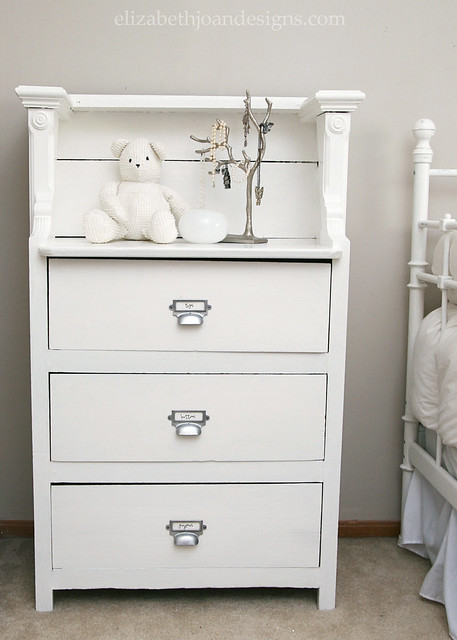
White is nice, but we were ready for a change with this dresser. It has a brand new color that I am hoping to unveil to everyone soon.
This room needs some airplane accents. Stay tuned to see what I will be doing with this guy.
As you can see, the closet needs a little TLC. We have big plans for this space and are hoping some day to find some time to work on them.
While there is still some work to do, I am extremely pleased with all we have finished so far and so is my son.
___________________________________________________________ You may also like:

Chalkboard Succulent Planter 
Painting the Bunk Bed White 
Ikea Trofast Makeover 
Simple Silhouette -
DIY Light Fixture from a Mixing Bowl
As always, I have been leisurely browsing Pinterest and different store’s websites for months searching for inspiration. This time, my goal was to find ideas for a DIY Light Fixture for my oldest son’s bedroom. When I found this industrial beauty from Pottery Barn Kids, I fell in love immediately. I just knew I had to make one. The only question I had was how? The shape of this particular fixture resembled a metal mixing bowl to me. That’s when I put two and two together. Ah-ha! A DIY Light Fixture from a Mixing Bowl. That was a true light bulb moment!

Materials:
Stainless Steel Flat Bottom Mixing Bowl– Sir Mix A Lot, said “I am tired of magazines, sayin’ flat butts are a thing.” Well Sir in this case, a flat bottom is really the best option. Just sayin’.
Rust-Oleum Spray Paint- The Oil Rubbed Bronze Metallicfinish is a favorite of mine.
Pendant Light Kit- These kits are great for the price you pay. I chose one with a matching finish to the paint I had picked out for the bowl.Tools:
Drill- How else was I going to make a hole in the bottom of a metal bowl?
RustySheet Metal Cutters- The pair I have my dad gave me years ago. Thanks Dad!
Strippers- No. Not that kind of stripper! No “Thunder from Down Under” needed on this project. Come on people, I am talking about the wire strippers that are sold at your local hardware store or on Amazon like these TEKTON 7-Inch Wire Stripper/Cutter.
Your Brain- You’ve got to play it safe around electricity!
First, I drilled three adjacent holes in the bottom of the mixing bowl. FYI, this process is much easier if you flip the bowl upside down first.

Next, I grabbed my metal cutters and snipped the bottom of the bowl to connect the three pre-drilled holes together. This took a little elbow grease, but nothing I couldn’t handle.

Once the hole was big enough to fit the pendant light through, it was time to paint. I gave this cooking accessory a true makeover with three coats of Rust-oleum’s Universal Metallic Spray Paint in Oil Rubbed Bronze.

Then, my husband started stripping. Wires, not clothes. He used the wire strippers to cut and expose the wires from the pendant light kit. This is how we transformed this simple, inexpensive kit from a plug in light to a hardwired fixture.


After that, we screwed the pendent kit through the pre-made hole in the dish. At this point it started to look more like a light and less like a painted bowl with a hole.

Then, we connected the wires from the pendant light to the wires installed in our ceiling.

Finally, we attached the fixture to the ceiling and we were done. Yay!
I am so excited with how this turned out! Love the industrial feel the new light adds to the room.
___________________________________________________________
You may also like:

Industrial Book Rack 
Numbered Wooden Crates 
Concrete-Esque Planter 
Small Projects for Playroom Makeover -
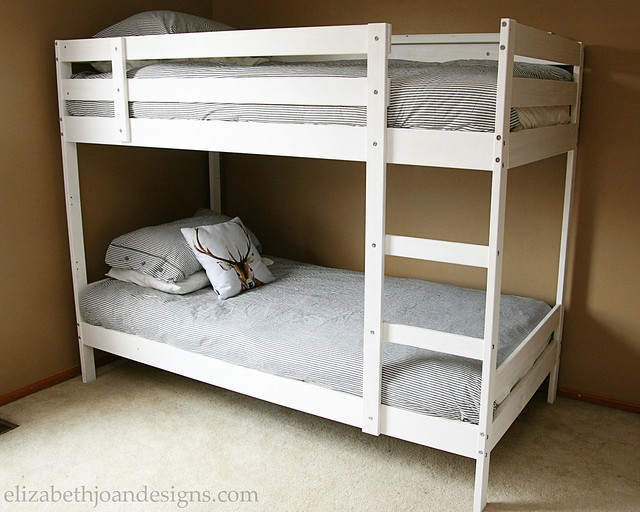
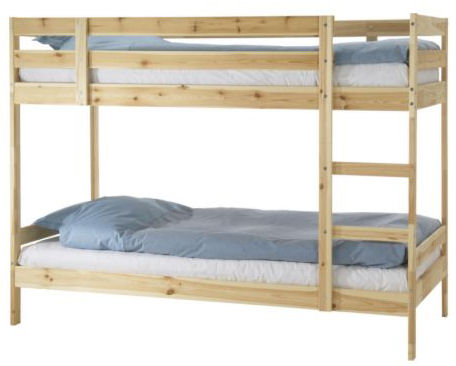
Painting the Bunk Bed White
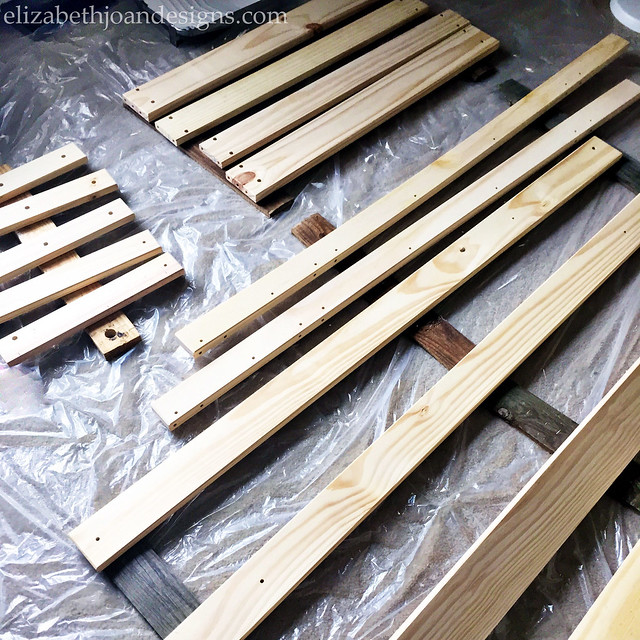
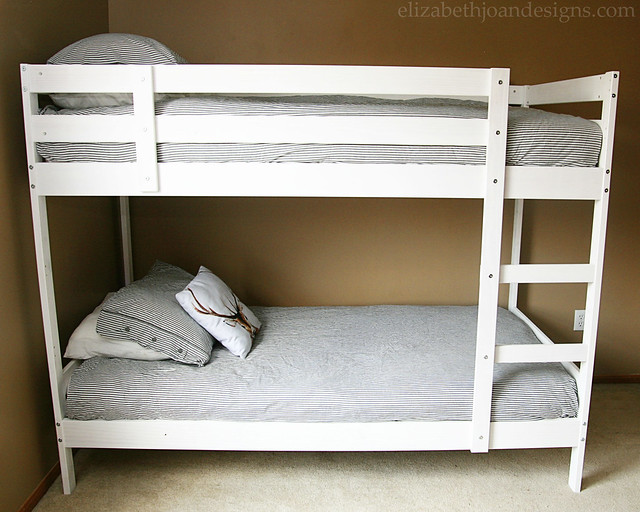
Recently, I showed plans for our Kids’ Shared Bedroom and how we came to the decision to have our 10 year old daughter and 4 year old son sleep in the same space. After a quick run to Ikea and clearing out a space in what was formerly our son’s bedroom, we wasted no time painting the bunk bed white and getting it set up. Yay!
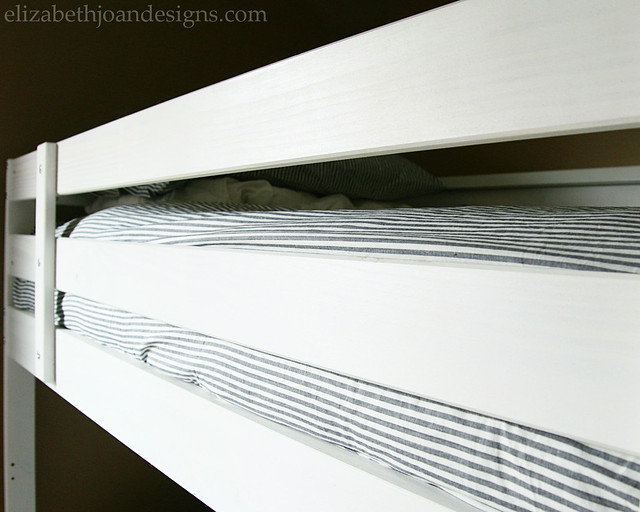
1. It still allowed the wood grain to show through.
2. It may have saved a bunch of time.
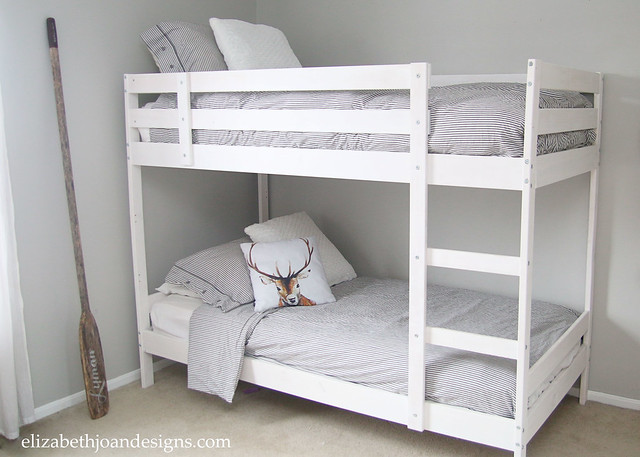
3. We liked the look.See! What do you think? Not to shabby, right?
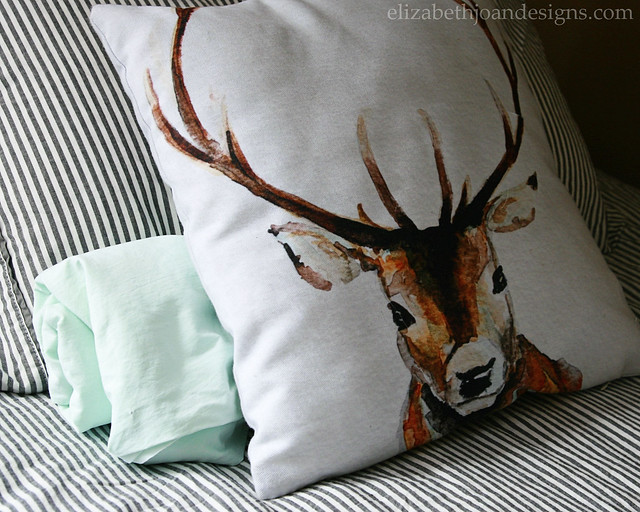
My kids also love this cute deer pillow from Craftberry Bush and may add an adorable bunny pillow as well.

Check out further progress in this room by clicking the image below!
___________________________________________________________
You may also like:

Hardware Change-A-Roo 
Reclaimed Wood Fence Headboard 
Heriloom Dresser Makeover 
Nightstand Makeover -
Kids’ Shared Bedroom
Today, I’m showing our kids’ shared bedroom design board and a few of the other changes that will be happening around here in the near future. You see, recently our kids, who we lovingly refer to as Pinky (10) and Sweet Pea (4), decided that they really, really wanted to share a bedroom. I know, I was surprised too. Shared bedrooms can certainly present a challenge when it comes to decorating, especially when you take the ages of our kids and differing genders into account. They both have their own likes and interests, since Pinky is a tween girl and Sweet Pea is fresh out of toddler-hood.
Here’s what we are thinking of going with:
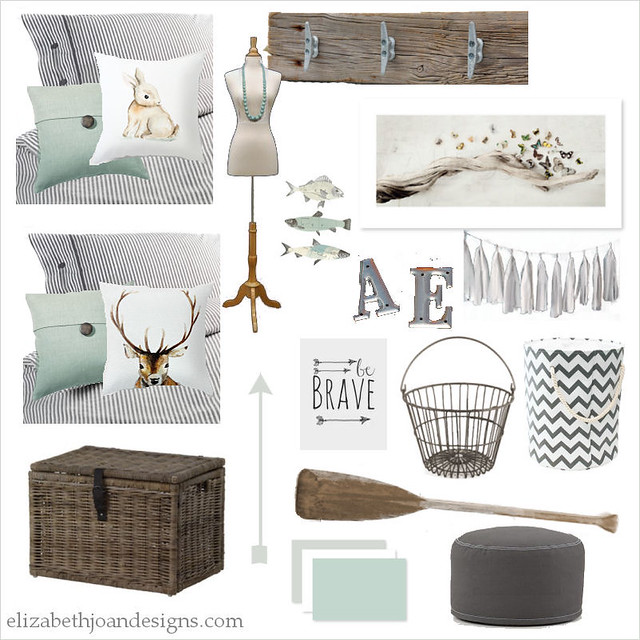
{sources to come}
After some lengthy discussions with each of the kids, we decided to go with a little bit of an outdoorsy theme. Sweet Pea wanted to have the room reflect his love for the outdoors and Pinky’s only request was to have a mint or light blue/green color in the room. After a little Pinterest searching, we pulled the rest of the elements together, based on items they both liked and stuff we already owned. I was worried that it would be super hard to get them to agree, but they both were open to each others ideas and we’re happy that they will have a room that will be a reflection of them. Yay!
Since the room they will be sharing is not huge (10″ x 12″ I think), we were in need of some furniture shuffling and buying. We decided to grab the Mydal bunk bed from Ikea to save floor space and store their current beds.
If you follow me on Instagram (Follow us both! Erin’s Instagram/Emily’s Instagram) you already had a sneak peak at some of the items that we purchased when we made our Ikea trip. Along with the bunk bed, there is new bedding and pillows. Woohoo!
Sadly, Pinky’s desk will not fit in the space, so we are swapping desks, which means she will still have a homework space on the vanity and I will have a little more storage for all of my office/DIY junk. And there is quite a lot of it.


We are also bringing up the entertainment stand dresser for the kids to put their clothes in and Pinky’s heirloom dresser will get to stay too. To replace the dresser we had our t.v. on in our living room, we found a new (to us) dresser on Craigslist that we plan on refinishing.

What is to come of the extra bedroom we will be getting from this deal? I have a secret to share. Our home technically only has 2 bedrooms. Gasp! However, with four people, that can get a bit tight, but we’ve been able to make it work with an extra finished room in the basement that served as a 3rd bedroom. It’s been our daughter’s room and also our room, but we seem to always be changing things up. So, in addition to creating a shared space for them, Chris and I will be moving our bedroom back upstairs and creating an multi-functional area in the basement. Yay!
Hopefully, we can get all of this furniture swapping under control and stay away from having to rent a storage unit to hold all of the extra furniture we now have. Stay tuned to see progress in the kids’ room and find out how we are going to set up our finished basement space, since it will no longer be used as a bedroom.