-
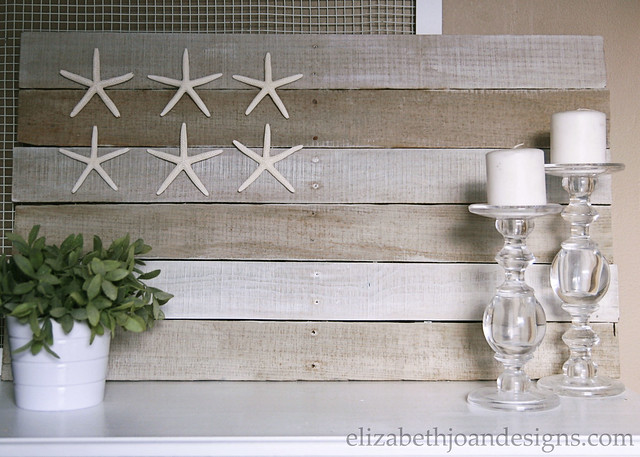
Neutral Coastal Pallet Flag
If you follow along with us on Instagram then you probably already saw the sneak peak of this fun coastal pallet flag. (If not, come keep up with all of the fun on Erin’s Instagram/Emily’s Instagram.)
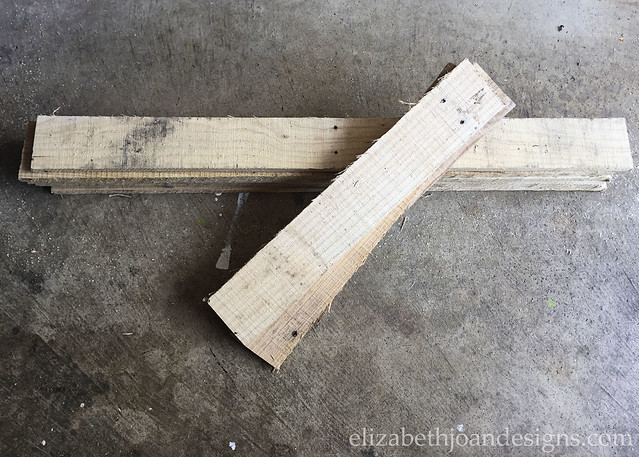
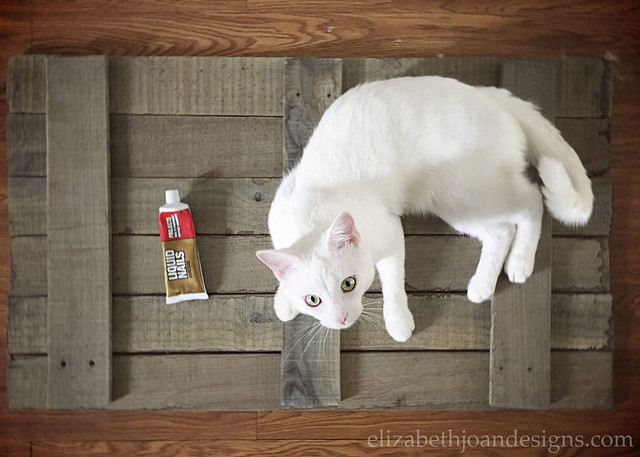
A few weeks ago, we found some pallets that were in wonderful condition. Well, wonderful for a pallet. To make this flag, my hubby cut the main boards off of the pallet with a circular saw and then left on a business trip for a week, so the rest was up to me.
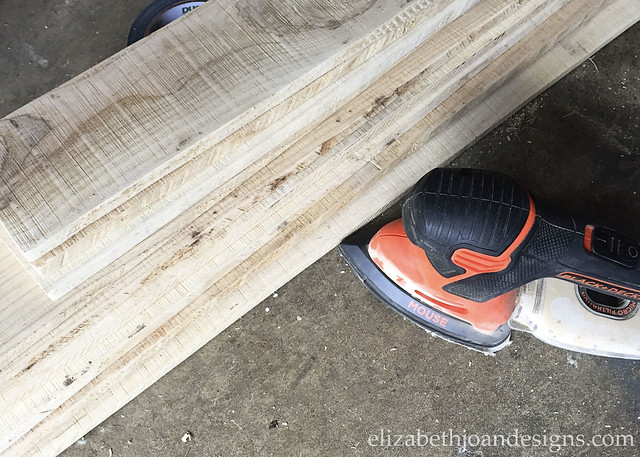
You can see that the boards look a bit shaggy with all of those little splinters coming off of the sides. However, that was an easy enough fix with my little sander. Just a quick once over of the boards had those stragglers running for their lives.
To age the wood, I used a combination of apple cider vinegar and steel wool. After letting the steel wool sit in the vinegar over night, I rubbed what was left of it (steel wool dissolves some in vinegar) onto the wood pieces. If you like to keep your manicure looking pretty, I would also suggest wearing a pair of latex gloves or something similar.
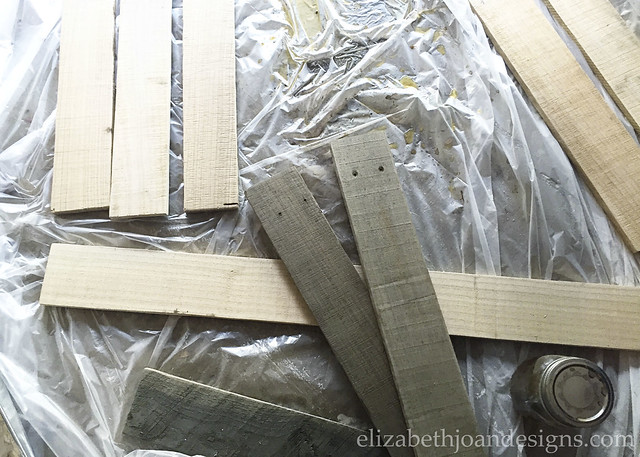
Once all of the pieces were stained, I lined them up and attached them together with a few left over boards using liquid nails. And a cat. Though the latter part of this process is totally optional.
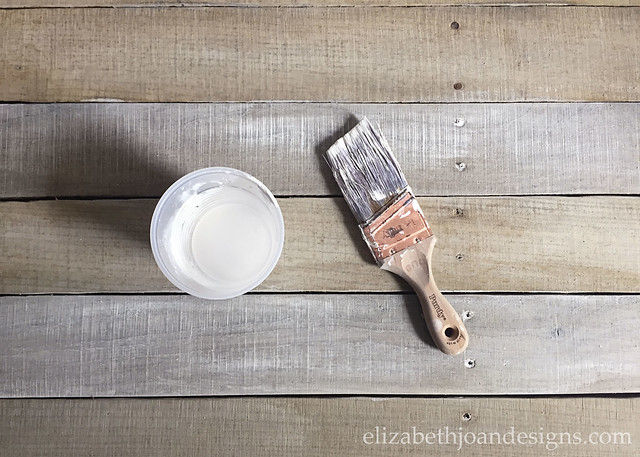
To get that coastal feel, I brushed on some gray and white chalk paint mixed with a bit of water and alternated boards.
And of course, added several starfish that were affixed with hot glue.
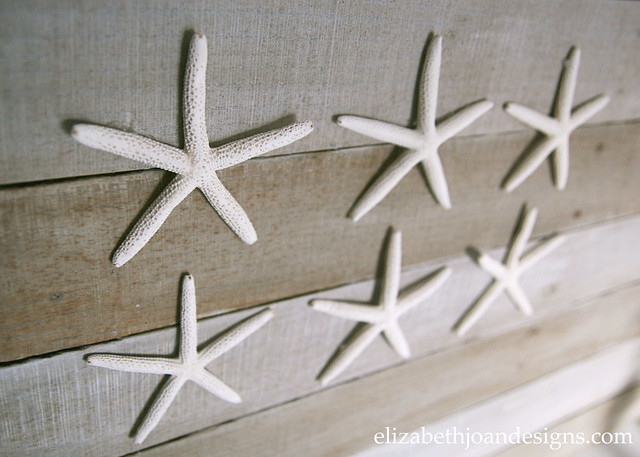
This was such a fun and simple piece to work on and I feel like it totally screams “SUMMER!”
_____________________________________________ You may also like:

Patio Update on a Tiny Budget 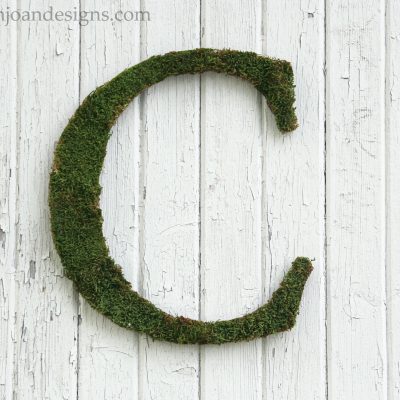
Moss Letter 
Buffet Table 
Bassinet Makeover -
18 Easter Decorating Ideas

Today we have a wonderful round-up of Easter ideas for you. All of these amazing ideas come from really talented bloggers. Hop (Easter pun intended) on over and check out their fun projects.
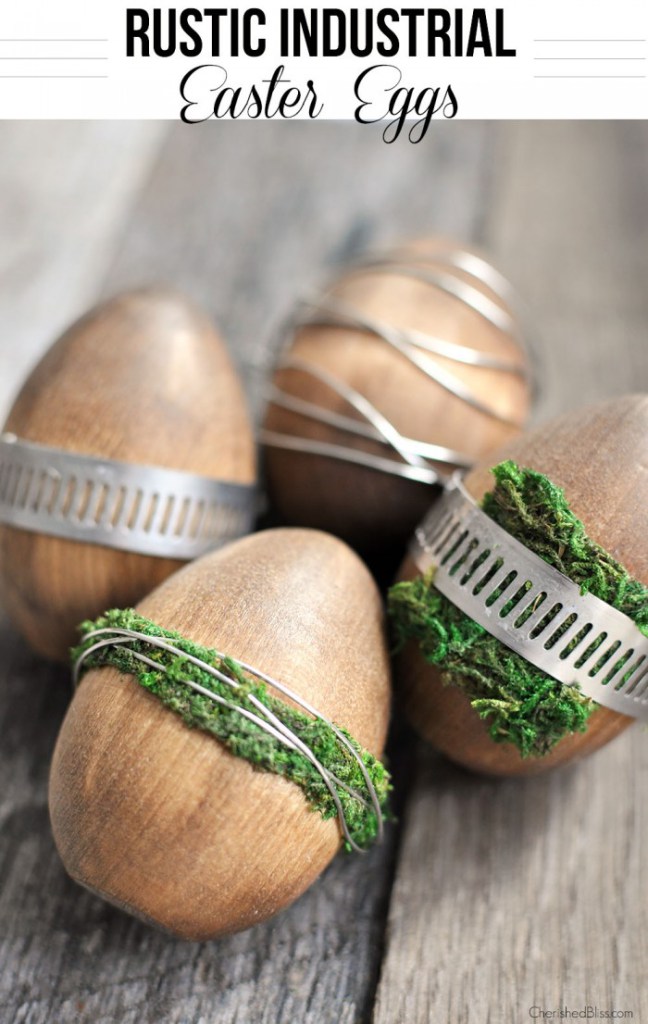
Rustic Industrial Easter Eggs from Cherished Bliss.
Tattoo Easter Eggs from
Uncommon Designs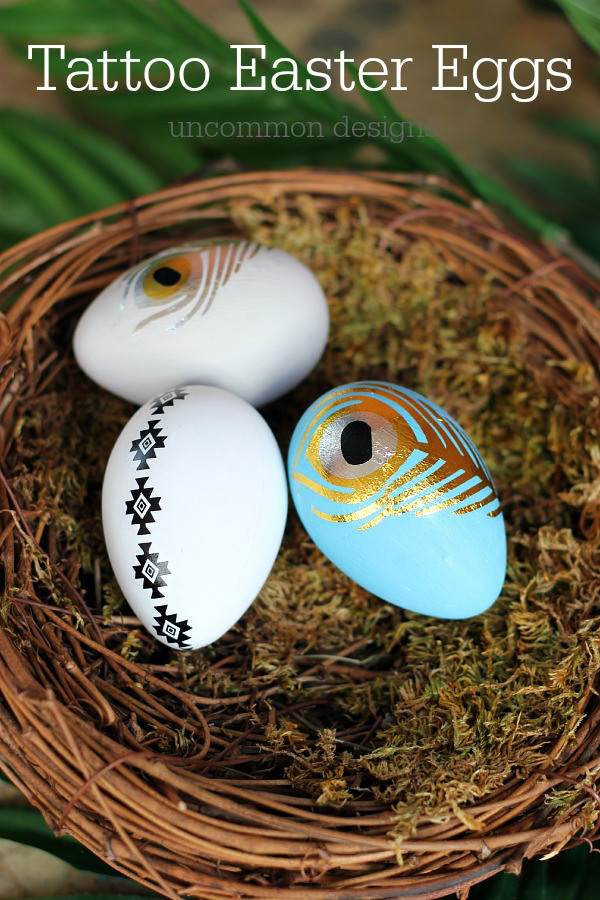 < Easter Bunny Banner from Like The Cheese.
Spring Runner: Burlap and Chevron from
Domestically Speaking.
Burlap Bunny Ear Napkin Ring from Little House of Four.

Easy to Make Plastic-ware Easter Carrots from Crafts by Courtney.

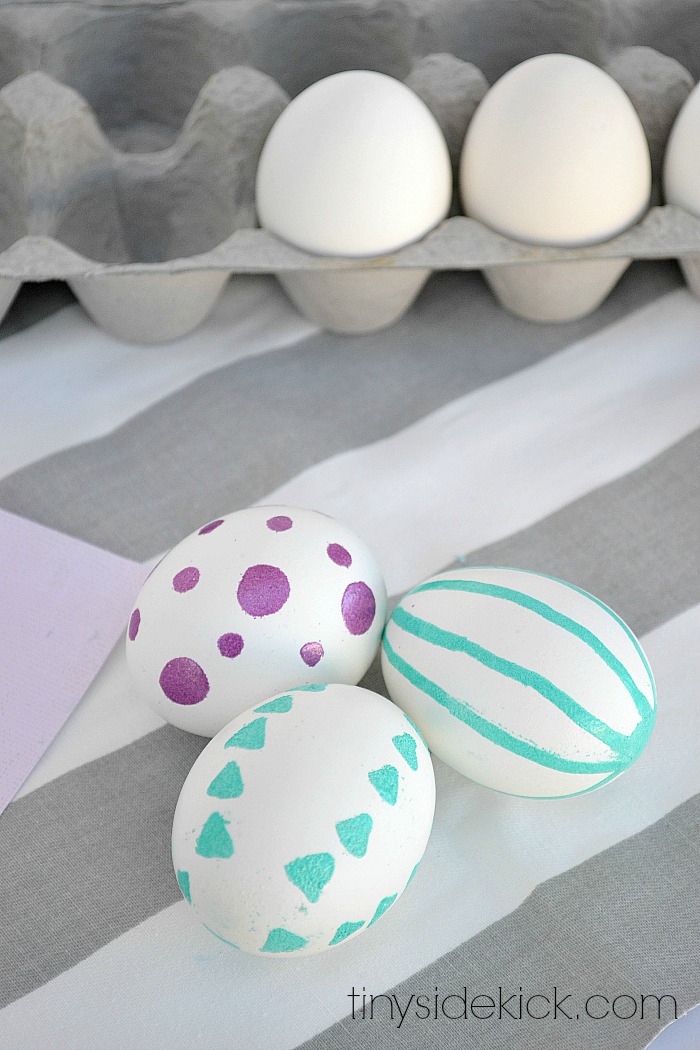
3 Different Ways to Color Easter Eggs from My Big Fat Happy Life.

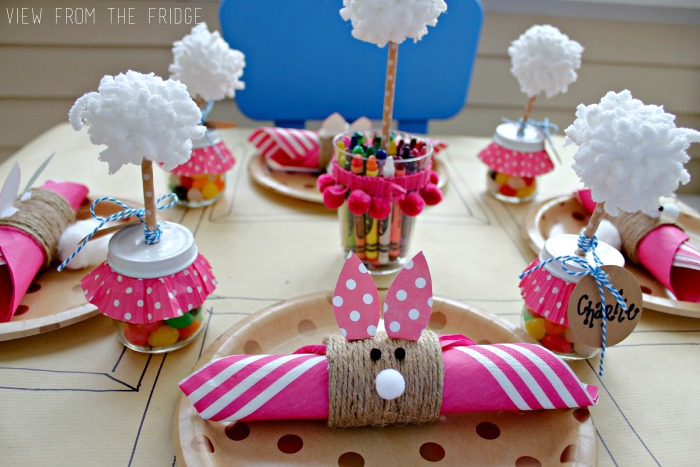
Easter Kids Table Setting from View From The Fridge.
Easter Party Printables from Kristen Duke Photography.

Easy Easter Wreath from Love, Pasta and a Toolbelt.

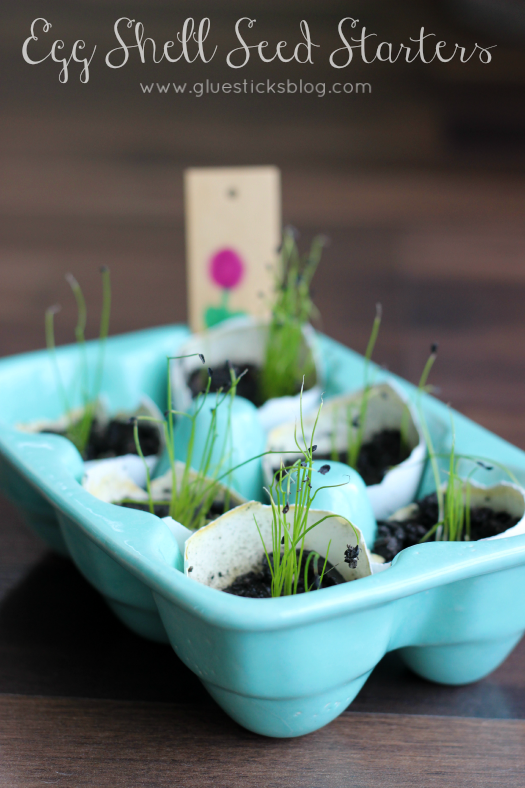
Egg Shell Seed Starters from Gluesticks.
Embossed Easter Eggs from Tiny Sidekick.
Spring Bunny Footprint Art from One Krieger chick.

Chalkboard Place Cards with DIY Wire Easter Eggs from Design, Dining and Diapers.

Moss Bunny Topiaries from Average but Inspired.

Rock Troll Easter Eggs from The Frugal Foodie Mama.

Watercolor Egg Place Setting from A Pumpkin and a Princess.

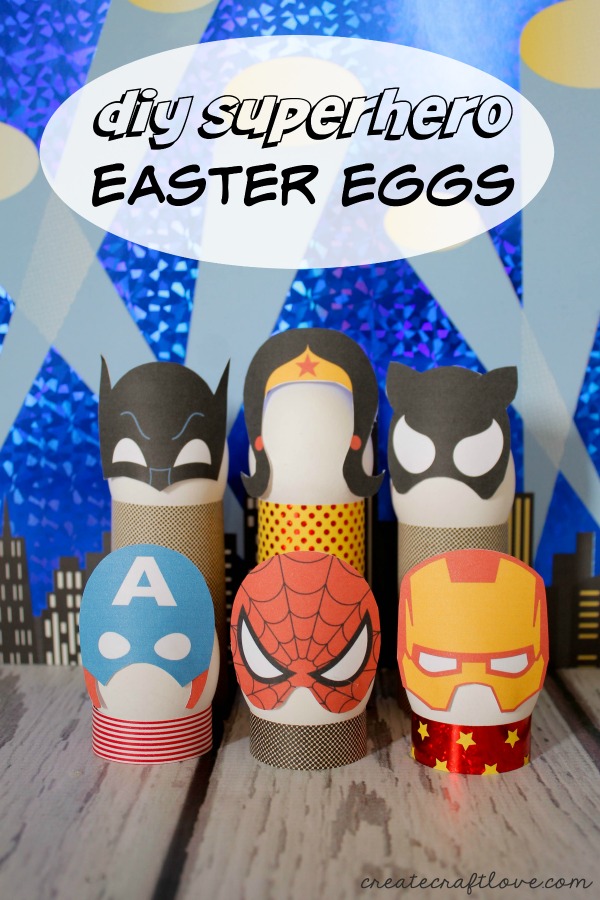
Superhero Easter Eggs from Create Craft Love.
________________________________________________________________ You may also like:

Wood Box Caddy 
Easy Easter Basket 
Gardening Gift Basket 
Eye Shadow Easter Eggs -
Wood Box Caddy
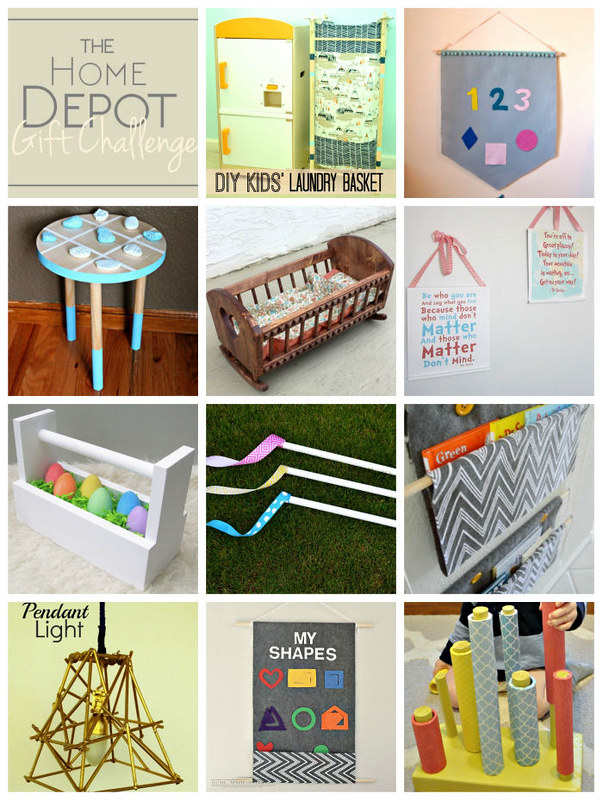
It’s March 15th, which means that it is time to share our Monthly Home Depot Gift Challenge post. Last month, Emily showed you how she used copper fittings, combined with other supplies, to make an Industrial Book Rack. This month’s challenge item was a wooden dowel and the project was supposed to be a gift for a child. After a little brainstorming and chatting with my sis and hubby, I decided to make a Wood Box Caddy that could be used as an Easter basket for my kids.
This challenge is in no way associated with The Home Depot. We just love their stuff!
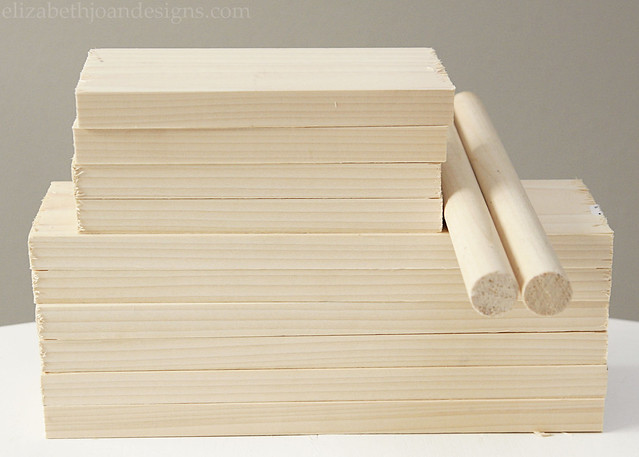
Since we have two kids, I obviously had to make two caddies. I bought our boards and wooden dowels from The Home Depot and they cut everything for me while I was there. Behold the wood!
These caddies are pretty easy to whip up, so if you have minimal wood working skills, do not fret. You can do this!
To make one wood box caddy you will need:
- 1 – 1″ X 4″ furring strip (cut into 3 – 12″ pieces and 2 – 7.5″ pieces)
- 1 – 1″ Wooden Dowel (cut to 12″)
- Pencil
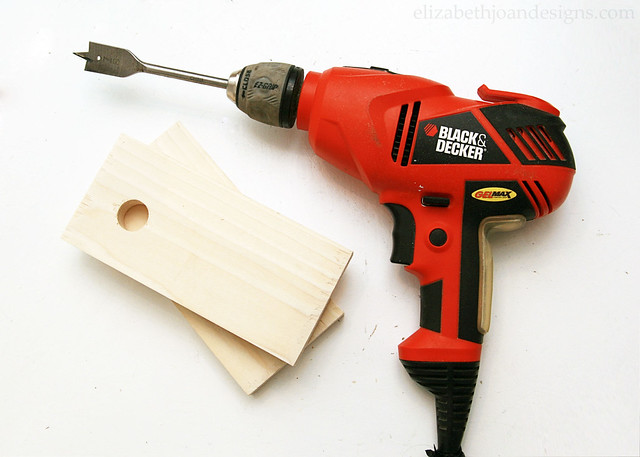
- Drill with 7/8″ Spade Bit
- Electric Sander or Sandpaper
- Wood Glue
- C-clamp
- Hammer
- Finishing nails
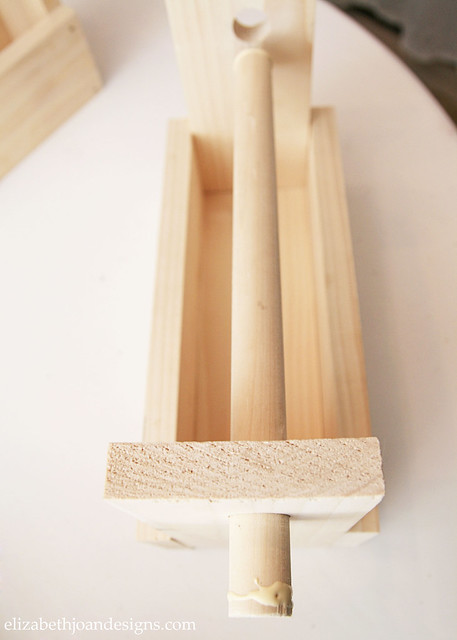
To start, figure out where the hole for the the dowel will go in the two 7.5″ end pieces and mark it with a pencil. Use the drill with a 7/8″ spade bit to make a hole in each end by lining up the tip of it with the mark on each board and drilling through. Lightly sand any rough areas.
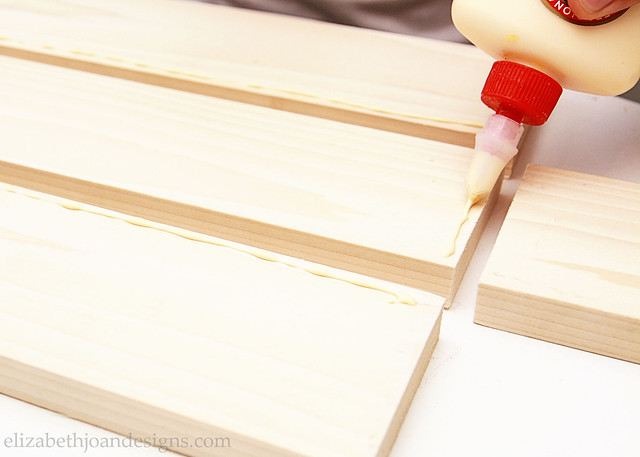
Lay out the 5 boards of the box. Apply wood glue to the edges that will be meeting up by following the guide below.

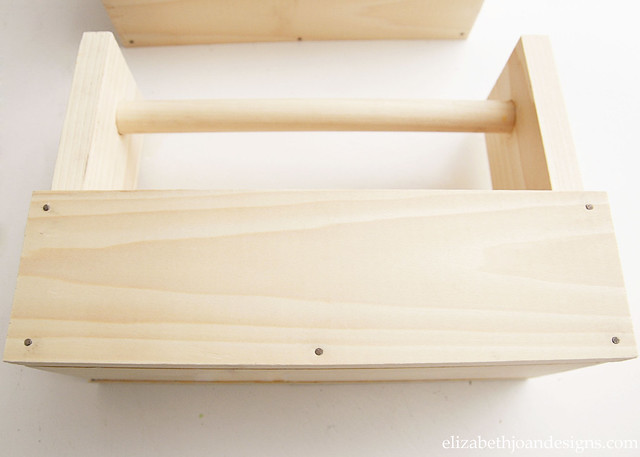
This caddy is basically one 12″ bottom piece that is sandwiched between the other two 12″ boards on the sides. The 7.5″ end pieces are placed on top of the bottom piece and also in-between the side boards with all of the ends lined up.
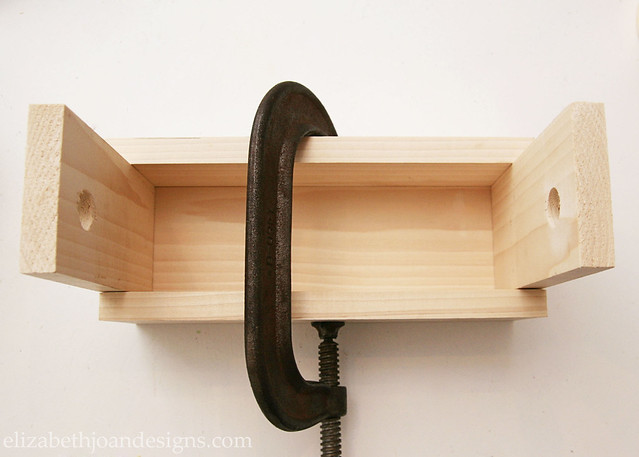
Assemble the pieces together and use a c-clamp to hold them in place while the glue dries.
Is this thing reading like stereo instructions? Stick with me. We are almost there.
Insert the dowel through one side of the caddy and add some glue to both ends. Then push the dowel into the second hole and make sure the ends are flush. Wipe away any excess glue.
Finally, secure the sides of the caddy with some finishing nails.
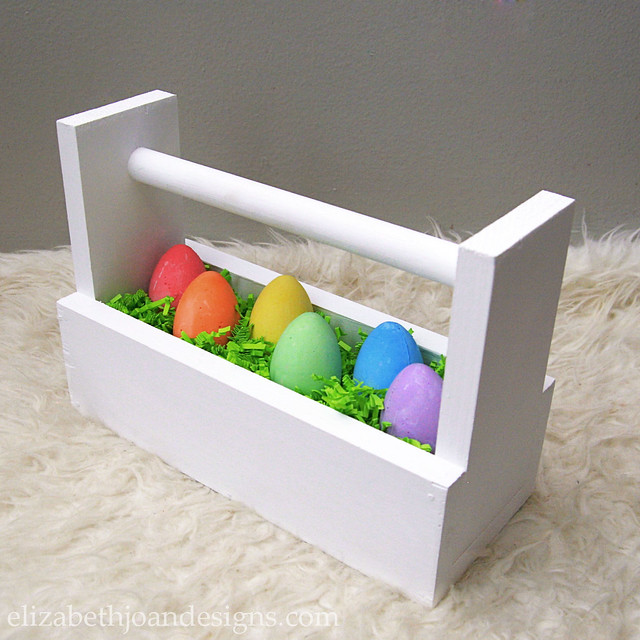
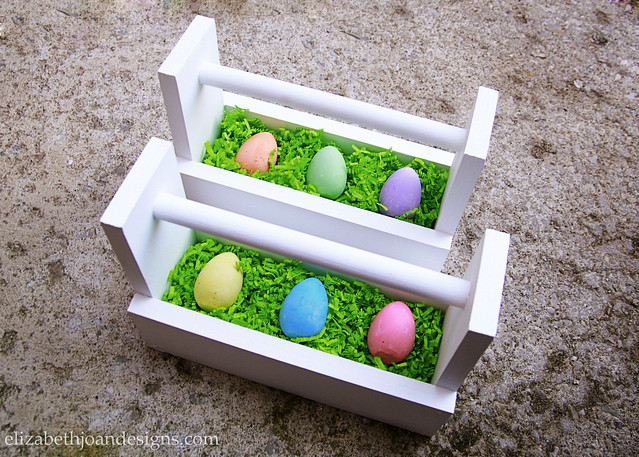
I decided to get crazy and paint both of these caddies white with some chalk paint. Just kidding. I tend to paint everything white. *wink*

Aren’t they purdy? I’m so excited for the Easter Bunny to deliver some goodies for the kids in these. The best part is that once the holiday is over, the kiddos can use these for a multitude of purposes. Matchbox car holder? Check. Nail polish storage? Check. These will be perfect for toting things around the house.
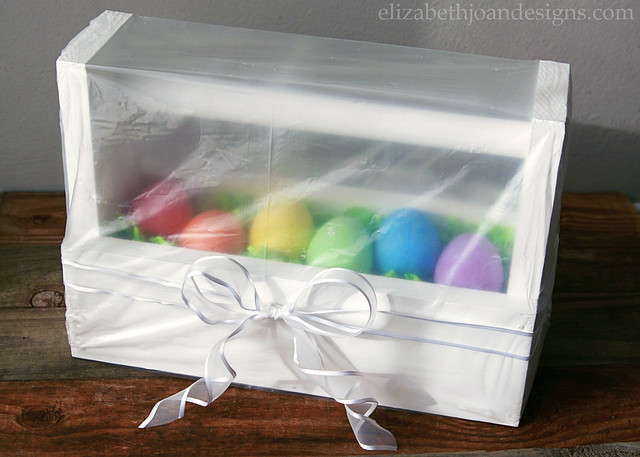
Oh, and I can’t forget the wrapping! As part of the challenge, this gift was to be wrapped in an item also from The Home Depot. Since these will be used as baskets and set out on Easter morning, I didn’t want to hide everything inside, so I decided to go with a clear plastic drop cloth and a lovely white bow. Cute, right?
Like how we tackled this challenge? Head on over to check out all of the other awesome projects involved by clicking on the images below!
-
DIY Split Pea Wreath
Who is ready for spring? Probably everyone who is reading this, including me. I am so tired of all of snow and freezing temperatures. To invite and welcome spring to this part of Earth, I am sharing a Spring DIY Split Pea Wreath. Last year, I had made a spring moss wreath. So this year, I decided I would make one with food. Sometimes we need just a little green in our lives to help break up all that white snow.

To make this wonderful wreath, I used a straw wreath form, a paint brush, Mod Podge, a large plastic container, and a whole lot of bagged split peas.
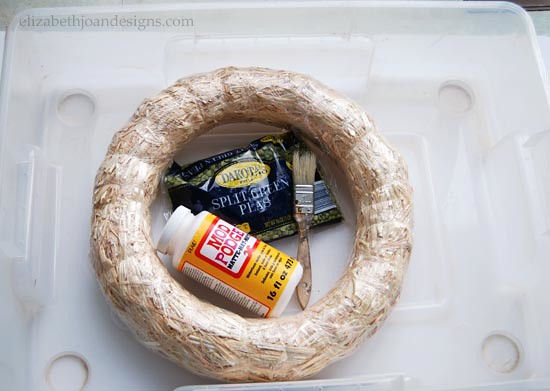
First, I placed the wreath form in the plastic container and painted the front and sides of it with a thick layer of Mod Podge.

Here is my lovely assistant. Do you like his duct tape arm band? He thought it was cool.
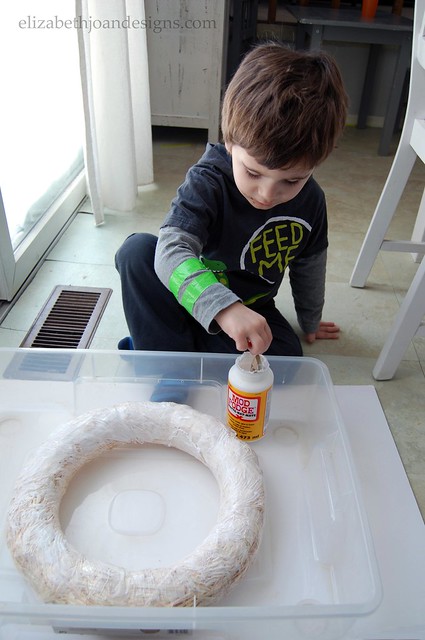
Next, we coated the glue covered circle with the small vibrant colored greens and let it dry.

The little helping hands and I continued this process until every space was filled with peas.

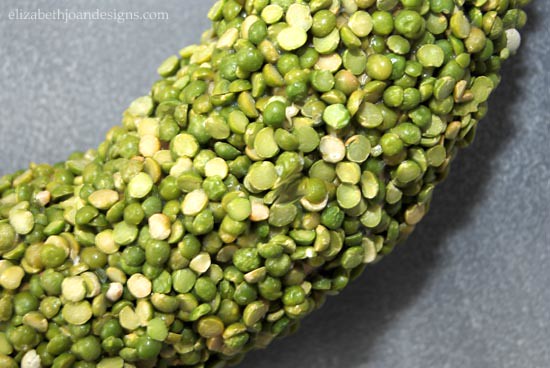
Finally, we were finished and it looked great!

My original plan was to work on this project alone, but I am so glad this was something my three year old and I could do together. It was such a great sensory activity for him. I love how beautiful and simple this wreath turned out too. Okay spring, now it is time to arrive!
________________________________________________________________ You may also like:
Eye Shadow Easter Eggs 
Faux Topiaries
Gardening Gift Basket 
Spring Moss Wreath