-
7 Fun Spring Ideas
I can’t tell you how excited I am to have Spring right on our heels and honestly, it can’t get here fast enough for me. The temperatures here in the Midwest are warming up. And by that, I mean that it was in the 30’s today. Real warm, huh? Anyway, we thought we would share 7 Fun Spring Ideas that will help you kiss the cold of winter goodbye. Plus, you can whip these up in a flash, which is always a good thing.

Click on the images below to learn more!
1. A stylish gardening basket is the perfect gift for kids or adults. The gold accents are gender neutral and almost anyone will enjoy watching their little seedlings grow.

Gardening Gift Basket 2. Recycle an old broken laundry basket to make a neutral planter for your deck or patio. The breathable burlap material keeps soil in and even allows water to drain, so plant won’t drown.

Laundry Basket Planter 3. Try a new take on egg coloring/decorating with this neat idea. Who knew that eyeshadow could be so versatile?

Eye Shadow Easter Eggs 4. Learn how to start your own vermicomposting bin with this simple tutorial.

Vermicomposting 5. Customize a popcorn bucket to make an inexpensive basket for all of your Easter treats. Kids will love these with their favorite character or colors on them.

Easy Easter Basket 6. Create a creative new Spring wreath for your front door with a little moss, a cute butterfly and few minutes.

Spring Moss Wreath 7. Get your seedlings growing in no time. This tutorial uses recycled materials which are great for starting plants.

Toilet Paper Roll Plant Starters So what do you think of our 7 Fun Spring Ideas? Are you as ready as I am for longer days and warmer weather?
__________________________________________________________ You may also like:

Summer Hosta Wreath 
Strawberry Avocado Salsa 
Lavender Wreath 
Concrete-Esque Planter -
Frayed Heart Pillow
We don’t typically decorate for Valentine’s Day, besides the occasional window decal or heart garland for the kids. However, this year I decided to turn things up a notch and make an easy, neutral frayed heart pillow. Ok, I guess that is only 0.01 notches, but you get the picture.

To make this pillow, you will need:
– pillow form
– fabric in two different colors (I used canvas drop cloth and white cotton fabric)
– scissors
– sewing machine
– heart template
– fabric pen
– stitch witchery
– ironTo start, I cut out my main pillow fabric pieces from drop cloth (left over from the re-upholstry of an old chair.) I made the pillow cover envelope style. You can find tons of tutorials for this online.
Next, I guesstimated how large I wanted my heart to be, free-handed a heart on a couple of pieces of cardstock, and cut it out to make a template.
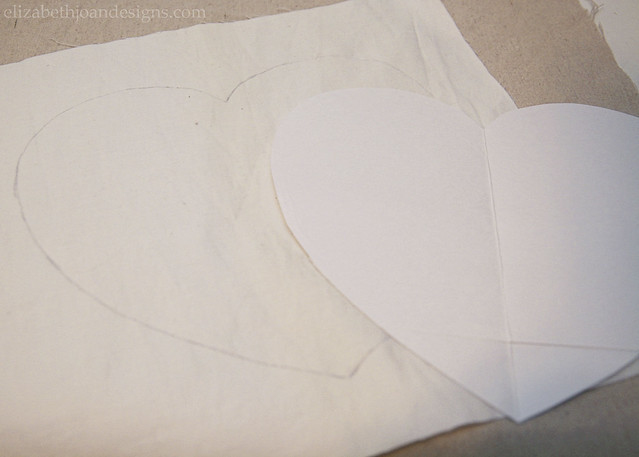
Placing the template on my white fabric, which was also extra from a project, I traced around the edges and snipped around it with some scissors.
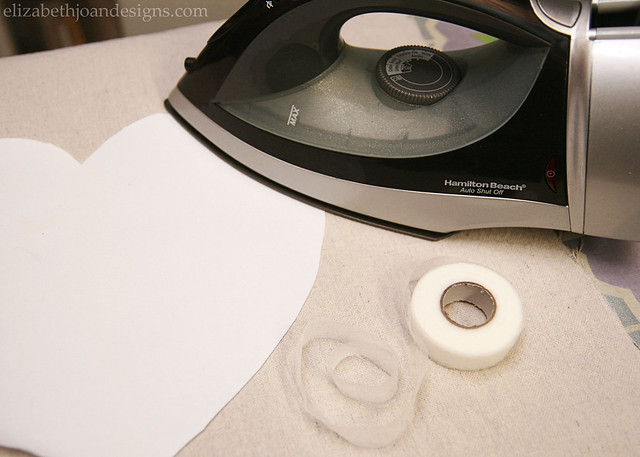
Then, I centered the white heart on the front piece of my pillow case and attached it with some stitch witchery and my iron.
After that, it was time to get sewing. I sewed around the outside of the heart, leaving a little edge to be frayed.

To finish up, I sewed the rest of the pillow case together, ran it through the washing machine, and inserted my pillow form once it was dry.

What do you think? This was such a fun and simple way to add a little Valentine’s love to our home. The best part is that the pillow doesn’t have to go away once the holiday is over, since it is neutral and will work with our decor!
________________________________________________________________ You may also like:

Placemat Pillow 
French Lettered Milking Stool 
Valentines Watercolor Art 
Cable Spool Clock -
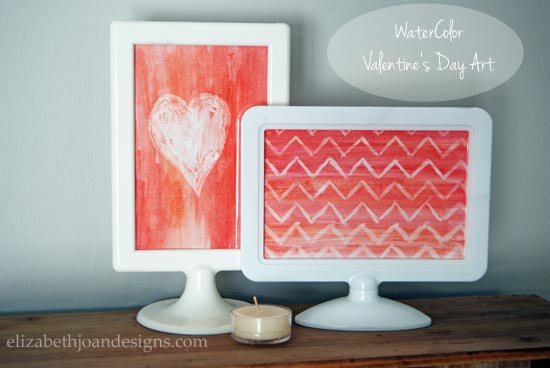
Watercolor Valentine’s Day Art
This project came to me very spare of the moment. My kids and I were spending time together painting at the table when I decided to make some of my own Watercolor Valentine’s Day Art to bring a little festivity to our home for the up coming holiday. This project really shows that you don’t need great expensive materials to create fun art to display.
Here is what I had to work with…
I used plain old boring computer paper, my child’s watercolor set, a broken white crayon and dull scissors. Nothing fancy here.
First, I drew a design on the paper with the white crayon. I knew I wanted to display my finished art in a 4×6 frame, so I drew accordingly.

Next, I brushed the desired colors over the crayon markings to reveal the hidden image and left them to dry.


Finally, the pictures were cut out to fit the frames and displayed for all to enjoy.

For what I had to work with, including my poor artistic skills, I love the finished product! Do you decorate your home for Valentine’s Day?
________________________________________________________________ You may also like:

Heart Stamps 
Heart Candle Holder 
10 Minute Wood Cutting Board 
Monogrammed Stamped Clay -
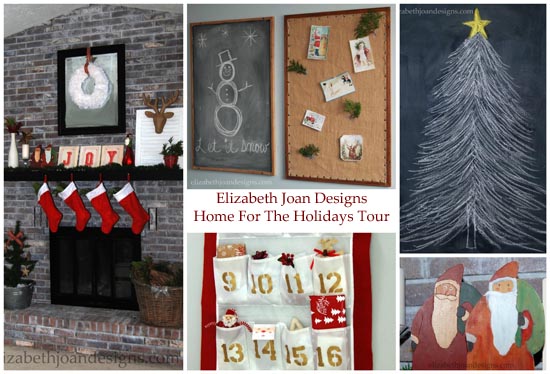
Home for the Holidays Tour
Hi and welcome to Emily’s home! Come on in!
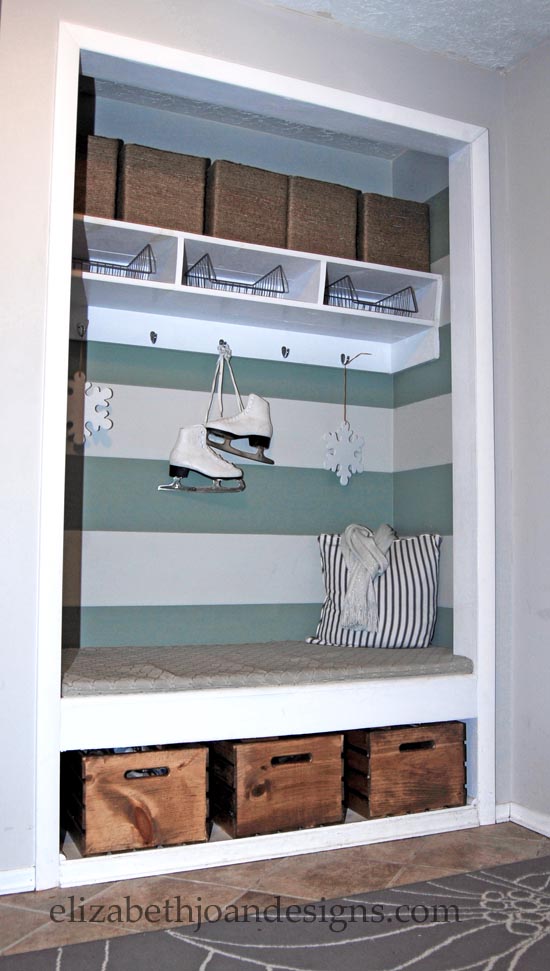
This is the decor of our entryway. I’m a pretty simple gal, so my decorating tends to reflect that.
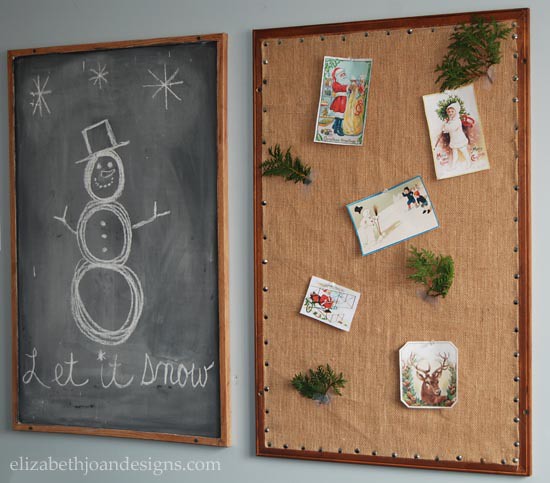
One night, I was having the hardest time going to sleep. I decided to do a little chalkboard doodling in our playroom and was extremely pleased with this tree I drew.

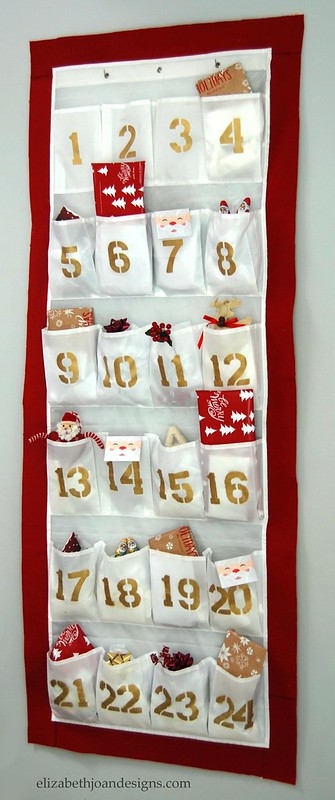
In our Kitchen/Dining Room area I have hung my DIY Advent calendar. This has been a huge hit in our house. Saying my boys love it, is probably an understatement.
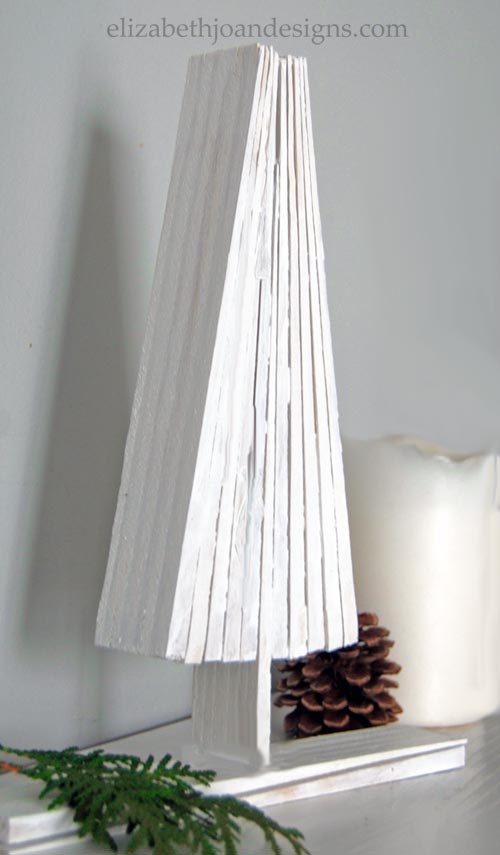
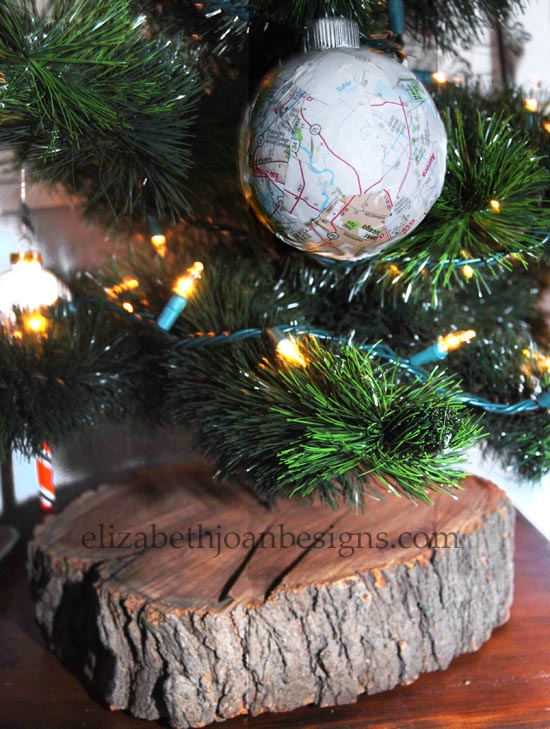
I am still keeping things simple here with my wood shim Christmas Tree.
Some of my favorite ways to decorate is with touches of nature found right in my very own backyard.
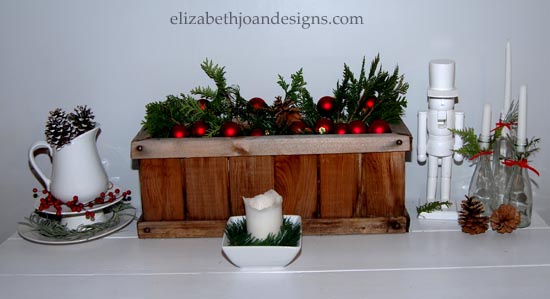
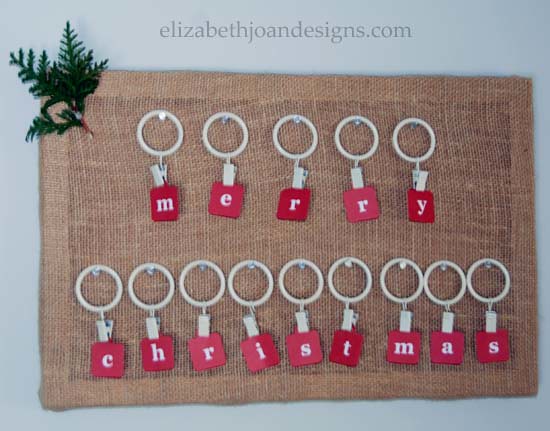
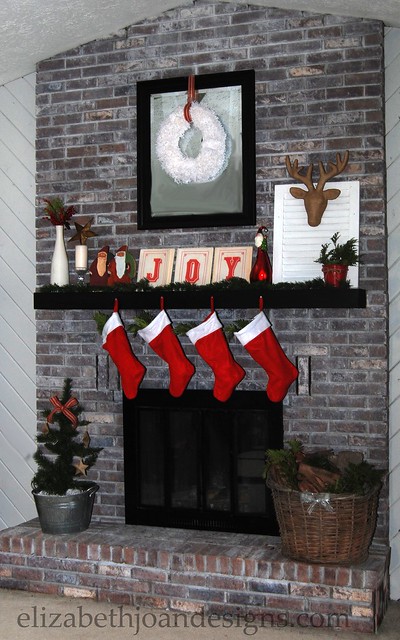
Styling this fireplace and mantle brought me so much joy, that I felt the need to spell it out for everyone to see. Do you like our dollar store stockings hung by the chimney with care? I think they add a nice pop of color to our very neutral Great-room.
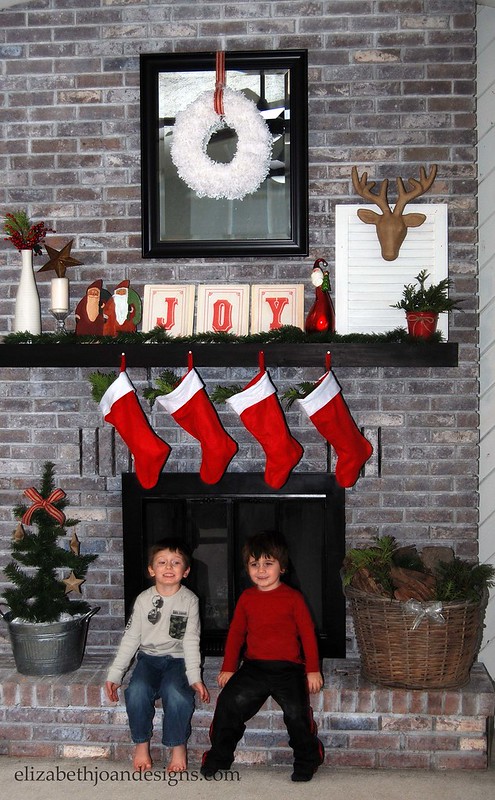
Take a real good look at this pic. My two boys in the same photo! This almost never happens!
These two Santas are very special to me. Our grandpa had mad wood working skills and had cut these
badgood boys out. Our mom painted the one on the left and the 10-year-old version of me painted the one on the right. (I know what your thinking, that I was a real prodigy, huh?) Our mother passed away when I 12 and these little guys became mine. When I was in my 20’s and moving all around the country, so did these Santas. I make sure they make my holiday decor cut every year.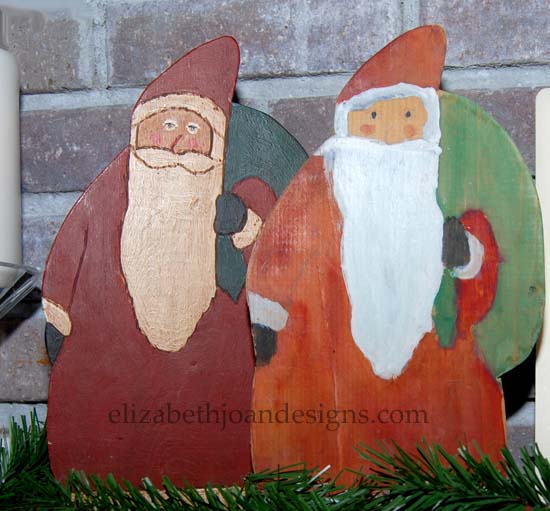
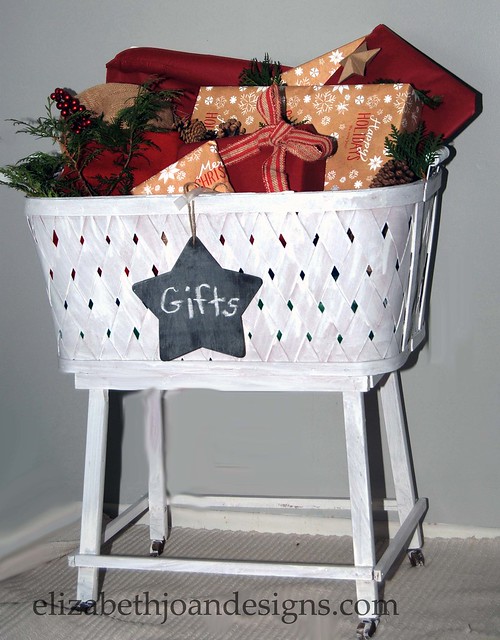
I found that this antique bassinet is a great way to keep our wrapped gifts safe from curious little fingers.

My oldest son keeps telling me we NEED more Christmas decoration. To keep his holiday spirit up, together we added little festive touches to his room. His favorite part is that he got his very own tree.
> 
Well, that’s it for the tour. Thanks for stopping by and Happy Holidays to you!