DIY Split Pea Wreath
Who is ready for spring? Probably everyone who is reading this, including me. I am so tired of all of snow and freezing temperatures. To invite and welcome spring to this part of Earth, I am sharing a Spring DIY Split Pea Wreath. Last year, I had made a spring moss wreath. So this year, I decided I would make one with food. Sometimes we need just a little green in our lives to help break up all that white snow.

To make this wonderful wreath, I used a straw wreath form, a paint brush, Mod Podge, a large plastic container, and a whole lot of bagged split peas.
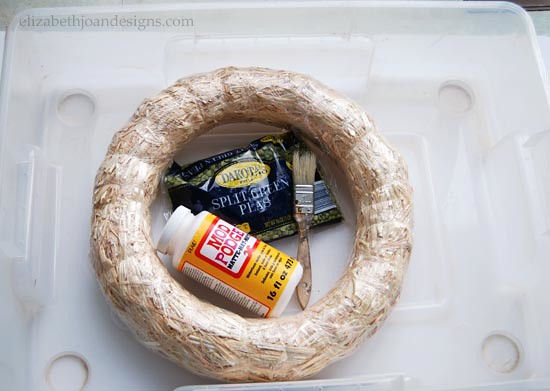
First, I placed the wreath form in the plastic container and painted the front and sides of it with a thick layer of Mod Podge.

Here is my lovely assistant. Do you like his duct tape arm band? He thought it was cool.
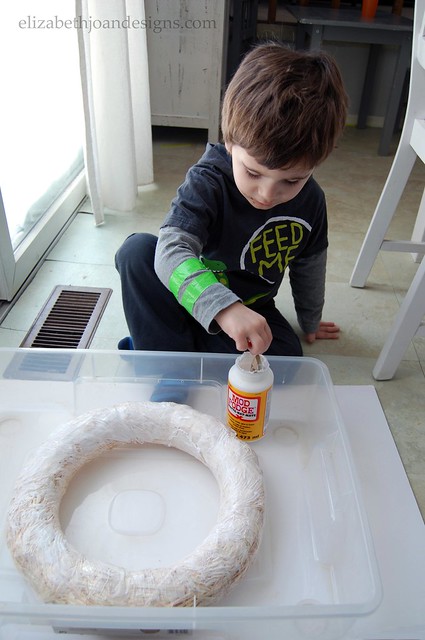
Next, we coated the glue covered circle with the small vibrant colored greens and let it dry.

The little helping hands and I continued this process until every space was filled with peas.

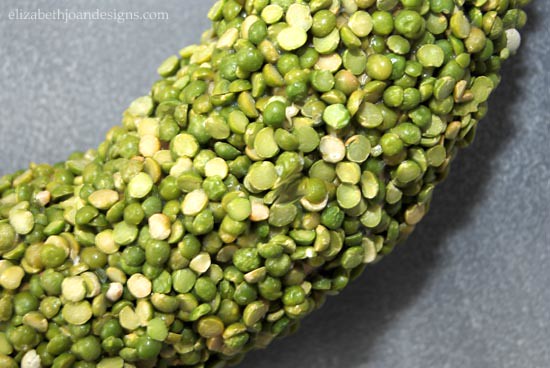
Finally, we were finished and it looked great!

My original plan was to work on this project alone, but I am so glad this was something my three year old and I could do together. It was such a great sensory activity for him. I love how beautiful and simple this wreath turned out too. Okay spring, now it is time to arrive!
You may also like:


4 Comments
Amy
Do you reapply the mod podge after each layer? And how many bags of split peas did it take? Looks great!
Emily
Thanks Amy! Yes I reapplied the mod podge for each layer. I used 6 bags of peas, but I bet you could do with 3 or 4. My little one kept painting his hands with glue and then dipping them in the peas. This made the pleas clump together and they were unusable for the wreath at that point. But he had such a blast, I didn’t mind using a few extra bags of peas :) So glad you stopped by!
sue brown
I just love that easy and simple wreath which I just may have to copy:) thank you for sharing.
Emily
Thanks Sue! It was pretty simple to do. Let us know if you try this! Thanks for stopping by.