-
10 Inspiring Pallet Projects

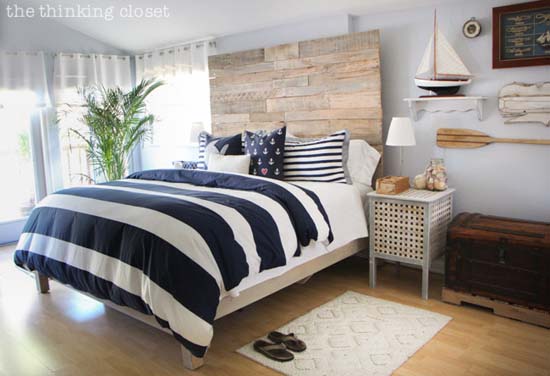
From Thinking Closet 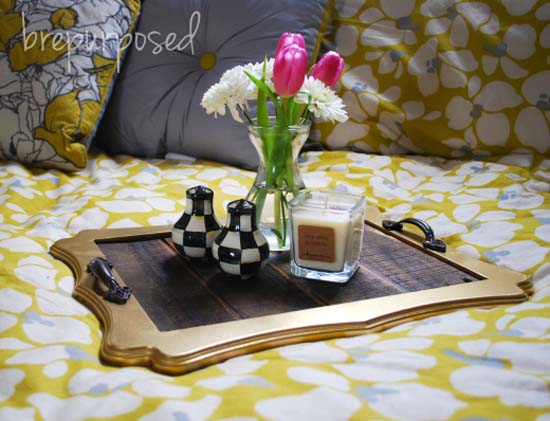
From Bre Purposed 
From Lolly Jane 
From Peculiarmee 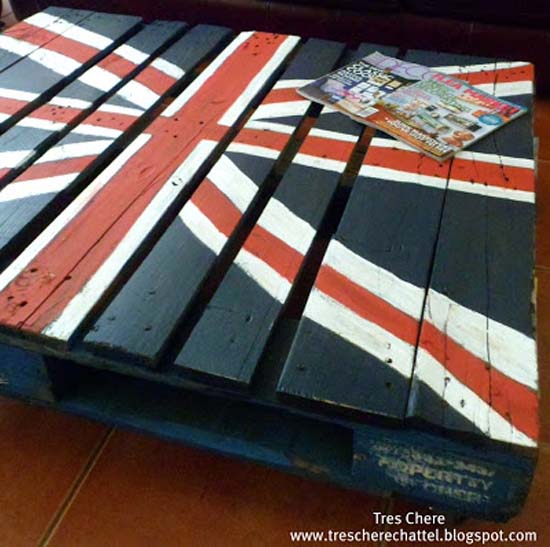
From Tres Chere 
From Upcycled Treasures 
From Little House Of Four 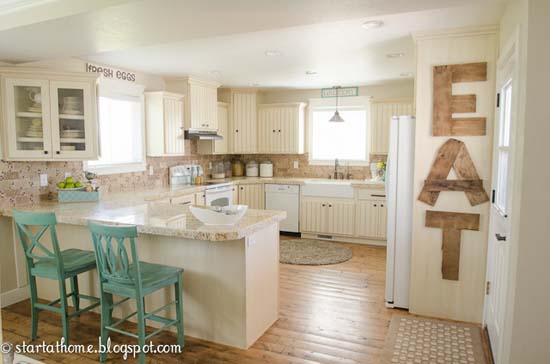
From Start At Home 
From My Love 2 Create 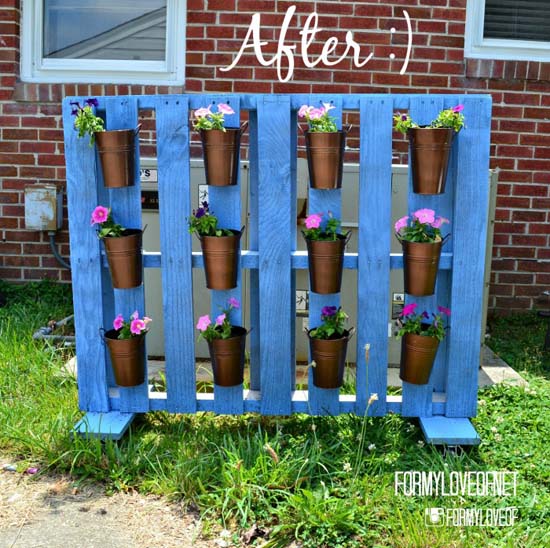
From For My Love Of _____________________________________________________________________ You may also like:

10 Amazing Chalkboard Projects 
Boxes Into Baskets 
Patio Makeover 
Ruler Drum Shade -
The Key To Painting Laminate Furniture
One of my very first DIY furniture projects was when I was 18. I helped my best friend paint a set of identical laminate bookcases with latex paint. She needed them to display her My Little Pony collection. (She’s a little crazy, but I still love her.) We slapped a coat of white paint on the entire set and within a few minutes the paint bubbled up and peeled right off. Clearly this was not the way to paint laminate furniture. So, what is the right way?
Through this experience and many others of painting laminate furniture, I can now present you with the abundance of knowledge I have accumulated on this topic. Is it the right way? I don’t know about that, but it is what works for me.

The particular piece I worked on for this post, is an IKEA Expedite Shelf like this one…

1. Light Sanding
This step is optional, but recommended. Laminate is smooth and glossy. Lightly sanding it dulls the surface enough to assist the primer and paint to affix for a long lasting look.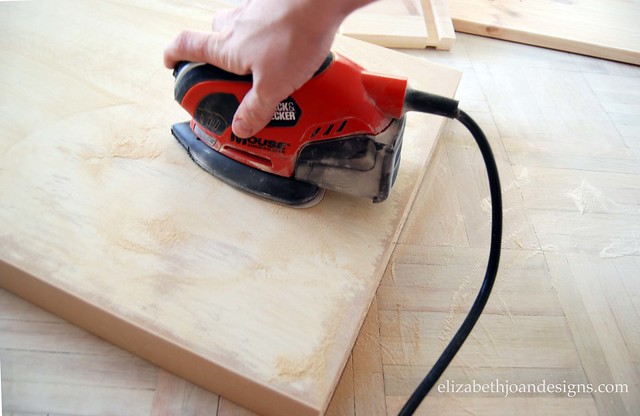
2. Primer
Primer is awesome, and the key to the success of this entire project. It sticks to the laminate and creates the perfect surface for your paint to adhere to. It will help prevent the paint from peeling or being scratched. Zinsser Bulls Eye 1-2-3 primer is generally my pick, but Kilz works well too. I usually let it dry overnight, but some primers can ready in just an hour. Be sure to check the label for accurate timing.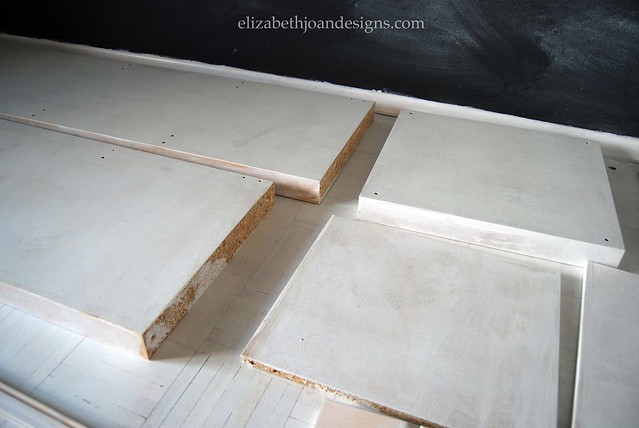
3. Curing Time
This is also a very important step. Because latex paint can be a little tacky and sticky for a while even after it’s dry to touch, it is important to let the furniture sit without being used for at least one to three weeks after being painted. I know this sounds like a crazy amount of time, but it really pays off in the end. You know when you touch two items recently painted, the paint from one will peel off on the other. This curing time will allow the paint to harden and you will avoid this little problem.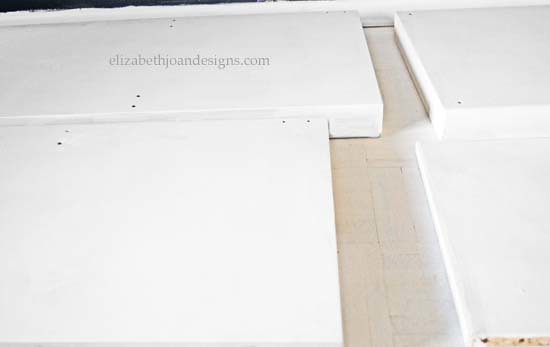
Have you ever attempted painting laminate furniture? If so, was it a success or a fail? Tell us all about your experience in the comments! We would love to hear from you!
_____________________________________________________________________ You may also like:

Tips For Mixing Paint 
Painting Upholstery 
Mason Jar Paint Storage 
Ikea Trofast Makeover -
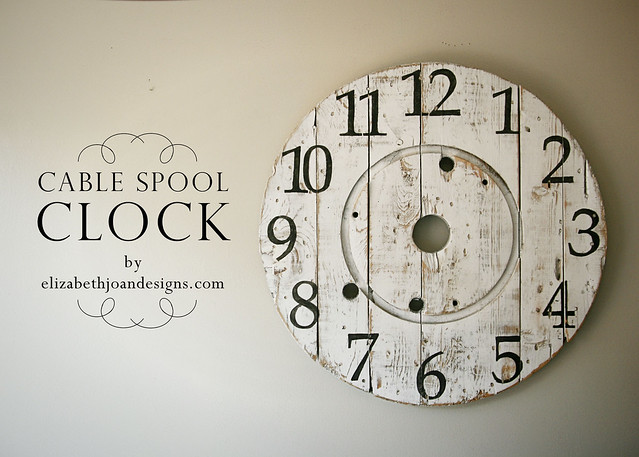
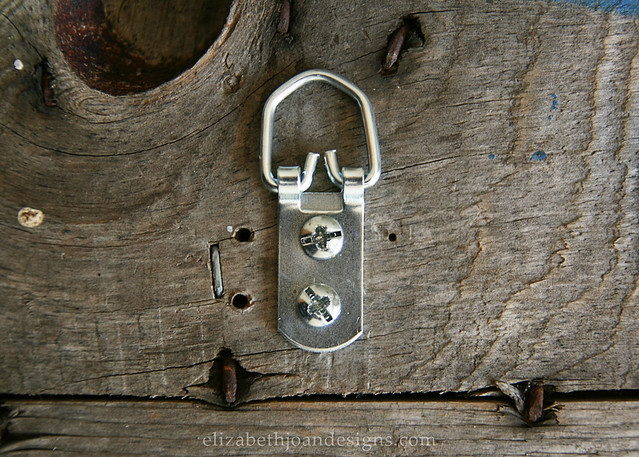
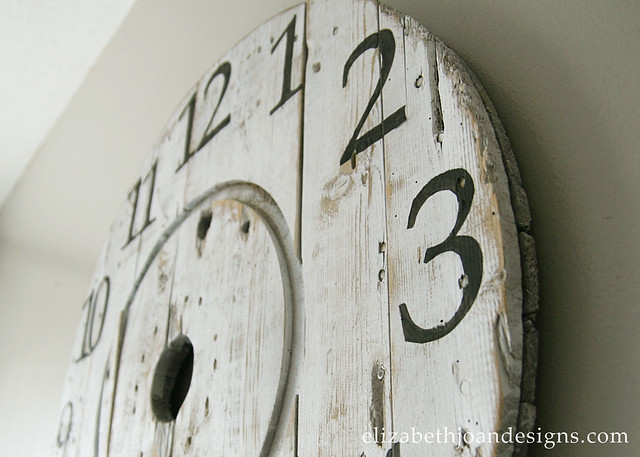
Cable Spool Clock
Do you ever have an amazingly original idea only to find out that it really isn’t that original at all? This post is about just that.
Then my sister told me about a big wooden cable spool she purchased from a garage sale. I thought that if I could find one of those, I could totally pull it apart and use the round end for the clock, instead of spending time putting together and cutting out pallets. Lucky for me, our parents had an old wooden cable spool hanging out at their house, not being used. (Thanks, Parents!)
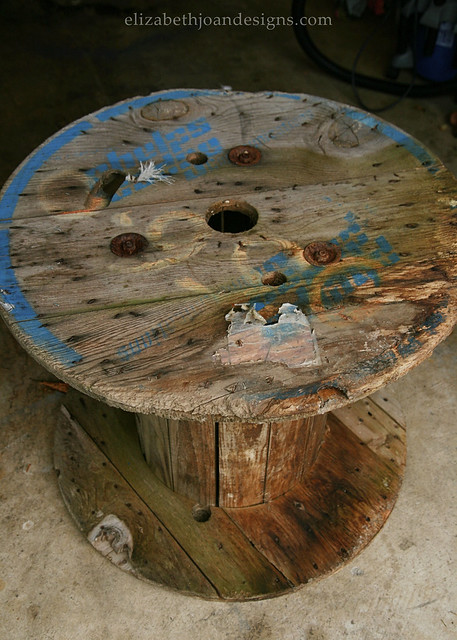
It was a bit rough looking, but totally usable!
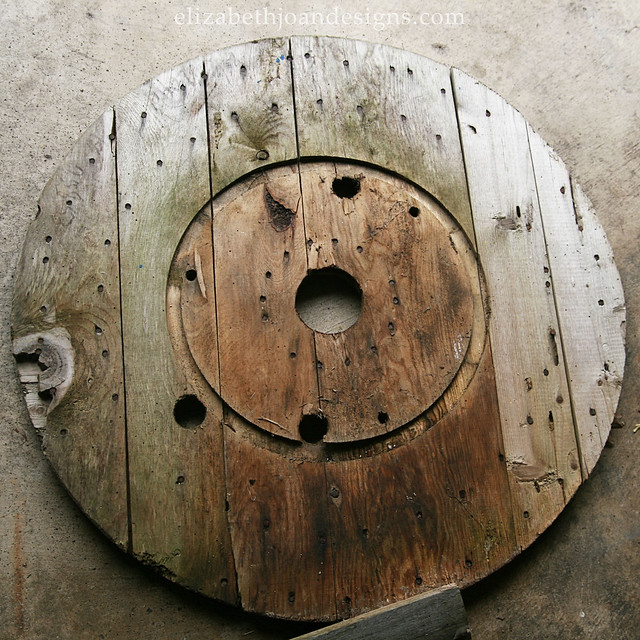
I brought it home and took apart all of the fittings, thanks to a little elbow grease from the Hubs. Sadly, the poor thing sat in my garage for a few weeks. During that time, I happened to come across a photo on Pinterest, of all places, with virtually the same idea. So, I did another search on the picture pinning website for “cable spool clock” and, of course, there were 730,000 different ones. Ugh. So much for trying to be original. Oh, well. I knew I still loved my idea, so I continued on with the project without looking back.


_____________________________________________________________________ You may also like:
Chalkboard Lettering 
Numbered Counter Stools 
Office/Workspace Reveal 
Industrial Numbered Storage -
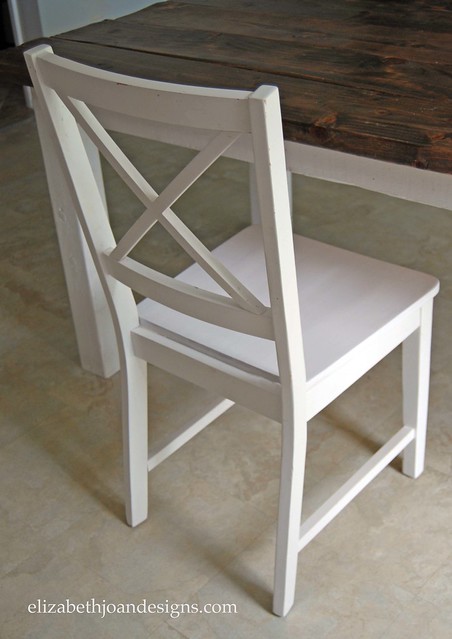
Dining Chairs Update
When you have chairs that look like this…
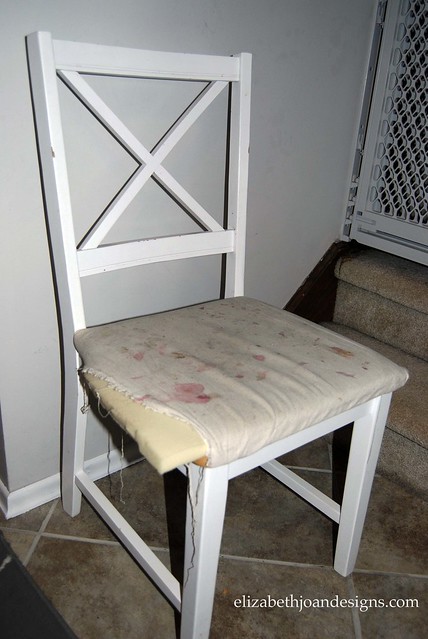
You know they are in desperate need of a make over. I was so embarrassed to even have anyone at my house. I was tempted a of couple times to move these chairs out of my kitchen and bring in others while entertaining, but thought my friends have kids too, so they would understand. Right?
Recovering the seats was my initial plan, but I thought painting them may be a better solution to my messy kid problem. (Sure, I blame it on the kids, but I have been known to spill a drink or two myself.) This way I could just wipe them down when dribbles happen. Here’s the process I went though to make this change.
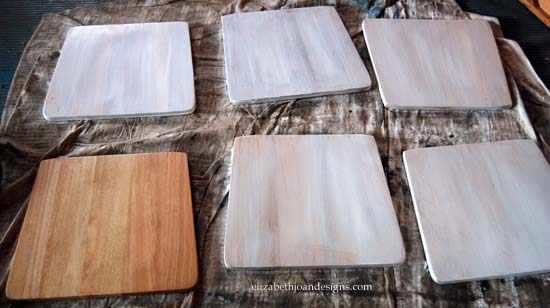
First, I removed the seats, cushions, and covers from each chair.

Next, I applied primer and a couple coats of white semi gloss paint, and waited for all of that to dry. For this process, I just used a good ol’ brush. No fancy spray paint here.

Finally, I reassembled the chairs. They may not be quite as comfy as before, but they will look prettier longer.

What do you think? This was just a quick and easy update to my disgusting seat cushion problem. I am really excited about this new change.
Do you have messy kid problems too? If so, how do you solve them?
___________________________________________________
You may also like:
DIY Dining Table 
Adventures In Upholstery
Numbered Counter Stools 
Scoop Chair Redo