-
Image Transfer Ideas
One of the things that we enjoy the most is trying to figure out how we can DIY something in different ways. Neither Emily, nor I, own an electronic cutting machine, such as a Silhouette or Cricut, so coming up with a way to do images transfers has always been a challange. However, it is one that we accept with open arms.
Lucky for us, our friend Jeanette, from Snazzy Little Things, has created a great round up of image transfer ideas (she is also doing a series on Image Transfers Made Simple.) Plus, many of these ideas would make a great idea for holiday gifts!
Chalkboard Lettering 
Cable Spool Clock 
French Lettered Milking Stool 
Chalk Cloth Map
-
A Simple Desk Redo with Big Meaning
I have been working hard on transforming my oldest son’s room from nursery to a “big boy” room. I am so excited to share this desk redo with you and the meaningful story that goes along with it.

We grew up in a small town in Ohio. During the days when our parents were working and my big sister (Erin) was at school, I spent my time at an in home daycare. Lucky for me, it was also our grandparents’ house.
I have so many fond memories from this period of my life. One of my favorites is the time when my cousin Amy and I discovered where our grandfather kept his secret stash of chewing tobacco. The hiding spot was in the bottom, back of a drawer in his desk. In the exchange for our silence in not telling our grandmother, he gave my cousin and I our very own special drawer in that same desk to keep our drawings and art work in. Our Grandpa was definitely not someone who was afraid of conflict, but he always said “Grandma is the boss and don’t want to make Boss Nanny mad.” So we kept our silence and our drawer.
It has now been 25 years since then and our grandpa has passed away. The desk remains in pretty good shape and I am now the proud owner.
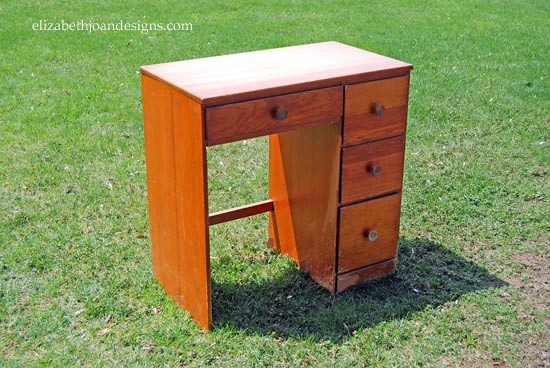
When I first inherited the desk, I opened each of the drawers and was hit with a very familiar smell. Tobacco. Ah, Grandpa. As I opened our special drawer, I saw crayon marks all along the walls of the it. The memories just kept coming back to me.
As much as I loved this desk as it was, it did need a little work. When trying to decided what to do with it, I thought about my grandpa and how back in 2010 he was in the nursing home, not doing too well. I was pregnant with my first son and he kept saying he wanted to see that baby before he died. He did end up getting his wish and I hope our grandfather would be pleased that my oldest son will be getting this desk in his room.
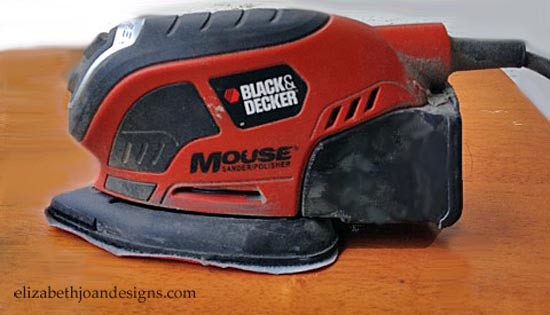
To spruce this baby up, I first sanded down the entire exterior.
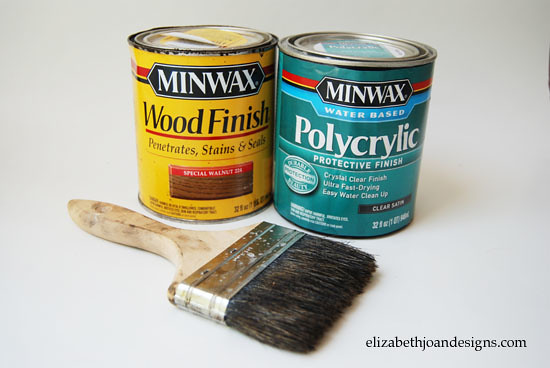
Next, it was time for the stain. Using a natural brush I applied a coat of Minwax Special Walnut to the desk and drawer fronts. I made sure to wipe off any excess stain that did not soak into the wood with a rag.
Then, I used a synthetic brush and swept on three coats of Minwax Polycrylic. I love this stuff because it is water based and does not leave the surface looking yellow.
Finally, I added some new hardware, stood back, and admired my work.
I just love how it turned out and my little guy is pretty excited too. His one and only request was that we display a few pictures of our family on top of it. Do most four year old boys request pictures of their parents to have in their bedroom? I think it is so sweet. I found these fun art frames at Tiny Prints and they work perfectly for our needs.

It’s so wonderful to have this meaningful piece of furniture in my home. And someday, when my son gets older I will have the pleasure of explaining to him why his desk smells so weird. Haha.
____________________________________________________________________ You may also like:
Upcycled Tripod Table 
Upcycled Corkboard 
Numbered Wooden Crates
Cable Spool Clock -
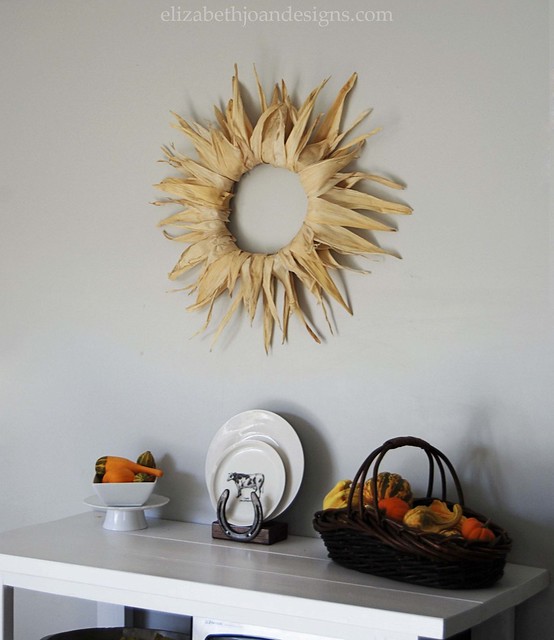
Corn Husk Wreath & Thanksgiving Blog Hop
Today we are sharing a DIY Corn Husk Wreath and a Thanksgiving Blog Hop. Eleven bloggers have come together to help you prepare for the upcoming Thanksgiving holiday.
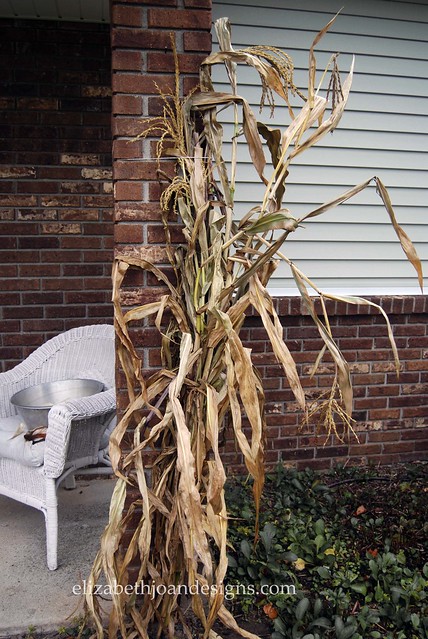
Every day when I drive my boys to and from preschool, I pass a little fall farm stand. After driving past it 4 times a day, 5 days a week, it started to call my name. “Emily. Emily. You know you want to stop.” I finally decided to listen to the crazy voices in my head and see what treasures they were selling. To add a touch of fall festivity to our front porch, I carefully shoved three bundles of corn stalks into my car. We do not have a huge car, so I had to feed these puppies in from the back hatch and push them between the boys car seats without injuring anyone. Luckily, we all made it home safely.
When we got home, my wonderful husband helped me attach the stalks to our brick pillars. After a day or two of displaying them, I started to wonder what else I could do with corn stalks. That’s the moment when the brilliant idea of making a corn husk wreath came to me.
Supplies
– Corn stalks with corn still attached
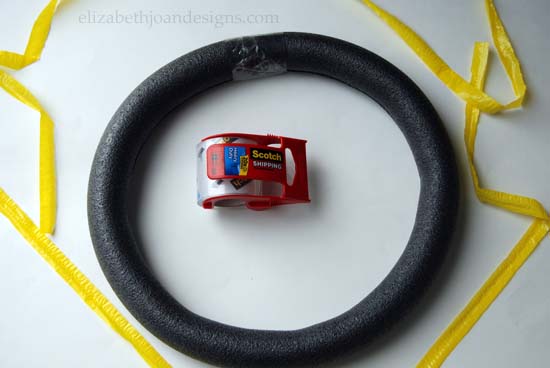
– Pipe insulation tube wrapping (I used this as my wreath form.)
– Burlap
– Hot glue gun and glue sticks
– Large container for soaking corn husk
– Bleach
– Packing TapeFirst, I removed the plastic seal and taped the ends and center of the pipe insulation together to create a wreath form.
I covered the entire tubing with burlap to conceal it. The burlap also prevented me from completely melting the form with the hot glue.
Next, it was time to collect my corn husks from the stalks. I shucked the corn. (Never thought I’d say that in a blog post.)
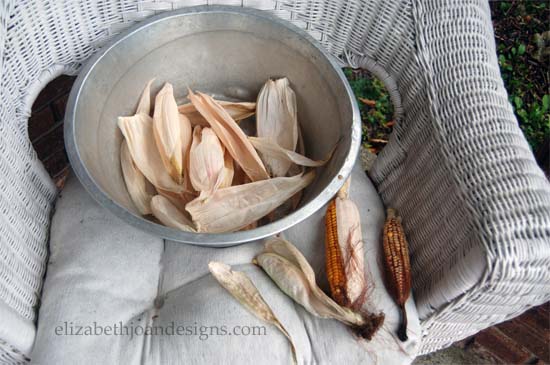
Because these bundles had been getting a little old, I soaked the husks in a bleach/water solution to kill any mold that started to grow.
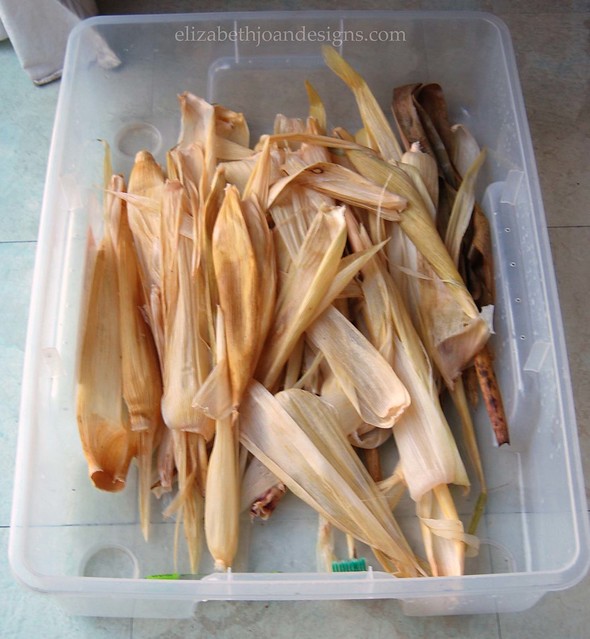
I placed all of the wet husks flat onto a towel to begin to dry. Something I learned along the way was to not let them dry completely. They seemed to mold to the shape of the wreath form better when damp. If they were too wet the hot glue wouldn’t stick to them.
Then, I glue the husks to the burlap in layers. I used A LOT of glue sticks, but it was well worth it.
Finally, I completed the wreath by trimming the ends of a few unruly pieces.
I am so pleased with how this project turned out and it only took me about 30 minutes. It will make the perfect harvest decor for Thanksgiving.
____________________________________________________________________ Hop on over for more Thanksgiving inspiration from our bloggy friends!
Home Made by Carmona / Elizabeth Joan Designs / Hawthorne and Main /
Dwelling in Happiness / For My Love Of / Bumble Bree Blog / Not a Trophy Wife /
/ Latte Everyday / Renovar Design____________________________________________________________________ You may also like:
Horseshoe Plate Holder 
Grateful Art 
Book Page Wreath 
Pinecone Fire Starters -
Breakfast Nook Progress
I’m back today to share some updates that have been going on in our breakfast nook. We’ve made a decent amount of progress since we last shared what was going on in the room and things have really changed from the time that we moved in.
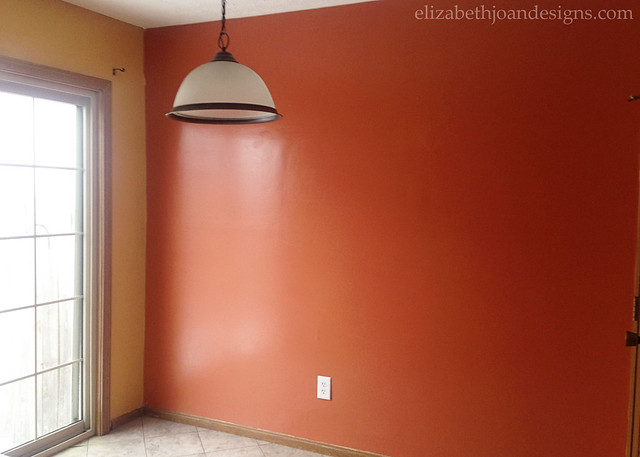
Below, you can see how the space looked before we touched it. The paint colors were very bright and the room just needed some general updates. We added a couple coats of paint (Benjamin Moore’s Revere Pewter), as well as finding a new to us dining table, but there was still a lot to be desired.
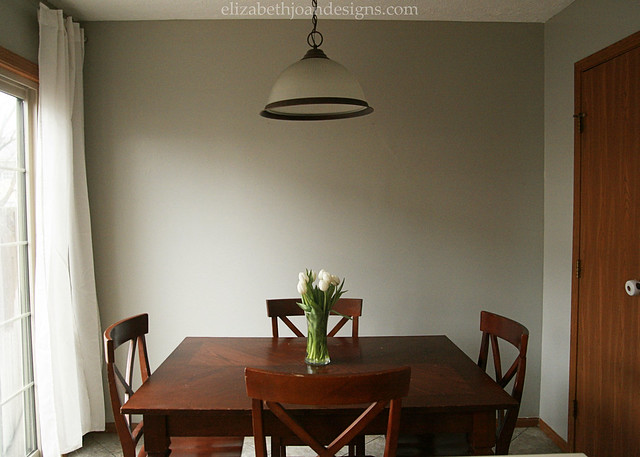
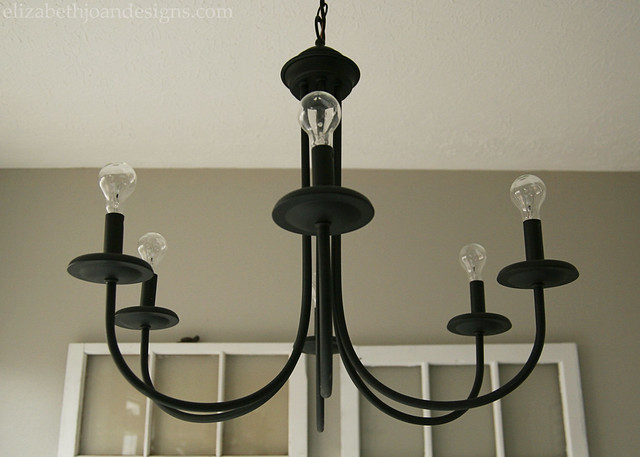
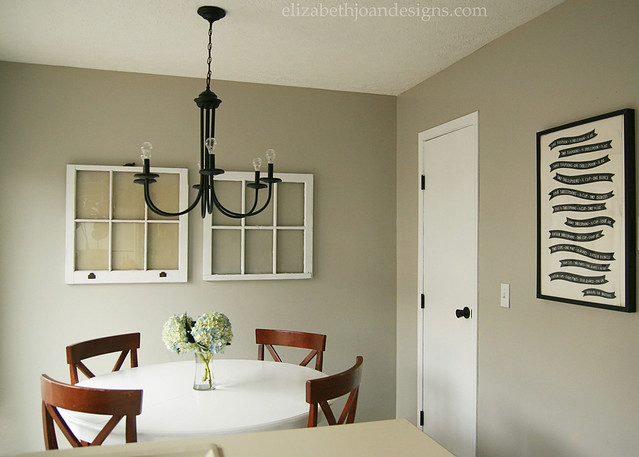
One thing that made a big impact was to change the lighting in the room. We added this black chandelier, which we love for it’s simple style. I’m not crazy about the light bulbs that are currently in place, but once we find something we like, that will be an easy fix.
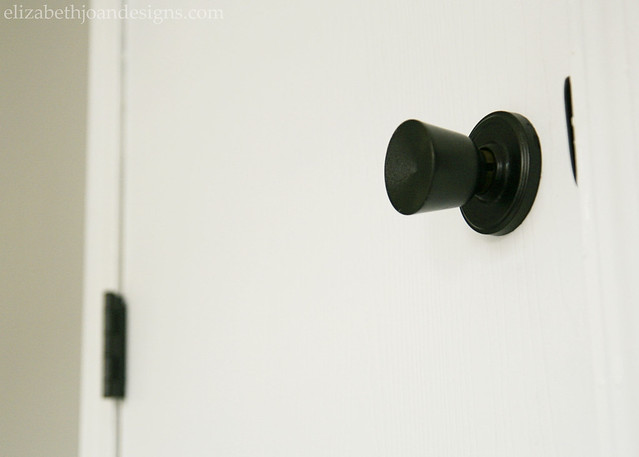
We also painted all of our trim and doors white and hit the old hardware up with some of Rustoleum’s Oil Rubbed Bronze spray paint.
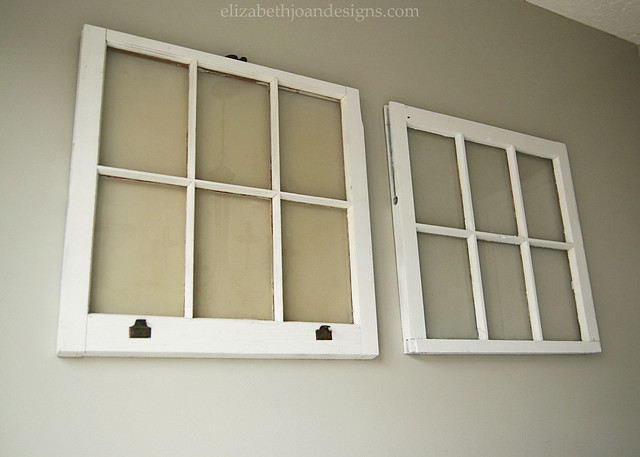
For decor, I added two plain old windows to the wall. One was from my grandmother’s home and the other was given to me by my lovely sister. I love that both of these windows have a bit of sentimental meaning, even though they don’t match each other perfectly. Plus, we can add seasonal wreaths or family photos if we decide we want to dress them up a bit.
I always enjoy adding a little freshness with flowers, especially when they are as beautiful as these hydrangeas!

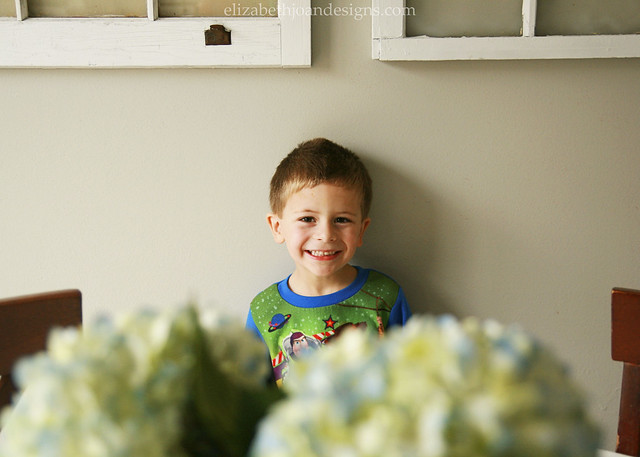
Here’s my little staging/photography helper.
Our breakfast nook is really coming along and we are so happy with how it is turning out, even though the progress may be a bit slow.
There are a few more items on our to-do list, like redoing the flooring and replacing the chairs. (We decided to go with the Henriksdal from Ikea, but have yet to make the two hour drive to get them. Thanks to everyone who weighed in, both in the comments and on Facebook.)