-
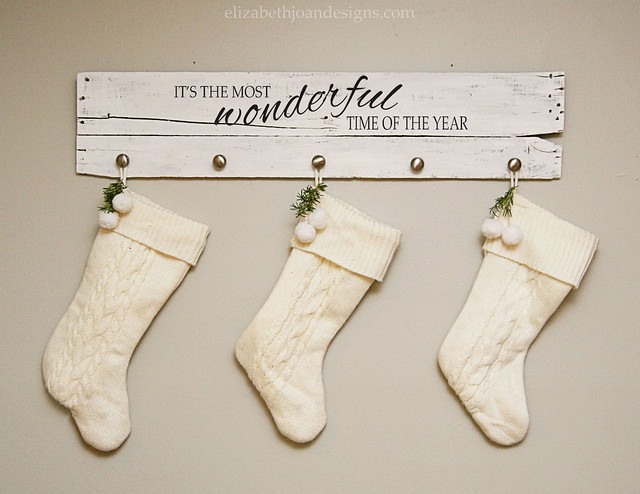
The Most Wonderful Time of the Year Stocking Hanger
If you haven’t done it already, it’s time to start decorating for the holidays. We’ve been slowly pulling piece by piece out of storage, but have yet to actually put up a tree. In the process of getting things ready, we were asked to join in on a Holiday Song Inspired Project Blog Hop. Since we didn’t have a place to hang our stockings this year, I decided to make a stocking hanger with some fun holiday lyrics on it.

In the past, we’ve had a mantle or ledge we could hang our stockings from, but in our current home, we have nothing. No Mantle? No Problem!
I found some random boards (reclaimed wood?) in our garage and thought that maybe I could use them.
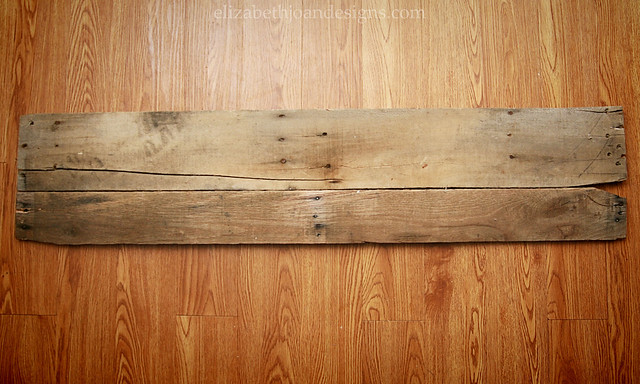
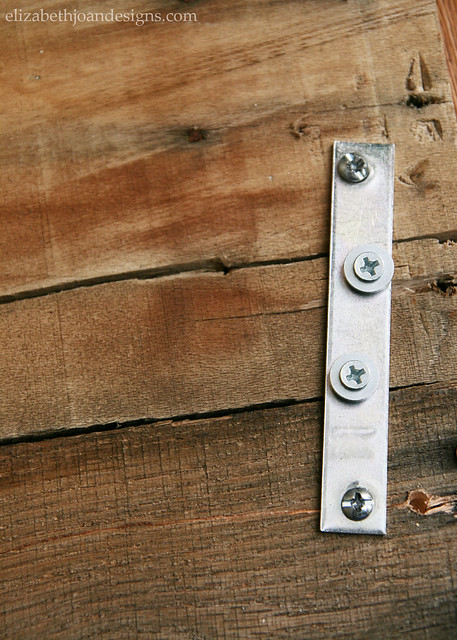
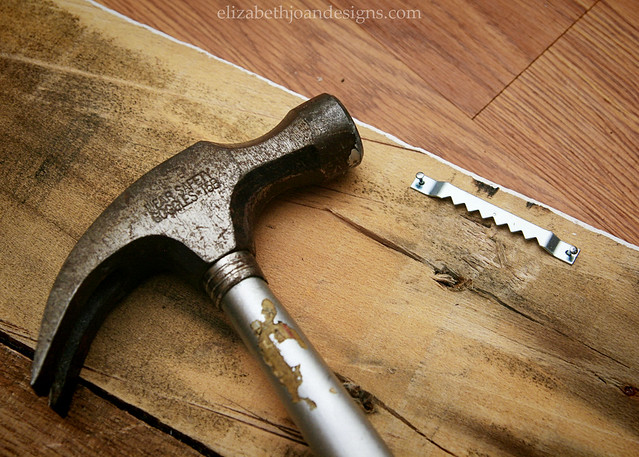
So, after a quick run to the hardware store to grab supplies, I got to work. First, I attached both boards together with a couple of flat braces.
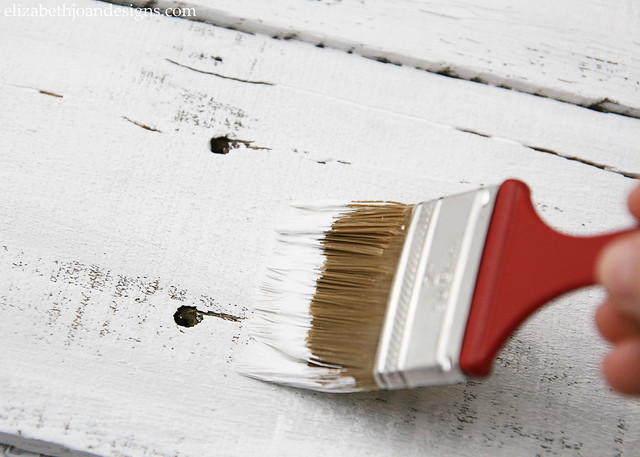
Next, I slapped a quick coat of chalk paint on the front of the boards. I only did one thin, sloppy coat and it was just enough to give the boards a weathered look.
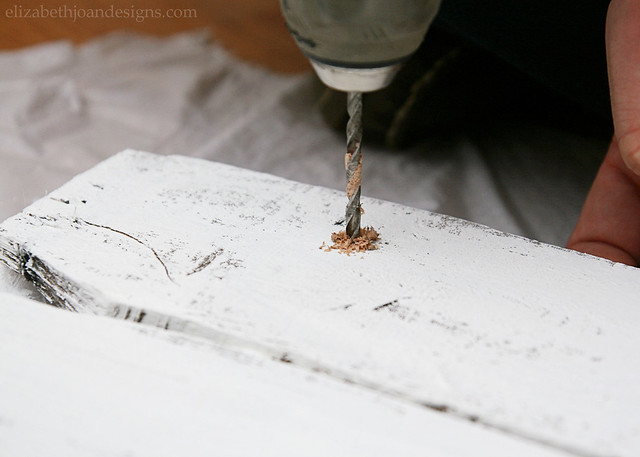
Then, I measured and marked 5 equidistant spaces out and had my hubby help me drill holes into the wood. *Side note: I’m typically decent at drilling, because it is pretty straight forward, right? However, these boards were ridiculously hard. I swear my hubs had trouble getting the screws in these too and he is the strong one!
After that, I screwed in the knobs to hold up the stockings.

As for the wording, I used my favorite technique to transfer the lettering from paper, only this time, I used pencil instead of chalk. I attempted to paint the words in with black acrylic paint, but it was super hard to get solid/straight lines, so I ending up turning to my trusty black Sharpie to finish the rest.

Finally, I added a couple of self leveling hooks to the back and hung it up.
Don’t our stockings look so cute? And I’ve heard that Santa has some goodies to fill them up with too!
Now, it’s time to check out some other fun Holiday Song Inspired Projects on this Blog Hop from the following fabulous bloggers!

Joy to the World Painted Burlap Plaque by View from the Fridge
The Most Wonderful Time of the Year Stocking Hanger by Elizabeth Joan Designs
All Is Merry and Bright Chalkboard card by Silhouette School
Home for the Holidays Painted Sign by One Krieger Chick
Sleep in Heavenly Peace Card Display by 3 Little Greenwoods
NOEL Christmas Pillow Set by Dolen Diaries
Deck the Halls DIY Art by A Prudent Life
Let It Snow Sign by The Blue Eyed Dove
Holiday Printable by Crafts by Courtney
Joy To The World by My Creative Days
-
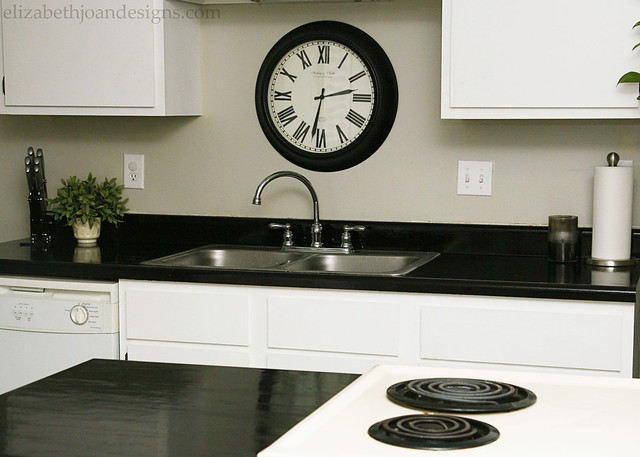
Painting Laminate Countertops
I’m back with more changes to our kitchen. The last time we shared an update it was our painted cabinets. (Read more about that here.) Last weekend we decided to take the plunge and try painting our laminate countertops.
Initially, we thought we wanted to try to do something that looked like granite. There are a lot of DIY versions of painted counters on the internet and if for some reason it didn’t work out, our plan was to just buy new ones.
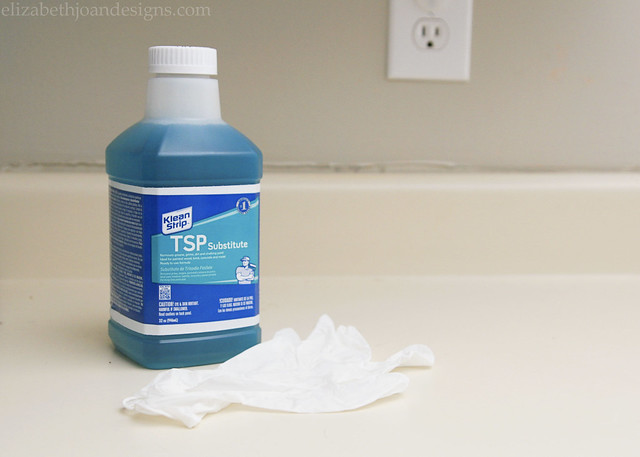
My hubby, Chris, started by removing the caulk around the edges of the counters and wiping everything down with a TSP Substitute to get off any extra grime or gunk.
Next, he taped around everything that we didn’t want to get paint on. We’ve found that if you take a damp paper towel and go over the tape (Blue Painter’s Tape or Frog Tape) that it kind of seals it so the paint will not leak through.

Then, he applied one coat of Zinsser Cover Stain Primer with a brush.

We let that dry for 2 hours and then, starting on opposite counters, we painted one coat of Rust-Oleum Black Oil Based Paint in Gloss. This stuff is super thick and we only needed one layer to get ample coverage. We let it dry for 24 hours before doing anything else.

The next part of the plan was to apply acrylic paint with a sponge to give the counters a granite type look. After a few attempts at applying the paint, we decided to completely nix that idea because it just wasn’t turning out the way we had hoped. Luckily, the acrylic paint had not dried completely and we were able to get it off fairly easily with a wet sponge. Thank goodness!
Since the counters were looking pretty good in their glossy state, we decided just to go with it and applied a protective top layer. We used three coats of Rust-Oleum Painter’s Touch Ultra Cover in Clear Gloss, as recommend by our local hardware store paint guy. I kind of gave this idea the side eye because we had planned on using an oil based polyurethane. However, it seems to be working out OK so far.
The clear gloss paint looked blue-ish going on, but it dried completely clear. I’m thinking I will go back and add a few more layers just to give it some extra durability.

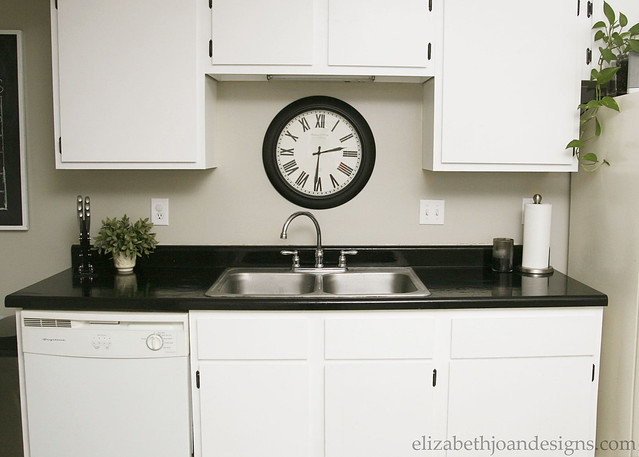
We really love how our kitchen looks now! The dark counters add the perfect contrast to our bright white cabinets. Every thing is so smooth and easy to clean off. There are visible brush strokes, but it honestly doesn’t bother us one bit.

Because we’ve only had our “new” countertops done for a week, there has not been a lot of wear and tear on them. However, they seem to be holding up just fine with normal use and cleaning.
I will definitely share an update if we notice any problems, but so far, so good. Here’s hoping for the best!
(Update: Our countertops started to peel/flake over time. Please consider using an oil based polyurethane in addition the the oil based paint. You can read more about our countertop update by clicking here.)
____________________________________________________________________ You may also like:
Open Shelving in the Kitchen 
Range Hood Makeover 
Dining Room Progress 
The Key to Painting Laminate Furniture -
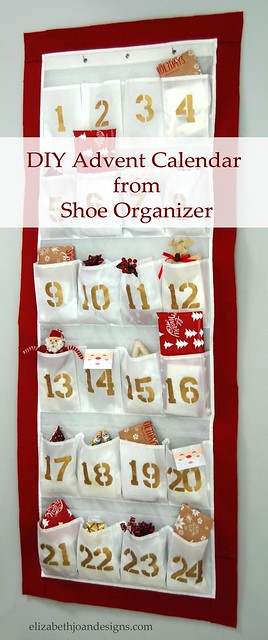
Advent Calendar Made from Shoe Organizer
I love a good count down to any holiday, so making an Advent calendar this year was a no-brainier. I found inspiration here while browsing the holiday section. To me, using a 24 slot over the door foot-gear organizer made the most sense for my budget.
Follow along and you can make your very own Advent Calendar!
Supplies
– 24 pocket over the door shoe rack – white
– Red wool
– Gold paint
– Spouncer
– Reusable number stencils
– Scissors or rotatory cutter
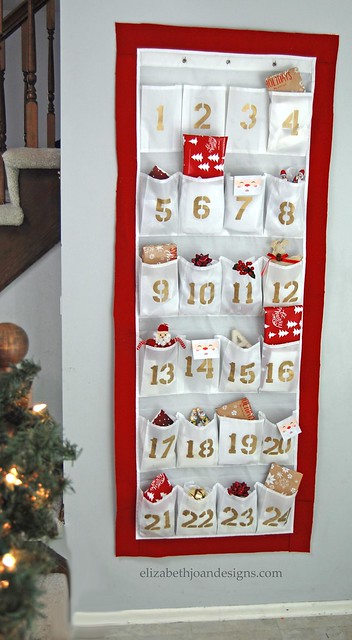
– Glue gun and glue sticksFirst, I began making my Advent calendar by stenciling numbers in sequential order to the fronts of the 24 pockets on the sneaker holder. I used my spouncer, gold paint, and stencils to make the
flawlessnumerals.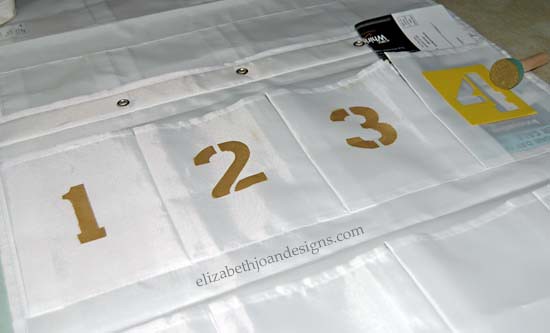
My recommendation to you if you are attempting this project, is to splurge a little bit on the plastic stencils vs. paper. Once my papers ones got wet, they started to pucker which made it hard to get crisp lines. There were also hours spent sitting around waiting for the paper stencils to dry. I had to reuse the 1 and the 2 many, many times so I am sure you can image the boredom I put myself through.
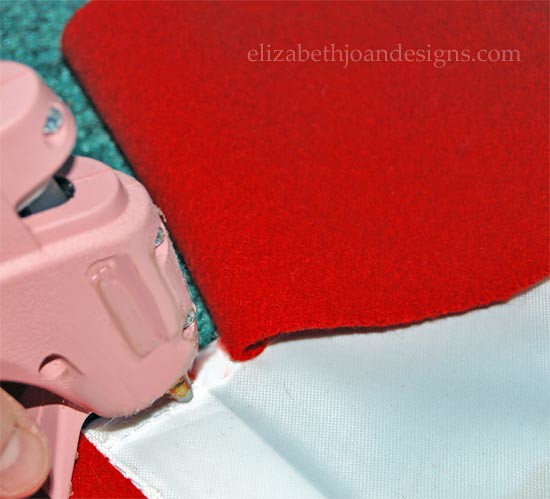
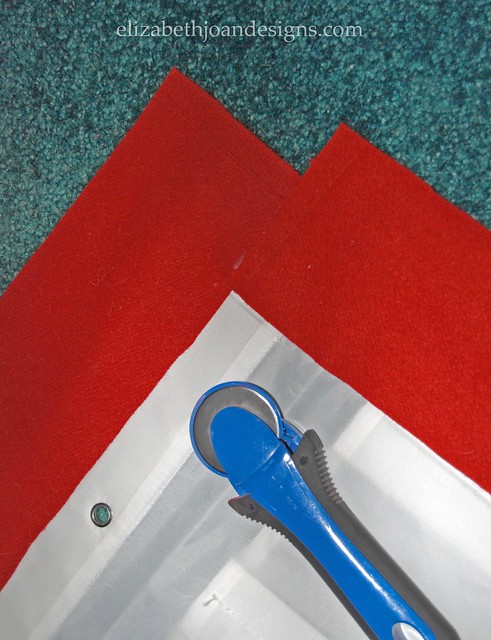
Next, I cut 4 strips of the red wool about 5 inches wide that are for the outline of the calendar. There was no exact science to this, I just eyeballed it. The red wool I used was something I had inherited from my grandmother. This just seemed like such a wonderful project to use this special fabric for. It adds another layer of meaning and a pop of color to the Advent calendar. I used the hot glue gun to attach the fabric strips to the edges of the footwear organizer and trimmed the entire border with a rotatory cutter to give it clean straight edges.
< 
Finally, it was time to hang it up and place all kinds of Christmas goodies for our little ones in the pockets. There are a few toys and candy dispersed throughout the days, but most of the pockets have a festive family activity for us to do.
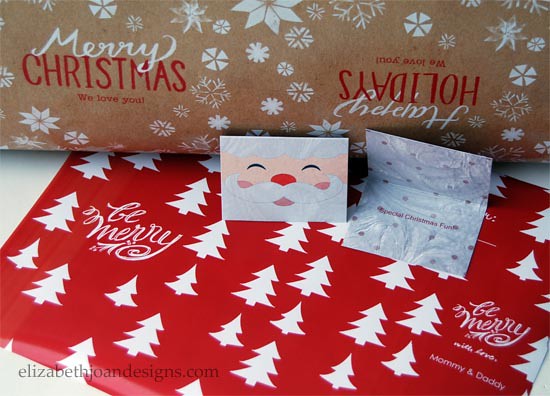
Just because I love personal touches, I decided to use these adorable personalized gift wraps and gift tags from Tiny Prints to conceal our packages and write special messages in.
I am really excited how this project turned out and our boys really love it too!
____________________________________________________________________ You may also like:
Festive Paper Stars 
Whitewashed Brick Fireplace 
Chalkboard Tins 
Knit Vases -
Festive Six Point Paper Stars
I love a fun and simple paper craft. There is something about just being able to whip out a bunch of items in a short amount of time that is very gratifying. A couple of years ago, I came across a super awesome blog called Kate’s Creative Space. Kate has so many amazing projects and fun ideas that she has shared. One of my favorite, yet easy, projects is her 3D paper stars, so I’m sharing my version of these Festive Six Point Paper Stars and how I did them.
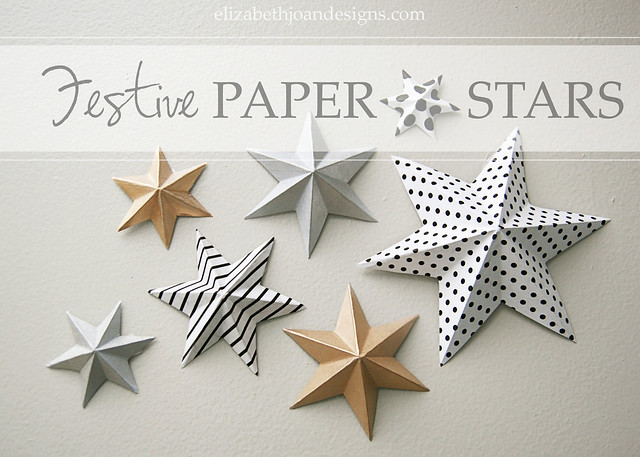
Paper stars can be used for so many occasions as wall decor, garlands, package tags and even inexpensive ornaments for a tree. Here are the supplies that I used to make mine:
cardstock // scissors // ruler // pencil // round object with a flat side 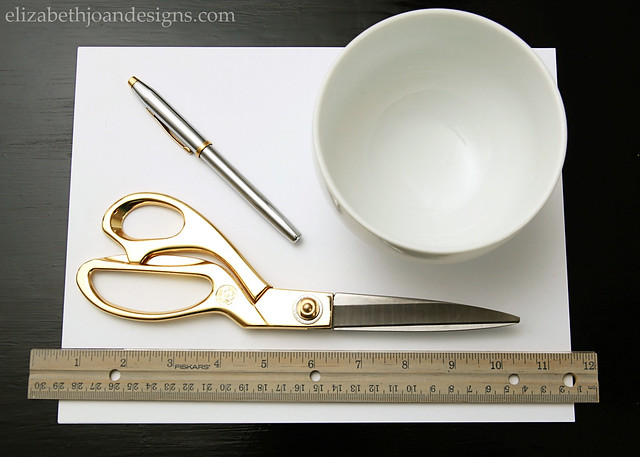
I actually used a pen here, just so it would show up a little better.
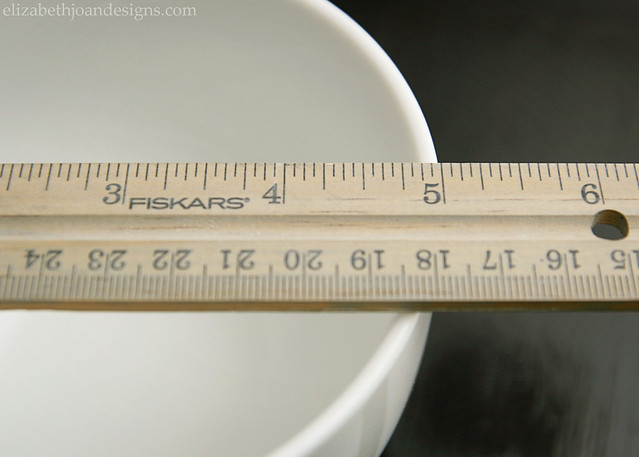
Start by measuring the diameter of the round object and dividing that in 2. Keep that number in mind. (My bowl measured 5 inches across on the side that I would be tracing around, so my measurement to remember was 2.5 inches. Geometry fact: that’s the radius!)
Trace around the bowl and mark a starting point along the line. Measure with the ruler around the rim from the starting point and mark six equidistant points around the circle using the predetermined radius measurement.

Next, connect all alternating points with a line. This will look like two triangles overlapping.

Then, cut out the star with super awesome gold scissors!

To make the star 3 dimensional, fold the star in half, with the right sides facing, along each of the INNER points. Do this 3 times total.

After that, fold the star in half, with the wrong sides facing, along each of the OUTER points. Again, make 3 folds.

The star should now be 3D. Refold and score again to make the angles pop!

These adorable stars are so fun and you can make a bunch of them in a short time, assuming you are not documenting the process with a camera in crappy lighting. *wink*

So, grab some fun paper and get to work making your holidays FESTIVE!
____________________________________________________________________ You may also like:
Pocket Hand Warmers 
Salt Dough Starfish Ornament 
Gift Wrapping Ideas 
Pinecone Fire Starters
