-
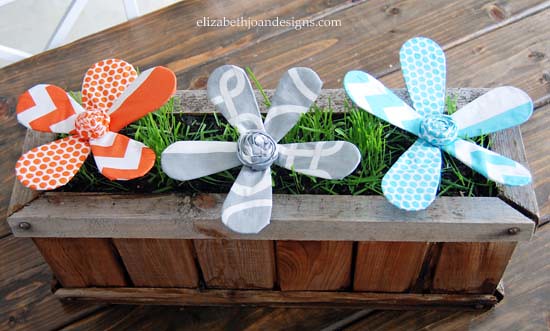
DIY Whisk Flowers
We shared this fun DIY Whisk Flower tutorial last May on It’s Overflowing. Aimee was so kind by inviting us to guest post for her. Just in case you missed it, we wanted to share these little beauties with you again.
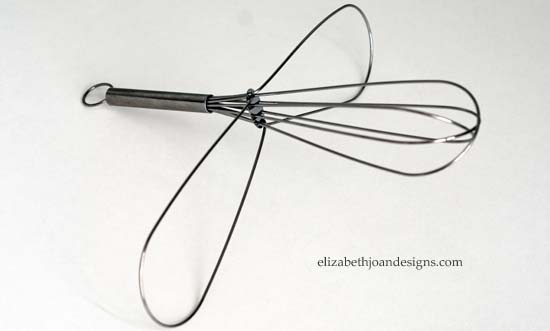
A few weeks ago, I was getting ready to donate a box of old cooking utensils when my four year old son saw a wire hand whisk we were about to part with and asked if he could keep it. I said “sure.” A few minutes later, he asked if I could turn it into a butterfly for him. As I started to pull it apart, I realized that this was an impossible task and it looked more like a flower than a butterfly. At this point he was no longer interested in the whisk, but now I was. There were endless possibilities here!
Whenever any type of creative idea hits me, I always call my sister, Erin. Her and I talked, hashing out the details for this whisk flower, deciding that wrapping it in fabric was my best bet. She recommended the magic number of three and I agreed. So, off to the store I went to buy a couple more wire whisks and make my fabric selections.

First, I started by pulling each wire loop apart from the grouping to create the petals.

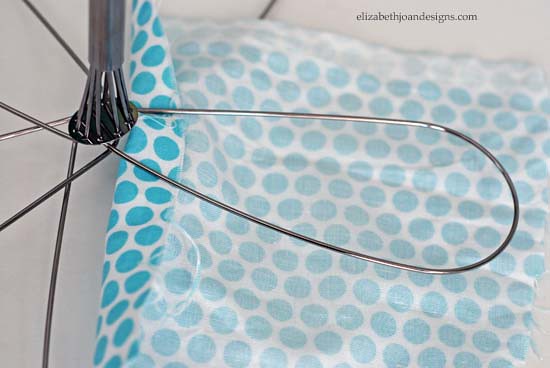
Next, I cut small strips of fabric and wrapped one around each petal, attaching it with liquid stitch glue. (I noticed when I was making my first flower, that I could see through the white parts of fabric a little bit. So for each additional flower I made, I first wrapped the petals with plain white muslin, then with the patterned fabric. Problem solved! This made them look much better.)

Once I completed the whole flower, I got back on the phone with my loving sister and we started brainstorming ideas for the center.
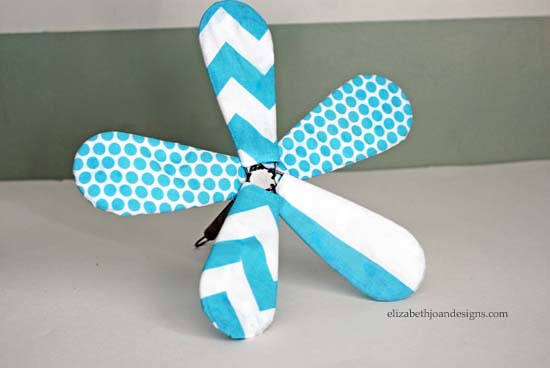
After a few text messages and several minutes of talking, Erin suggested that I make fabric flowers to be the centers, and I did just that.
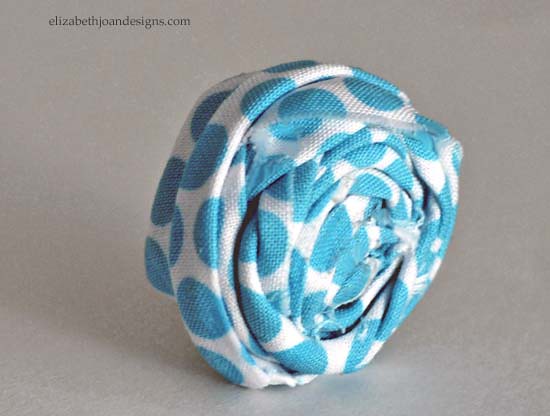
Long strips of fabric were rolled up and glued to the middle of my whisk.

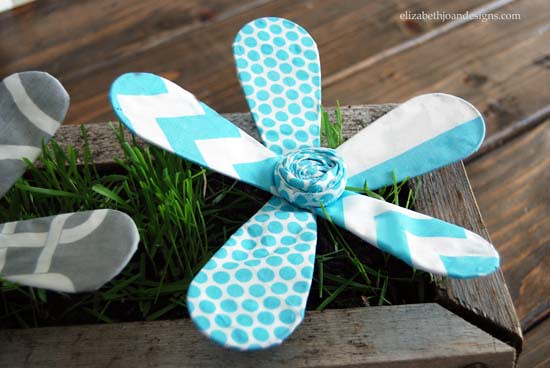
Finally, I repeated all of the above steps until I had three beautiful blossoms.

Aren’t they adorable? They make the ideal spring/summer decor. These would also be so cute for a party, or a mother’s day gift. Like I said before, the possibilities are endless.
_____________________________________________________________________________ You may also like:

Chalkboard Succulent Planter 
Ruler Succulent Planter 
Faux Topiaries 
Toilet Paper Roll Plant Starters -
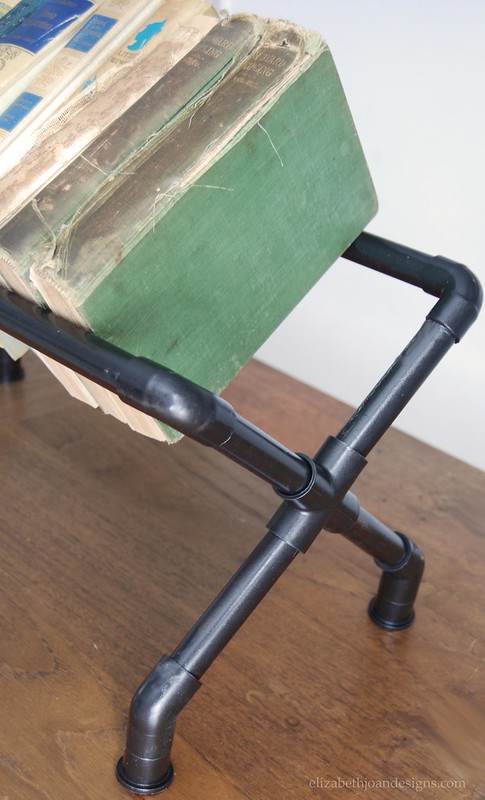
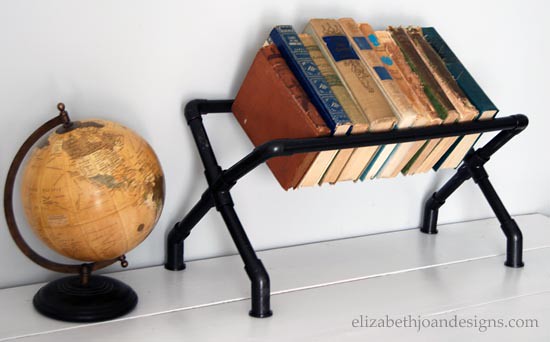
Industrial Book Rack
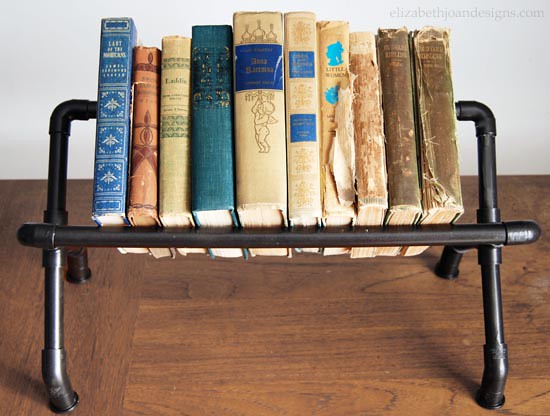
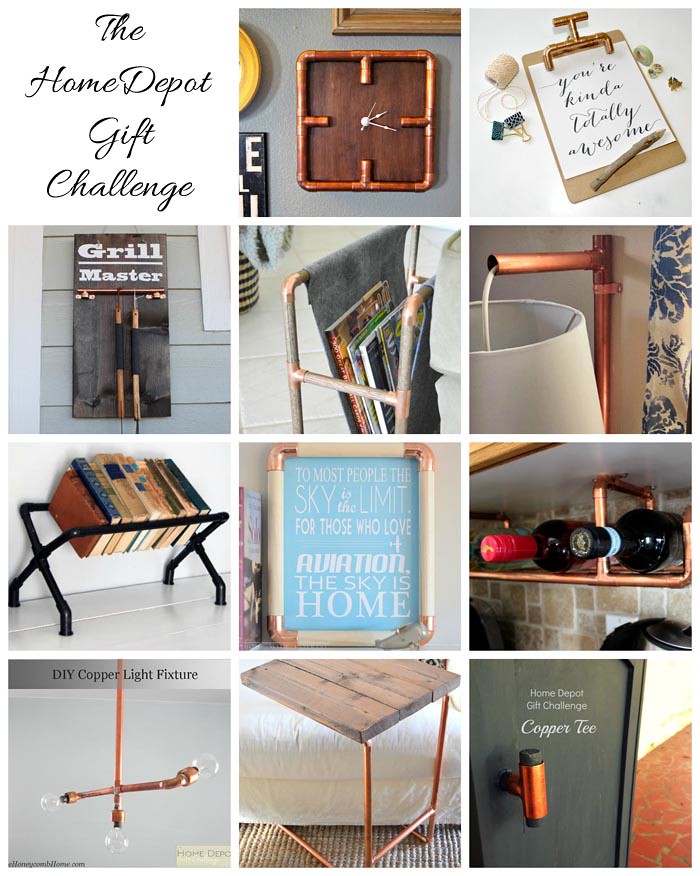
We have been invited to join a talented group of bloggers in a DIY monthly gift challenge. Each month a different item from The Home Depot will be chosen and each blog will share a fun tutorial using that item. This month’s pick was a copper fitting. I decided I was up for the challenge, purchased several copper elbows and other parts, and got to work making my hubby a Restoration Hardware inspired Industrial Book Rack.

This challenge is in no way associated with The Home Depot. We just love their stuff!
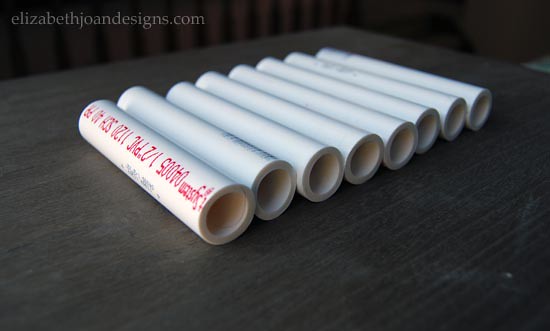
My shopping list from The Home Depot consisted of:– (4) 1/2″ x 2′ PVC pipes
– (4) 3/4″ copper elbows – 90 degree
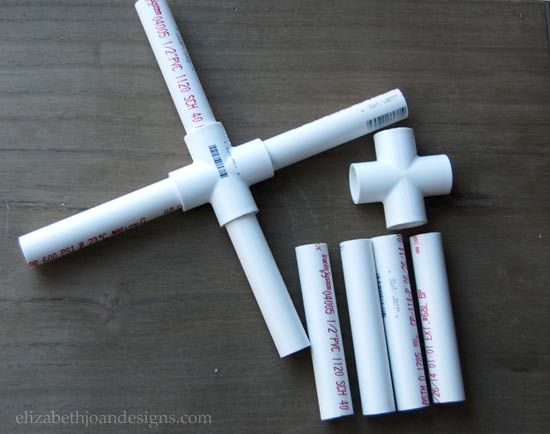
– (2) 1/2″ PVC crosses
– (4) 1/2″ PVC elbows – 45 degree
– (4) 1/2″ PVC reducers (I found these in the electrical aisle.)
– Can of Rustoleum Spray Paint and Primer- Oil Rubbed Bronze
– PVC Pipe Cutters
– Twine (I used it for a gift wrapping embellishment.)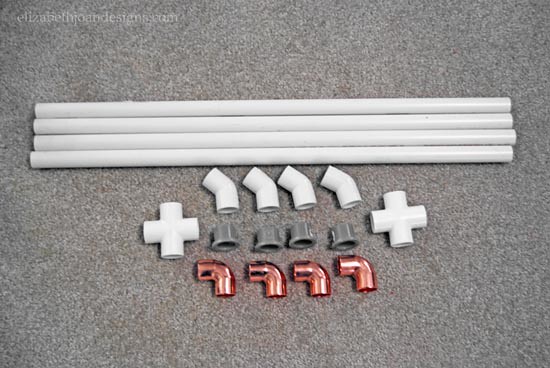
I decided to start with this book stand’s feet.

1. I measured out four 1 1/4″ sections and marked one of the 2′ PVC pipes with a pen.
2. I cut each marked section with the PVC cutters. I paid $10 for the pair of cutters I used, but they cut with ease and were totally worth it.
3. Each cut PVC piece was placed between a reducer and a 45 degree elbow and connected together.
4. At this point I could no longer see that 1 1/4″ piece, as it was completely inside the other two,
and now I had completed all four of the book racks feet. Yay!* Tip: Use a hammer to make sure the pipes are completely in the fittings for each step. *
Next, I cut the remaining 2′ PVC pipes so I had eight 4 1/2″ long pieces that will be used for the legs and two 19″ long pieces (not pictured below) for the book supports. After the cuts were all made, there was still a little extra pipe remaining. But I am sure there will be a future project I can use it on.
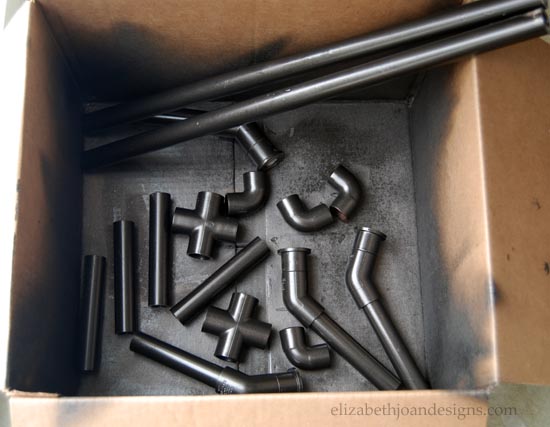
* Tip: At this point in the process, you can paint all of the parts. For tutorial purposes, I did mine later. This way in the pictures you better differentiate the pieces from one another. *
Then, I inserted four 4 1/2″ pipes into each of the PVC crosses. This created two wonderful “X” shapes for the sides.
After that, I placed two feet on each “X” shape. Making sure the feet were on adjacent pipes. The remaining two pipes of each “X” were fitted with the copper elbows. The long 19″ support pieces connected the entire thing together. (See photo below.)
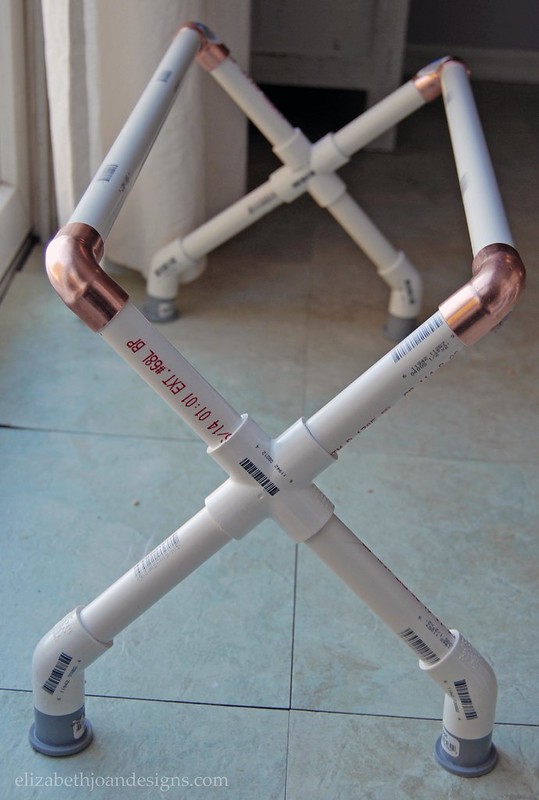
Finally, the parts received several coats of Rustoleum Spray Paint and Primer in Oil Rubbed Bronze and the book rack was reassembled.
I chose this color because it stays a little more true to my husband’s taste and our decor than the copper would. Because this is a gift for him, I suppose I should take his likes and dislikes into consideration. Right?

I love it! Hope hubby likes it as much as I do.
The Restoration Hardware look for the price I like paying. Perfect!
So, I am absolutely horrible at wrapping gifts. (You can read more about that in this gift wrapping post.) Typically when I have gift wrapping needs, I enlist my husband’s help. Because this was a present for him, I had to seek help elsewhere. My three year old son was the only one around at the time so I turned to him for assistance. He was a willing participant, but as it turns out, I think maybe he got his gift wrapping gene from me. Good thing he’s cute!

Now it’s time to hop on over and check out all of the amazing copper fitting projects. Make sure you come back next month to see a whole new challenge.
________________________________________________________________ You may also like:

30 Projects under $10 
Upcycled Tripod Table 
File Cabinet Garage Storage 
French Lettered Milking Stool -
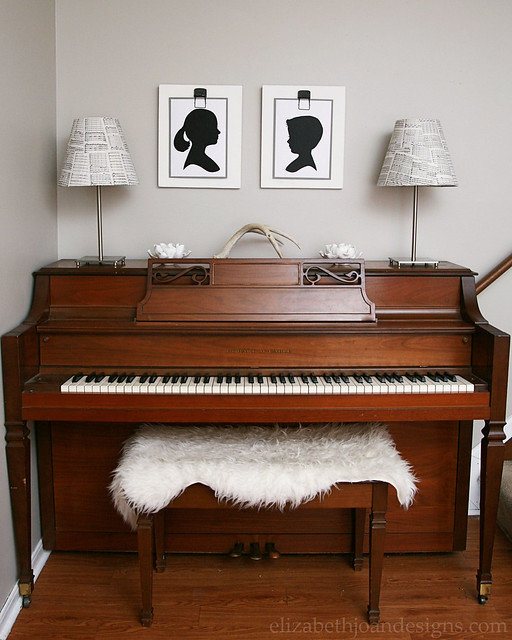
Mouse Trap Photo Holder
I know the title “Mouse Trap Photo Holder” probably has you wondering what exactly has happened to my brain, but let me take a moment to explain. I love decor and DIY, but I’m horrible at adding art work or photos to our home. I’m just so fickle! Anyway, I was trying to come up with some sort of “art” to put above our piano and I decided to make some photo holders, that way we can switch things up as we please.
After looking at several options for making my own, I came across this DIY Gallery Wall Art from Ella Claire using mouse traps as the photo holders. Genius! However, I wanted to have individual boards to hang my artwork on, so I decided to deviate from that specific plan.
I started with 2 mouse traps purchased from the dollar store (in a pack of 4) and a 1″ x 12″ x 96″ board we bought at the local hardware store. We had a store employee cut our board for us so that we didn’t have to worry about it later. (The left overs will be used on another project!)

Using a sander, I smoothed the edges of the two boards. I also employed my hubby to trim and sand a little off of each end of the mouse traps to make them a bit smaller and better fit the boards.

Next, with a small foam roller I painted each of the boards white.

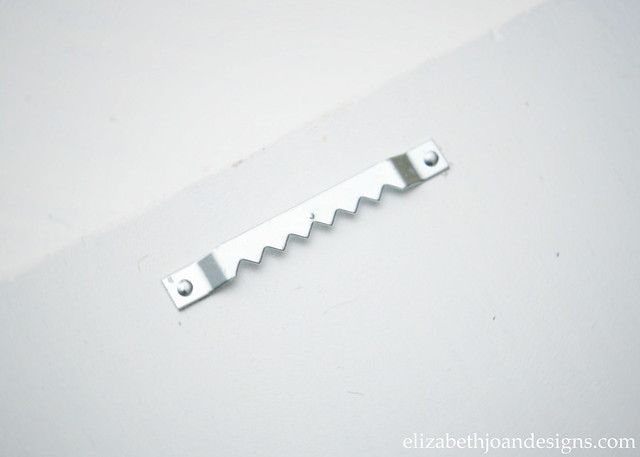
Once those were dry, I attached a saw tooth hanger to the back of each one.
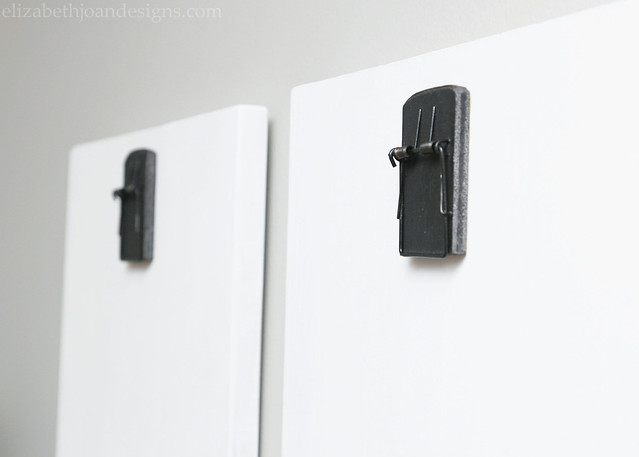
I painted both of the mouse traps with Rustoleum Universal Oil Rubbed Bronze spray paint and glued them to the fronts of the boards.
Then it was time to figure out some art work. I decided to go with the easy route and made a couple of silhouettes of our lovely children. (Follow our Simple Silhouette tutorial to make your own.)

Aren’t these fun? Our piano-scaping (yes, I just made that up) still has a little tweaking to be done, like adding some new lamps and maybe a plant and different tchotchkes to liven things up. But I’m really enjoying how this space is starting to look!
________________________________________________________________ You may also like:

Horseshoe Plate Holder 
Gardening Gift Basket 
Ikea Apa Storage Makeover 
Cable Spool Clock -
Frayed Heart Pillow
We don’t typically decorate for Valentine’s Day, besides the occasional window decal or heart garland for the kids. However, this year I decided to turn things up a notch and make an easy, neutral frayed heart pillow. Ok, I guess that is only 0.01 notches, but you get the picture.

To make this pillow, you will need:
– pillow form
– fabric in two different colors (I used canvas drop cloth and white cotton fabric)
– scissors
– sewing machine
– heart template
– fabric pen
– stitch witchery
– ironTo start, I cut out my main pillow fabric pieces from drop cloth (left over from the re-upholstry of an old chair.) I made the pillow cover envelope style. You can find tons of tutorials for this online.
Next, I guesstimated how large I wanted my heart to be, free-handed a heart on a couple of pieces of cardstock, and cut it out to make a template.
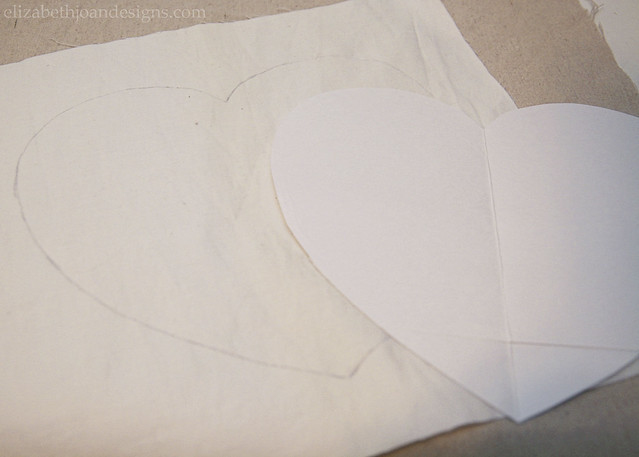
Placing the template on my white fabric, which was also extra from a project, I traced around the edges and snipped around it with some scissors.
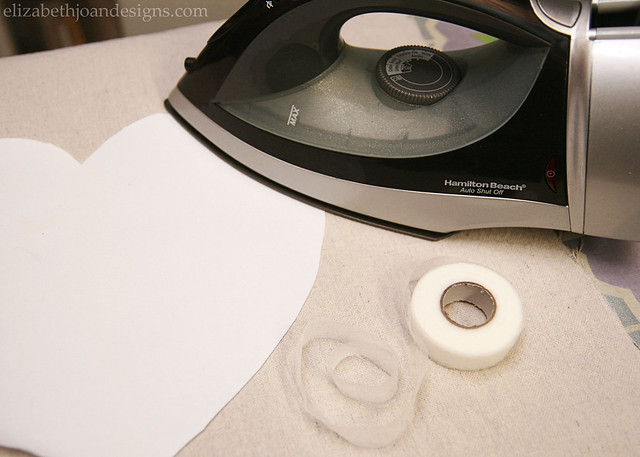
Then, I centered the white heart on the front piece of my pillow case and attached it with some stitch witchery and my iron.
After that, it was time to get sewing. I sewed around the outside of the heart, leaving a little edge to be frayed.

To finish up, I sewed the rest of the pillow case together, ran it through the washing machine, and inserted my pillow form once it was dry.

What do you think? This was such a fun and simple way to add a little Valentine’s love to our home. The best part is that the pillow doesn’t have to go away once the holiday is over, since it is neutral and will work with our decor!
________________________________________________________________ You may also like:

Placemat Pillow
French Lettered Milking Stool 
Valentines Watercolor Art
Cable Spool Clock