-
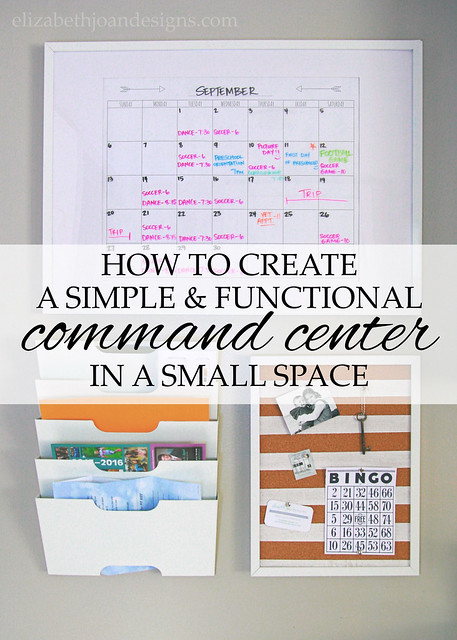
Create a Simple and Functional Command Center
With both of my kids in school this year, it was time to figure out an organizational system for our paperwork. Not that we aren’t organized normally. However, with two rugrats bringing home enough paper to equal half of a rain forest worth of trees, we needed something that would keep everything in check. Enter the command center!
This post contains affiliate links for convenience. Click here to read my full disclosure.
Over the years, I have seen some pretty amazing command centers.
These spaces are usually centrally located in the home. They contain everything needed to keep the household running smoothly. Stuff like calendars, clocks, chalkboards, bulletin boards, binders, folders, files, menu planners, and the list goes on. I knew that I didn’t have room for all of that business (just a tiny wall in our kitchen). So, I had to figure out how to create a simple and functional command center in a small space.
To cover the basics, I ordered all of our main command center pieces from Ikea. (Ikea didn’t compensate us for any of this; we just really liked the price and how the pieces came together.)
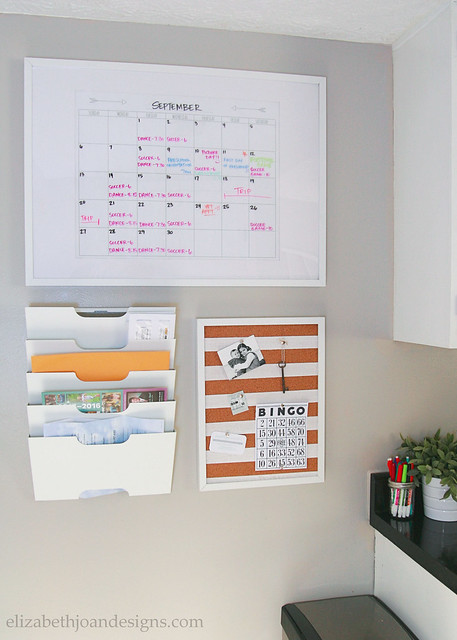
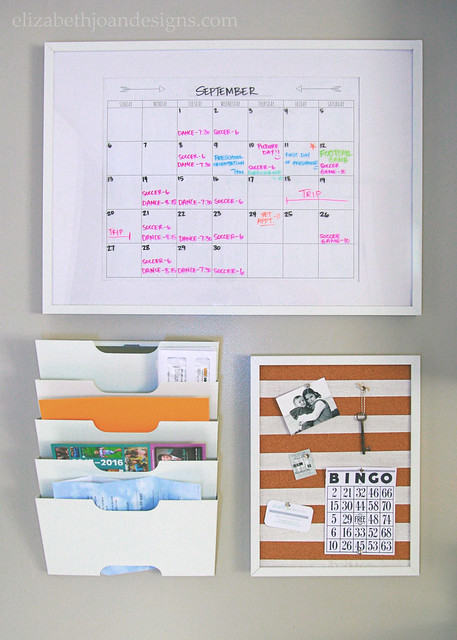
Our calendar is something I whipped up and had printed as an engineering print (18″x24″) at our local print shop. I placed it in a large Ribba frame (19 3/4 x 27 1/2) with the mat. We can write the important stuff on the front of the plexiglass and erase it easily. Hopefully, this will keep us from forgetting dance/soccer practice and anything we need to be available for.

This printable is free of charge and for personal use only. Download this printable from THE GALLERY.

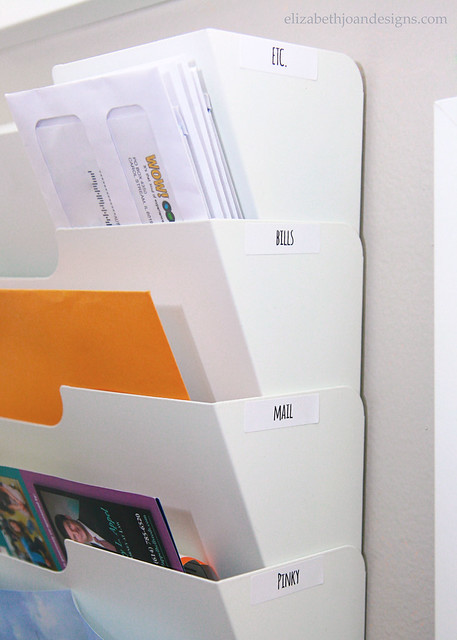
To organize all of our papers and bills, I ordered the Kvissle Wall Magazine Rack. Each of the kids gets one slot for important school papers. The rest are designated for bills and other mail. And the Etc. slot holds blank paper for note taking and a weekly calendar for menu planning.
I placed a striped painted cork board in another smaller Ribba frame for little bits of fun or info.

All of the colored dry erase markers are corralled in a small canning jar, along with a few extra pencils, and placed on the counter for easy access.

Because of this little wall in our kitchen our family organization is not up to par! And I am feeling a lot less anxiety with this system in place.
 Do you have a family command center? How do you keep organized during the school year? We would love to hear from you. Let us know in the comments below!
________________________________________________________________ You may also like:
Buffet Table 
5×7 Letters and Numbers 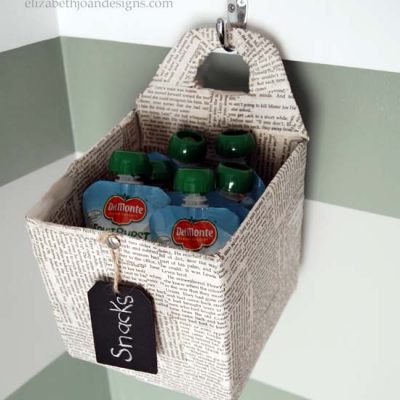
Hanging Snack Basket 
Revamped Mini Folding Table &Chairs -
DIY Upholstered Bed Frame Part: 2
Recently, I shared the first steps of the bed frame my husband and I are making for our youngest son. Today, the story continues with the DIY Upholstered Bed Frame Part:2. Follow along to see how we finished things up and added a fabric covered headboard.

Supplies for Headboard
Plywood measured to the width of bed frame
(2) 1x4s measuring 4′ each
Quilt Batting
Fabric
Staple gun with lots of staples
Drill and screws
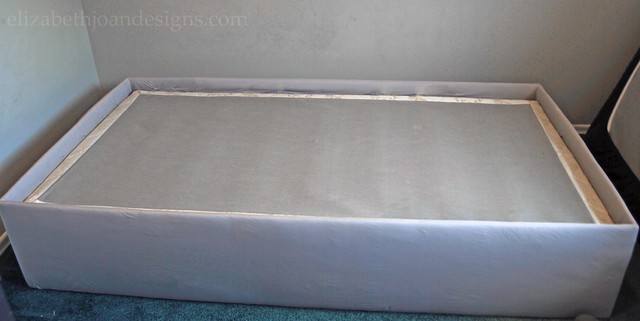
(4) L-shaped bracketsOkay, this is what the bed framelooked like where we left off last time.
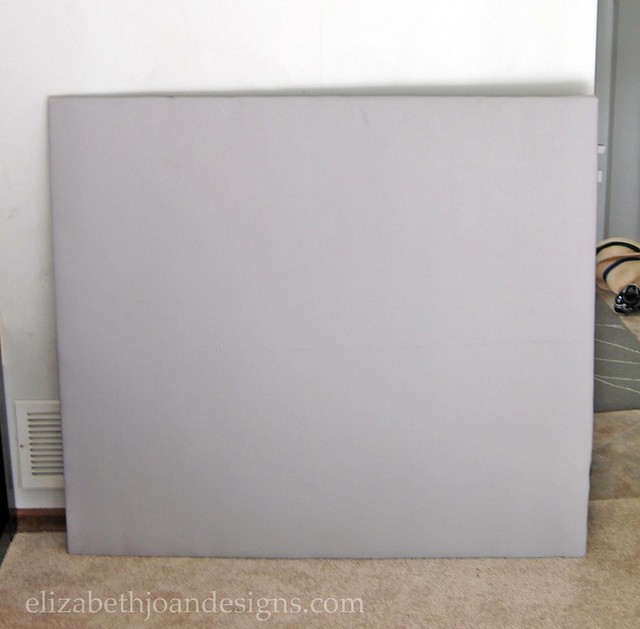
To create the headboard, I started by wrapping the plywood with quilt batting and attaching it with staples to the back.

Next, I stretched the fabric tightly over the padded plywood and stapled around the edges of the back to secure.

Then, two L-shaped brackets were attached to each of the 1x4s and the non-fabric side of the plywood near the top and bottom of the plywood. This created legs for the headboard.
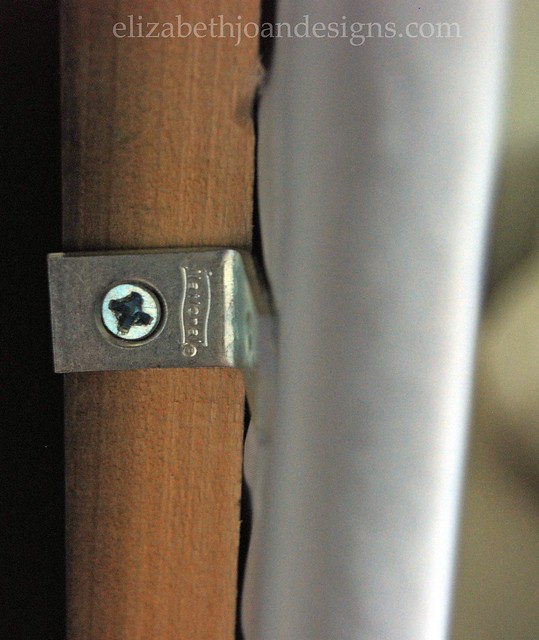
Finally, we secured the legs to the bed frame with screws.
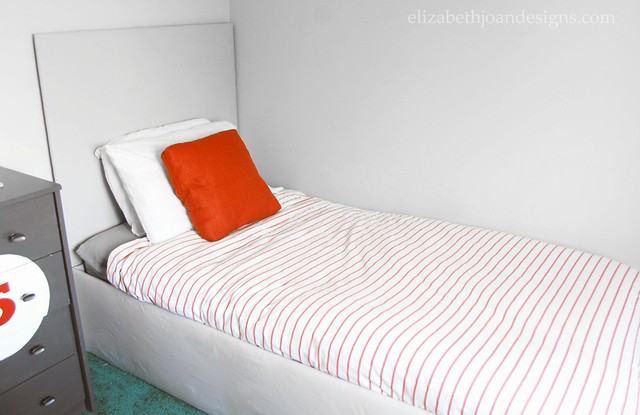
We are so happy with how this turned out. It was a big project, but totally worth all the effort.
_____________________________________________ You may also like:
Buffet Table 
Childhood Dresser Makeover 
Frayed Heart Pillow 
Pinky’s Painted Desk
-
DIY Upholstered Bed Fame: Part 1
If you have read our blog in the past several months, then you probably have been tracking the progress of my oldest son’s Vintage Airplane themed room. But what you didn’t know; is that I have simultaneously been working on my younger son’s Vintage Car themed bedroom. Today I will be sharing the first of many posts for this room, a DIY Upholstered Bed Fame.
Well, let’s get right down to it.
Bed Frame SuppliesDrill
Screws
Tape Measure
Circular Saw
3 ½ yards of quilt batting from the roll – cut in half width wise to have a total of 7 yard total.
3 ½ yards of fabric – cut in half width wise and sewed together to make a long strip
Plywood – cut to 38″x74″
Rectangular frame – (2) plywood cut to 38″x14″, (2) plywood cut to 74×14″
Support board- (1) 2×4 cut to 4’3″, (2) 2×2 cut to 7″- attached 2x2s to 2×4 with screws (see picture 6)
Box Spring support rails – (2) 2x2s cut to 6′, (2) 2x2s cut to 1′First, my handy husband used a circular saw to cut each wood piece indicated in the supplies section. This frame is for a standard twin size bed measuring 38×74.

Next, he built the outside of the bed frame by lining the frame boards up in a rectangular shape and drilling screws in for attachment.

Then, the rails were added to the inner part of the frame 6″ from the bottom. We used a level to make sure our son wouldn’t be sleeping on a slope. These will hold up the main plywood piece that the box spring fits on.

After that, the plywood board was carefully placed and attached to the side support rails.

Then, to the give the main plywood piece some additional support, he adhered the support-board to the bottom center of the large board. We made a mark for the center, then attached the board with two screws equal distance from the center.

Here is what the bottom looked like after the support board was attached.

To give this fame a little softness, we wrapped the entire outer portion of the rectangle with quilt batting and used the staple gun to secure it. First we tucked and stapled the batting to the top. Then we did the same to the bottom.

Finally to finish off the look of this bed, we used the same method as we did for the quilt batting to add the fabric. I picked up my fabric at Walmart for $1 per yard. Score! This is how it looked with just what box spring in it.
If you like what you see, come back soon and check out part two of this post to see the final results! Headboard and all!
*Update: Final Results have been posted! Come check out how the bed turned out!*
_____________________________________________ You may also like:

Reclaimed Wood Fence Headboard 
Heriloom Dresser Makeover 
The Key to Painting Laminate Furniture 
Kids’ Shared Bedroom
-
Revisiting the Kitchen Seating
Exactly 1 year and 18 days ago, I shared my Dining Chair Update with you. We have absolutely loved having our chairs white, but these chairs have really taken a beating with daily usage. Today I am revisiting the kitchen seating and showing you the little changes that we made that will hopefully make our lives a little easier and help anyone out there that may decide to paint their furniture too.
Oh, look at these cute, adorable faces! Don’t let them fool you. They can really do some serious damage to painted furniture. I am sure my husband and I aren’t exactly gentle to our dining room chairs, but we certainly don’t pick off the paint during meal time.

After one year of use, this is what the seats looked like. (Trust me, this one wasn’t even the worst of them!)

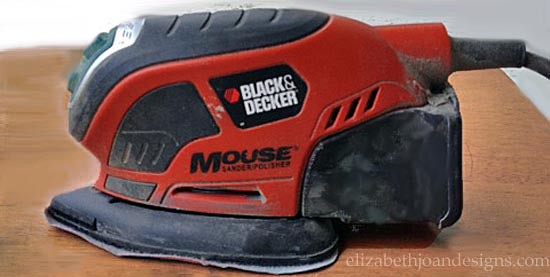
To restore the beauty of the pure white chairs, I started by sanding down the peeling paint with my mouse sander.
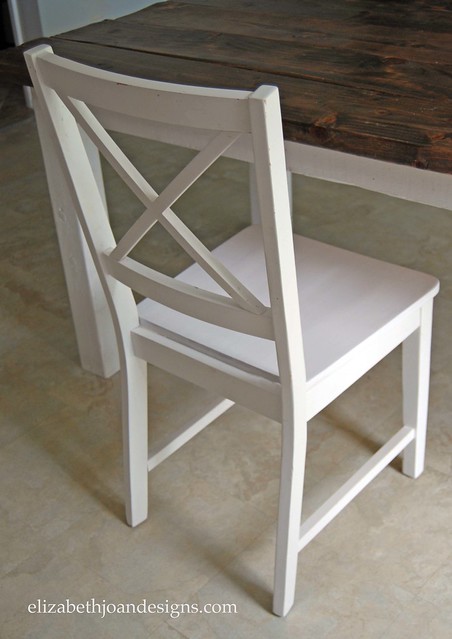
Next, the seats each received a coat of primer and two coats of white paint.

Finally, I applied three coats of Minwax Polycrylic. This is the step I feel I really should have added last time, but completely skipped.


Although these chairs look like they did when I finished them last time, I am hoping the additional layers of protection will deter little fingers from picking away at the paint and make them easier to clean. A momma can always dream, right?
Have you ever painted a dining chair that gets regular daily use? If so, did you add type of finish to your work? Leave us a comment, we would love to hear about any painted furniture experiences you’ve had and how you keep your furniture looking new.
_____________________________________________ You may also like:

DIY Dining Table 
French Lettered Milking Stool 
Scoop Chair Redo 
Adventures In Upholstery