-
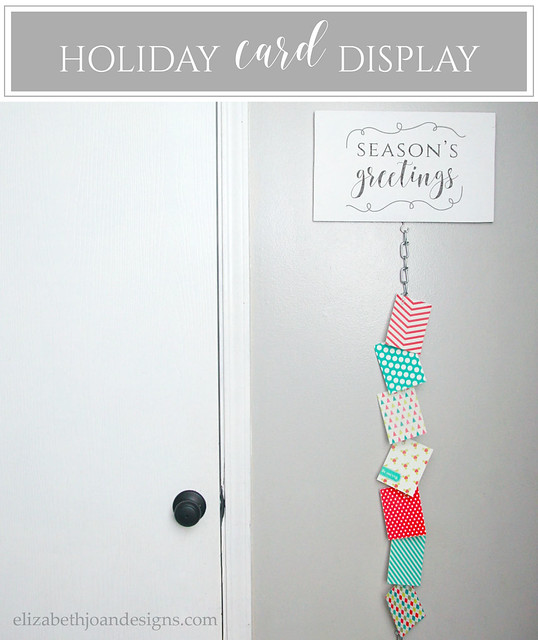
Holiday Card Display
Each month, we typically take part in a challenge where we have to create a gift for someone from a randomly selected item to be used in the project. This month, the group opted out because of holiday commitments, but I still wanted to share this Holiday Card Display that I came up with. Everyone needs a place to display their holiday cards, right?
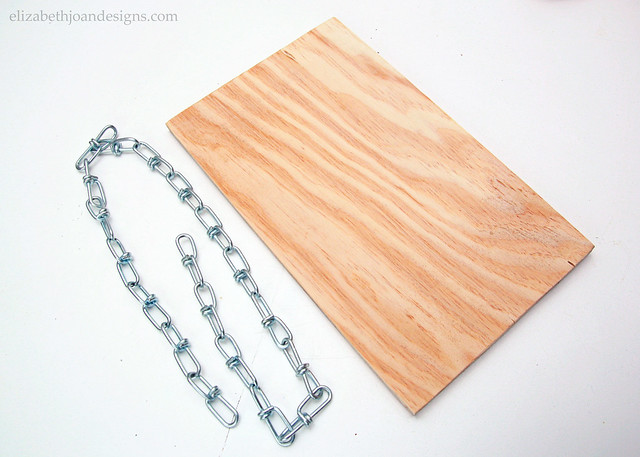
To make the holiday card display, I used:
- Plywood (approximately 8.5″ x 13.5″ piece)
- Chain (3 ft.)
- Cup Hook
- Saw Tooth Hanger
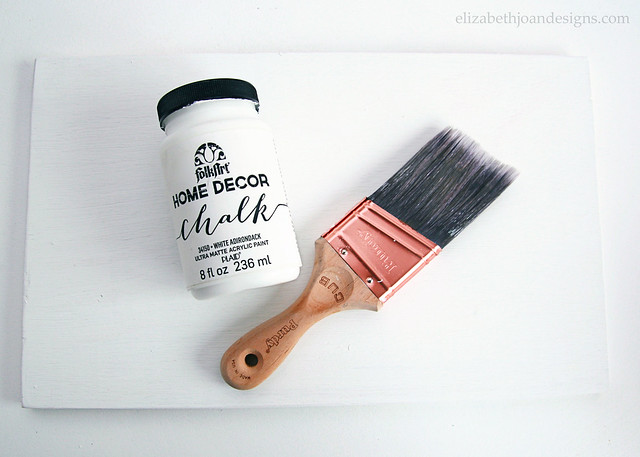
- Paint
- Paint Brush
- Freezer Paper
- Printer
- Spoon
- Paper Clips
I started by painting the plywood (a scrap piece my hubby had cut down for me) with white chalk paint. I love the matte finish of chalk paint and it seems to cover with only 1 or 2 coats. Plus, it dries fast. “You can never have too many things which save you precious time” I always say. OK, I don’t really say that, but it sounded good. *wink*
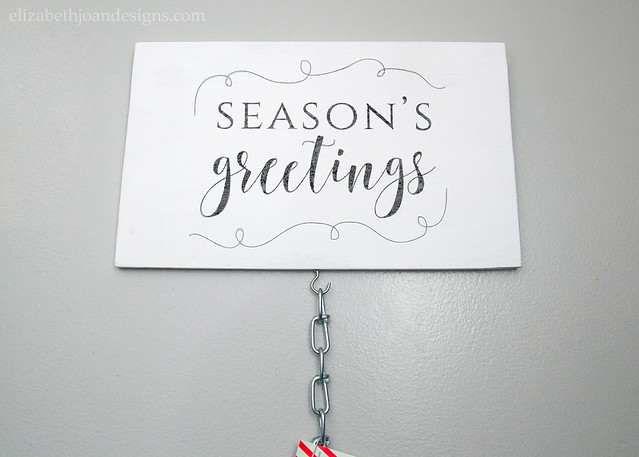
While that dried, I grabbed some freezer paper (possibly the best kept craft secret ever!) and followed this tutorial for an image transfer from Little Bit Funky. The Season’s Greetings design is my own which I whipped up just for this project.
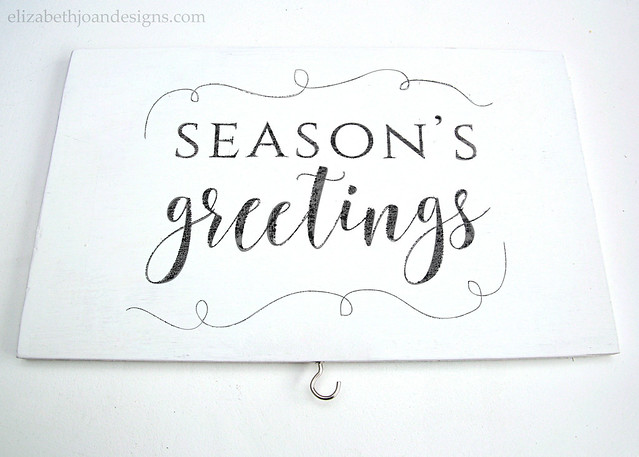
Next, I added the cup hook to the bottom side, as well as a saw tooth hanger to the back so I could easily attach it to the wall. I placed the chain on the cup hook then hung the whole thing up on the wall. Ta-da!
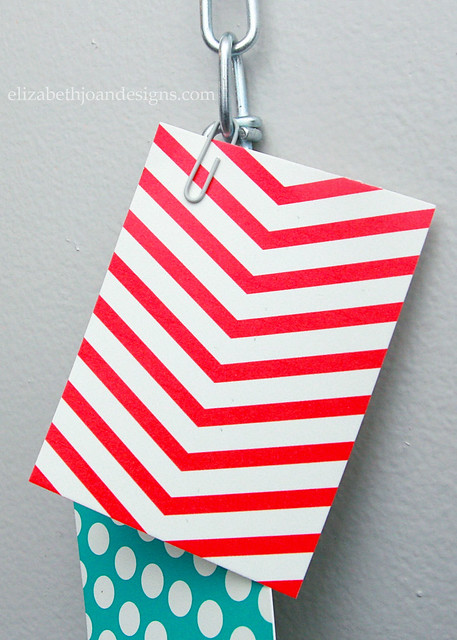
Finally, it was time to add some cards. We’ve only received a couple this year (please send cards), so I opted for some colorful printable cards from Miu Creation to adorn the card holder. Each was easily attached with a paper clip.
Not too shabby, huh?
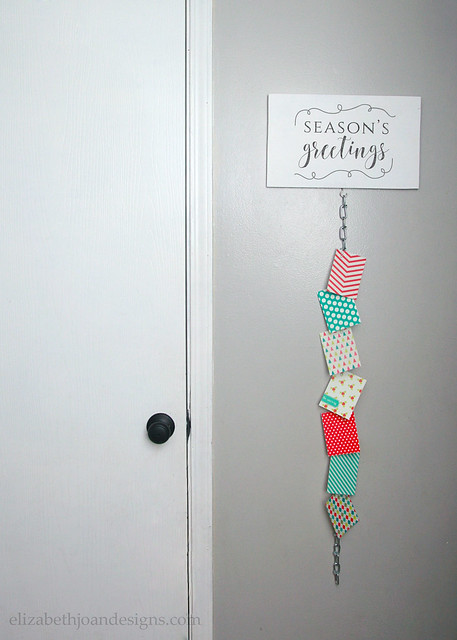
This is going to be such a fun way to corral all of our Christmas and holiday cards! I can’t wait to see all of those pretty smiling faces staring back at me when I walk past!

_____________________________________________________________________You may also like: 
Dollar Store Scarf Wreath 
Fun Holiday Tags 
Stocking Hanger 
Advent Calendar from Shoe Organizer -
My Home Style Blog Hop: Christmas Tree Edition
Welcome to the My Home Style Blog Hop: Christmas Tree Edition hosted by Casa Watkins. I’m so excited to share my Christmas tree style with you. If you are heading over Domicile 37, welcome! Isn’t her style so fun?! If you are new to Elizabeth Joan Designs, welcome to you too. My name is Erin and I blog here with my sister, Emily, where we share all things DIY, decor, crafts, etc.
This post contains affiliate links.
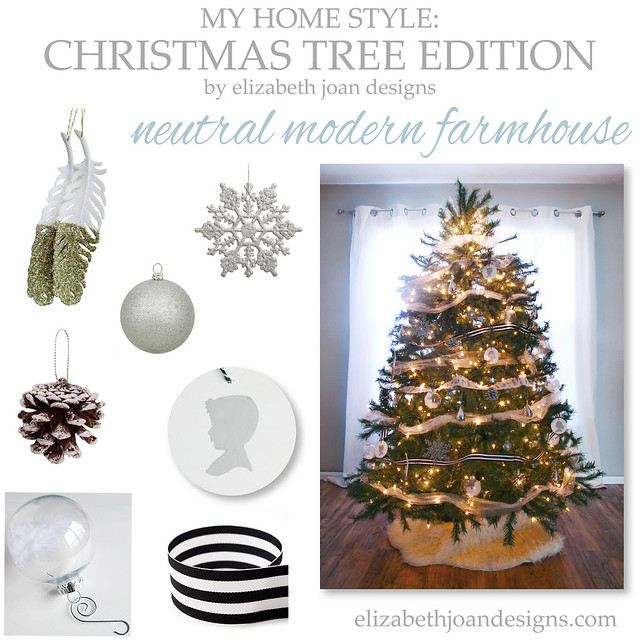
I describe our home style as Neutral Modern Farmhouse and our Christmas tree definitely falls into the same category. I love to keep things simple with clean lines (like in this neutral black and white striped ribbon), but also have a comfortable and collected look. Kind of classic meets contemporary.
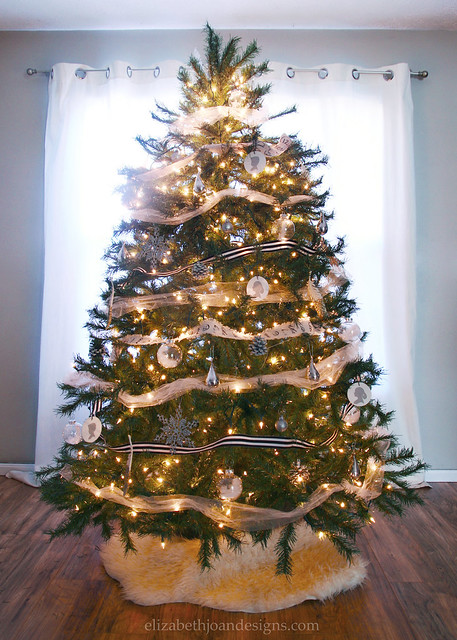
Quite a few of the pieces on our tree are handmade, like our Feather Christmas Ornaments…
And the Silhouette Ornaments with our kids on them.

I also used some pine cones from our parents house, which were spray painted and hung on the tree. If you don’t feel like taking the time to make your own, you can always snag some of these white painted pine cone embellishments/ornaments.

Several of our ornaments were purchased to add pop of silver and gold sparkle.
Silver Ball Ornament | Gold Feather Ornament | Glitter Snowflake
To finish off the tree, I added some mercury glass rain drop ornaments from West Elm (no longer available) and tulle/ribbon. The faux white sheepskin on the floor helps make everything feel more cozy. We are still looking for the perfect tree topper, so if you know of something that would work well with our Christmas tree style, let me know!
Thanks so much for stopping by to check out My Home Style Blog Hop: Christmas Tree Edition today! To see more, browse our project gallery or follow us on Instagram (Erin’s Instagram/Emily’s Instagram). Tomorrow starts another day of our hop, so make sure to start out by checking in with Roots North and South!
Eager for more Christmas Tree styles?Check out the other Christmas Tree stylings by these amazing bloggers. Monday:Tuesday:Wednesday:Thursday:Friday:
_______________________________________________________________
You may also like:
Upcycled Dollar Store Placemats
Stocking Hanger
Advent Calendar from Shoe Organizer -
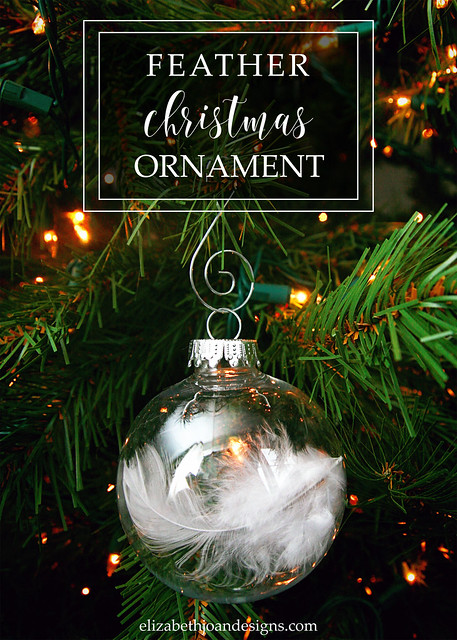
Five Minute Friday: Feather Christmas Ornament

This post contains affiliate links.
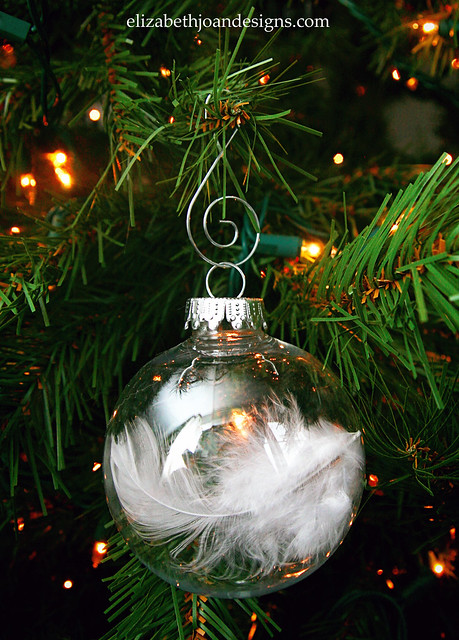
This is probably one of easiest, yet elegant ornaments you could possibly make. And it actually only takes about one minute (or less!) to complete each one, so that makes it a major score in my book.
You will need:
- Glass or Plastic Clear Ball Ornament
- White Feather
- Ornament Hanger
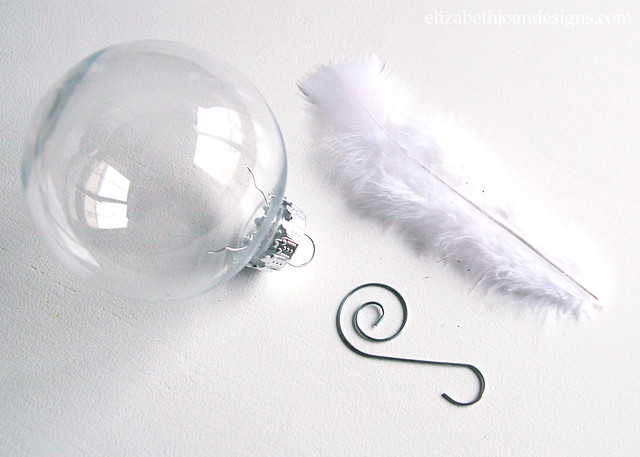
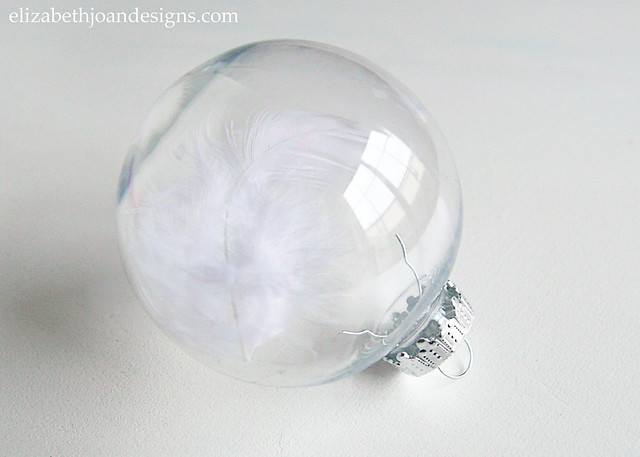
Remove the top piece from the ornament. (I chose plastic because… Kids, Puppy, Cat.)

Insert one white feather. (Depending on the size of the feather, you may want to cut it down a bit. Or not.) If needed, use a pencil or something similarly slim to move the feather around inside of the ornament until it is situated to your liking. Replace top piece.
Attach ornament hanger.
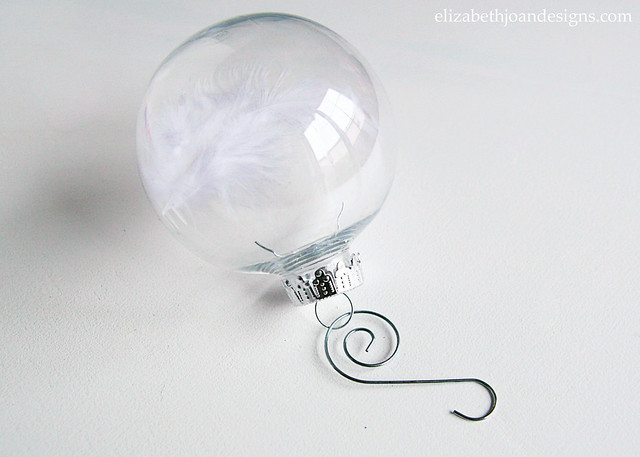
And you are done! Super easy, right? I love the way these ornaments look on a Christmas tree. They are very simple, but the light reflects perfectly off of the ball. It kind of gives them an ethereal presence.
We’ve had these pretty ornaments hanging on our Christmas tree for over 10 years and they are still one of our favorites! Check back soon to see our Christmas tree all decked out for the holidays.
______________________________________________ You may also like:

Last Minute Silhouette Ornament 
Gift Wrapping Ideas
Dollar Store Scarf Wreath 
Festive Paper Stars -
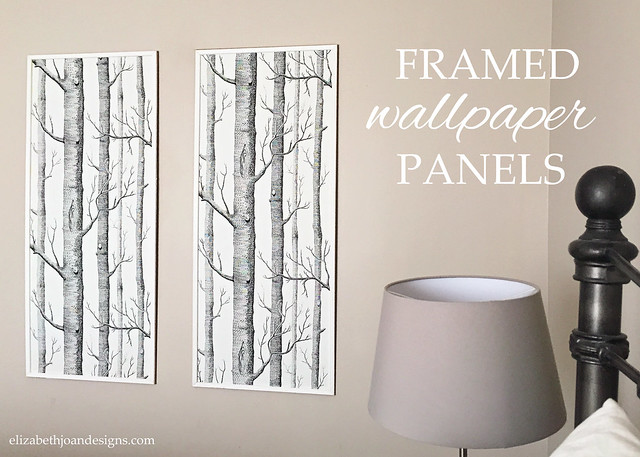
Framed Wallpaper Panels
Several years ago, while my aunt and uncle were remodeling their home, they passed along to me some awesome wallpaper they had leftover. I was totally smitten with the design and had plans to use the wallpaper on the inside of a bookshelf, but later decided not to, for fear that it’s loveliness would get covered up. Then, one day, I came across a post from The Hunted Interior with the idea of creating DIY framed wallpaper panels. And I loved it.
This post contains affiliate links.I knew that creating the framed wallpaper panels was the perfect solution to showcase my amazing wallpaper. I followed Kristin’s tutorial with a few tweaks here and there.
Supplies:
- Woods Wallpaper
- Paint Brush
- Wallpaper Paste
- Credit Card (for smoothing out the bumps)
- MDF Board (cut to size)
- Decorative Trim
- White Paint
- Wood Glue
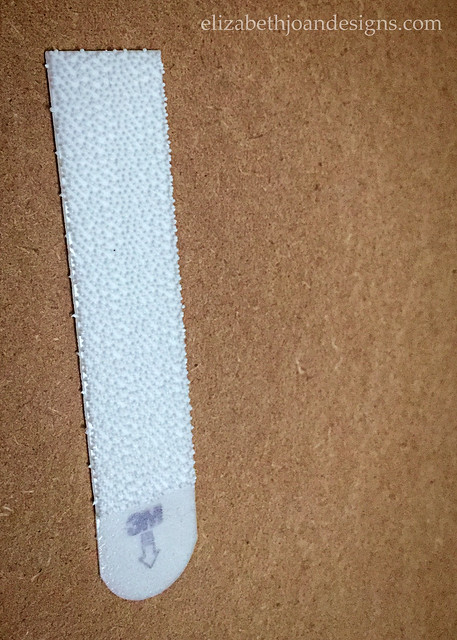
- Command Large Picture-Hanging Strips
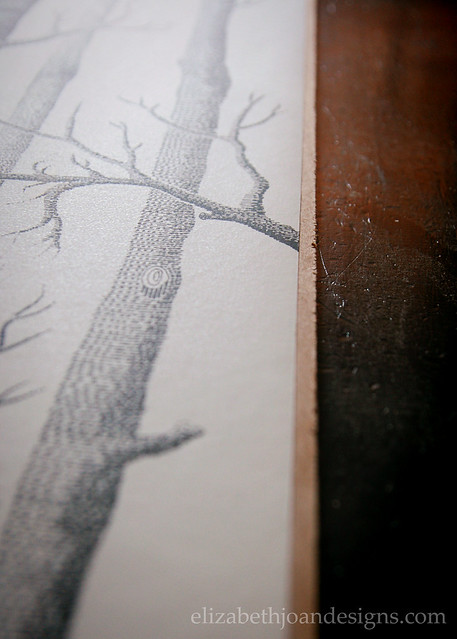
I started by cutting the MDF board and trim pieces to my desired lengths (with a little help from the hubs). Mine measured 21″ X 49″, which was just a 1/2 inch wider than the original width of the wallpaper.
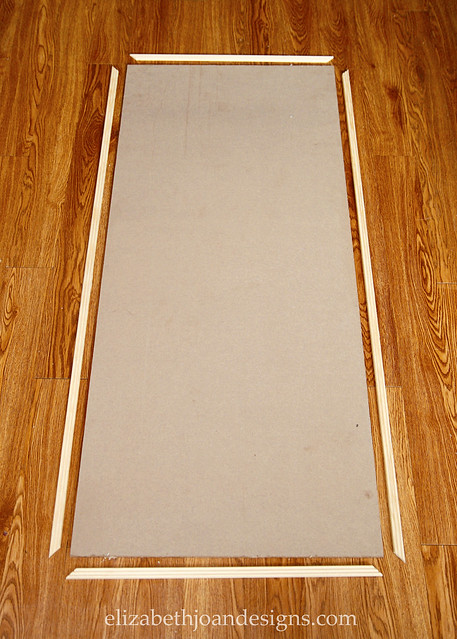
Next, I measured and cut the wallpaper to fit on the board. Using the paint brush, I applied wallpaper paste to the back of the wallpaper and attached it to the board.

While that dried, I painted the mitered trim pieces and then used wood glue to stick them on around the edges of the panel, creating a pretty frame. (Sorry, I forgot to photograph that step!)
Finally, using Command Strips, I carefully hung the panels on the wall (after measuring where they would go.) They only weighed about 6.5 lbs each, so hopefully they will stay up on the wall without a problem.
The panels are now happily hanging in our bedroom and I love that I can enjoy them everyday.
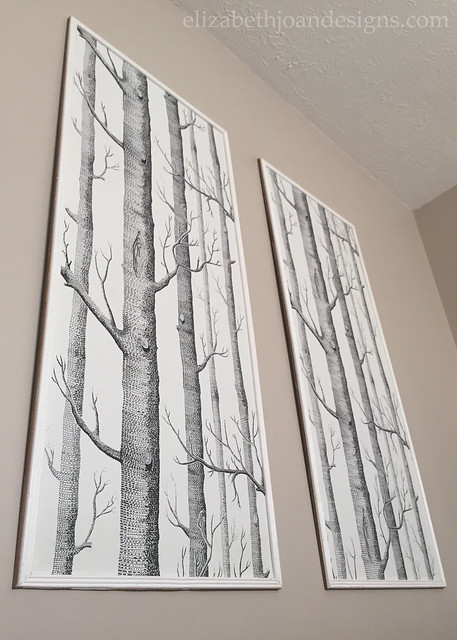
They were super easy to put together, but the most exciting part it that if we ever decide to move, we can easily take our framed wallpaper panels with us!
