-
Airplane Picture Clips for a Corkboard
Last week, I updated you on the happenings of my oldest son’s Vintage Airplane Bedroom. Writing that post really got the wheels turning in my head and I was once again inspired. This room really needs a few airplane accents to even be considered as having a vintage airplane theme. All of this thinking led me to my latest project – airplane picture clips for a corkboard.

These are so amazingly easy to create. Feel free to follow along if you would like to make your own.
Supplies
1 Standard Wooden Clothes Pin
1 Large Popsicle Stick
1 Small Popsicle Stick
1 Thumbtack
Glue Gun and Glue Sticks
Wood Stain & Brush (optional)
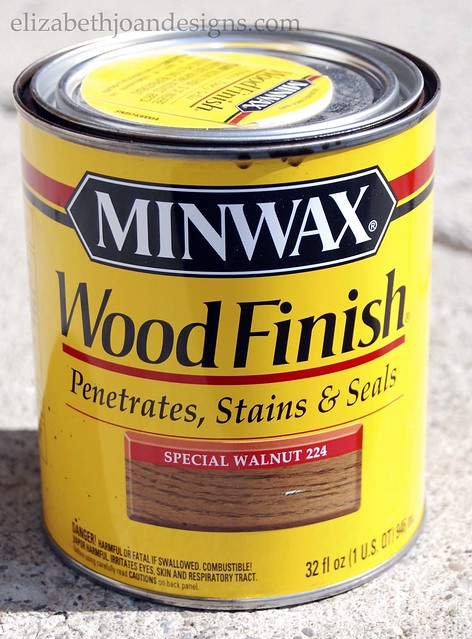
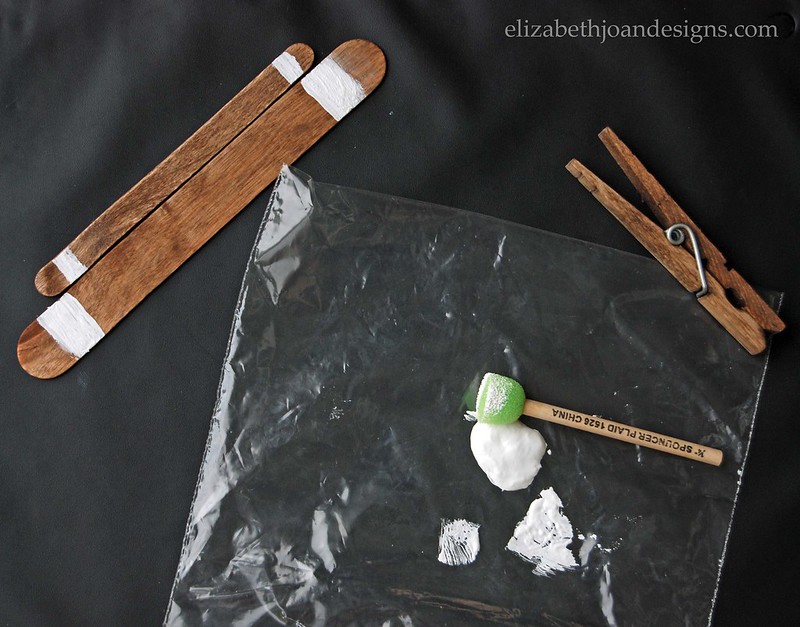
First, I stained both Popsicle sticks and the clothes pin with Minwax Special Walnut.
I used a foam brush and white acrylic paint to give the sticks matching white stripes. This step is entirely optional if you are making your own.
Next, the large Popsicle stick was hot glued to the clothes pin. I positioned it to cover the metal piece.

Then, I repeated the same step for the smaller stick. This time I placed the stick near the end of the clothes pin.

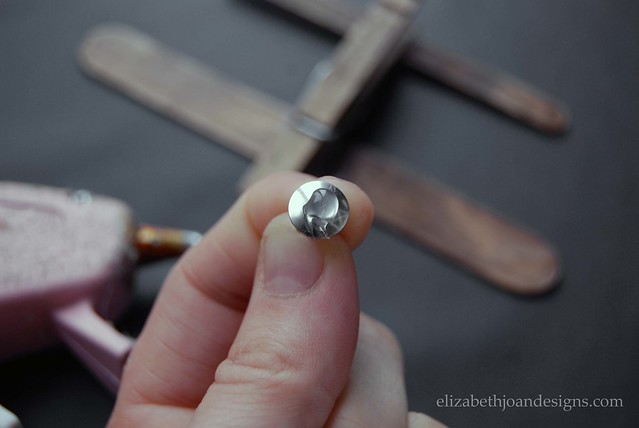
Finally, I flipped over the clothes pin and hot glued the thumbtack near the end that clamps down.

Doesn’t it look cute on the upcycled corkboard?
My little guys both loved it so much they helped me make a few more for them to play with. Minus the thumbtack of course.
_______________________________________________________________ You may also like:

2×4 Art 
Painting the Bunk Bed White 
Upcycled Tripod Table 
Upcycled Corkboard -
Vintage Airplane Room Update
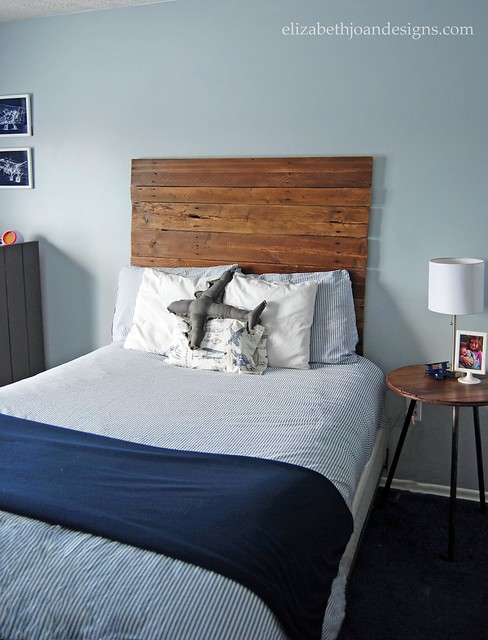
If you follow our blog regularly, first off THANK YOU. Secondly, you may have been wondering what’s happened with the “big boy” bedroom transformation I have been working on for my oldest son. Well, it’s not quite finished yet. (I know, I am taking forever.) But, I do have a vintage airplane room update to share with you of what we have done so far.
Let’s go back to the beginning. Here is what the room looked like before we started.
Our journey began with a new wall color. We had the paint color matched to Restoration Hardware’s Atmosphere Blue. My son helped me sand down each of the stripes that were part of his nursery and he also assisted with painting the walls. He really enjoys helping with any project.
One by one, we crossed projects off the list the desk, chalkboard and pin board, nightstand, headboard, and lighting.
(See how to create a clickable image with multiple links.) Still to come…
White is nice, but we were ready for a change with this dresser. It has a brand new color that I am hoping to unveil to everyone soon.
This room needs some airplane accents. Stay tuned to see what I will be doing with this guy.
As you can see, the closet needs a little TLC. We have big plans for this space and are hoping some day to find some time to work on them.
While there is still some work to do, I am extremely pleased with all we have finished so far and so is my son.
___________________________________________________________ You may also like:

Chalkboard Succulent Planter
Painting the Bunk Bed White 
Ikea Trofast Makeover 
Simple Silhouette -
There are Still Good People in This World
With all of the horrible things happening daily in the news, every now and then, we can all use a reminder that there are still good people in this world. This is my story about a very wonderful stranger I had the pleasure of meeting.
Last summer while shopping a garage sale, I purchased an awesome vintage crate. I had no real plan for it, but couldn’t just leave it sitting there. As I was walking to my car, a very nice lady who was just walking up asked if I knew if there were more of the same at the garage sale. She was looking for a few crates to use for her daughter’s vintage themed 1st B-day party. I told her I didn’t think there were, but if she wanted to buy the one I had just purchased off of me for the same price I paid, I would be more than happy to sell it to her. (As I really didn’t need it in the first place and wasn’t quite sure how I was going to explain bringing another crate in our home to my husband.) She took my offer and the crate went to a good home with an actual purpose in mind for it. As I was helping her load her car, she showed me a beautiful old bassinet she had just snagged at another sale. She was planning on using it for the b-day party as a place to put the gifts. I told her how much I loved it. We chatted for a few minutes about the b-day party plans and I shared with her that Erin and I have a blog together. She ask if I would be interested in the bassinet once she was done with it. Of course, I told her YES!
Several months later I received this email from her:
Hi Emily-
This might sound strange, but I met you at a garage sale this summer. (You let me buy from you the crate that you just purchased.)
As we were leaving I showed you an antique pink bassinet. You gave me your website and said you might be interested in this item.
Now, months later, it’s sitting in my garage and taking up space. It is free to you if you can come pick it up.
Let me know if interested, thanks!I had completely forgotten about the bassinet until I had heard from her. I was so excited! I made arrangements with her immediately and picked up my new bassinet.
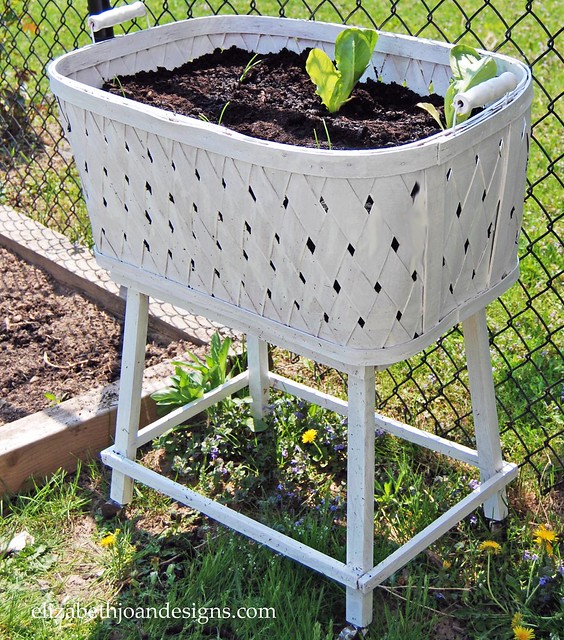
Once I got it home, I realized the pink was pretty and all, but it didn’t exactly match the decor in my home. So, it was makeover time.

First, I mixed up a white-wash of equal parts white paint and water. It took three coats of this concoction to rid this entire piece of pink. Honestly, I chose to white-wash it vs. painting it because I was also white-washing another project simultaneously and laziness kicked in.

Finally, I let it dry and it was done. Ah, a neutral color to decorate with. Yay!

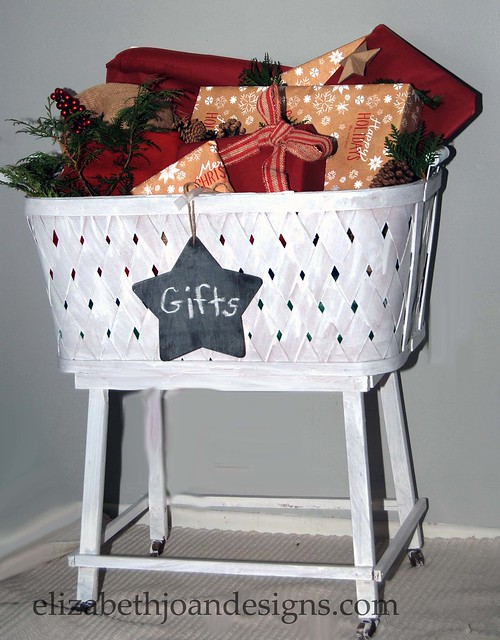
This basket has already had a few purposes in our home.
We used it to keep Christmas gift out of the reach of little hands. You may have seen this in our Christmas Home Tour.
After that, it became storage for Christmas tissue paper, bows, and embellishments.
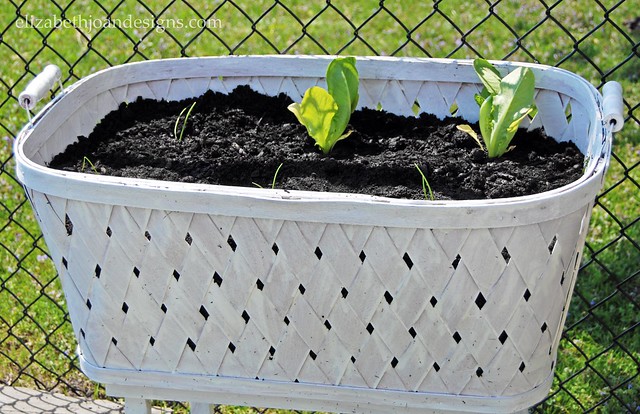
Currently we are using it as a planter for a few extra veggies that didn’t fit in our garden.
I am not sure what the future will hold for this antique bassinet, but I will always hold this sweet gesture from a complete stranger close to my heart.
___________________________________________________________ You may also like:

Fish Bowl Cover 
Faux Roman Shade 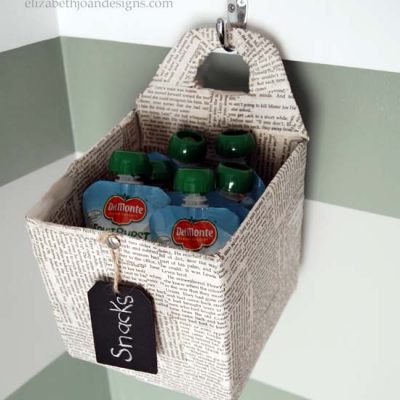
Hanging Snack Basket 
Hardware Change-A-Roo -
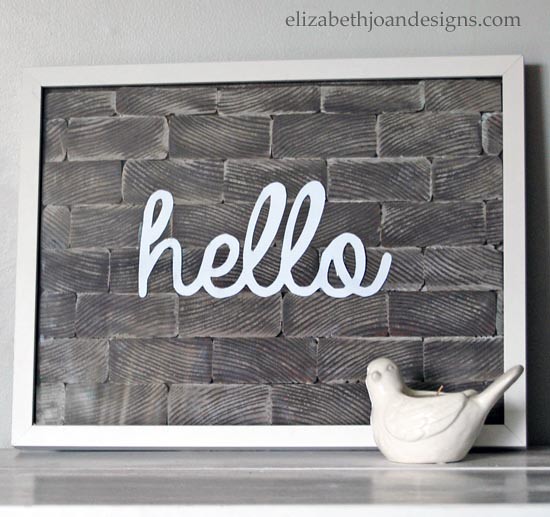
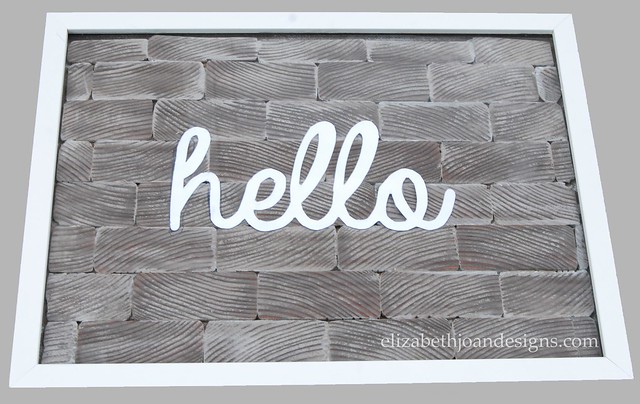
2×4 Artwork
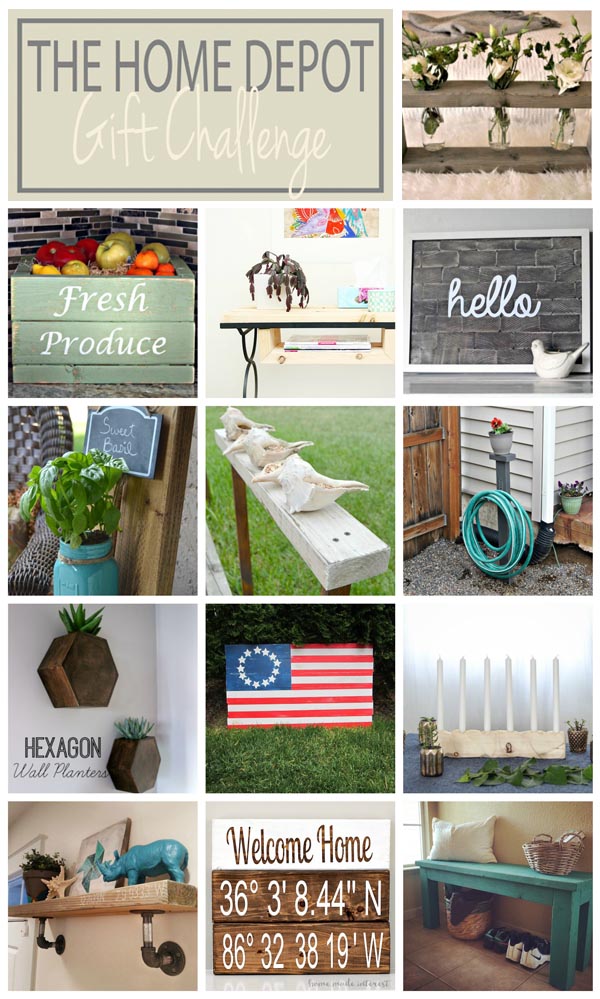
This month it is my turn to share a project for The Home Depot Gift Challenge. As you may remember, a group of bloggers, including us, purchase a selected item from The Home Depot and then use it to create a gift (which is also wrapped with a product from THD.) A few of our past projects were an Industrial Book Rack, a Wood Box Caddy, and a Pegboard Luminary. I found this month’s item extremely inspiring. So, I decided to take a plain wood board to a new level with this 2×4 artwork.

This challenge is in no way associated with The Home Depot. We just love their stuff!
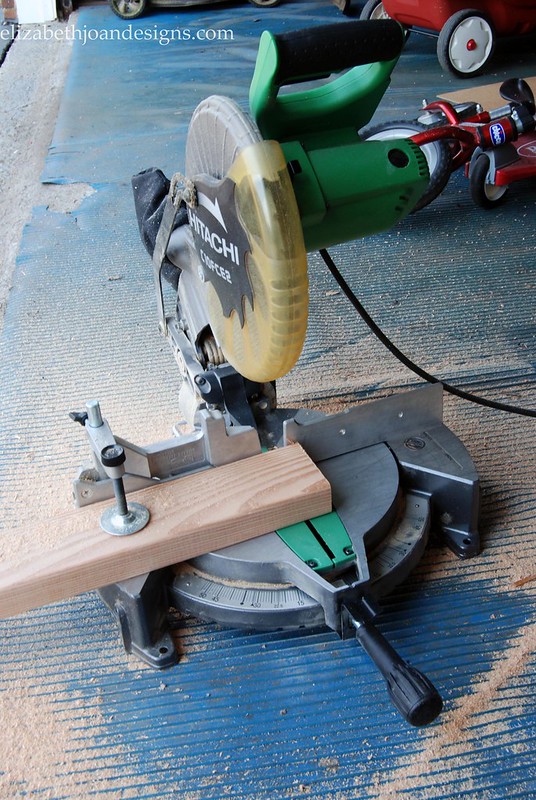
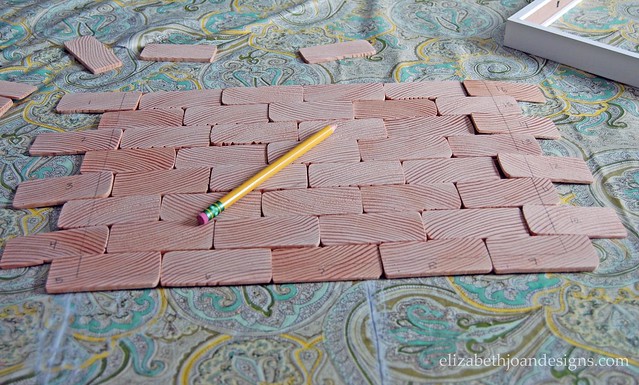
First, I cut slices off of this month’s chosen item, a 2×4, with a miter saw. Ah, power tools! Gotta love them.

Next, I used my mouse sander to smooth out the edges of every single wood piece.
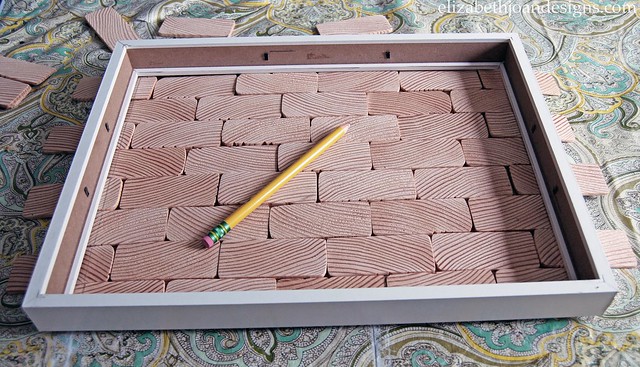
I arranged each slice on the backing of an Ikea Ribba picture frame, measured and marked the outline of where the framing would land with a pencil. This way I knew where to make additional cuts so my design would fit in the frame.
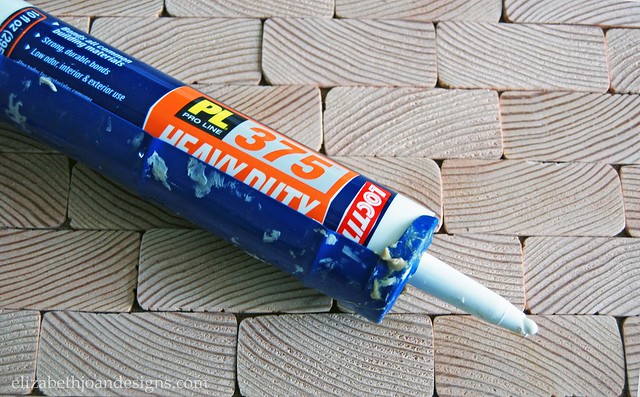
Then, each slice was attached to the backing with Loctite 375 Pro Line Heavy Duty Adhesive.
After that, getting the color just right was a bit more work than anticipated. I stained the wood, sanded it, sanded it some more, gray washed it, sanded it, sanded it again and rubbed stain on it one more time. A lot, right?
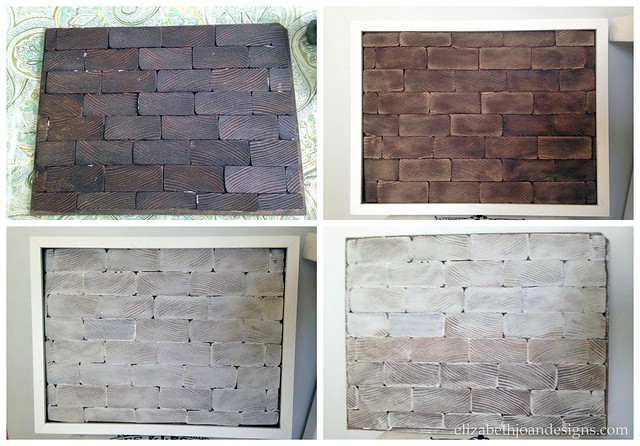
But, it was all worth it in the end.
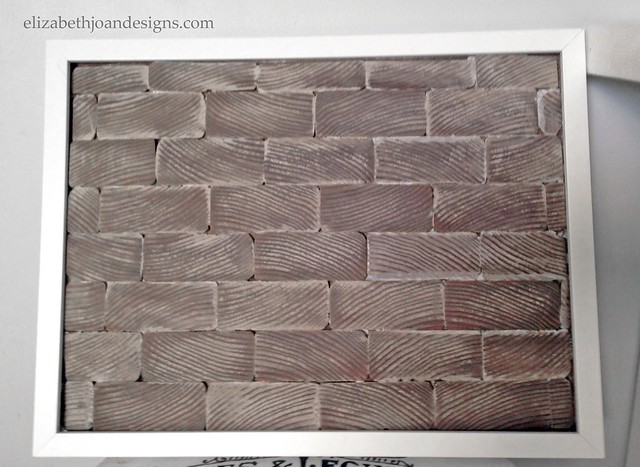
Finally, I printed out a mirror image of the word “hello” on white card stock and used an x-acto knife to carefully cut it out. I attached the letters with tape to the wood slice design. This way it can be easily changed is desired.
I love how this turned out. Who knew you could make such fun artwork from a 2×4?
Be sure to check out the other wonderful projects a part of The Home Depot Gift Challenge this month!