-
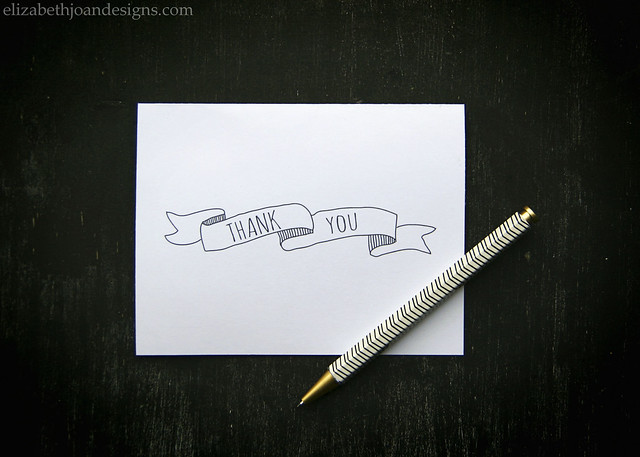
Thank You Cards and Resolutions
The holidays are over and if you have not already taken down your decorations, I’m sure it is on your to-do list, along with thank you cards and resolutions. Our family was sick with some sort of stomach bug during/after Christmas, so even though we had the best intentions of getting a lot accomplished at the beginning of the new year, things were pushed to the back burner.
For example, I had intended to get thank you cards written up and sent out for all of the amazing gifts our family received, but that hasn’t happened yet. So, in the name of procrastination, I whipped up some thank you cards. Aren’t they cute?
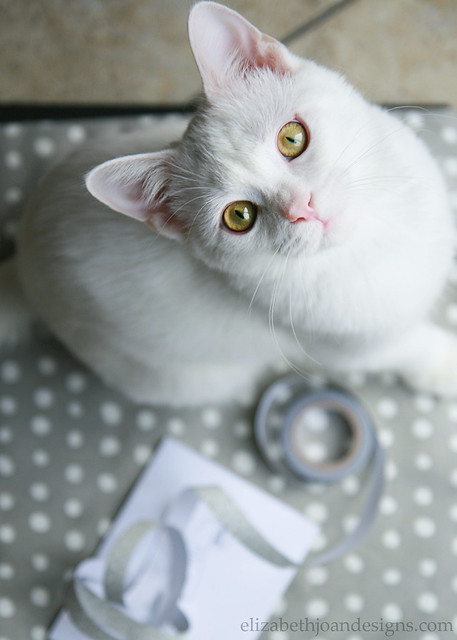
I had some “help” getting my cards ready. This is Rowan, our snugly kitty, who sometimes makes appearances on Instagram. (Erin’s Instagram/ Emily’s Instagram) He really isn’t that great at preparing stationary (Shhh, don’t tell him I said that), but I like to indulge his passion for paper products and embellishments from time to time.
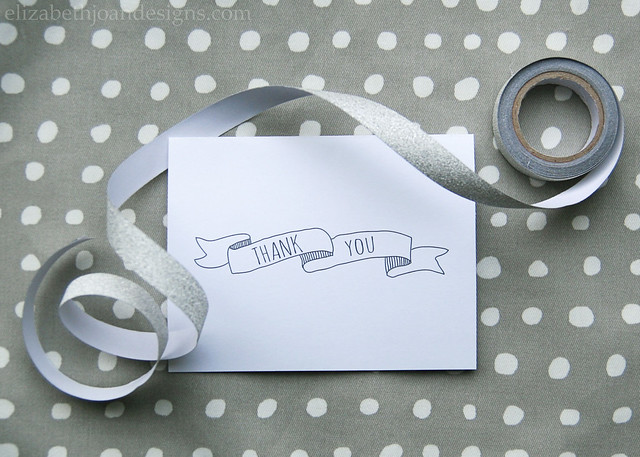
These cards are bi-fold, so you can write on the inside and they should fit well in standard invitation envelopes. If you haven’t already sent out thank you cards for the holidays or you know you will be needing some in the future, we would love to share this fun design with you. Hopefully the people who will be receiving them from us will be understanding of the delay. Maybe my New Year’s resolution should be to stop procrastinating? Nah, maybe next year.
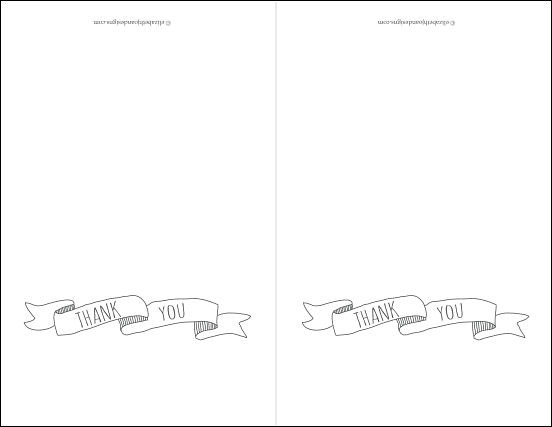
All of our printables are currently FREE for download for personal use only. However, this is subject to change in the future, so snag them at no cost while you still can! (View Terms of Use.)
Click the image below for the free PDF link. Please download the file and open with Adobe Reader to ensure proper print sizing. When printing, make sure that Page Scaling is set to “None.”
________________________________________________________________ You may also like:

Weekly Calendars 
2015 Printable Calendar 
Spring Cleaning Checklist 
Thank You Cards -
Upcylced Dollar Store Placemats
Today, I am sharing upcylced dollar store placemats. This an easy customizable project that works for any meal you are needing a little extra table decorating.

During one of my many trips to the dollar store, I picked up a few of these placemats.
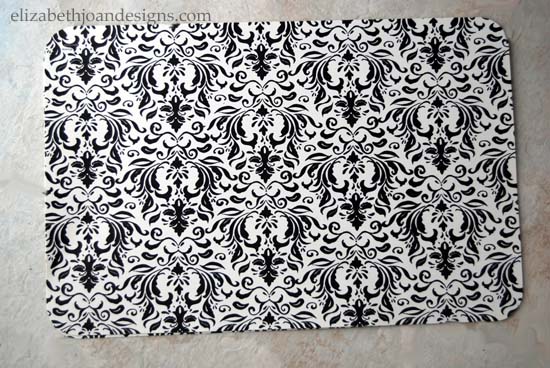
I was not in love with the style of them, so I decided to paint them with chalkboard paint. Obviously, spray paint would have been my first choice. Unfortunately, I did not have any chalkboard spray paint on hand, so I mixed up some of my own chalkboard paint using grout and latex paint.
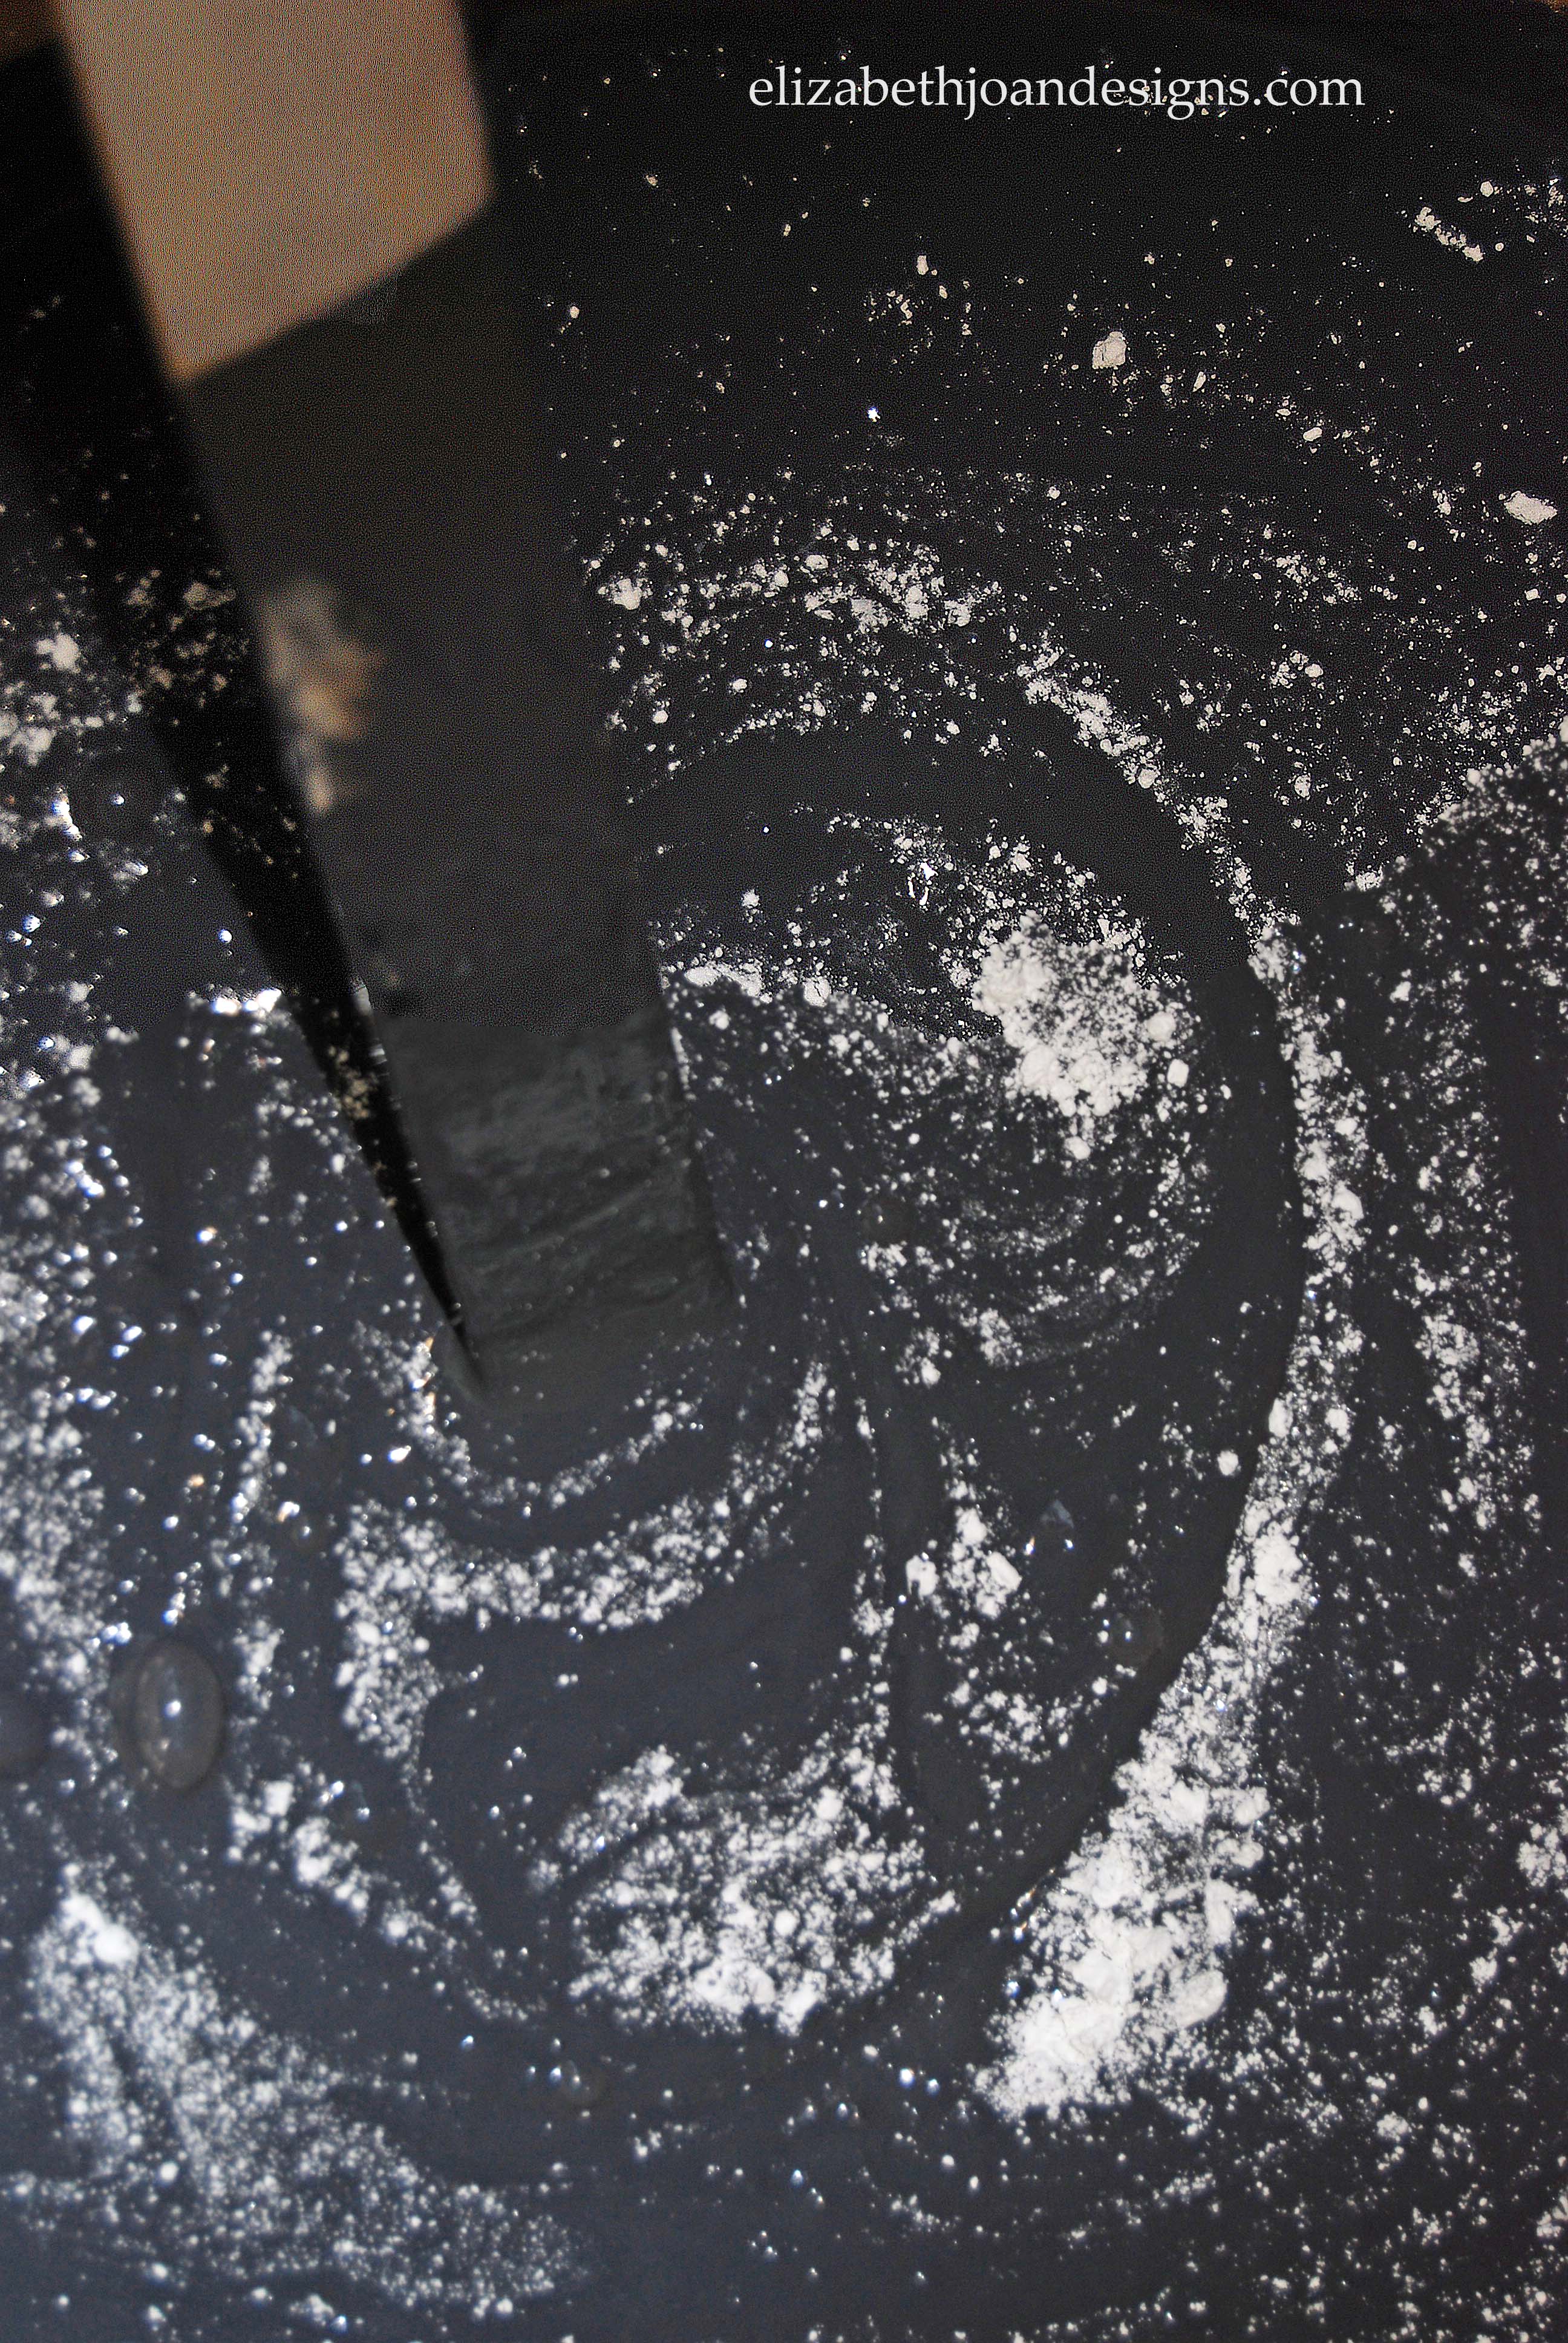
Next, each mat received several coats of my concoction.
Then, I rubbed a piece of chalk all over the mats to prime them. This step is extremely important. It prevents your first chalk marks from being permanent. I was really diggin’ the brush strokes that were present.

Finally, I wiped the placemat clean and started doodling.

But wait… there’s more!
I got the brilliant idea to add washi tape to the placemats to create colored patterns.

What do you think?
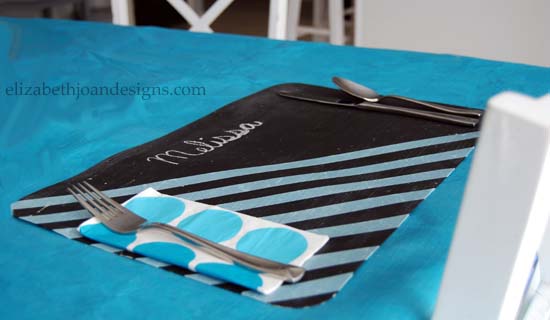
I am in love! My favorite part is that you can just remove the washi tape when you are finished, wipe the mat down, and you are left with a blank surface ready to be customized again for your next event.
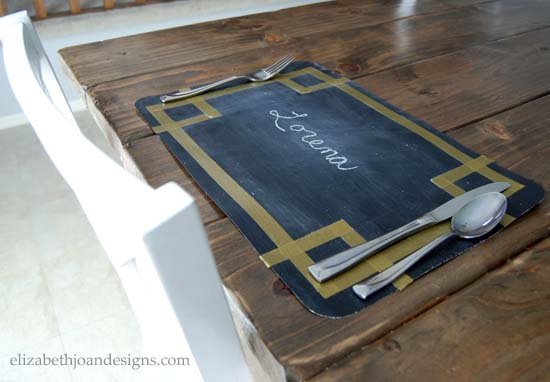
With or without the decorative tape, these babies would be a great addition to any holiday get together, birthday celebration, or party you are hosting.
_____________________________________________________________________________________
You may also like:

Ten Minute Infinity Scarf 
Pocket Hand Warmers 
Clothes Iron Cleaning 
Office/Workspace Reveal -
Your Designs This Time

Hi everyone! We are taking a little holiday break this week and will return to our regular scheduled posting and features January 5. See you next week!
-
Last Minute Silhouette Ornaments
If you are limited on time this holiday season, but still need a few extra small decorations for your upcoming get together, this is the project for you. These cute personalized last minute silhouette ornaments are pretty simple to whip up and something your can work on while the cookies are baking.

You will need:
– several wooden discs (I found these at JoAnn for a little over $0.25 each.)
– two colors of acrylic or chalk paint
– medium paint brush
– small paint brush
– pencil
– small silhouette cut out (Follow our Simple Silhouette Tutorial.)
– string1. Figure out how you want to hang your ornaments. The wood discs were plain and I knew I wanted a space to put a string through, so I had my hubby drill a tiny hole in each one. If you don’t have time for that, you can always hot glue the string to the back. (Drilling Tip: Since this wood is so thin, we suggest sandwiching the discs between a couple of pieces of thin scrap wood to prevent splintering.)
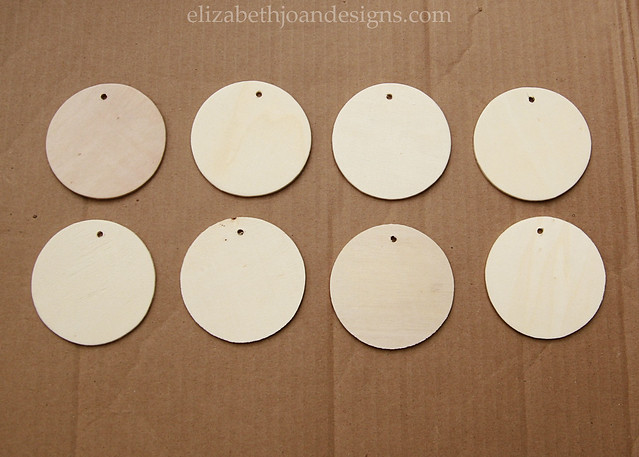
2. Paint the front and sides of each disc with one coat of paint and let them dry. The drying time is the longest part of this process. I used that time to get other stuff done. (For example, making dinner, baking cookies, cleaning house, etc.) When they are dry, paint the back of the discs.

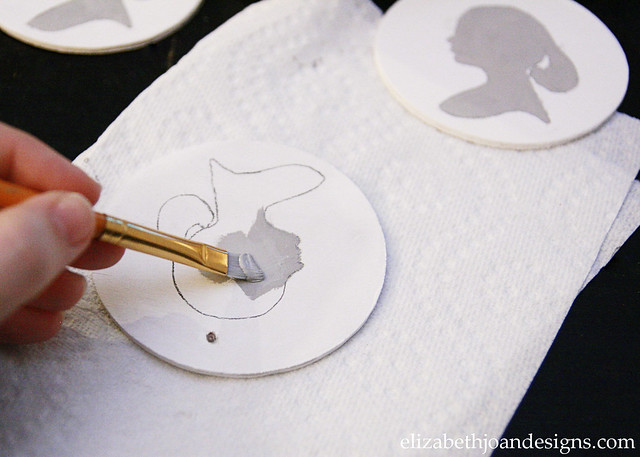
3. Once all sides are painted and dried, trace your silhouette cut out onto the disc.

4. Fill in the silhouette with the other color of paint using a small paint brush.
5. Add a string to hang it with and you are done!
Pretty straight forward, right? I love that these can be hung on the tree, placed on a stocking for each family member, or added to a gift. So fun!

I was able to get 8 of these cute ornaments finished in a couple of hours, which included drying time for the paint, babysitting an infant, tending to the never ending needs of a toddler, making lunch, and school pick up. I’m not Super Mom, so if I can do it, you can too!