-
Kids’ Shared Bedroom
Today, I’m showing our kids’ shared bedroom design board and a few of the other changes that will be happening around here in the near future. You see, recently our kids, who we lovingly refer to as Pinky (10) and Sweet Pea (4), decided that they really, really wanted to share a bedroom. I know, I was surprised too. Shared bedrooms can certainly present a challenge when it comes to decorating, especially when you take the ages of our kids and differing genders into account. They both have their own likes and interests, since Pinky is a tween girl and Sweet Pea is fresh out of toddler-hood.
Here’s what we are thinking of going with:
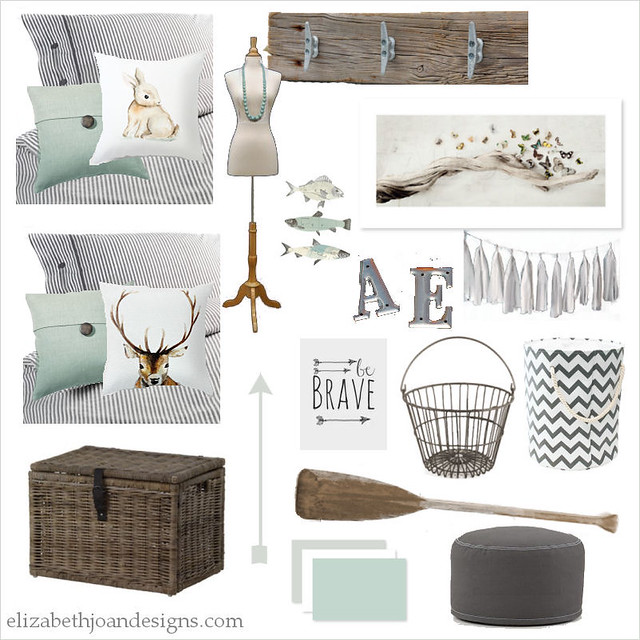
{sources to come}
After some lengthy discussions with each of the kids, we decided to go with a little bit of an outdoorsy theme. Sweet Pea wanted to have the room reflect his love for the outdoors and Pinky’s only request was to have a mint or light blue/green color in the room. After a little Pinterest searching, we pulled the rest of the elements together, based on items they both liked and stuff we already owned. I was worried that it would be super hard to get them to agree, but they both were open to each others ideas and we’re happy that they will have a room that will be a reflection of them. Yay!
Since the room they will be sharing is not huge (10″ x 12″ I think), we were in need of some furniture shuffling and buying. We decided to grab the Mydal bunk bed from Ikea to save floor space and store their current beds.
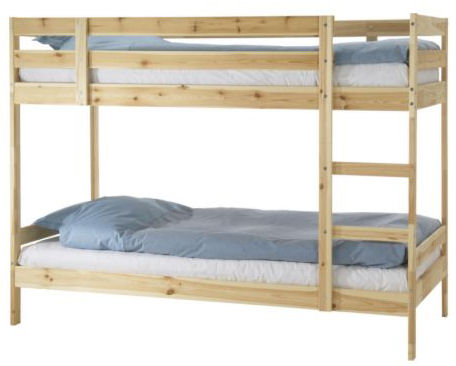
If you follow me on Instagram (Follow us both! Erin’s Instagram/Emily’s Instagram) you already had a sneak peak at some of the items that we purchased when we made our Ikea trip. Along with the bunk bed, there is new bedding and pillows. Woohoo!
Sadly, Pinky’s desk will not fit in the space, so we are swapping desks, which means she will still have a homework space on the vanity and I will have a little more storage for all of my office/DIY junk. And there is quite a lot of it.


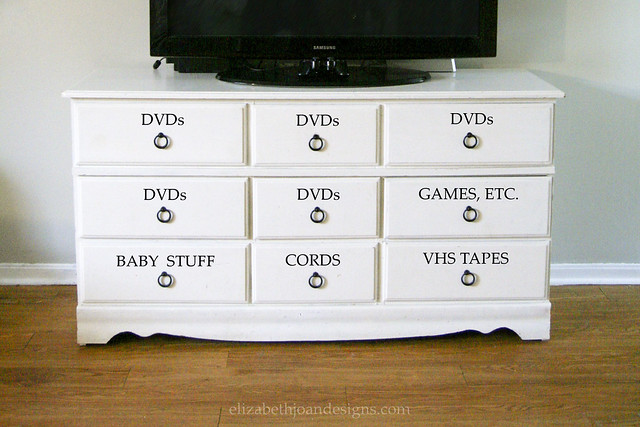
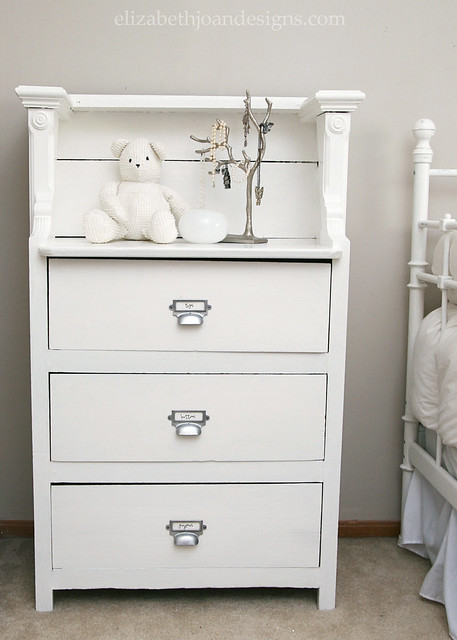
We are also bringing up the entertainment stand dresser for the kids to put their clothes in and Pinky’s heirloom dresser will get to stay too. To replace the dresser we had our t.v. on in our living room, we found a new (to us) dresser on Craigslist that we plan on refinishing.

What is to come of the extra bedroom we will be getting from this deal? I have a secret to share. Our home technically only has 2 bedrooms. Gasp! However, with four people, that can get a bit tight, but we’ve been able to make it work with an extra finished room in the basement that served as a 3rd bedroom. It’s been our daughter’s room and also our room, but we seem to always be changing things up. So, in addition to creating a shared space for them, Chris and I will be moving our bedroom back upstairs and creating an multi-functional area in the basement. Yay!
Hopefully, we can get all of this furniture swapping under control and stay away from having to rent a storage unit to hold all of the extra furniture we now have. Stay tuned to see progress in the kids’ room and find out how we are going to set up our finished basement space, since it will no longer be used as a bedroom.
-
Super Easy DIY String Paintings
This is a re-post of one of my first projects for Elizabeth Joan Designs. The original content had been erased during our “Accidental Blog Deleting Incident of 2013.” These super easy DIY String Paintings were so much fun to make and are still hanging up lookin’ all cute in my bathroom. This is the type of project I feel anyone can pull off and I wanted to re-share the information with everyone in case you are looking for budget friendly artwork.
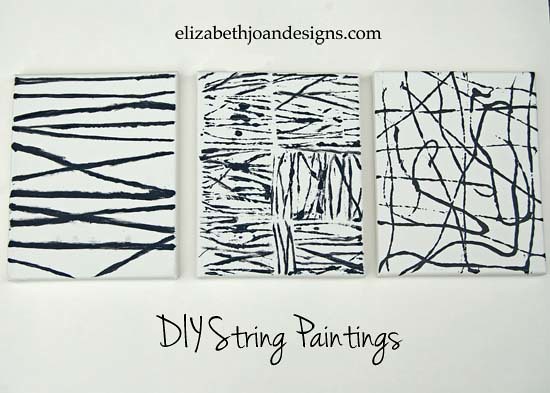
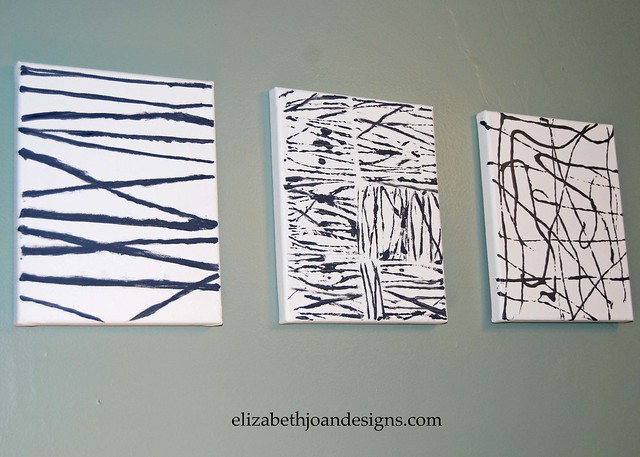
I used three separate methods for my wonderful works of art.
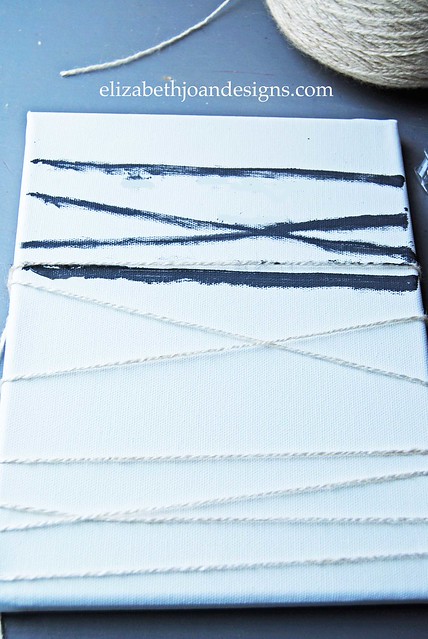
For the first painting, I simply wrapped a canvas with string creating horizontal, diagonal, and criss-crossed lines. I took a foam brush and used the string as a guide to paint the canvas.
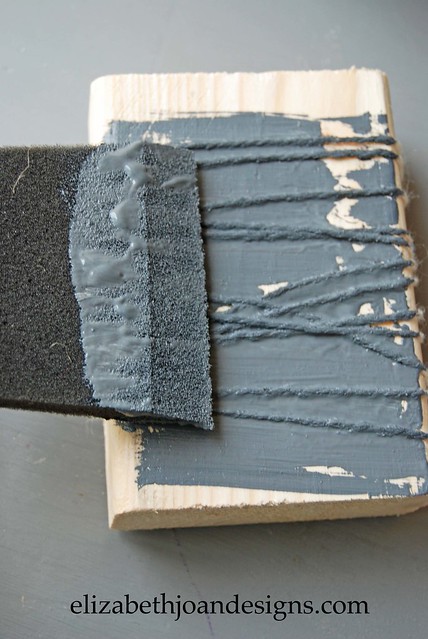
My second technique was a little bit tricky.

First, I created a stamp by tightly wrapping the string around a block of wood and tapping the ends to the back.

Next, I used a foam brush to paint the home-made stamp.
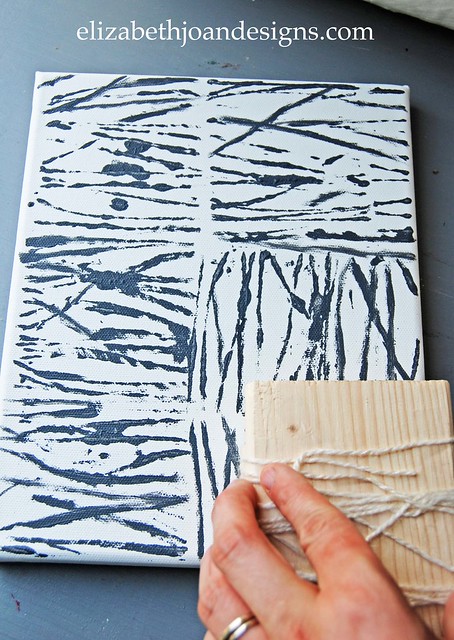
Finally, I pressed the stamp firmly onto the canvas transferring the string design. I did this six different times rotating the stamp each time. Paint was reapplied in between pressings to ensure good stampage. (That’s a word. Right?)
*When using this technique, do not expect perfection or you will be extremely disappointed. It may take a little practiced to get the exact amount of paint figured out to make each pressing even.
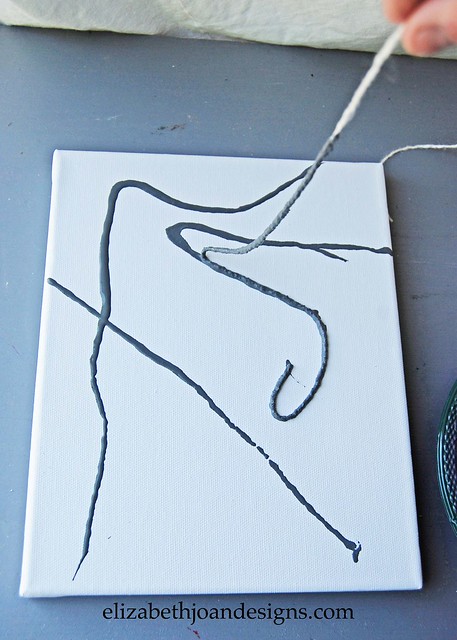
Last but not least, here is how I made my free-hand string printing.
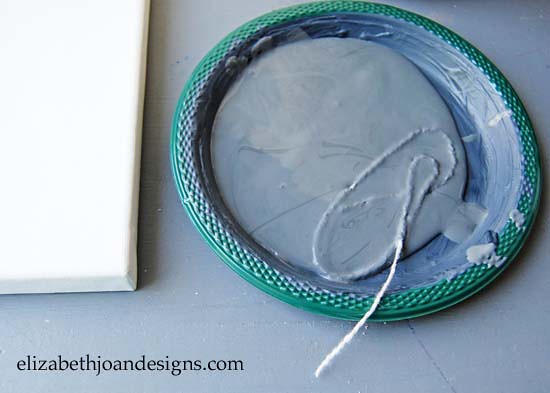
I dipped a long string into my chosen color of paint, carefully placed it onto the canvas, and repeated this several times until I was satisfied with my art. “Carefully” is the key word here for placing it on and taking it off.
*Warning: Haphazard string painting could lead to a mess.
What to you think? I love how these turned out! Cheap, fun and easy. My favorite kind of art!
-
Pegboard Luminary

It’s time again for The Home Depot Gift Challenge and April’s item is pegboard. The idea behind this is to purchase the named item at The Home Depot and then use it to create a gift (which is also wrapped with a product from THD.) We previously made an Industrial Book Rack and a Wood Box Caddy. Since I was already planning to use pegboard in an upcoming project, I told Emily I would volunteer to take on the challenge and make a pegboard luminary.

This challenge is in no way associated with The Home Depot. We just love their stuff!
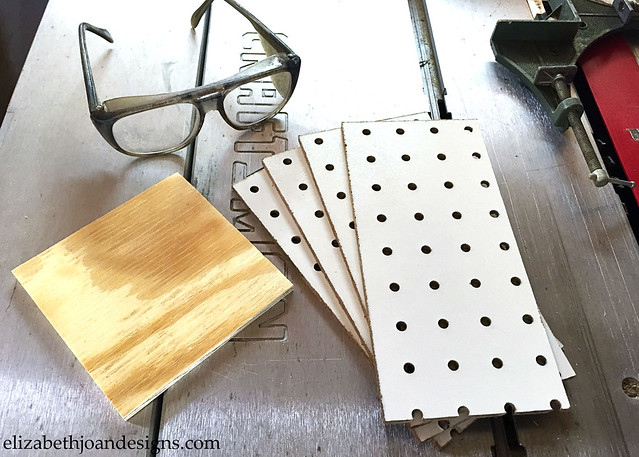
To start out, I headed to The Home Depot and grabbed my supplies. For this project, you will need:
Pegboard cut to size (4 – 4″x 8.5″ pieces)
1 piece of 4.75″ x 4.75″ plywood
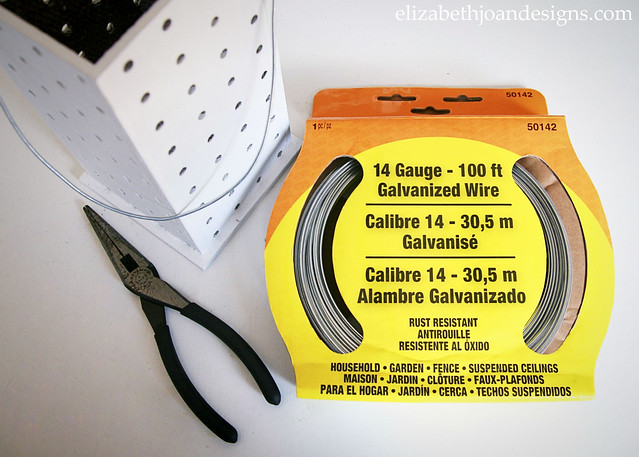
14 Gauge Galvanized Wire
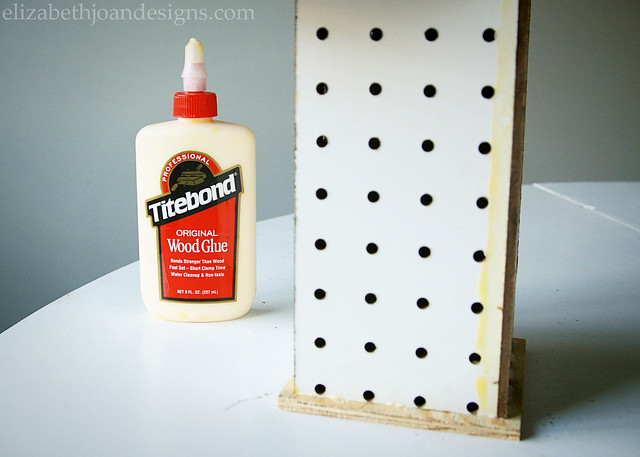
Wood Glue
Corner Clamps
Needle Nose Pliers
Paint
Sander or Sand PaperI had my pegboard and plywood cut at the store and mistakenly gave them wonky measurements that were way to big. Oops! Luckily, with the help of my Dad and Hubby, we were able to fix the sizes. Thanks Guys!
Start by gluing the edges of two pieces of pegboard together with wood glue and then clamping them so they can dry. Repeat with the other two pieces.

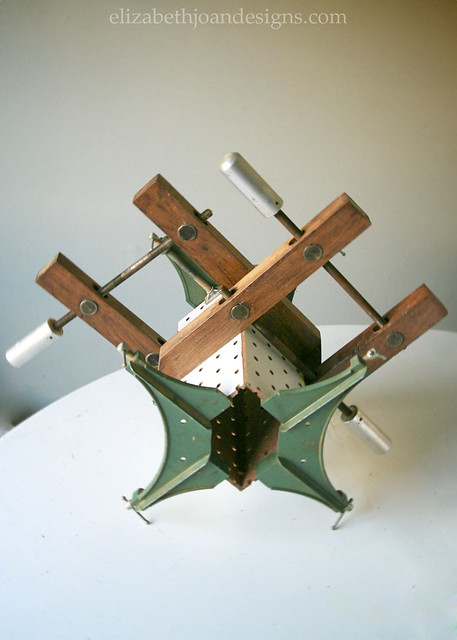
Once all of that is dry, glue the remaining edges together to form a box. Below you can see the excessive clamping job that the Hubs did to keep everything snug. I think it kind of looks like a torture device. Yikes!
Next, attach the bottom plywood piece to the pegboard box with wood glue and put something on top to keep it in place (like a book) until it is dry. Then sand any rough or uneven areas and paint everything with your chosen color, being careful not to fill the holes with paint.
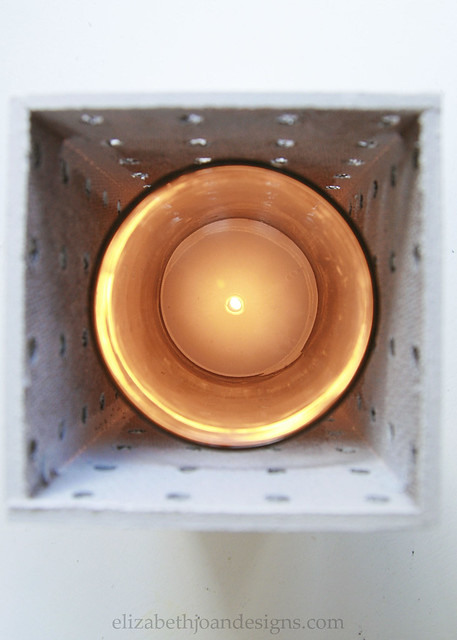
At this point, it is starting to look like a luminary or a cheese grater or a tiny little sky scraper. If you pop a glass hurricane and lit candle in, it definitely looks more luminary-ish.
To make the handle, feed some wire through one of the holes on the top and bend it around inside with pliers so it won’t come out.

Estimate how big you may want the handle to be and cut the wire to the appropriate length. Run the new end through a hole on the opposite side of the luminary and bend it around.
And that is it! Doesn’t it look cute sitting on the console table?

For the wrapping part of the project, I decided to keep things simple and just add a sandpaper bow.

I still need to figure out who is going to receive this gift, but for now, we are enjoying the gentle glow on our patio in the evenings!

Check out what all of the other talented participates made for this month’s challenge. (Click the photo to view their blogs.) These projects are pretty amazing!

-
22 Spring Cleaning & Organization Ideas

Spring is here and it is time to clean! Today we are sharing 22 Spring Cleaning & organization ideas to help get you in the mood. Enjoy!
Spring Cleaning Checklist

Remove Oil Based Primer

File Cabinet Turned Garage Storage
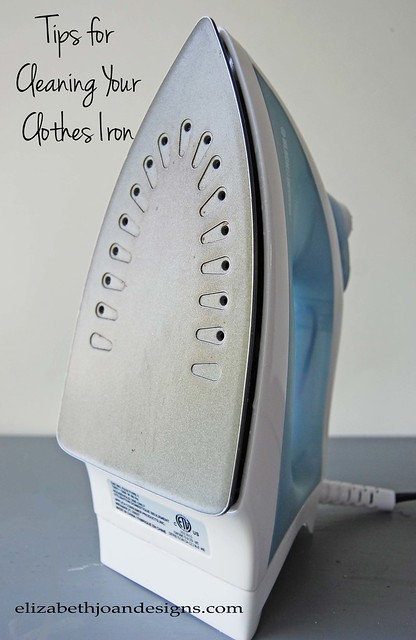
Tips for Cleaning Your Clothes Iron
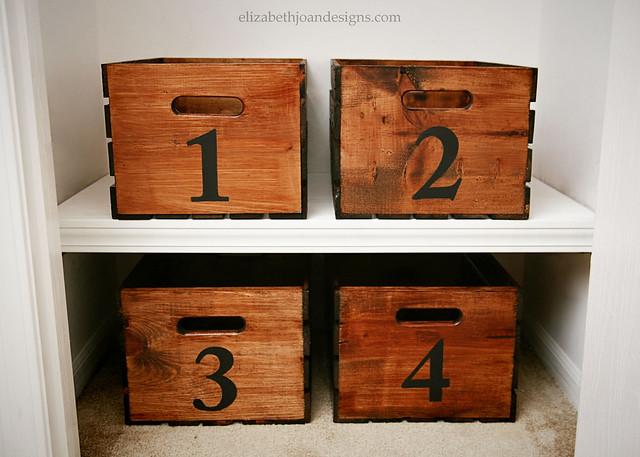
Industrial Numbered Storage

Cleaning Tips and Tricks

Numbered Wooden Crates
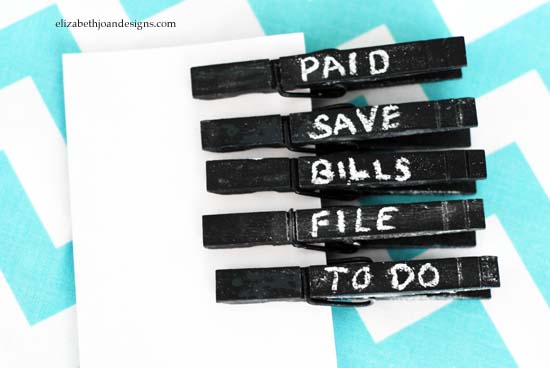
Chalkboard Clothes Pins
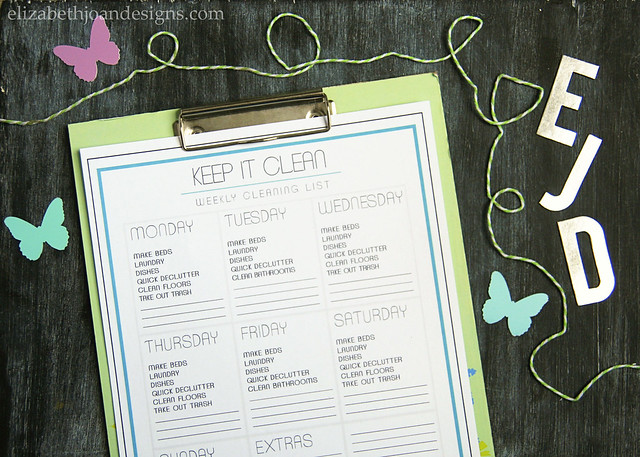
Weekly Cleaning List
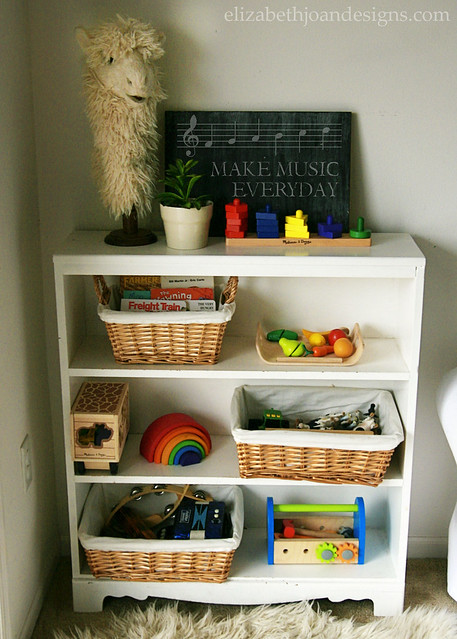
Toy Organization 
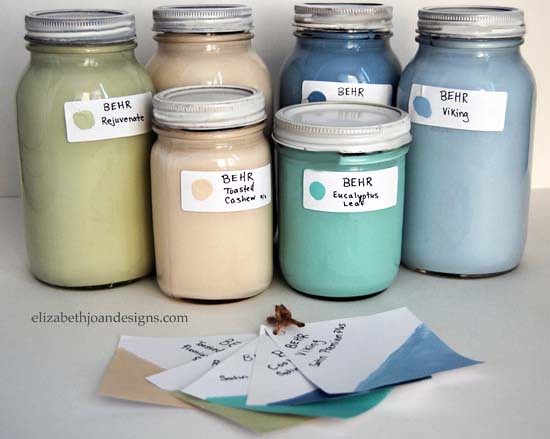
Mason Jar Paint Storage
Closet Organization

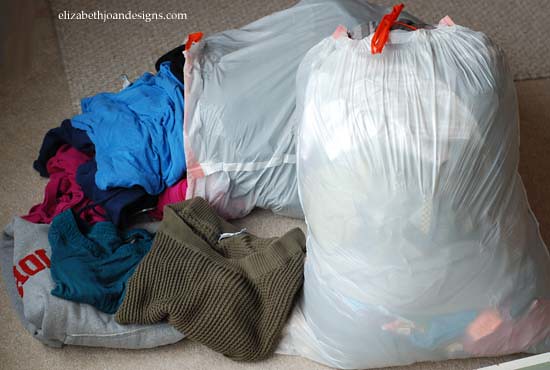
Getting Rid of the Excess
Moving Tips

Toy Rotaion
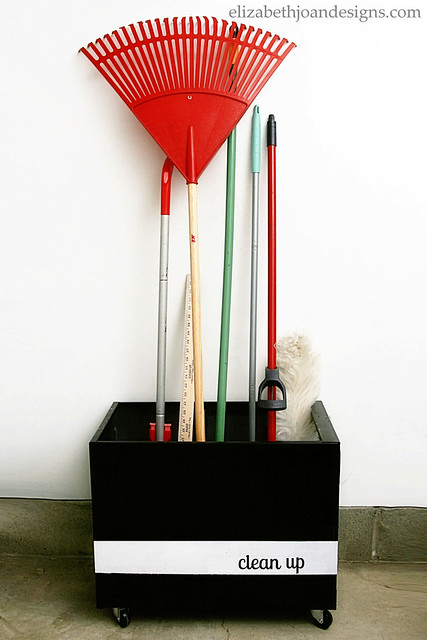
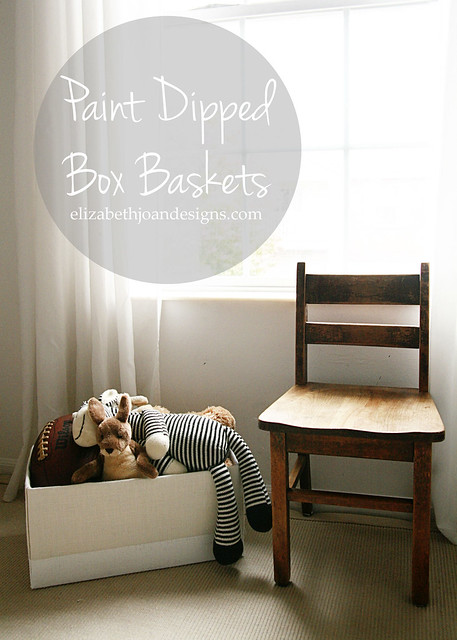
Paint Dipped Box Baskets
Pet Food Canister

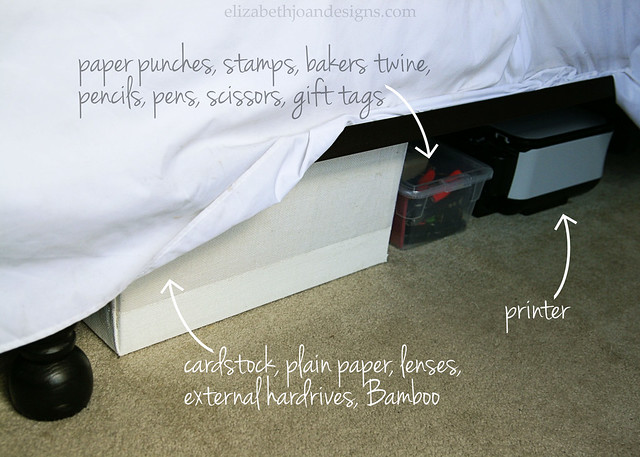
Workspace Organization
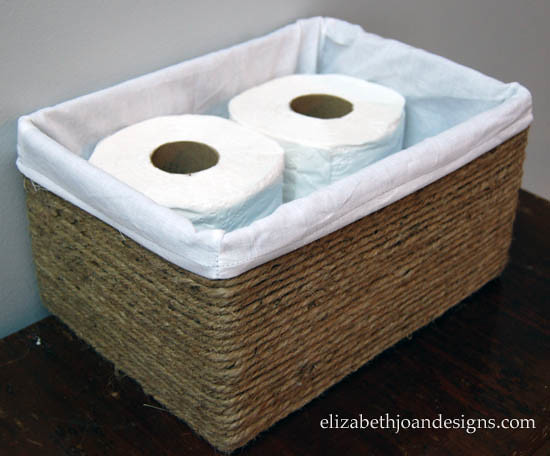
Turn Boxes into Baskets
 <
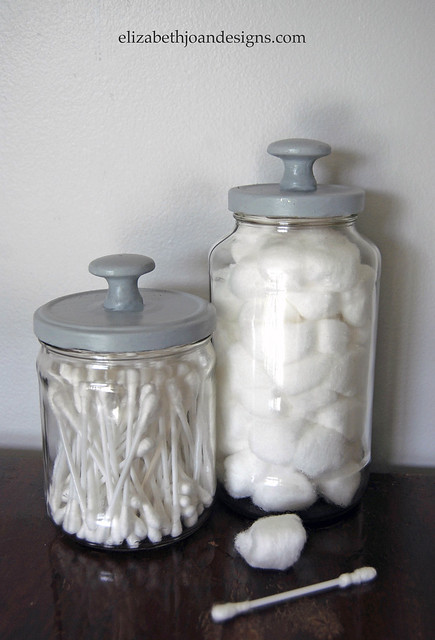
< Easy DIY Apothecary Jars
How to Clean Your Make-up Bushes

Entertainment Stand Dresser