-
20 Summer Projects and Recipes

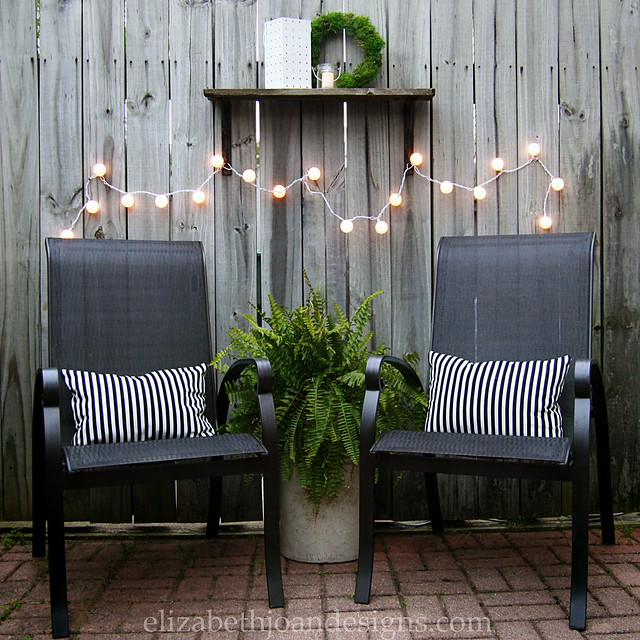
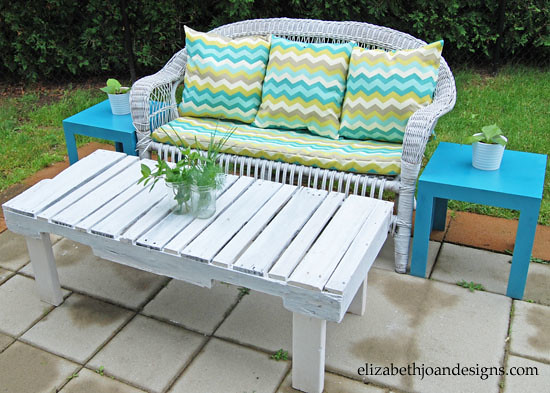
Patio Update on a Tiny Budget
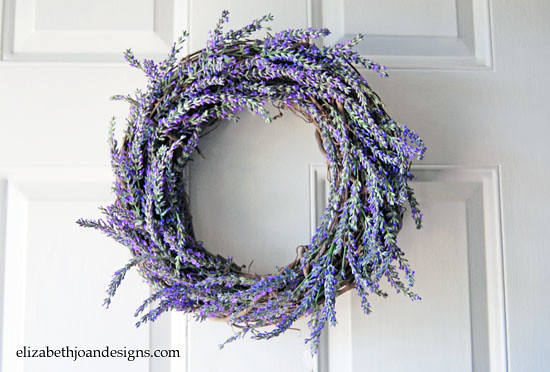
Lavender Wreath
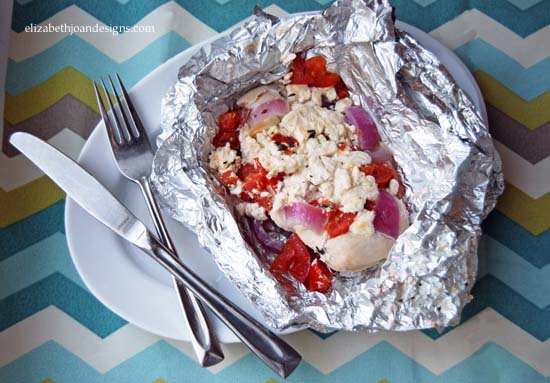
Mediterranean Chicken Foil Packets
Summer Party Printable Invitation

Neutral Coastal Pallet Flag
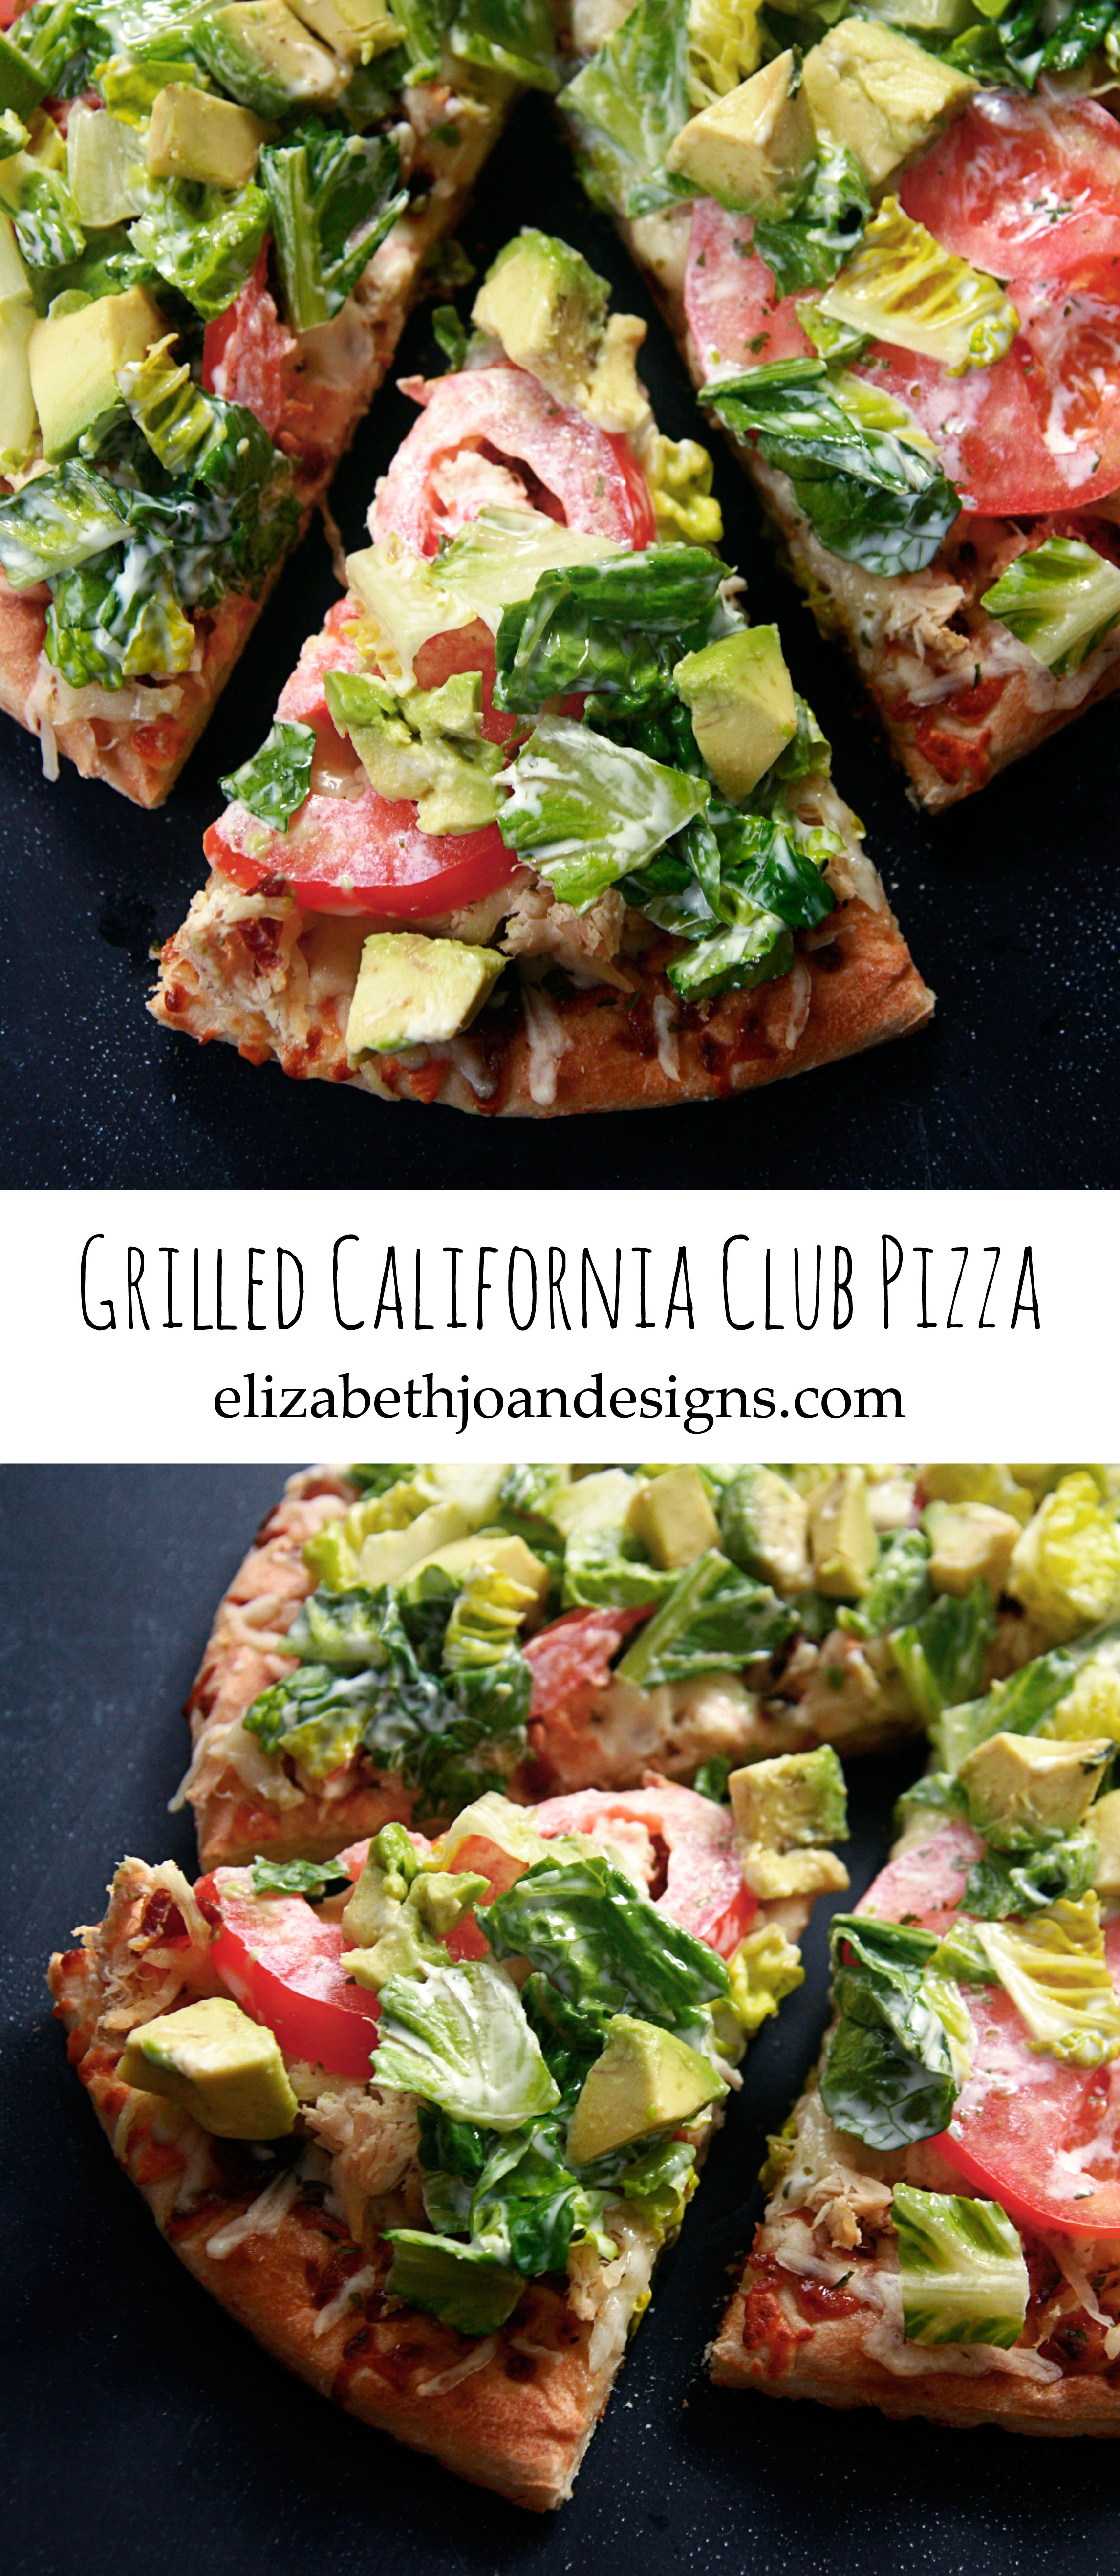
Grilled California Club Pizza
Numbered Mailbox

Packing A Carry On

Reusable Snack Bag

Bassinet Makeover
Grilled Bread Salad

The Cheapest Moss Letter You Will Ever Make

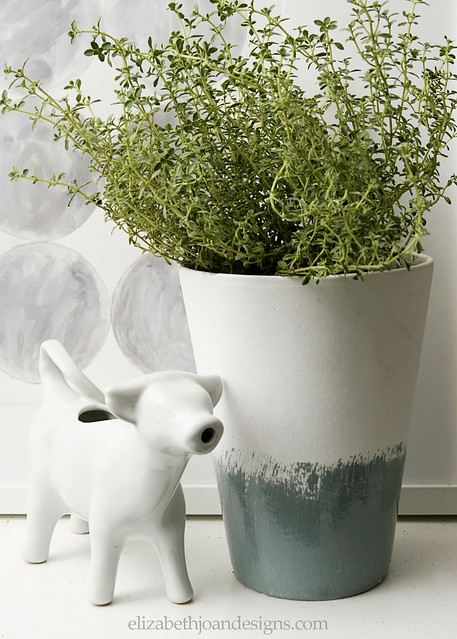
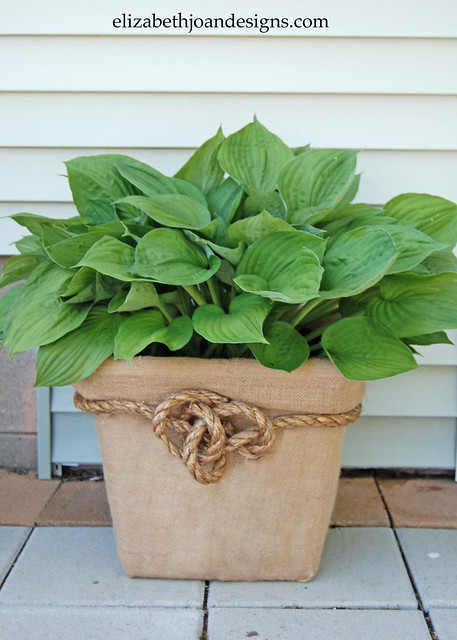
Glazed Herb Planter
Buffalo Chicken Meatballs

Patio Makeover
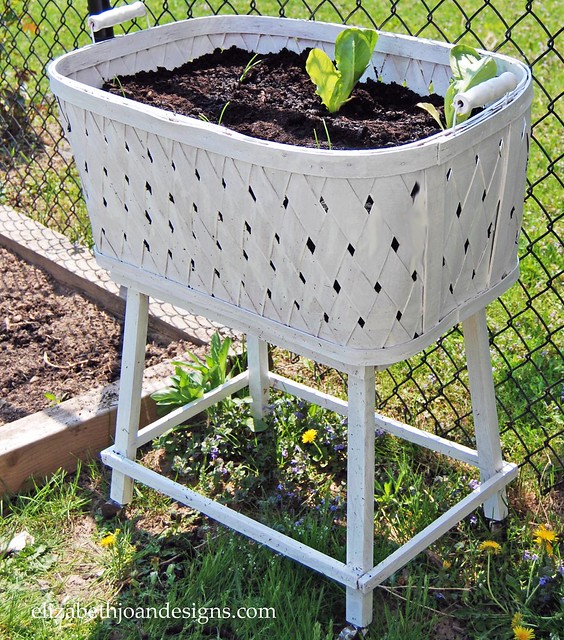
Laundry Basket Planter
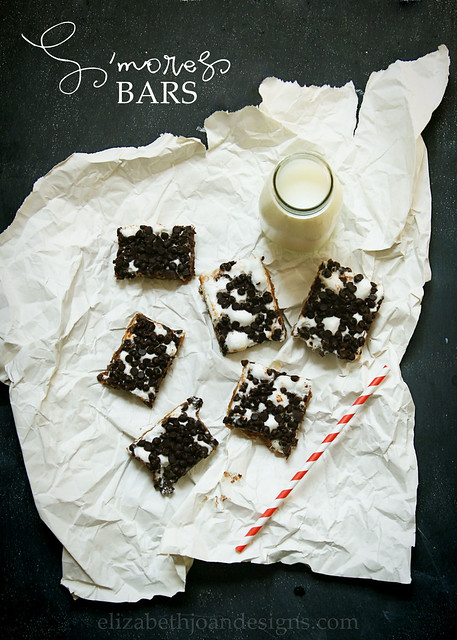
Ooey Gooey S’mores Bars
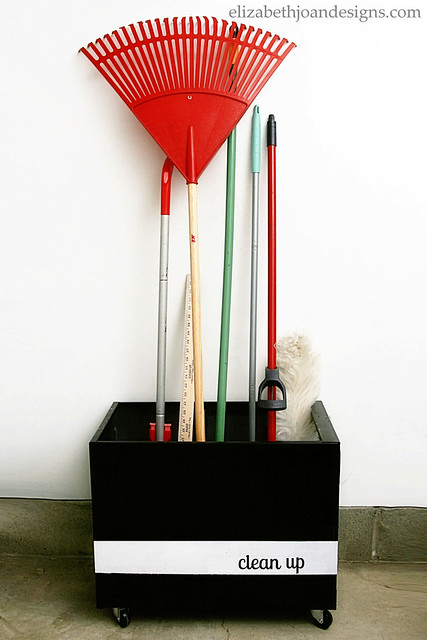
File Cabinet Garage Storage
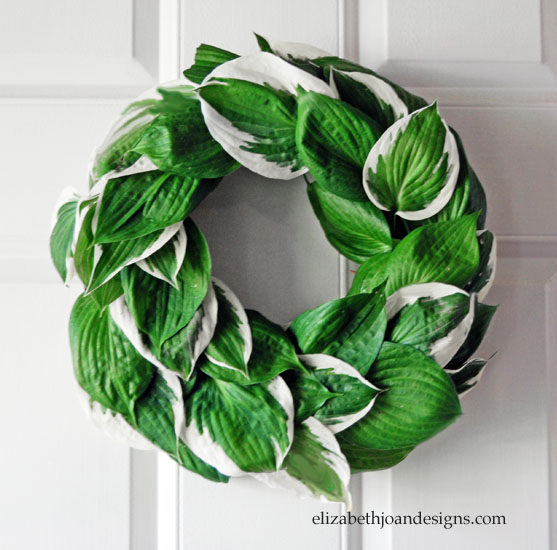
Hosta Wreath
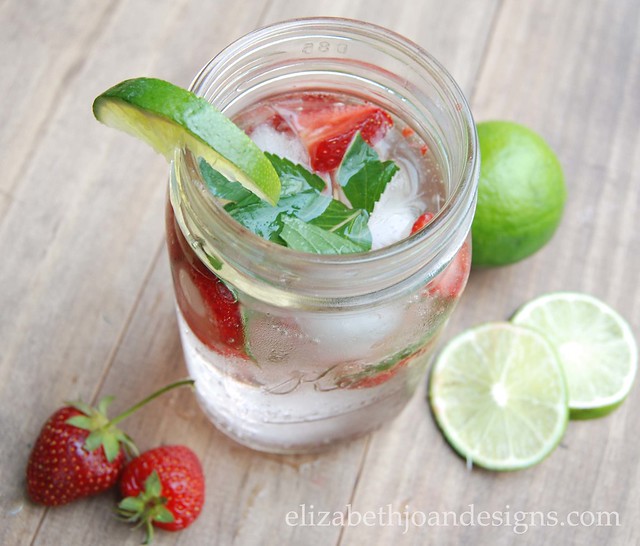
Strawberry, lime, and Mint Infused Water
__________________________________________________________ You may also like:

15 Furniture Transformations 
30 Projects under $10 
Favorite Photography and EditingTools -
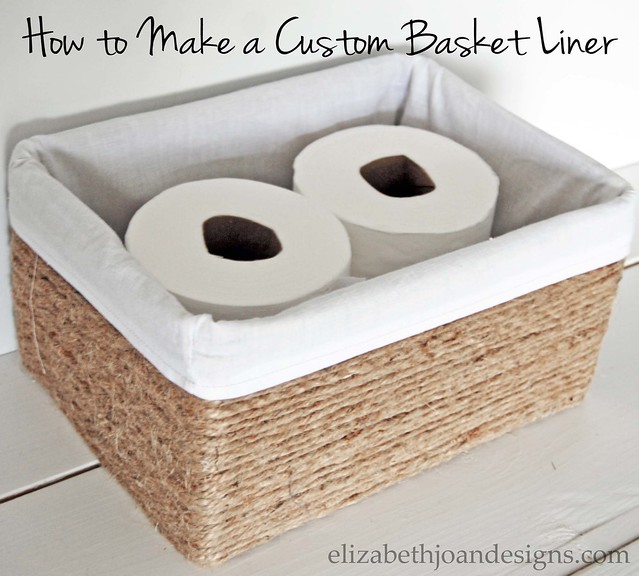
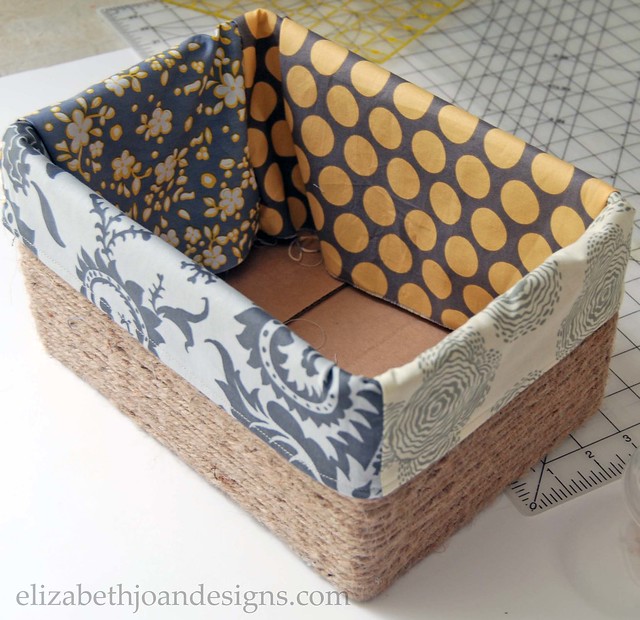
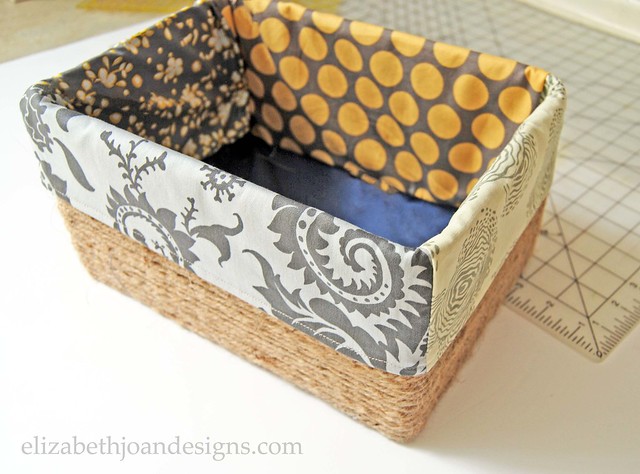
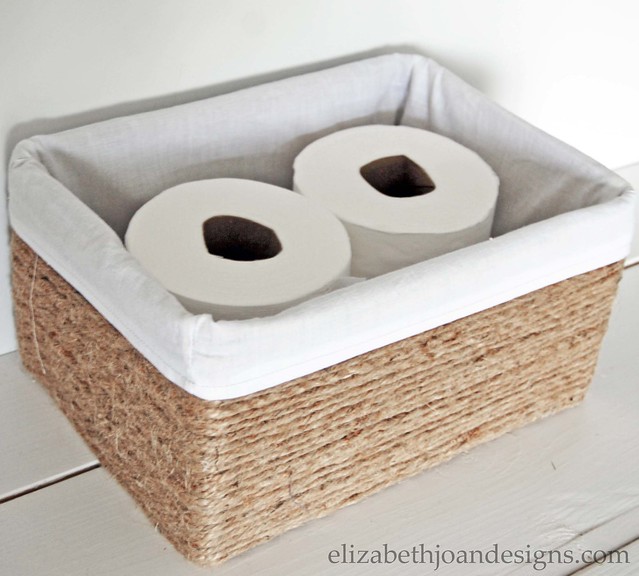
How to Make a Custom Basket Liner
Since re-sharing our Boxes into Baskets post, we have had many requests for a tutorial on how to make a custom basket liner. I have put together a step by step guide for you. (Yes there a lot of steps, but don’t be intimidated. It should only take about 30 minutes to make.) Without further ado, here are instructions and tips so you may create your own.
Disclosure: This post may contain affiliate links, which means we may receive a commission if you click the link and purchase. Please check out our disclosure policy for more details.
Supplies
Basket/Container – Anything you would like to line.
Tape Measure– I personally like a fabric one for projects like this.
Fabric– This can really be anything you want to make your liner made out of. I usually use inexpensive muslin to keep the cost down, but today I am using different colors of fabric to make it easier to follow along.
Rotary Cutter– Scissors work too!
Cutting Mat– This is optional. You may not need one if you are using scissors.
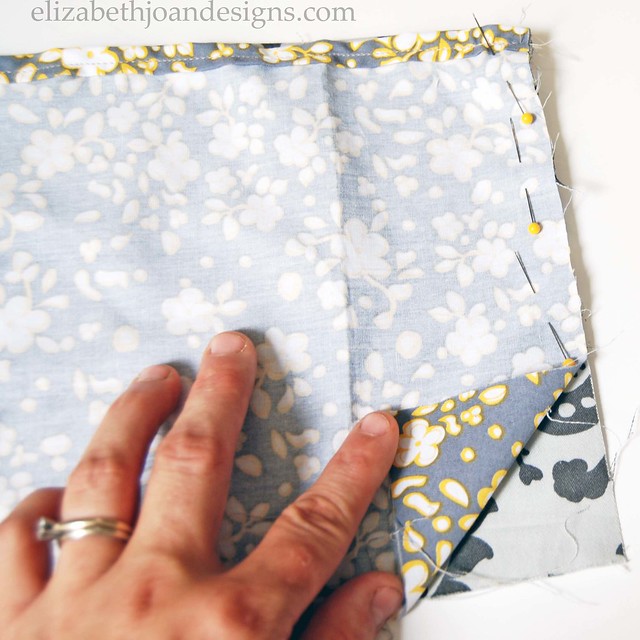
Straight Pins– In my opinion, an absolute must.
Sewing machine– Hand stitching is also acceptable, but may take a little longer.* If you don’t sew and still want to make a custom basket liner, exchange the sewing machine for Thermoweb Heat’n Bond Hem Iron-On Adhesive-3/8″X10 Yards
, a clothes iron, and ironing board. (Check the Thermoweb Heat’n Bond packaging to make sure your fabric choice is conducive to working with this product. Cotton is usually a safe bet.)
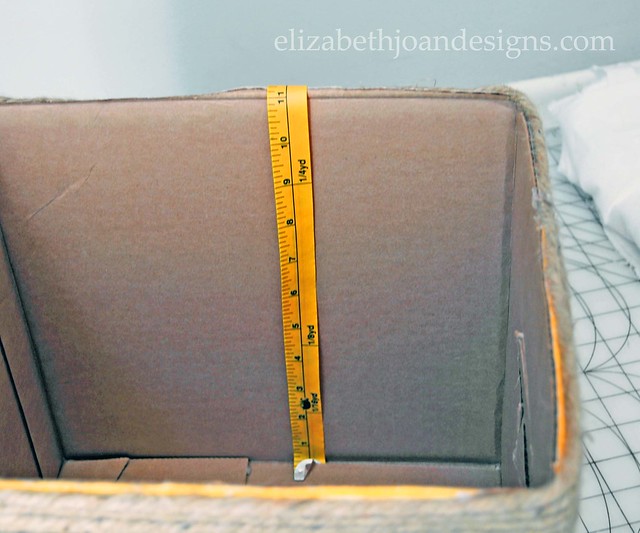
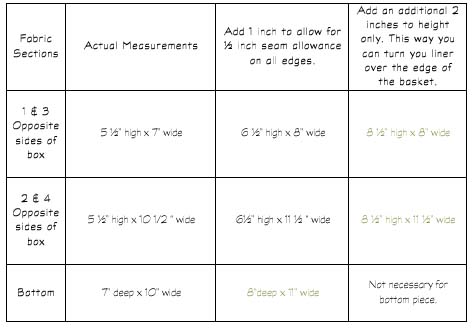
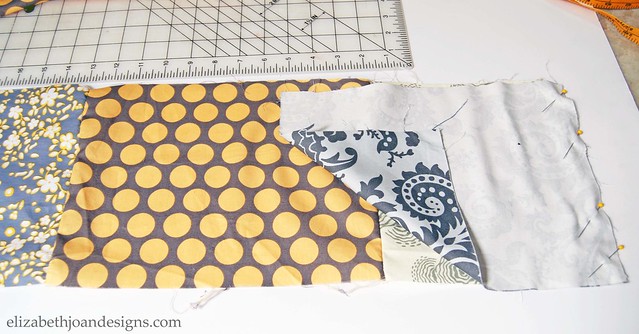
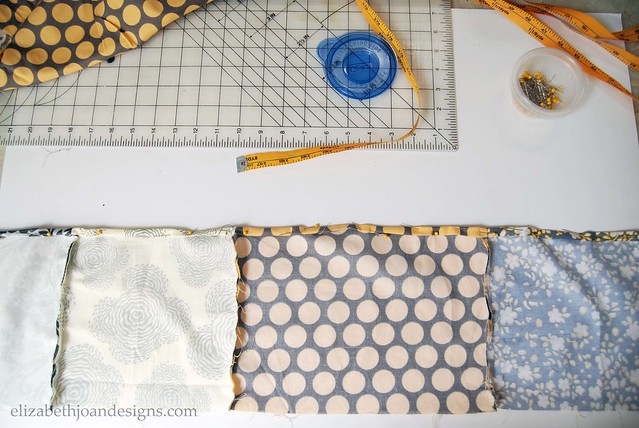
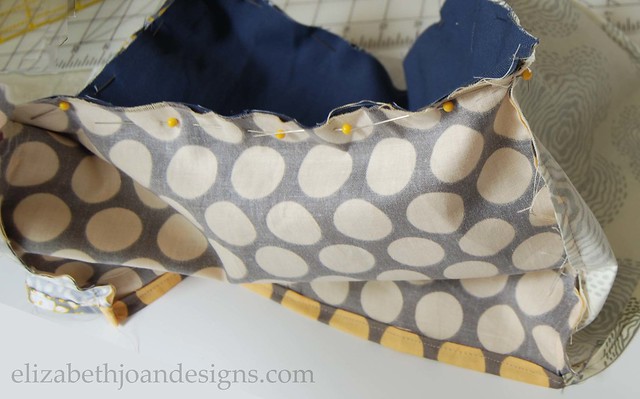
1. Use your tape measure
3. Use the rotary cutter
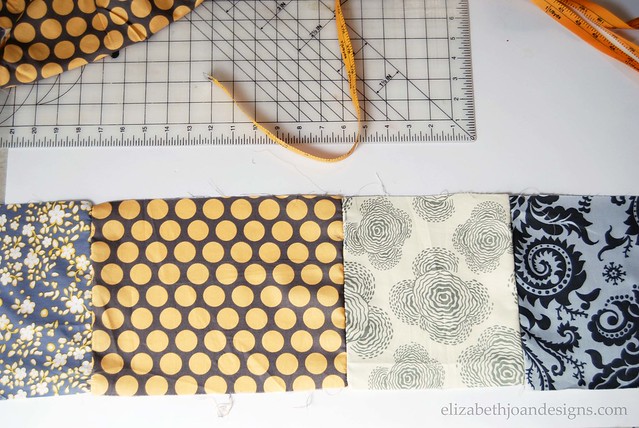
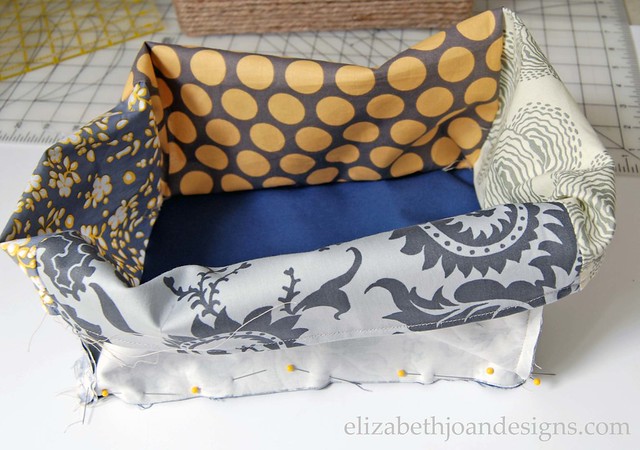
For tutorial purposes, these are the fabrics I used for each section. 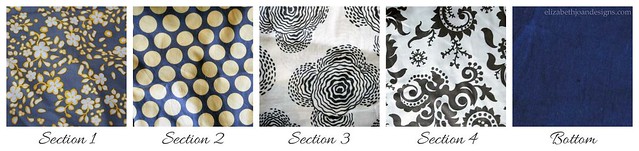
* For the non-sewers out there, every-time you see the word “sew” in this tutorial, place and pin the Thermoweb Heat’n Bond Hem Iron-On Adhesive-3/8″X10 Yards
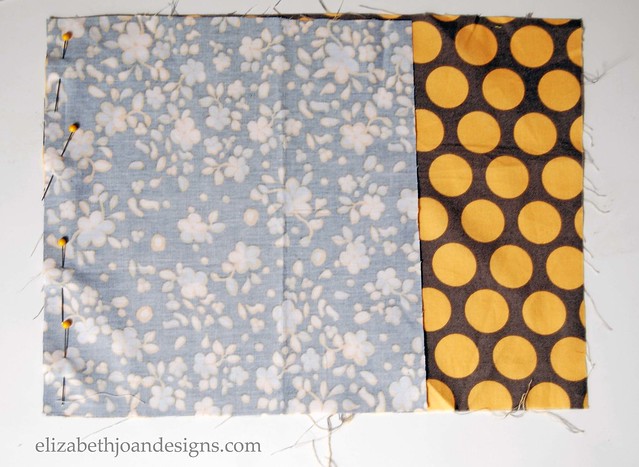

7. Fold top edge of fabric strip.
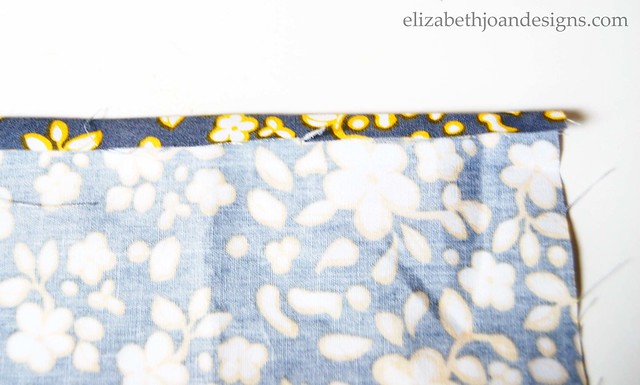

Here is how mine turned out using the muslin fabric.
__________________________________________________________ You may also like:
Boxes Into Baskets 
Half Bathroom Reveal 
No Sew Receiving Blanket 
Industrial Numbered Storage 
Paint Dipped Box Baskets -
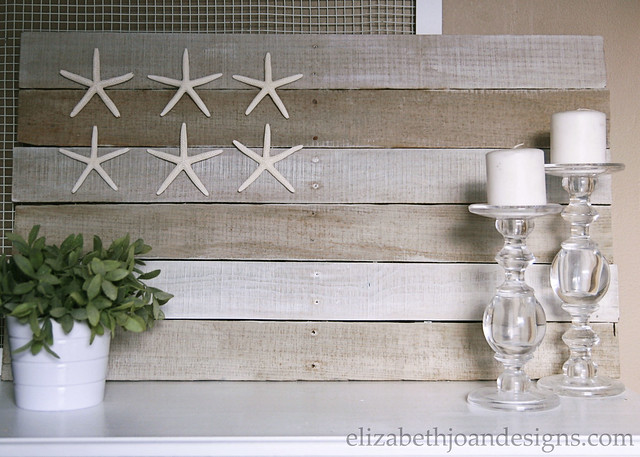
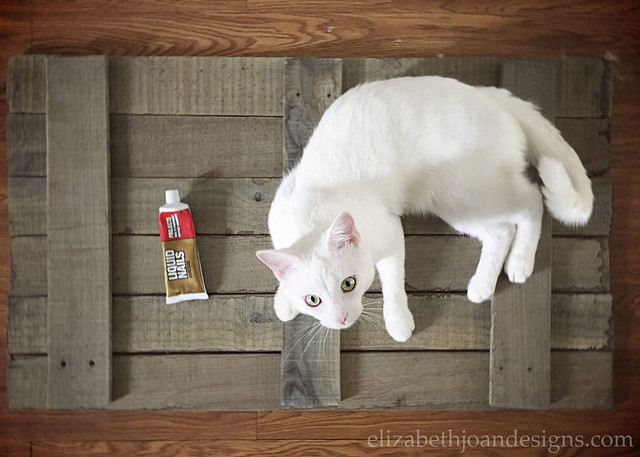
Neutral Coastal Pallet Flag
If you follow along with us on Instagram then you probably already saw the sneak peak of this fun coastal pallet flag. (If not, come keep up with all of the fun on Erin’s Instagram/Emily’s Instagram.)
A few weeks ago, we found some pallets that were in wonderful condition. Well, wonderful for a pallet. To make this flag, my hubby cut the main boards off of the pallet with a circular saw and then left on a business trip for a week, so the rest was up to me.
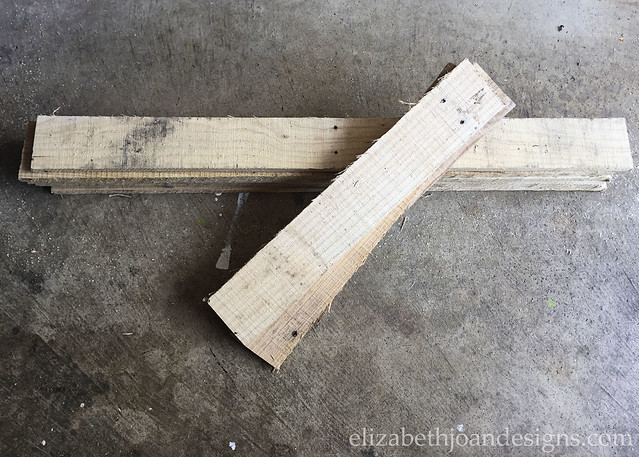
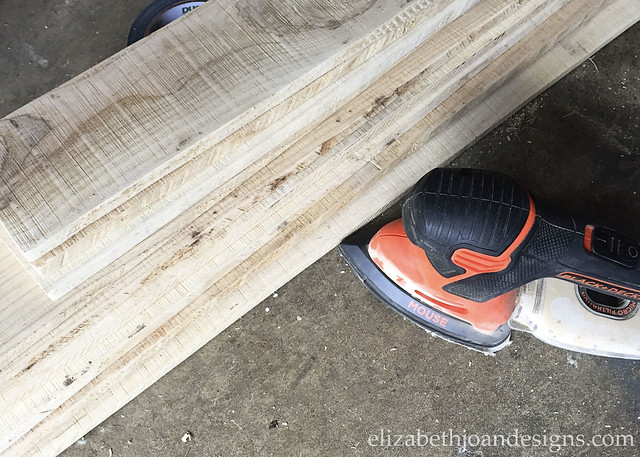
You can see that the boards look a bit shaggy with all of those little splinters coming off of the sides. However, that was an easy enough fix with my little sander. Just a quick once over of the boards had those stragglers running for their lives.
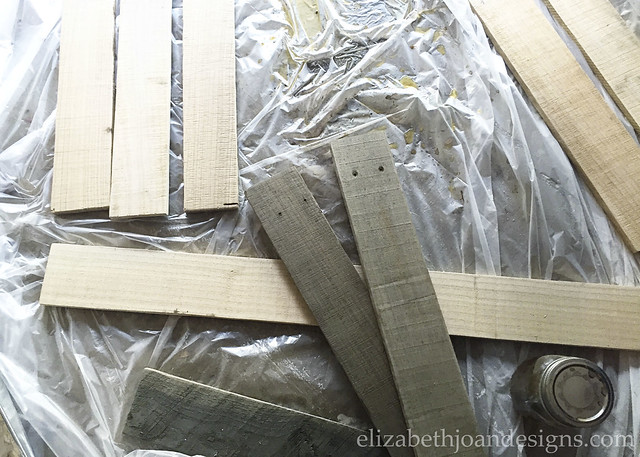
To age the wood, I used a combination of apple cider vinegar and steel wool. After letting the steel wool sit in the vinegar over night, I rubbed what was left of it (steel wool dissolves some in vinegar) onto the wood pieces. If you like to keep your manicure looking pretty, I would also suggest wearing a pair of latex gloves or something similar.
Once all of the pieces were stained, I lined them up and attached them together with a few left over boards using liquid nails. And a cat. Though the latter part of this process is totally optional.
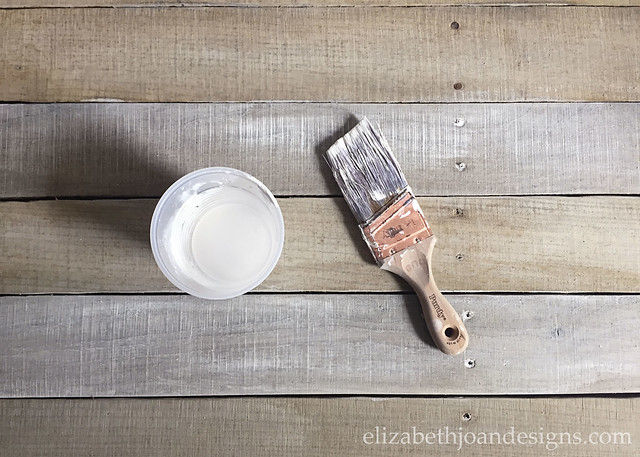
To get that coastal feel, I brushed on some gray and white chalk paint mixed with a bit of water and alternated boards.
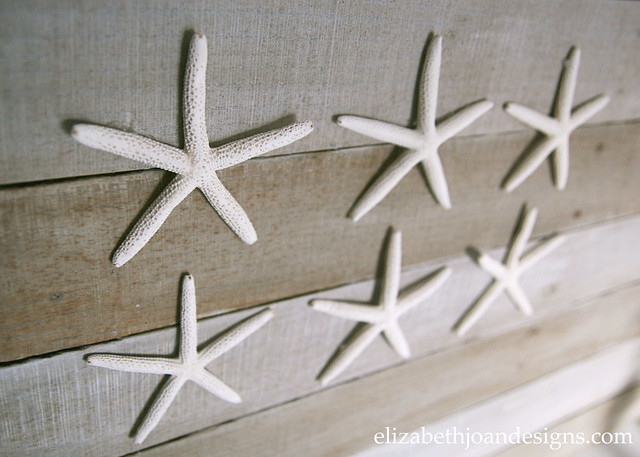
And of course, added several starfish that were affixed with hot glue.
This was such a fun and simple piece to work on and I feel like it totally screams “SUMMER!”
_____________________________________________ You may also like:

Patio Update on a Tiny Budget 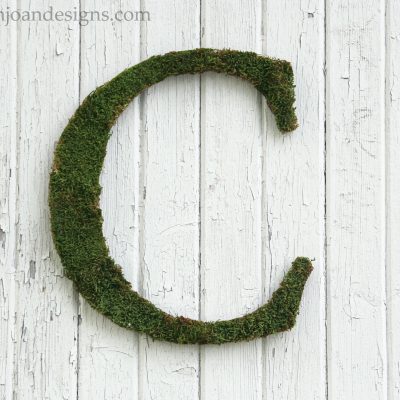
Moss Letter 
Buffet Table 
Bassinet Makeover -
Two Year Blogiversary Celebration – Day 4
Today, we are wrapping up our two year blogiversary celebration. And before I share another of our most popular posts, we would like to thank our readers. You guys are AMAZING! Thank you so much for all of your sweet comments and support over the past two years!!! Thank you! Thank you! Thank you!

If you’ve been following along this week, you’ve seen some our favorite/popular projects (Boxes to Baskets, Bed Risers, and Personalized Utensil Crock.) One of our most loved posts has also been our Vintage Inspired Chalk Cloth Map.
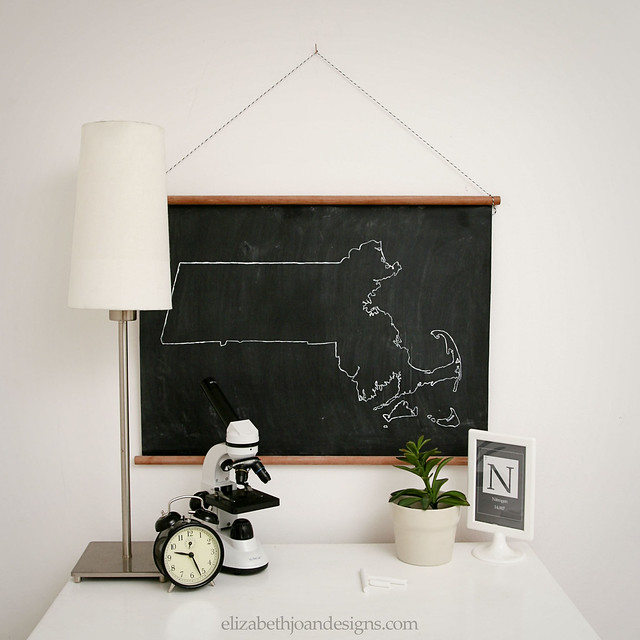
This project was sentimental for our family and even though it took a little bit of time to complete, it has been wonderful to see it everyday hanging in our
son’skid’s bedroom to remind us of our time in MA. You can find out how we put this together here.Thanks again for hanging out with us this week! And don’t forget, there is still time to enter The Home Depot Challenge Giveaway for your chance to win a $100 gift card to The Home Depot.
Want more? Follow us on social media! We would love to connect with you! ____________________________________________________________