-
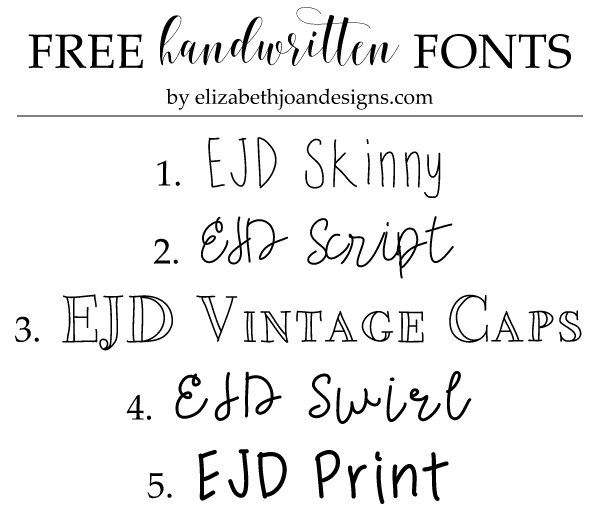
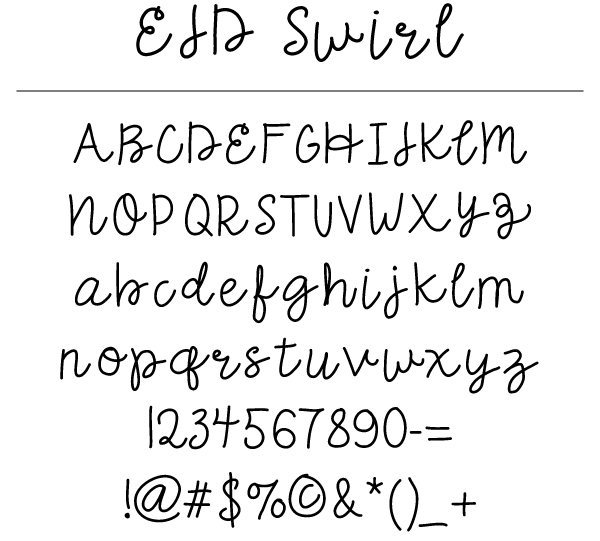
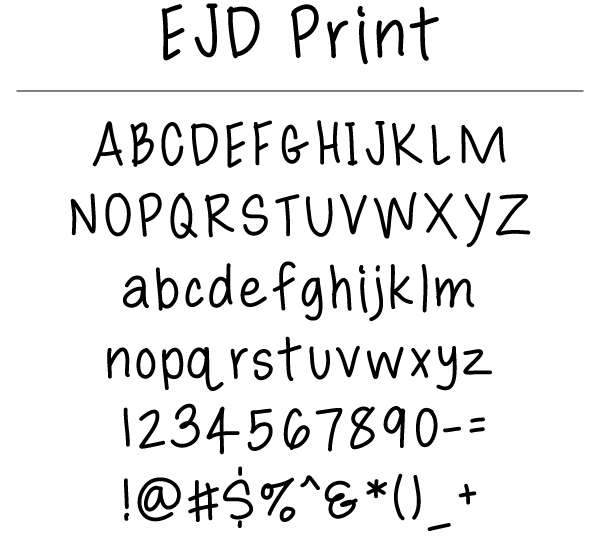
How To Create Your Own Handwritten Fonts
You may not know this about me, but I’m obsessed with fonts. I love all of the different kinds, from swirly script to straight up sans-serifs and pretty much everything in between. And when I found out that I could make my own handwriting into a font, you’d better believe I did a little dance that may have resembled the Carlton. Anyway, I thought I would share with you how you can create your own handwritten fonts.

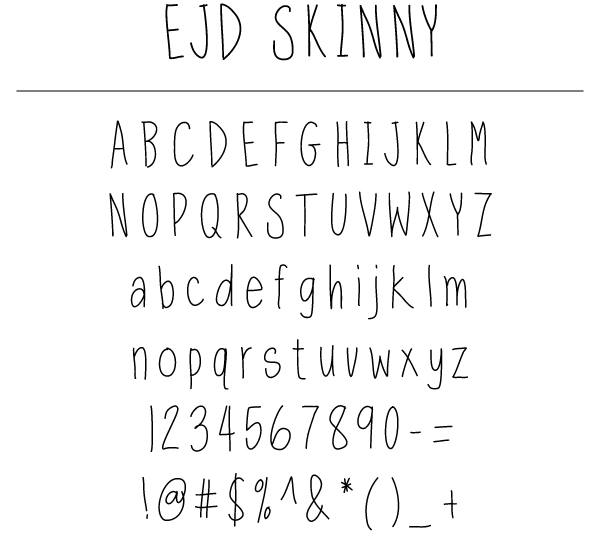
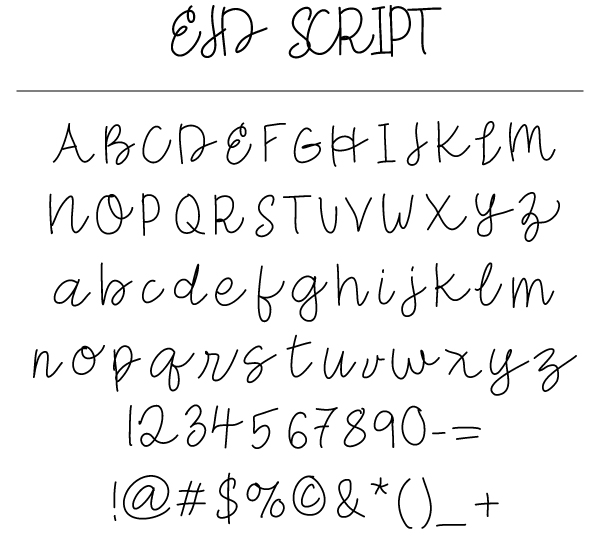
And as an added bonus, I’ve created 5 fonts of my own to share with you! (You can snag one or all five at the end of this post.) However, if you want to make your own fonts, keep on reading.
There are a couple of methods I know of that allow you to create your own handwritten fonts fairly easily. Both of these ways require a few accessories to get the job done.
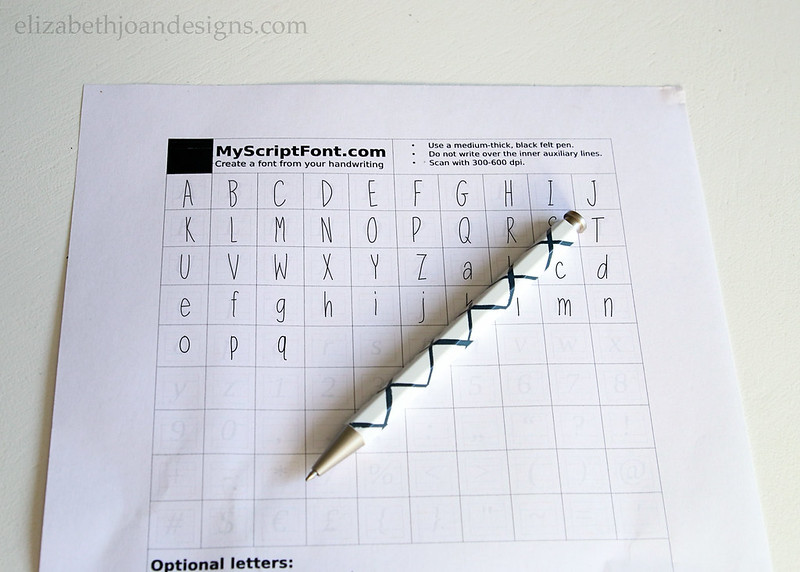
This first technique calls for a printer/scanner. To start making fonts, head on over to My Script Font and download/print the free font template. Using a black pen, fill in each box with the corresponding letter/character. When you are finished, scan the paper and upload the file to My Script Font.
2. iFontMaker
The second way to create your own handwritten font is to use iFontmaker app for iPad. The app itself costs several dollars, but it is totally worth it in my opinion. I have had so much fun playing around with this app and creating new fonts (and so have my hubby and kids!) After downloading, open the app and get started. You can find a basic tutorials on the iFontMaker website and also on YouTube. This app is truly awesome and my favorite way to create a fun font!

So, what are you waiting for? I would love to know if you try out either of these techniques or if you know of any other ways to create your own handwritten font.
You can download any of the following fonts that I created for FREE by clicking on the links below.
All fonts are free for personal use only. If you are interested in using these fonts for ANY commercial use (anything that generates income), including, but not limited to art, blogs, ebooks, etsy, logos, printables, scrapbooking, adaptions, etc., please contact me. Thank you!

____________________________________________________
You may also like:

Moss Valentine Template 
2020 Calendar and Planners 
Ribbon Heart Place Card 
5×7 Letters and Numbers -
Bacon Wrapped Olives
In my world, there aren’t many things tastier than some crispy bacon. I admit it. I have a bacon obsession. We’ve even be known to host bacon wrapped weekends where we cover pretty much all foods with the savory meat. And since that big football game is quickly approaching, I thought I’d share one of my favorite bacon-y treats: Bacon Wrapped Olives.
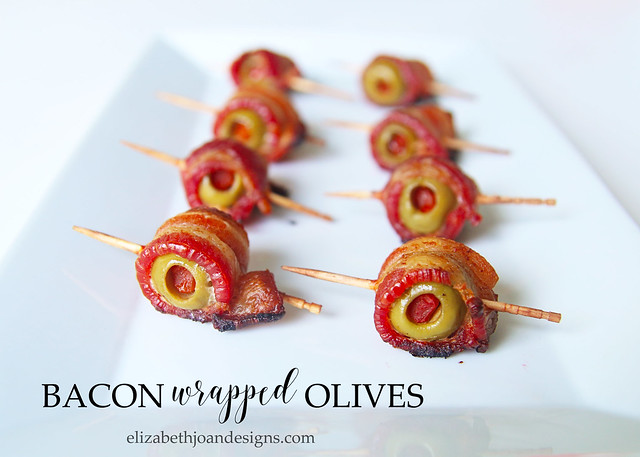
I was introduced to these little bundles of goodness a few years ago by one of my besties and we’ve been making them ever since. They are super easy to whip up and require only two ingredients. Bacon and Olives. I prefer to use thick cut bacon, but have enjoyed a variety of olives with these. (They are super good with bleu cheese, garlic, or jalapeno stuffed olives!)

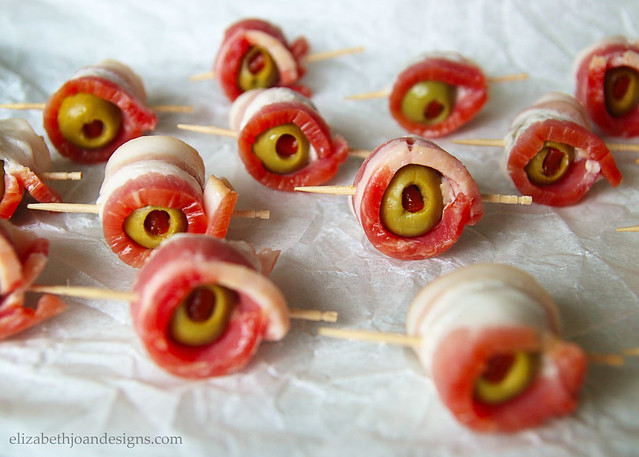
After you cut the bacon into 3rds, wrap each olive with one of the small pieces of bacon and push a toothpick through it to keep everything enclosed.
Then, just pop them into the oven at 400°F and you are just 25 minutes away from heavenly goodness.

I’ve even convinced olive haters to try these salty treats and they have not been disappointed!
Bacon Wrapped Olives from Elizabeth Joan Designs
Ingredients
- 5 Slices of Thick Cut Bacon
- 15 Olives
Preparation
1. Preheat oven to 400°F. Line a baking sheet with parchment paper and set aside.
2. Cut each bacon slice into 3 even pieces.
3. Individually wrap each olive with one piece of bacon and secure with a toothpick.
4. Place olives on prepared baking sheet. Place into oven and bake for 20-25 minutes or until desired crispness is achieved.
5. Serve.____________________________________________________________________ Looking for more fun party foods? Check out these from the recipe gallery!

S’mores Bars 
Baked Jalapeno Cream Cheese Wontons 
Buffalo Chicken Meatballs -
Photography Project 366 – A Photo Journey
Have you ever heard of the 365 Photography Project? Basically, you take a photo each day of the year for one year. Sounds pretty simple, right? I’ve attempted these kinds of photography projects in the past and only ever completed one. I’m not going to lie; this stuff is harder than it seems.

So why would I want to give this a go yet another year (with one extra day this time for leap year?) Because I absolutely love photography and it is worth it! Yes, there are times when I’m scrambling to take a picture before midnight because I forgot or was too lazy to grab my camera.

However, even during those times I have been able to capture so many of the great little moments of my life, our family, and things that we’ve done.
Those times when your kids are laughing or that crazy huge beer your husband bought on date night. The seemingly mundane things that make up the everyday or big, exciting events in our lives. They are all important in creating who we are and doing a daily photography project is a great way to collect those memories. Plus, it is also a great way to work on my photography skills!

My favorite part is watching how our family grows and changes in just the course of a year. Those memories captured by my camera are priceless.

Have you ever considered doing any kind of photography project? All you need is a camera and a little motivation! Whether it is a desire to improve your photography or capture those special moments, now is the time to start!
-
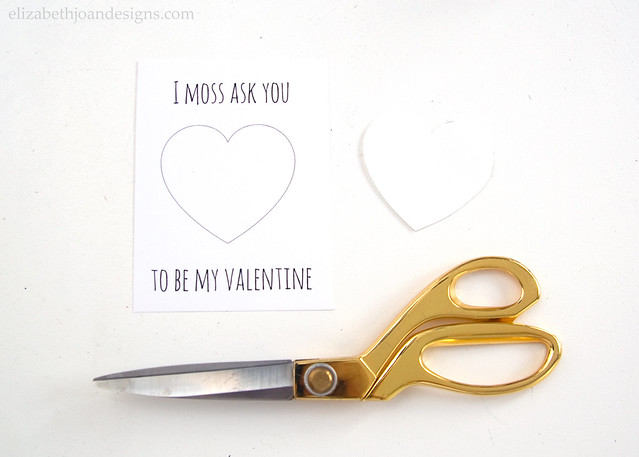
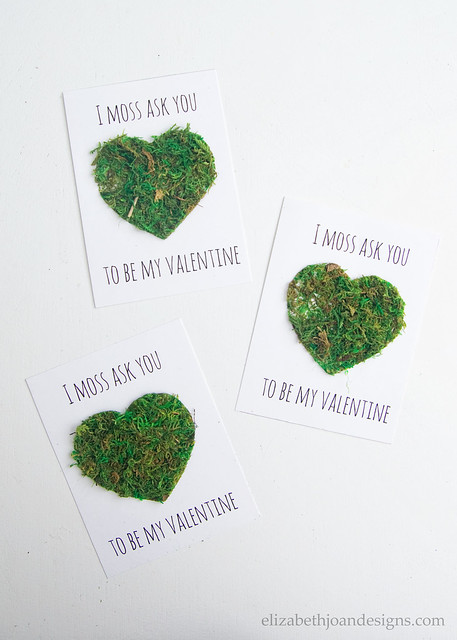
DIY Moss Valentine & Printable
Can you believe that the first month of 2016 is more than half way over? Me either. And that means that the lovey-dovey holiday in February is close by. I know some people hate sharing all of the feels on Valentine’s Day, but for the true lovers out there, I’ve whipped up a fun and quick DIY Moss Valentine & Printable.

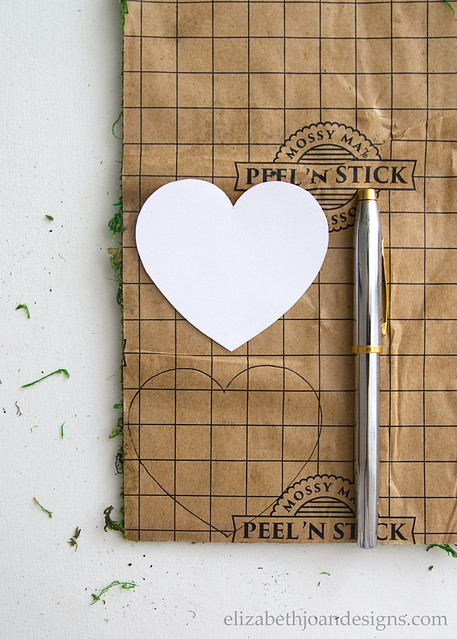
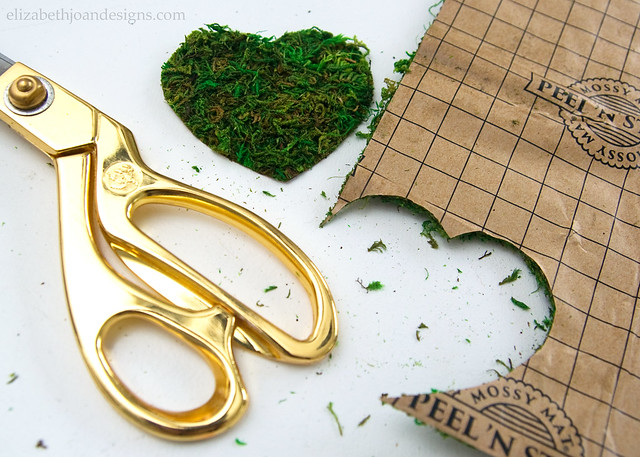
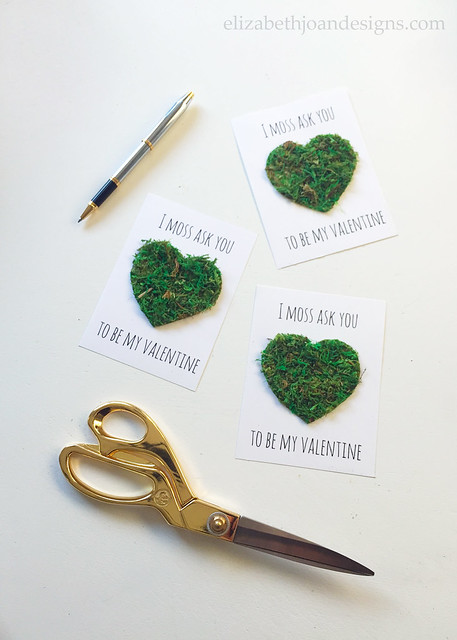
Why moss you ask? Well, I like it and it reminds me of Spring. And warmth. And new life. Unlike this weird and cold winter we are experiencing here in the Midwest. To make your own, first print out your free printable at the bottom of the page. You will also need:
- Peel and Stick Mossy Mat
- Scissors
- Pen or Pencil

All of our printables are currently FREE for download for personal use only. However, this is subject to change in the future, so snag them at no cost while you still can! (View Terms of Use.)
____________________________________________________________________ You may also like: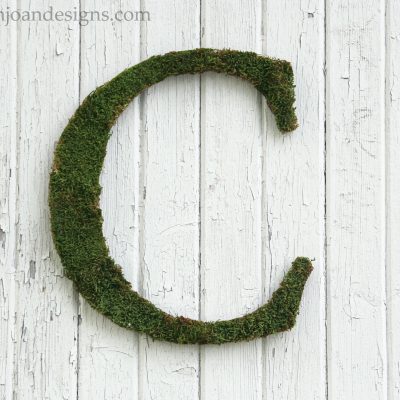
Moss Letter 
Love Bug Valentine Cards 
Kitchen Pegboard 