-
Simple Garage Door Makeover
I’m so excited that we’ve started to work on projects for The Country House! One of the first things that we wanted to tackle was curb appeal. I mean, who doesn’t love to see a home that welcomes you with open arms!? First impressions matter, people. So, with a tiny budget, some magnets, and some black spray paint, we did a simple garage door makeover.

Our little ranch home is very plain jane, as you can see in the photo below. We had previously decided that we did not want to put a ton of money into major renovations on this house just yet because we aren’t sure what direction we will eventually be going with things. Build on? Build new? Tweak what we have? We are still in limbo with all of that. Anyway, we started to brainstorm ideas that could help spruce things up, like the garage doors, without spending a ton of money.
Before:

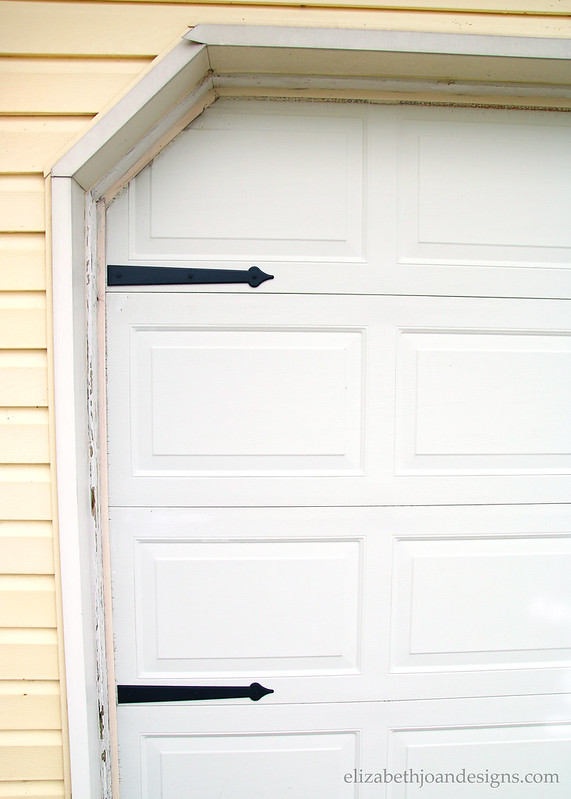
After some searching, we decided that we loved the idea of adding some hardware to our garage doors to dress things up. However, I wasn’t thrilled about the idea of drilling into the doors. What if we didn’t like the end result? Or if things ended up crooked? Or the doors wouldn’t open after installation? I just could not get on board with the idea of adding the hardware, that is until we found some magnetic garage door hardware. Hallelujah!
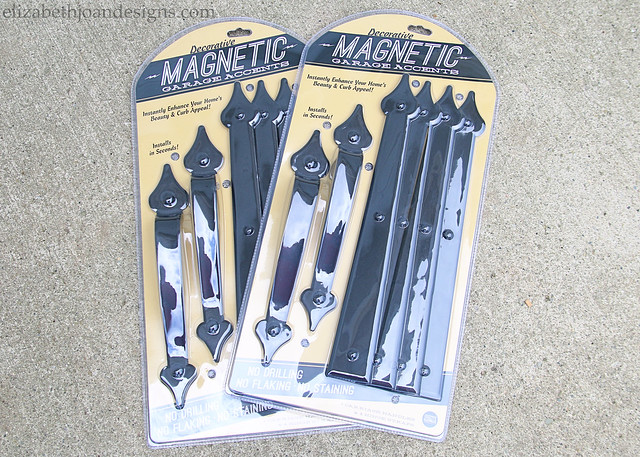
The magnetic hardware is so easy to install because you just place it on your garage door and it sticks there. If it looks crooked, you can straighten it easily, and there is no damage to the actual door. We had to adjust our pieces so that they wouldn’t be pushed out to the way when we opened the doors.
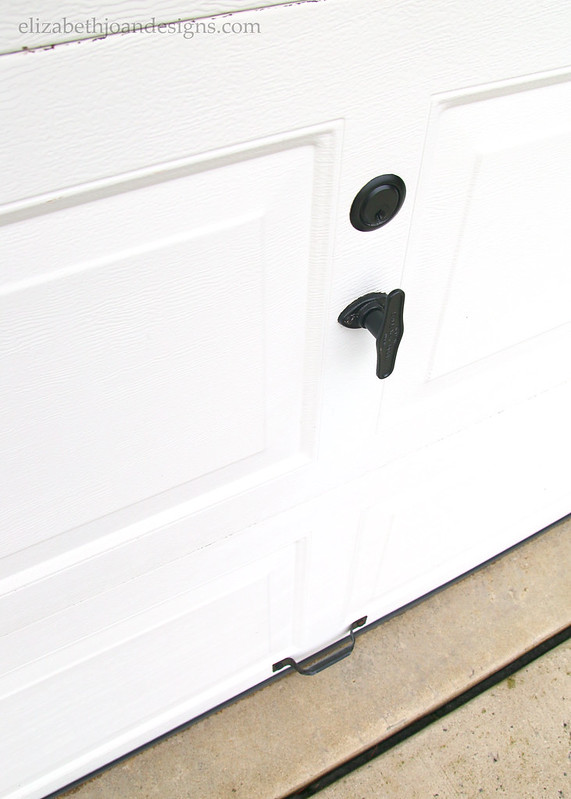
Since there is already some hardware for locking/lifting on the doors, we did not use the included handles in the packages, but instead opted to remove the existing hardware and spray paint it to match.
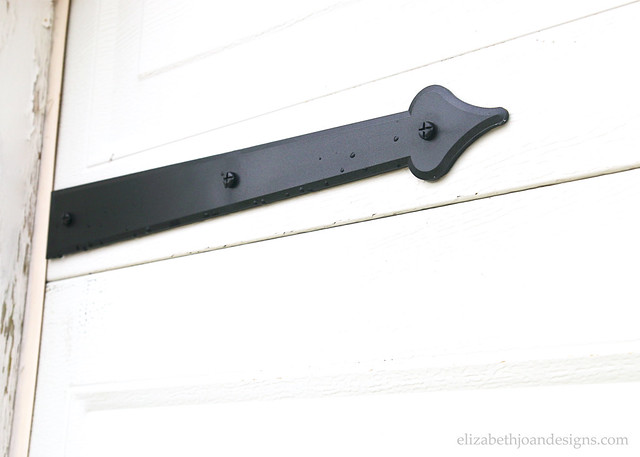
Don’t the garage doors look so much better? The new hardware just makes them pop!
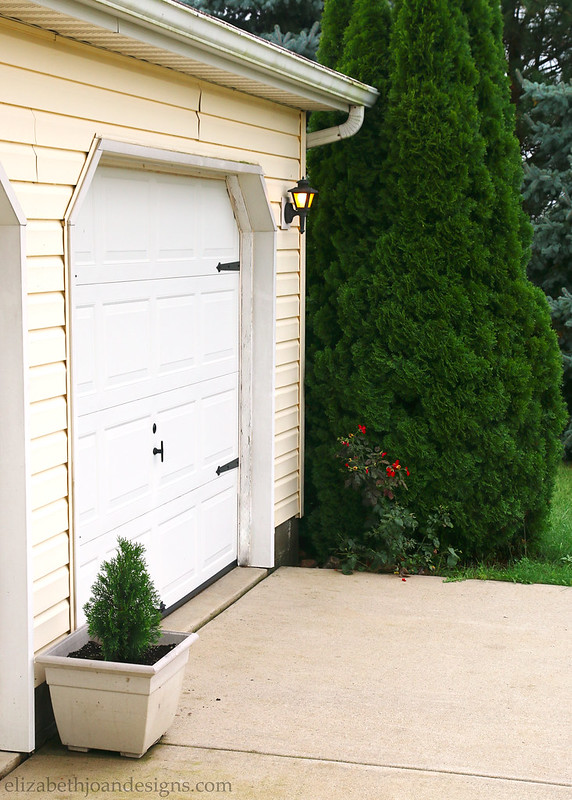
After:
As you can see, there is still some paint touch ups for us to work on around the doors and we eventually want to get new outdoor lighting, but we think that this little, inexpensive update definitely helps the home feel more welcoming!
There are several other curb appeal projects in the works right now, so stick around to see what we have up our sleeves! And we would love to hear if you’ve had any experiences with updating your own garage door.
-
Contributor Post: Simple Stamped Card Door Hanger
After a long, fun, & hot summer, my kids finally went back to school last week. I must admit that I’m a little sad to see them go, but also looking forward to more time to work on The Country House and share all of our updates with you. In the meantime, if you missed my post last week over at Domestically Speaking, I would love for you to head on over and see how we implemented a little more privacy in your home with a Simple Stamped Card Door Hanger.

-
Small Dresser Turned Coffee Bar
There aren’t many things better than a fresh cup of coffee (or tea) in the morning. Right? I, however, haven’t always been a connoisseur of the bean. In fact, it wasn’t until recently that I actually started drinking coffee in my own home. That’s right. And it is all thanks to a tiny little coffee machine and a small dresser turned coffee bar.
I used to be one of those frothy-sugar-filled-fancy-flavored drinks kind of people. You know what I’m talking about. Can you say Frappucino? Anyway, in an effort to cut down on coffee related expenses, I asked Santa for a Keurig for Christmas this past year, so I could make more delicious coffee at home.

Yes, I know you can use a traditional coffee maker to get the job done, but I enjoy the simplicity of a one cup job. I started to experiment with different flavors and types of K-Cups and this picky girl found a few I really love. (My current favorite is Starbucks Caramel with a splash of milk and a few drops of liquid stevia.) Don’t worry! None of the ones I didn’t like went to waste. My hubby will drink pretty much any kind of coffee.

So what’s this business about a small dresser turned coffee bar?
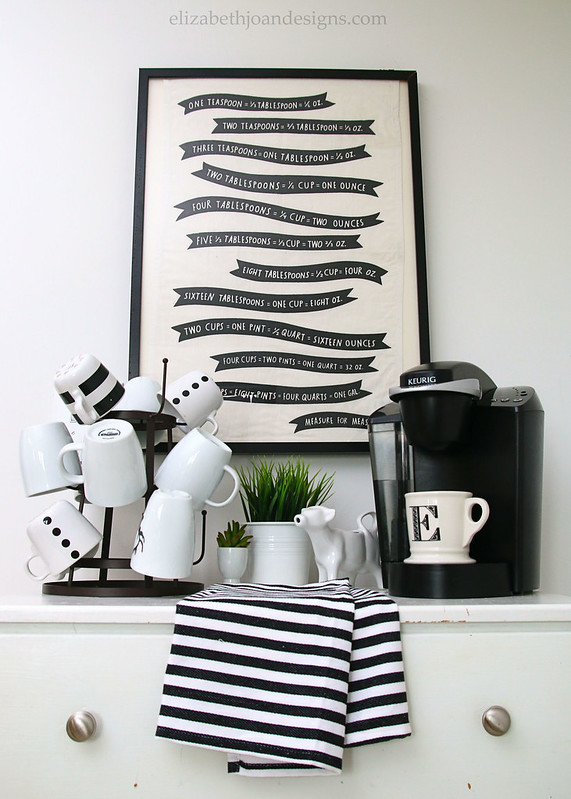
Well, when we moved into The Country House, I wanted to keep the items on the counters to a minimum. And lucky for us, we have an abundance of dressers in our home. (I think there are currently 7!) So we moved this simple white dresser into a corner of our dining room to be our coffee station.
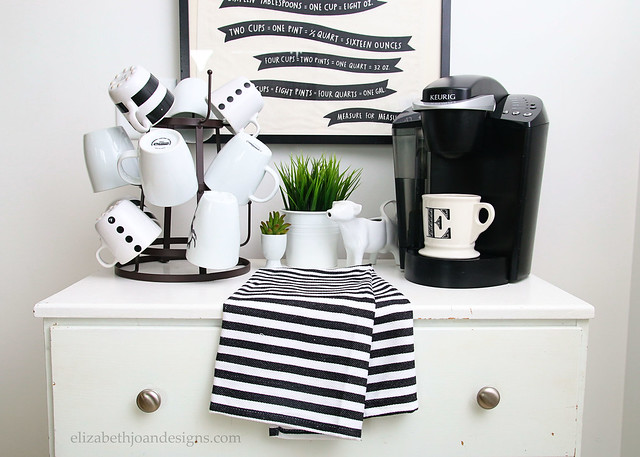
It is just perfect for corralling almost all of the items we need when making coffee, or tea, or hot cocoa. On the top, we found a cool metal drying rack to hang all of our mugs on. I organized all of the K-Cups and extras, like tea, cocoa, sugar, and cinnamon in the top drawer of the dresser, to keep them accessible, but hidden from plain view.

Hanging above the dresser is a cool little art idea that I stole from Emily over at Jones Design Company a few years ago. It is actually a framed tea towel!

I love storing all of our coffee related items together for ease of use. Plus, when I make coffee at home, I’m saving myself a bunch of cash! So, what do you think about our small dresser turned coffee bar?
-
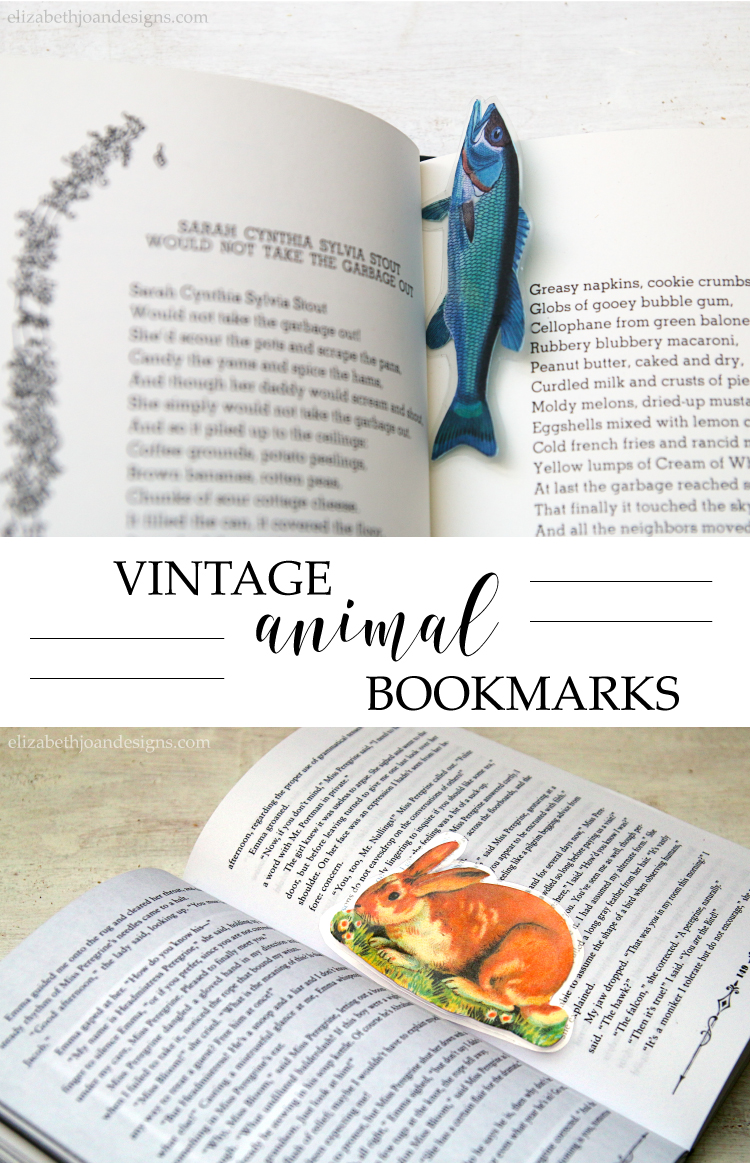
Vintage Animal Bookmarks
It’s the middle of August and school will be starting in the next couple of weeks for our kids. Since our summer is officially coming to an end soon, I’m a little bit sad to see those warm lazy days go, plus our youngest will be going into Kindergarten, which always pulls at a mama’s heartstrings. However, with a new school year comes more homework and reading, so I thought I would share these fun and easy to make Vintage Animal Bookmarks with you.

These sweet bookmarks are so cute and would be great to slip into a card or package for your favorite bibliophile. Plus, you can whip them up in just a few minutes and only need a few supplies.
Materials needed:
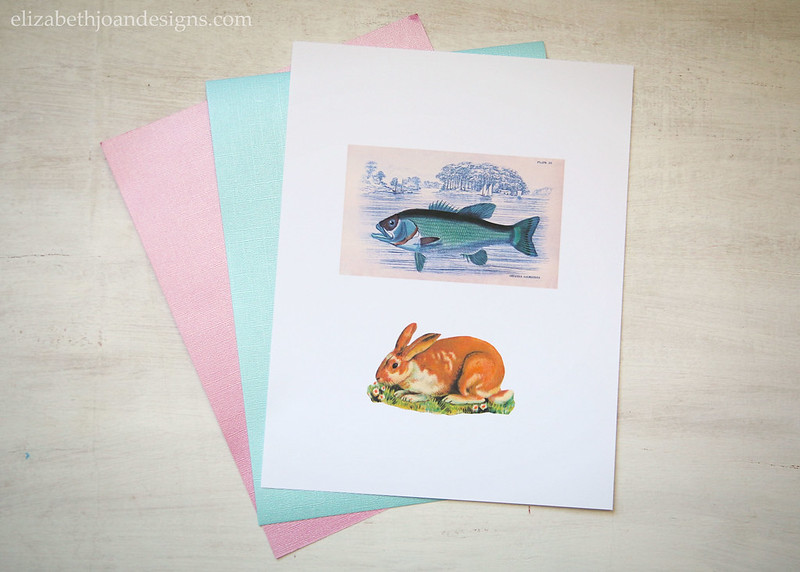
- Vintage Animals (Printed On White Cardstock)
- Colored, Textured, or Patterned Cardstock
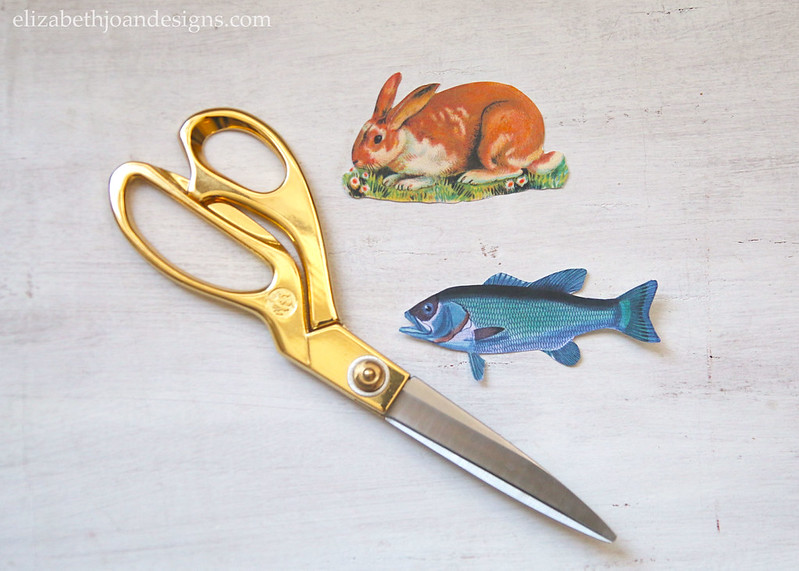
- Scissors
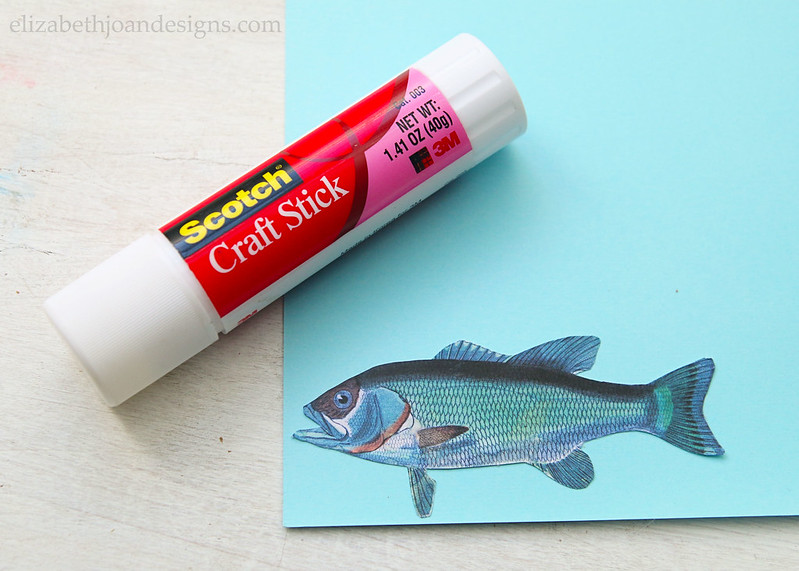
- Glue Stick
- Laminator (or Clear Contact Paper)
I chose an adorable bunny for my daughter and a cool blue fish for my son (both images from The Graphics Fairy), although these would work great for an adult too. Find your favorite animal and let’s get to work!
To start, cut out the animal shape with scissors. Keep your scissors handy, because you will definitely need them a few more times.
Next, using the glue stick, attach the animal to the back side (non-textured/patterned side) of the colored cardstock.
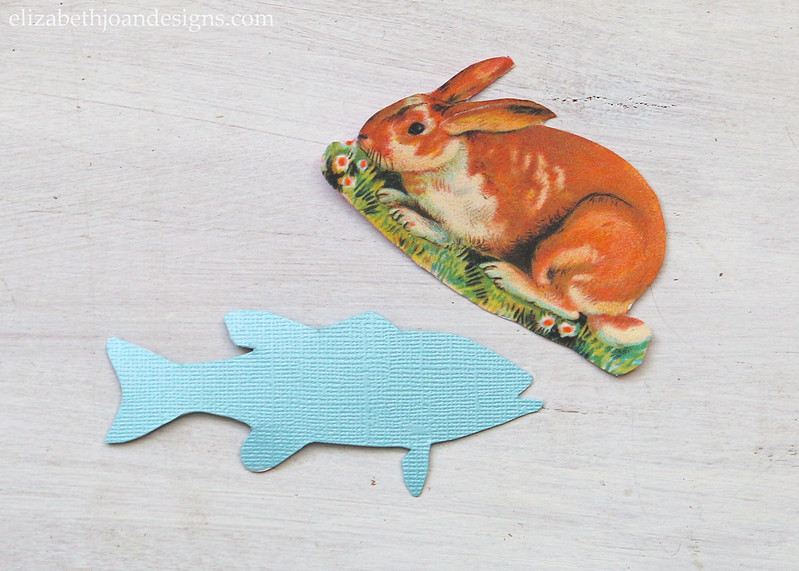
Then, cut around the animal again, so that the print is on one side and the texture/pattern in on the reverse.
Finally, fire up the laminator, run the animal bookmarks through, and cut them out, leaving a little bit of extra edge. (If you don’t have access to a laminator, you can sandwich the bookmarks between pieces of clear contact paper.) This last step will give them some much need durability.

How cute did these vintage animal bookmarks turn out? I love that little bunny. Which animal would you choose to use?