-
Patio Makeover Part 2: Pallet Coffee Table
Patio Makeover Part 2: Pallet Coffee Table
We are experiencing some technical difficulties. Please bear with us as we recover the text from this post.


-
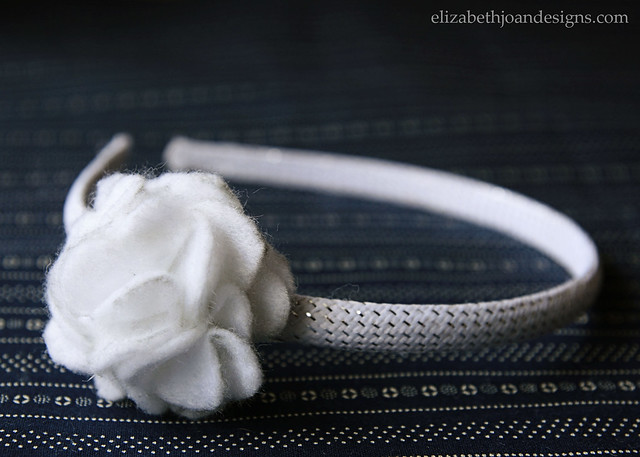
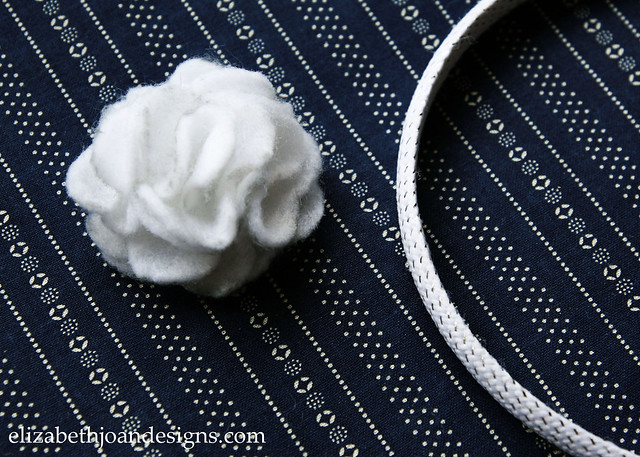
Felt Flower Headband
Every once in awhile, my daughter likes to be a little girly. And what better way to girl it up a bit, than with a pretty little flower on top of her head. This cute felt flower headband can be made in tons of colors and are great as gifts too. The best part is that they are super cheap. Like less than $.25 each.
To make these pretty headbands, you will need:
– Felt
– Headband
– Flower Template (I just free handed a five petal flower on some paper and cut it out.)
– Fabric Pen or Washable Marker
– Scissors (Preferably not chewed by the dog.)
– Hot Glue Gun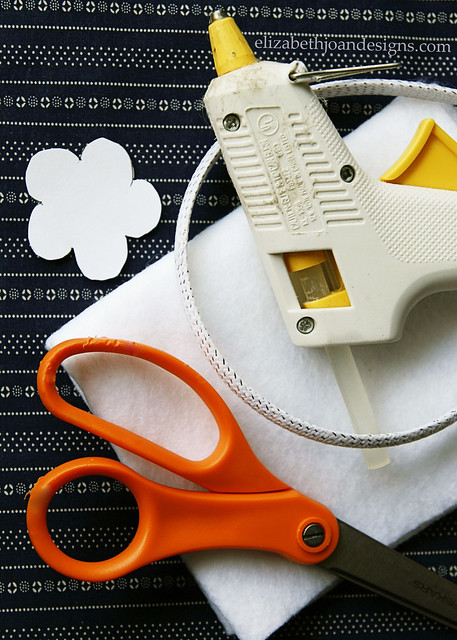
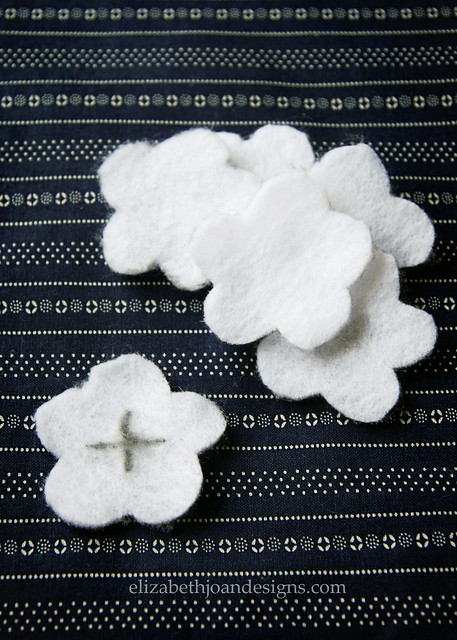
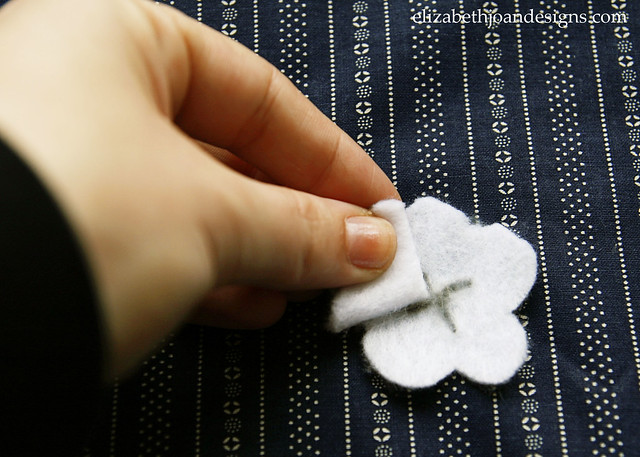
Trace your flower template onto the felt to make 6 flowers and cut each one out. Mark a “+” in the middle of one flower. (This will be the base and all of the other pieces will be attached to it.)
This next part is kind of hard to explain, so I whipped up a diagram in Photoshop to help. Hopefully, it doesn’t confuse you more. Starting with one flower (not the base,) fold it in half from right to left. Next, fold it again from bottom to top. It should have a right angle point.
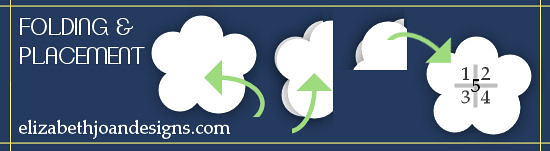
Then, glue it into the spot labeled 1 on the diagram, lining it up with the “+” on the base piece.
Continue to fold the other flower pieces in the same fashion and use hot glue to attach them to the base in positions 2, 3, and 4.
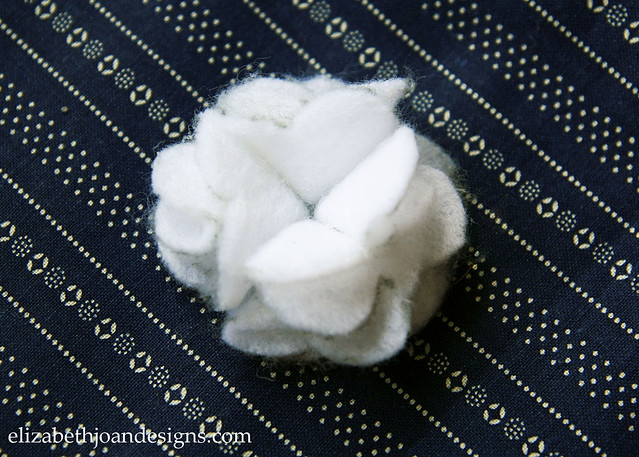
The last flower piece will be folded the same as the previous ones, but it will be glued right into the middle of the flower with the point down.
After it is dry, pull of any stray pieces of glue and the headband is ready to wear. Doesn’t it look cute?!

-
Summer Party Printable Invitation


Click the images below for the free PDF link. Please download the file to ensure proper print sizing. When printing, make sure that Page Scaling is set to “Fit Printable Area” and Borderless Printing is selected.


-
Dry Erase Board Turned Chalkboard
Do you ever find yourself hoarding items that you think you will be able use again, but they just end up gathering dust? No? Me neither.
Just kidding. Check out this cool chalkboard…

It used to be a dry erase board that I used a lot back in my real estate agent days, but that was a long time ago. Recently, it has been hanging out in our daughter’s room with this hand drawn octopus on it, just taking up space.

However, I have been really wanting a large chalkboard and it just seemed right to try and get a little more use out of the dry erase board. For my supplies, I used some blue painter’s tape, a foam paint roller, chalkboard paint and some chalk.

To start, I taped off the edge to make sure my sloppy painting didn’t get everywhere.

Next, using the paint roller, I applied several coats of paint, letting them dry in between.

Finally, I primed the chalkboard with the side of a piece of chalk, which kind of seals all of the nooks and crannies. This keeps the chalk from leaving a permanent mark when you first write on the chalkboard.

Didn’t it turn out nice? I haven’t had any problems with the paint peeling or coming off of the slippery surface of the dry erase board.

So, tell me, have you ever used chalkboard paint? If so, what did you paint with it?
Linked up with East Coast Creative #cwts2014