-
Simple Garage Door Makeover
I’m so excited that we’ve started to work on projects for The Country House! One of the first things that we wanted to tackle was curb appeal. I mean, who doesn’t love to see a home that welcomes you with open arms!? First impressions matter, people. So, with a tiny budget, some magnets, and some black spray paint, we did a simple garage door makeover.

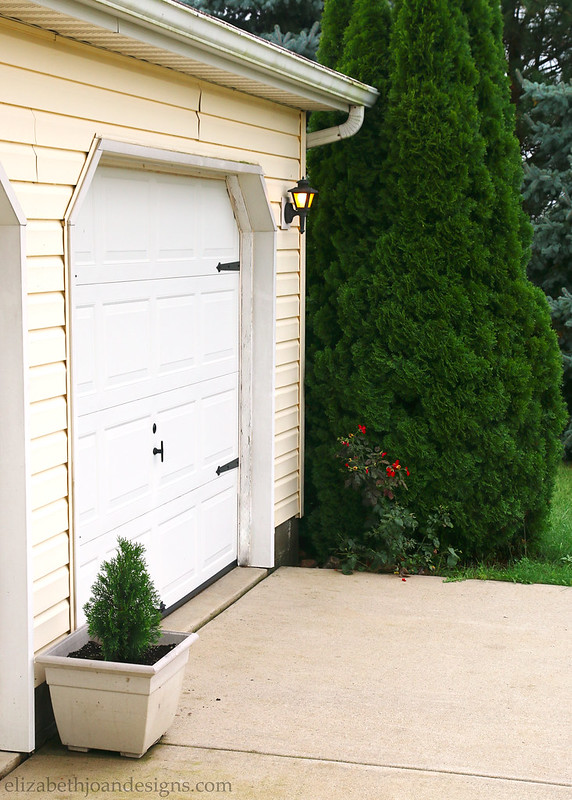
Our little ranch home is very plain jane, as you can see in the photo below. We had previously decided that we did not want to put a ton of money into major renovations on this house just yet because we aren’t sure what direction we will eventually be going with things. Build on? Build new? Tweak what we have? We are still in limbo with all of that. Anyway, we started to brainstorm ideas that could help spruce things up, like the garage doors, without spending a ton of money.
Before:

After some searching, we decided that we loved the idea of adding some hardware to our garage doors to dress things up. However, I wasn’t thrilled about the idea of drilling into the doors. What if we didn’t like the end result? Or if things ended up crooked? Or the doors wouldn’t open after installation? I just could not get on board with the idea of adding the hardware, that is until we found some magnetic garage door hardware. Hallelujah!
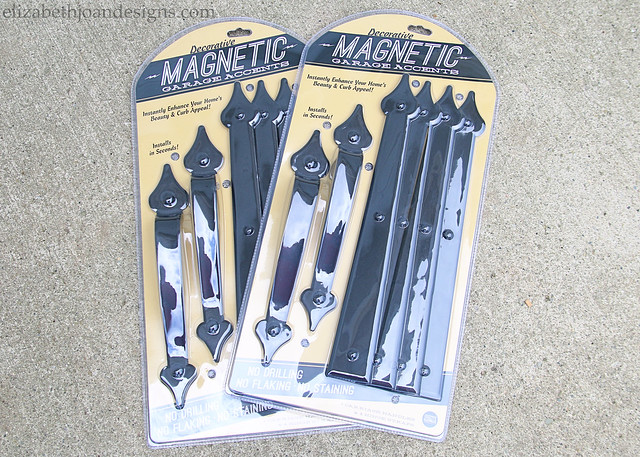
The magnetic hardware is so easy to install because you just place it on your garage door and it sticks there. If it looks crooked, you can straighten it easily, and there is no damage to the actual door. We had to adjust our pieces so that they wouldn’t be pushed out to the way when we opened the doors.
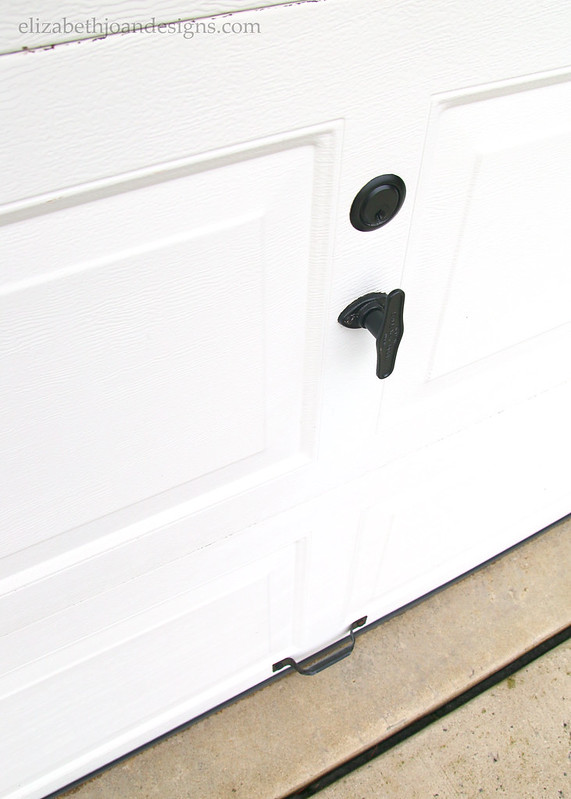
Since there is already some hardware for locking/lifting on the doors, we did not use the included handles in the packages, but instead opted to remove the existing hardware and spray paint it to match.
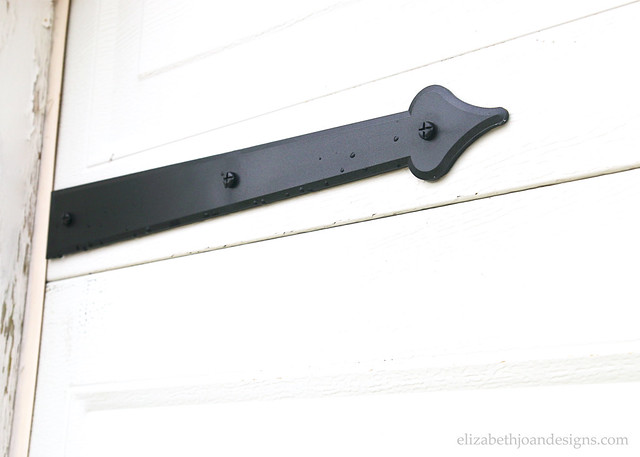
Don’t the garage doors look so much better? The new hardware just makes them pop!
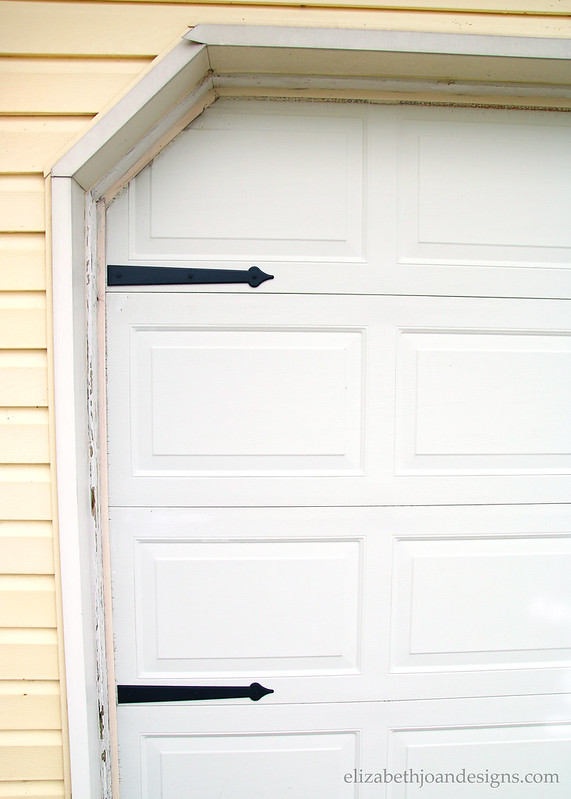
After:
As you can see, there is still some paint touch ups for us to work on around the doors and we eventually want to get new outdoor lighting, but we think that this little, inexpensive update definitely helps the home feel more welcoming!
There are several other curb appeal projects in the works right now, so stick around to see what we have up our sleeves! And we would love to hear if you’ve had any experiences with updating your own garage door.
-
7 Fun Spring Ideas
I can’t tell you how excited I am to have Spring right on our heels and honestly, it can’t get here fast enough for me. The temperatures here in the Midwest are warming up. And by that, I mean that it was in the 30’s today. Real warm, huh? Anyway, we thought we would share 7 Fun Spring Ideas that will help you kiss the cold of winter goodbye. Plus, you can whip these up in a flash, which is always a good thing.

Click on the images below to learn more!
1. A stylish gardening basket is the perfect gift for kids or adults. The gold accents are gender neutral and almost anyone will enjoy watching their little seedlings grow.

Gardening Gift Basket 2. Recycle an old broken laundry basket to make a neutral planter for your deck or patio. The breathable burlap material keeps soil in and even allows water to drain, so plant won’t drown.

Laundry Basket Planter 3. Try a new take on egg coloring/decorating with this neat idea. Who knew that eyeshadow could be so versatile?

Eye Shadow Easter Eggs 4. Learn how to start your own vermicomposting bin with this simple tutorial.

Vermicomposting 5. Customize a popcorn bucket to make an inexpensive basket for all of your Easter treats. Kids will love these with their favorite character or colors on them.

Easy Easter Basket 6. Create a creative new Spring wreath for your front door with a little moss, a cute butterfly and few minutes.

Spring Moss Wreath 7. Get your seedlings growing in no time. This tutorial uses recycled materials which are great for starting plants.

Toilet Paper Roll Plant Starters So what do you think of our 7 Fun Spring Ideas? Are you as ready as I am for longer days and warmer weather?
__________________________________________________________ You may also like:

Summer Hosta Wreath 
Strawberry Avocado Salsa 
Lavender Wreath 
Concrete-Esque Planter -
Ruler Succulent Planter & Back to School Blog Hop
It’s almost time for school to start and that means everyone with kids is scrambling to buy school supplies, get some new clothes, and figure out who this year’s teacher will be. To make things easier, we’ve come up with a fun idea for an easy teacher gift to kick the year off on a good note.
But, since this is a Back to School Blog Hop, we’ve joined up with a great group of bloggers to share even more projects and printables to help the start of the school year be more organized and go off without a hitch. Check out all of the awesome ideas at the bottom of this post.
So, for this project, we hacked into our stash of extra wooden rulers (left over from our Ruler Drum Shade.) What? You don’t have a superfluous supply of rulers? No worries. You can get them for relatively cheap at pretty much any store that offer school supplies. Here’s what we used to make our Ruler Succulent Planter:
– Three 12 inch wooden rulers
– Needle nose pliers
– Hack saw
– Wood glue
– Large C clamp
– Scissors
– Sand paper
– One gallon freezer bag
– Small succulent
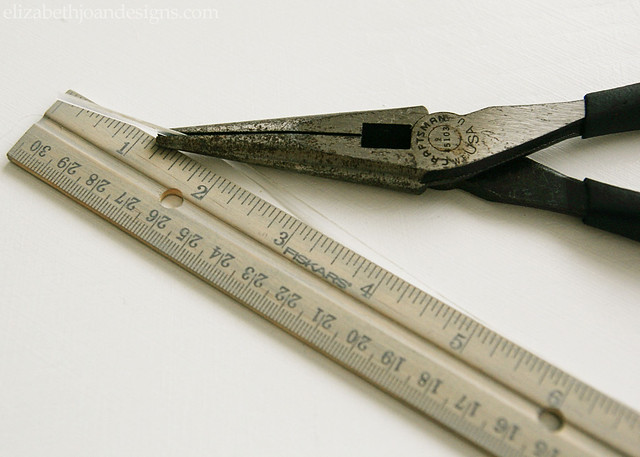
– Potting soilUse the pliers to remove the plastic or metal straight edge piece from one side of the rulers. (You can try to pull them out with your fingers/nails, but I was having no such luck.) Cut each edging piece into approximately 3 inch sections with scissors.
With the hack saw, cut each ruler into quarters (also in 3 inch sections.)
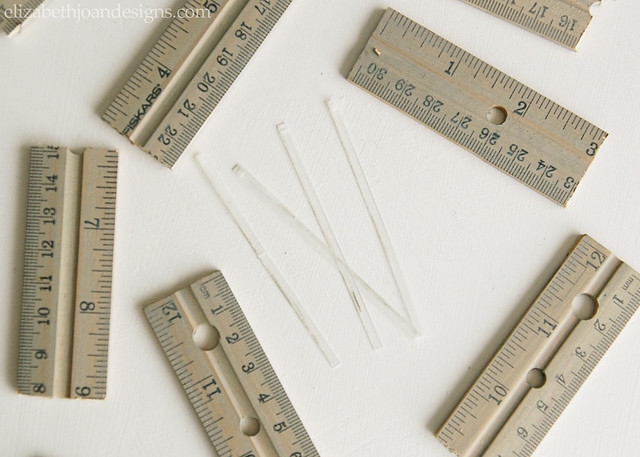
Next, we attached two pieces of ruler together. To do this, evenly divide the ruler sections into two groups. We will call them group A and group B. Re-insert the cut edging pieces into group A. Add a line of wood glue along the side where the plastic or metal edging piece was on group B and then push A and B together. The straight edge piece will then be in the middle of the two ruler pieces, which will help make everything a bit sturdier.
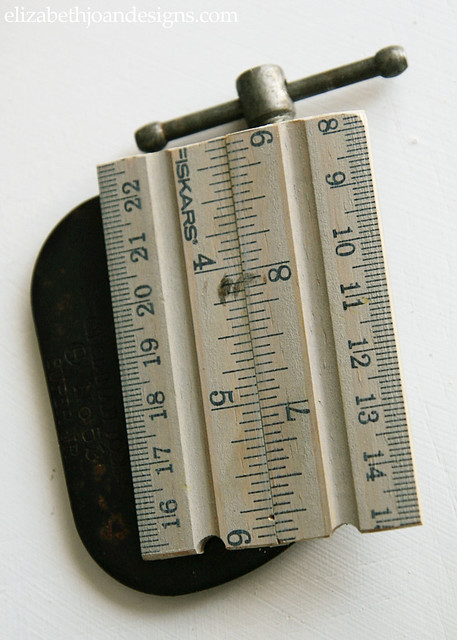
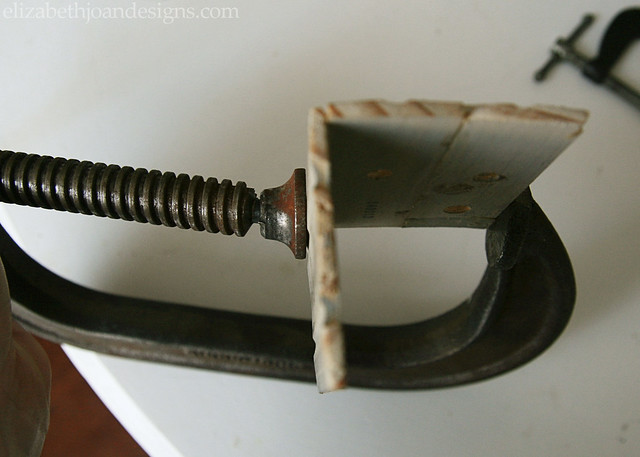
Add some more of the wood glue to the side of one of the sections and then use the C clamp to hold a second piece on to create a 90 degree angle. (If this is getting too confusing, just refer to the photos.) Do this for all 4 sides and the bottom piece of the planter to make an open top box.
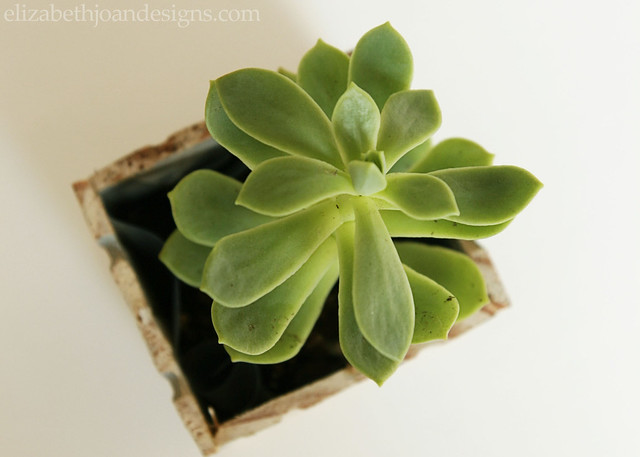
While we were waiting for the glue to dry, my daughter and I ran to the store to grab a little succulent. Here she is picking out her favorite.
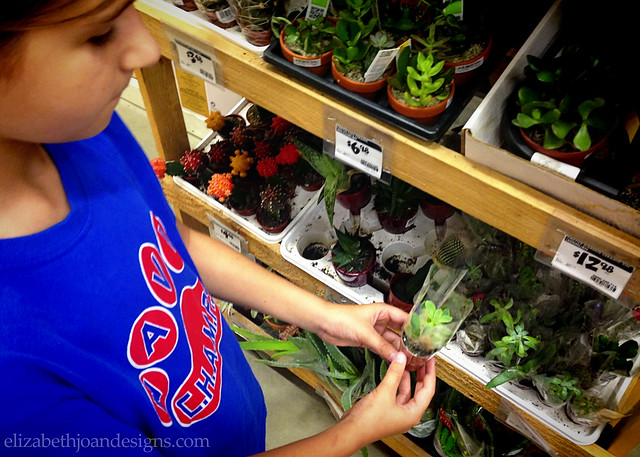
Ok, back to the project.
Once the planter is all put together and dry, cut a large square out of the corner of the freezer bag with scissors and insert this new “bag” into the planter. Trim any excess off, so that the top of the bag is just below the edge of the box.
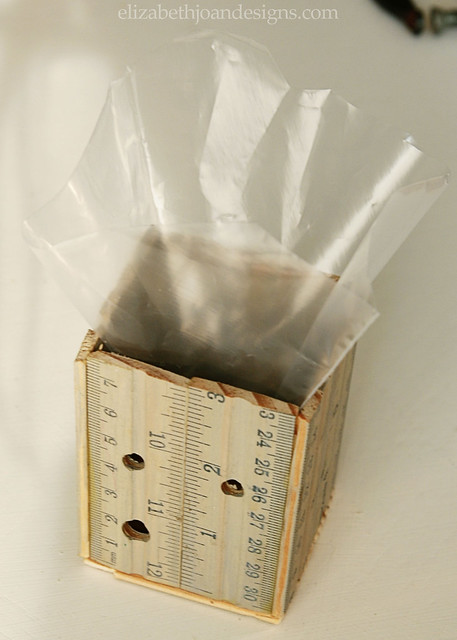
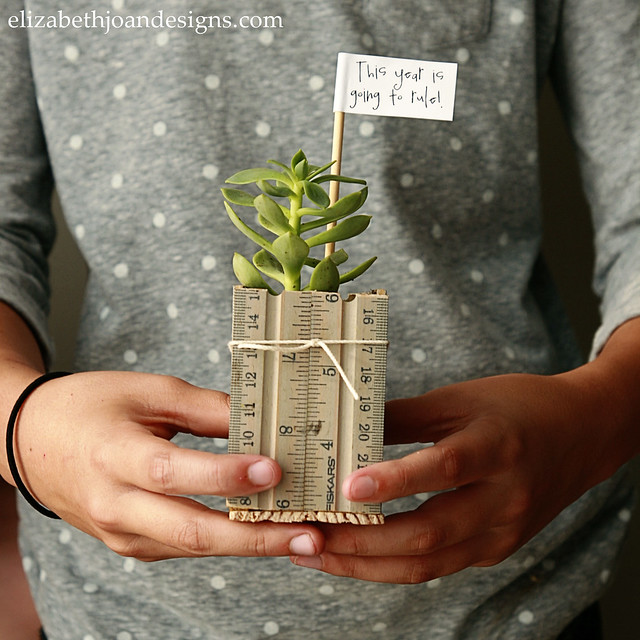
Then all that is left is to add some potting soil and plant your cute little succulent.
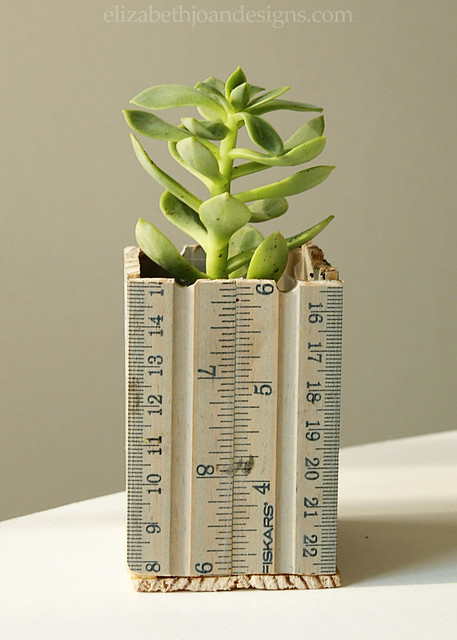
I know this process sounds pretty wordy, but the planter was really easy to make.
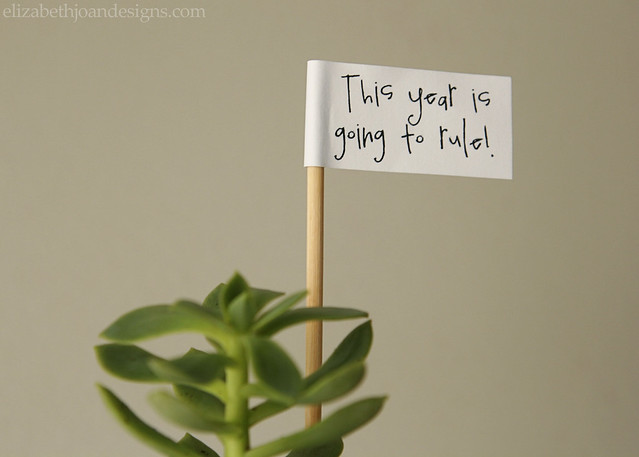
And it will make the cutest little back to school teacher gift, especially since we threw in this witty little flag.
We love that this succulent will be easy for my daughter’s teacher take care of and add a little life to her desk or window in the process. What are your favorite gifts for teachers, besides the obvious, but delicious, apple?

Want more? Check out these 15 great back to school ideas! 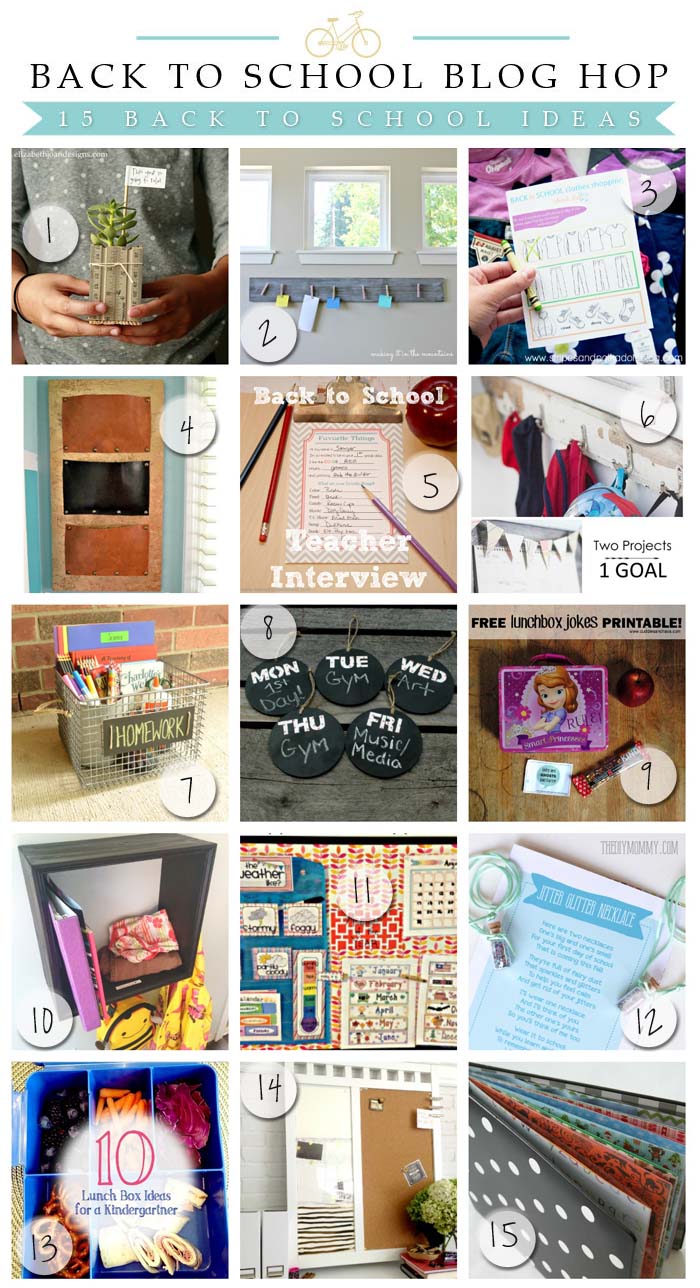
1. Elizabeth Joan Designs 2. Making It In The Mountains 3. Stripes and Polka Dots
4. For My Love Of 5. Home. Made. Interest. 6. Restless Arrow
7. Little Red Brick House 8. Little House Of Four 9. Cuddles and Chaos
10. Our House Now A Home 11. Kent Heartstrings 12. The DIY Mommy
13. Curly Crafty Mom 14. Houseologie 15. Canary Street Crafts_____________________________________________________________________ You may also like:
Summer Hosta Wreath 
Ruler Drum Shade 
Chalkboard Succulent Planter 
Glazed Herb Planter -
Yeah…I’m going to need you to leave!
This may not be my prettiest project to date, but here is how I have been spending my time lately.
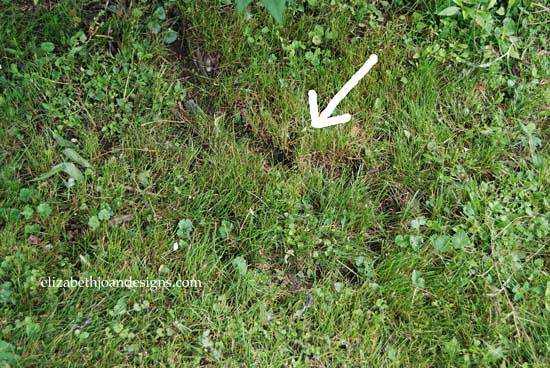
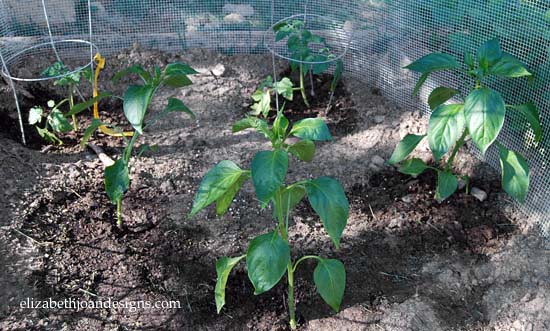
Do you know what voles are? It’s okay if you don’t. I didn’t know what they were until a whole slew of them moved in under the base of our air-conditioning unit. They are field mice that love, love, love to eat vegetable plants. Lucky for them, their new home was located directly next to our vegetable garden. Not so lucky for us. They would scurry out from their nest and pluck my plants one by one for a delicious meal. It’s one thing to scurry about my yard and a whole other thing to eat my plants! Plus they leave these little ruts wherever they go.
I tried using my manners and asking politely and they just ignored me. Can you believe that? This was war! We chased our little furry friends all over trying to scare them away. (I also tried to get a picture of them and was unsuccessful.) We even tried live traps, but they are no fools. They were definitely on to us. I called my family members getting advice and nothing was working. Erin even suggested that I call 1-888-MICKEY-MOUSE. But when I did, there was no answer. So, to the internet I went.
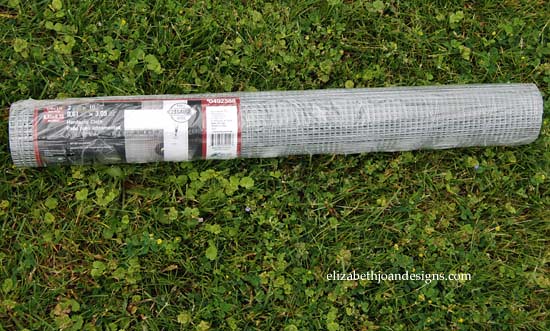
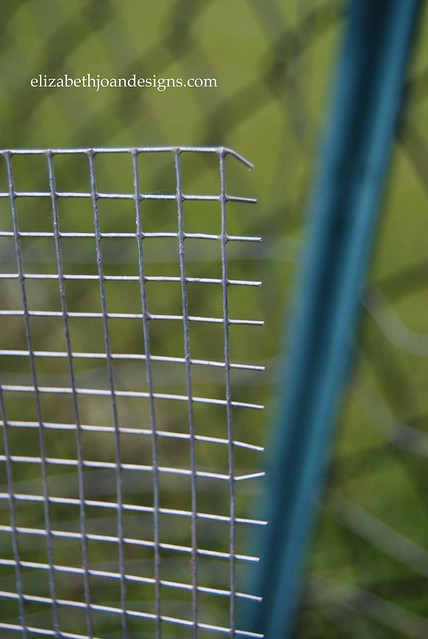
After hours and hours on the computer looking around, I found that installing hardware cloth around the plants was the most effective way to keep my veggies safe. Immediately after reading this, I was on my way to the store to pick up a roll of 1/4″ steel hardware cloth.
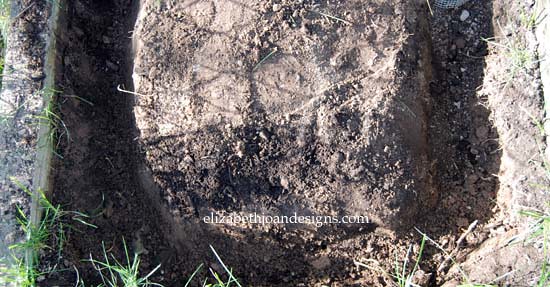
To install the fence, I first dug a 12 inch deep trench around in my garden area and placed the hardware cloth in it.
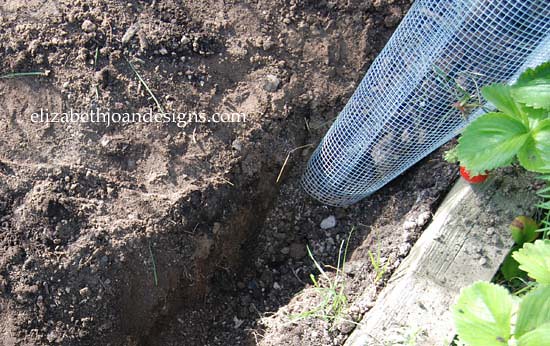
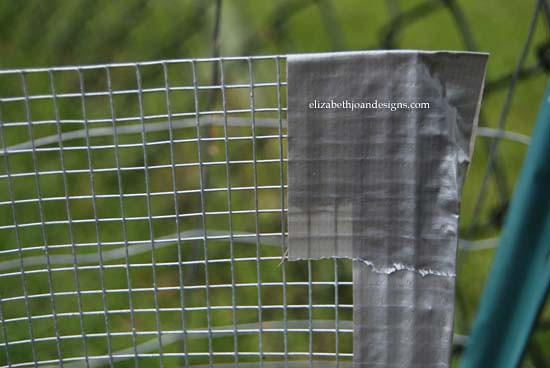
Next, I cut the fencing to fit the space and on the ends where the mesh met back up, I used a few zip ties to keep it together.
After that, I placed some duct tape on the sharp edges of the fence. I am not sure how long this will stay on there, but I wanted to try to protect my little ones from getting cuts when they are helping in the garden.
Finally, I filled the trench in with dirt and this held the fence in place.
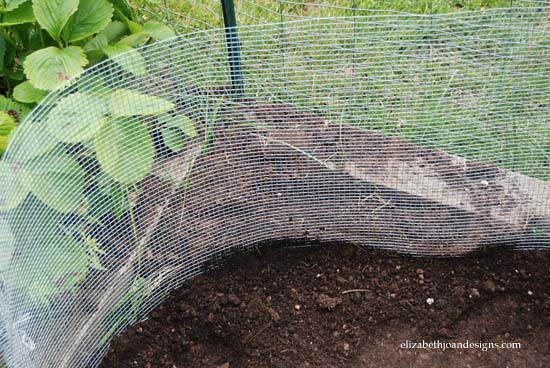
Although it took a little while to do, I think the installation of this fence went pretty smoothly. Will it keep the voles away? I don’t know about that, but stay tuned for an update soon!
Have you ever encountered these furry, little trouble makers? If so, what did you do to make them leave?
___________________________________________________
You may also like:
Laundry Basket Planter 
Gardening Gift Basket 
Patio Makeover
Glazed Herb Planter