-
Pinecone Scale Pumpkin
I’m so happy that it is finally fall! The weather around here has started to cool down and I can’t wait for the leaves to change. We’ve finally begun to incorporate some fall decor into our home and I wanted to share a fun little project perfect for fall. Keep reading to find out how to make a Pinecone Scale Pumpkin.

Disclosure: This post may contain affiliate links, which means we may receive a commission if you click the link and purchase. Clicking a link won’t cost you any extra money and helps keep this site running! Please check out our disclosure policy for more details.
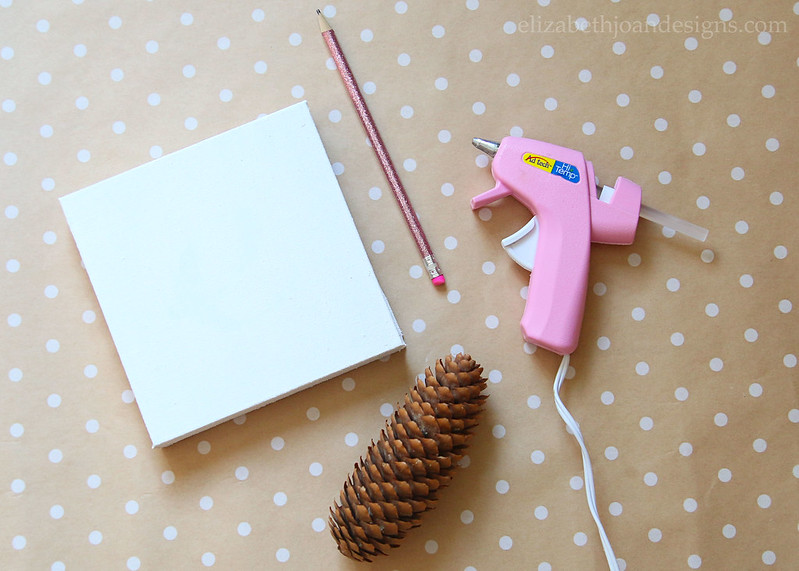
This little project is super cheap to whip up and you probably already have most of the supplies on hand. To make this sweet, seasonal art piece, here’s what you will need:
- Canvas (or any material that would make a good background)
- Pinecone
- Pencil
- Hot Glue Gun (with extra glue sticks)
Note about the background: I chose a small 5×5 canvas for this project, but you can use any sort of backdrop for this project. Painted or stained wood, metal, cardboard, etc. Just remember that the size of your background will dictate the amount of time put into the project. I made a larger pinecone scale pumpkin on a painted wood piece (see it at the end of this post) and it took about 30 minutes to complete.
|INSTRUCTIONS|
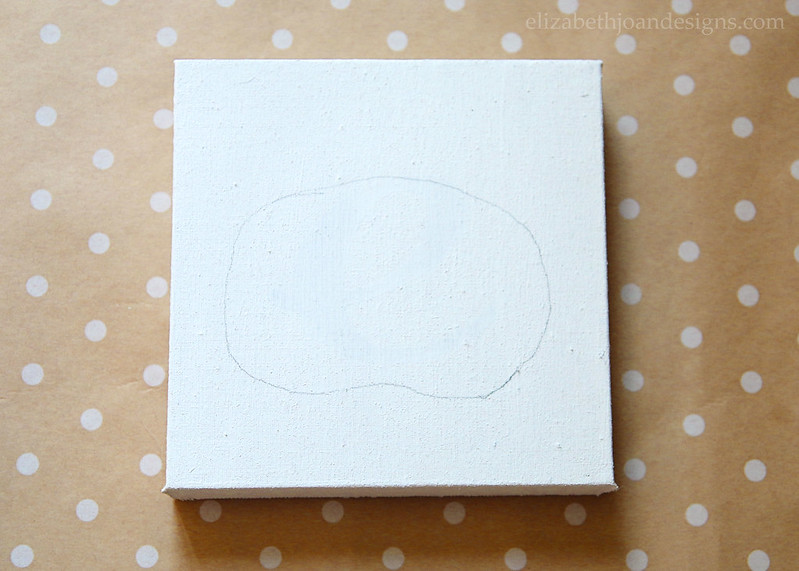
Step 1 – Draw a pumpkin shape onto your canvas. It doesn’t have to be perfect because pumpkins come in all shapes and sizes!
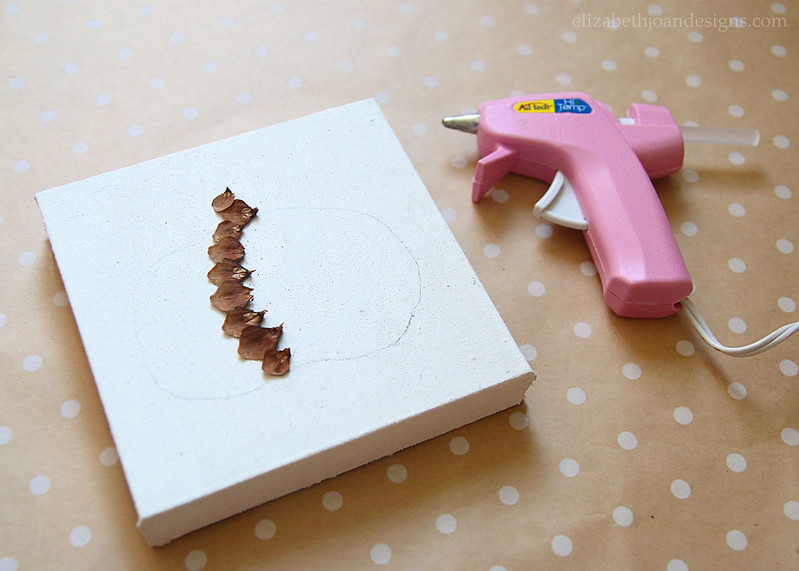
Step 2 – Remove the scales from the pinecone, starting from the bottom. It isn’t too hard to remove them with your own fingers, but if you run into any tough spots, a pair of pliers would probably help loosen them up.

Step 3 – Glue the pinecone scales onto the canvas. There wasn’t really any rhyme or reason to my gluing process. I started by adding a stem to the top and then kind of filled the pumpkin in, adding pieces to cover up any white space inside.
Isn’t this little guy so cute?!

These pinecone scale pumpkins add the perfect amount of texture to almost any vignette. I hope this gives you a little inspiration for your fall decorating and crafting!

-
Dining Room Update
One of the things I love most about home decor is that it is so fun to switch things around! Whether it is interchanging items that I already own, or finding fun new pieces to add to a room, things are always moving around here. Here is a look at our latest dining room update.
Disclosure: This post may contain affiliate links, which means we may receive a commission if you click the link and purchase. Clicking a link won’t cost you any extra money and helps keep this site running! Please check out our disclosure policy for more details.
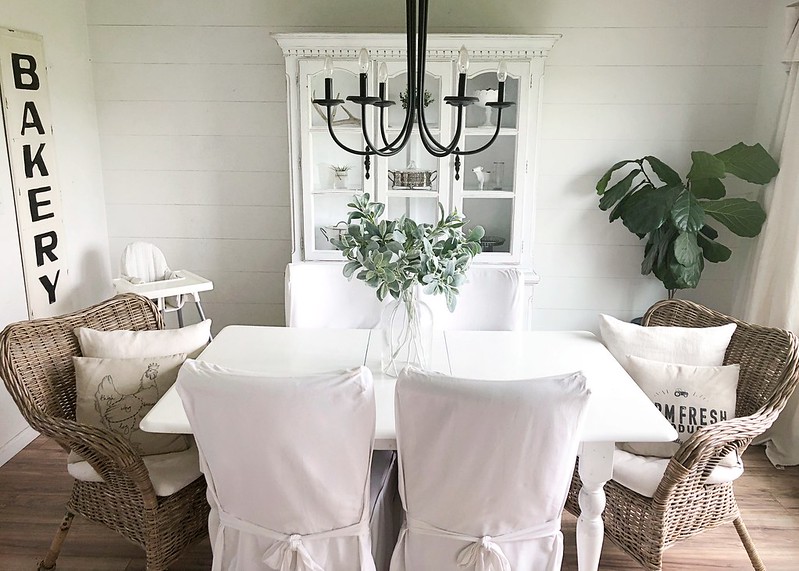
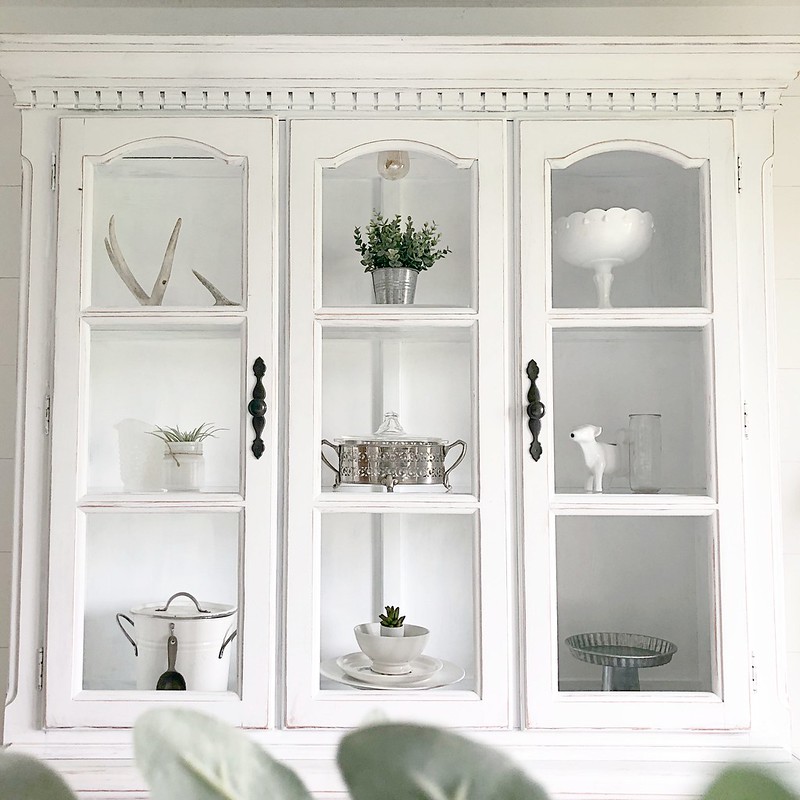
One of the things we really wanted for our dining room was a china cabinet so that we could display heirloom pieces that have been hanging out in storage. We found this pretty one on Craigslist for a steal and added a couple of coats of white paint to the inside to brighten things up!

For the time being, I styled it with pieces that we already had out, but we need to get into our storage to find the rest of the goodies.
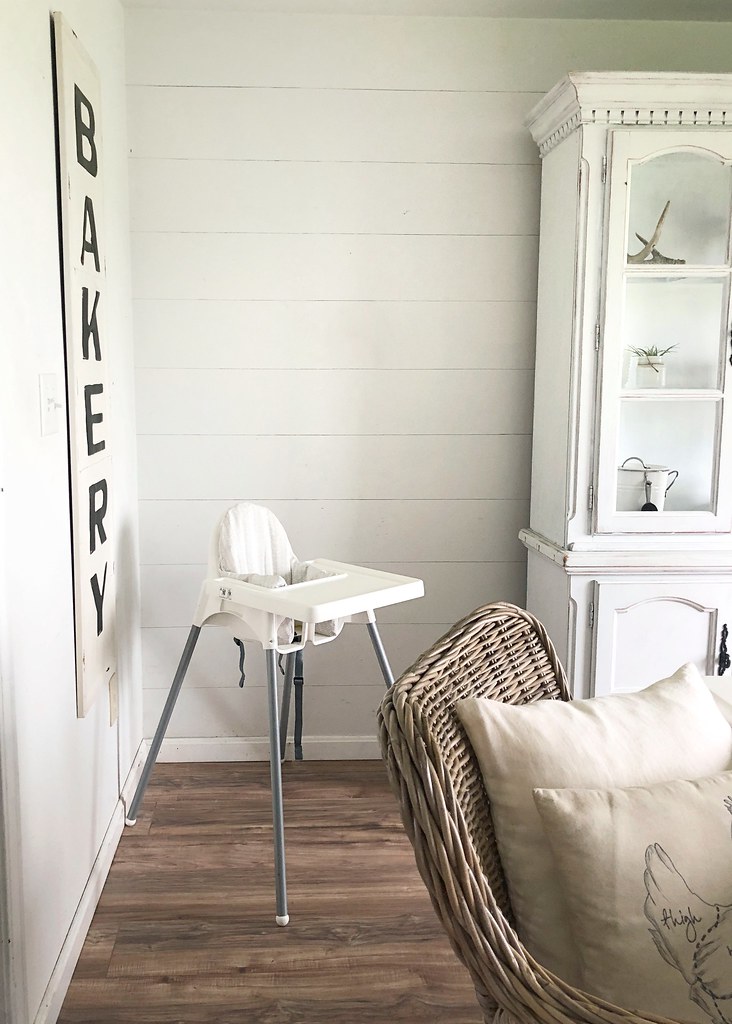
With the addition of the china cabinet, we had to move our coffee bar. Bummer. I loved that thing, but when you don’t have a lot of space, you have to be picky about what stays and goes. No worries though! The coffee maker and mugs found a space on our kitchen counters. Plus, we now have enough room for a high chair for our littlest guy! This one was a budget friendly choice from Ikea.
We also got some new parson dining chairs! Well, new to us at least. My sis actually found them on the side of the road in pretty good condition. (They had belonged to her neighbor.) The actual fabric is a tan color microfiber with just a few stains here and there. To cover them up, we purchased white slip covers from SUREFIT. When they arrived, they were already Scotchgarded, so we have seen minimal staining. Plus if they get too creepy, we can just throw them in the washing machine. I call that a win!

Another thing from the room that was relocated was our command center. We are setting it up in our laundry room, which connects to the garage and will hopefully soon act as a mud room/drop zone. More details on that to come. This fun bakery sign took the place of the command center and I think I like it a lot more here.

What do you think about our dining room update? Do you like the changes that we made? Let us know in the comments below!
-
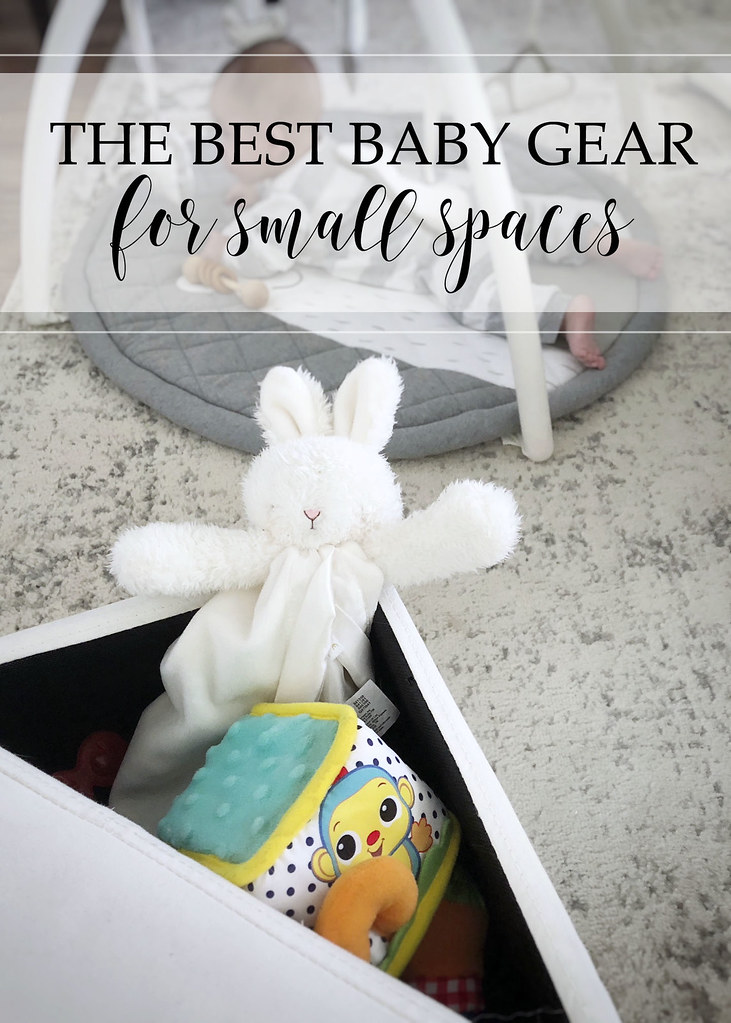
The Best Baby Gear For Small Spaces
When our oldest was born, we did the normal things that every parent does. We planned, we registered, we had a baby shower. And we were so thankful for all of the stuff that we were gifted. With a 2,600 square ft. home, we had plenty for space for all of the things! But, you learn pretty quickly what you need and what you could have done without. I’m talking to you, wipes warmer! By the time #2 came around, we had moved into a home with only 1,560 square ft. and we thought we were pretty good at deciphering the best baby gear for small spaces.
Our current home is a whopping 1,300 square ft. (It seems we have a knack for downsizing!) We were able to create a nursery for our newest little guy (#3) in a converted closet and there really just isn’t a lot of space around the house for extra stuff. So we really had to minimize the baby gear this time around. Hopefully this list can help you out if you also are working with a small space!
Disclosure: This post may contain affiliate links, which means we may receive a commission if you click the link and purchase. Clicking a link won’t cost you any extra money and helps keep this site running! Please check out our disclosure policy for more details.
Mini Crib
In such a small nursery, we were really limited with the options we had. If we wanted to be able to walk into the room, we definitely needed to go with a mini crib. We chose the Dream On Me 4 in 1 Aden Convertible Mini Crib. It fits perfectly in the space and is as big as the average pack and play, so we know it will work for him for awhile.

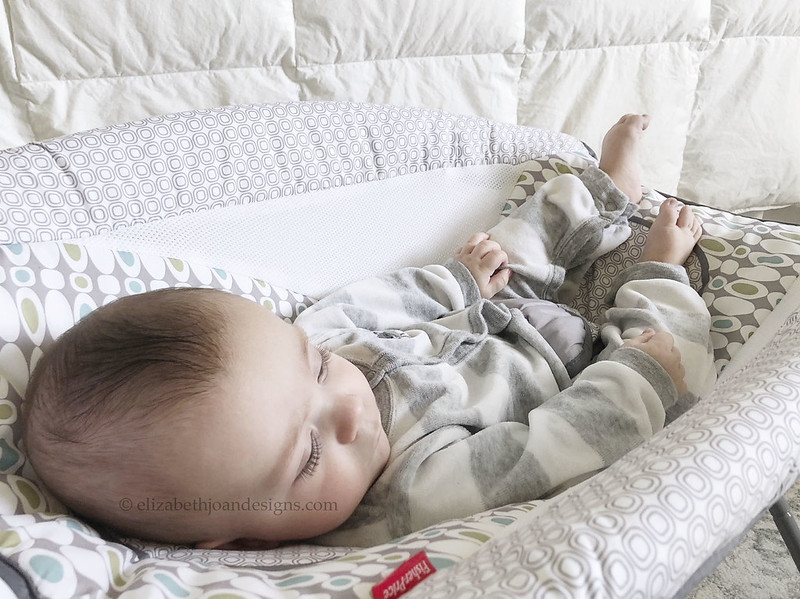
Rock ‘N Play
The Rock ‘N Play was a life saver for us! Since our sweet babe had trouble with re-flux, we found that letting him sleep in the Rock ‘N Play really helped him out. Tired mamas love sleeping babies! Plus, the Rock ‘N Play folds up, so we could easily move it to another room for nap times or store it away in the small space next to his crib.
Door Jumper
When your square footage is limited, finding a spot for a baby activity center or jumper is pretty much impossible. However, with a door jumper, we can hang it up when the little guy needs to burn some energy and tuck it tightly away in the closet when we are done.

Diaper Caddy
We aren’t lucky enough to have room for a changing table and I honestly just don’t really think they are necessary. As long as you have a portable changing pad, you can change that baby on the bed, a couch, or even the floor. We keep ours in an awesome diaper caddy that also holds diapers, wipes, toys, etc. That way we can carry around from room to room.

Storage Ottoman
We love these inexpensive little storage ottomans from Ikea for baby toys! They are so versatile in that they can hold pretty much anything you want hidden. Plus, they can serve as extra seating, a little side table, or just a spot to prop your feet up. And the covers are washable!!!
Sleep Sheep
Obviously there isn’t a lot of room for extras around here, but having a way to play white noise close by is a must. The Cloud B Sleep Sheep is awesome because it can be attached to the crib so it’s not taking up valuable space somewhere else. Plus, we can take it with us on the go!

Under Bed Storage
Probably one of the best space saving things we did for this baby was to get a plastic under bed storage container. Thanks to the addition of a make-shift bed-skirt, we can keep extra blankets, sheets, and out of season clothes hidden.

Things We Don’t Have/Need
- Baby Bathtub – Our home already has a bathtub. And a couple of sinks. Both of which work just fine for cleaning the baby.
- Changing Table – With a portable changing pad, almost any flat surface with supervision can serve as a changing place.
- Wipes Warmer – Unless you plan on providing a heated bidet for your little one in the future, room temperature wipes will do just fine.
- Diaper Genie – Pretty much any trash can with a lid will keep in the stench.
- Bassinet – It may be helpful for some, but was just something that would take up too much room for us.
- Baby Swing/Bouncer – Our Rock ‘N Play definitely served as both of these.
- Bottle Warmer – We bought one, used it for a week, and then sold it.
If you are working with a small space or home, I hope that these ideas can help you out! Don’t forget to let me know in the comments if you have any other awesome space saving ideas for babies!
-
Baby Farmhouse Nursery Reveal
How can our sweet littlest guy be almost 6 months old already??? Time in the NICU seemed so long, but since he has been home things have just flown by. Especially, since summer vacation for the bigger kids is here. I’m happy to announce though, that we have finally finished up the nursery! Today I’m sharing all of the details and sources in our Baby Farmhouse Nursery Reveal!

This post contains affiliate links. Click here to view my full disclosure.
This space has come a long way from the walk-in closet that it used to be. Coming in at only 4’3″ x 7’6″, designing in such a small room was definitely a challenge, but one that we were excited to tackle!

We knew that we would need a few basics, like a crib and small dresser to hold clothes and accessories. We were also able to work in a little bit of hidden storage. But my favorite part of this nursery is the farmhouse decor!

If shiplap doesn’t scream modern farmhouse, then I don’t know what does.
After we removed all of the old wire shelving, the walls got a simple shiplap treatment thanks to my hubby. Then, we painted them with Sherwin Williams paint in Alabaster. I also added these adorable baby farm animal prints in some Ikea frames.
The vintage looking farmhouse light above the prints is a fun addition too! After seeing the “Magic Light Trick” that Brooke from Nesting with Grace does, I knew that this hack would be great for the nursery. (I purchased the puck lights with remotes I used here.) And since there wasn’t any electrical wiring to be done, I was able to install the light by myself in just a few minutes!
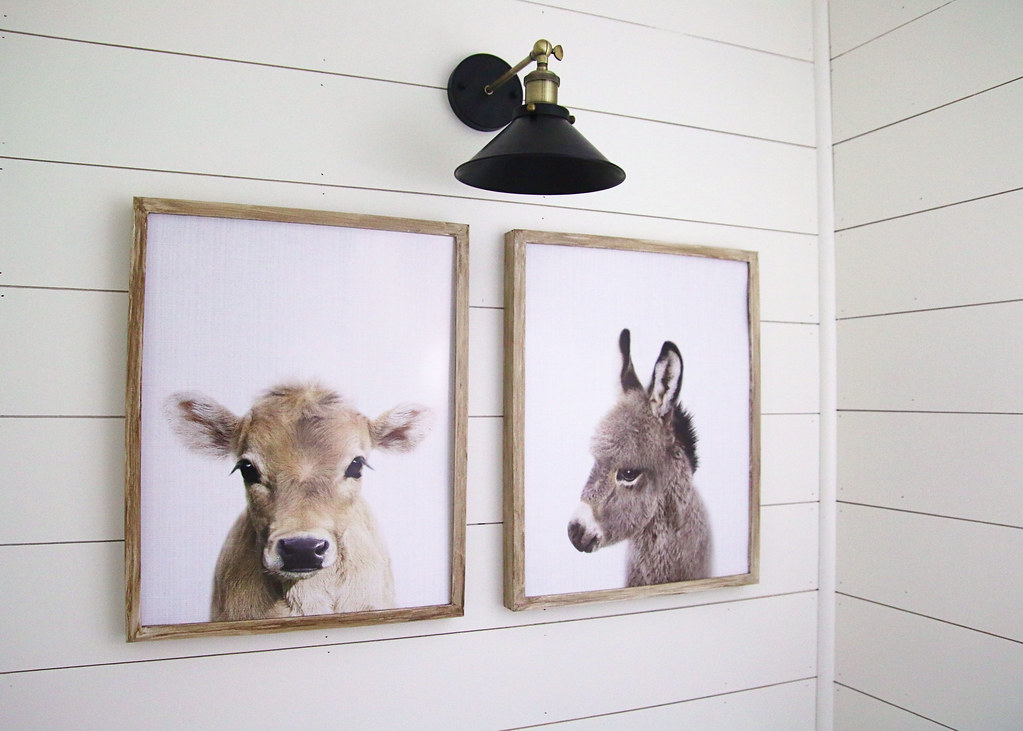
cow print | donkey print | wall mount light
We are hoping that the tiny, mini crib will be able to hold our little guy for awhile. The mattress height is adjustable and the crib can also convert to a toddler bed and twin bed with or without the foot board option.

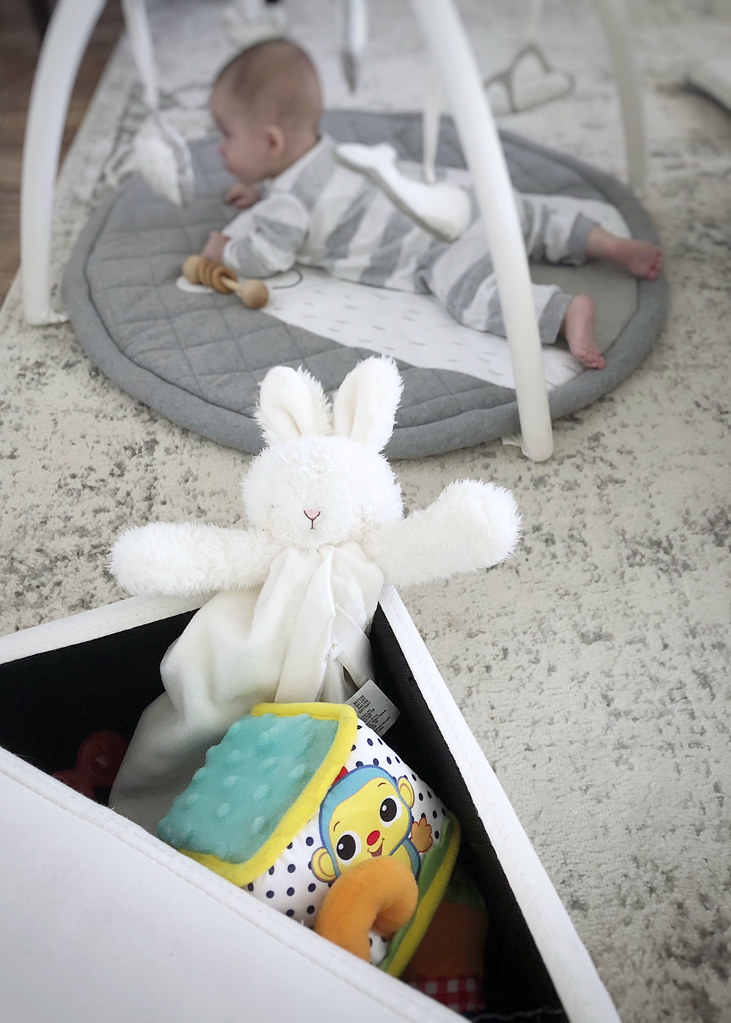
The neutral, vintage-look rug is the perfect soft spot for our little man to stretch out and kick right now. It will also be a great place for him to play as he gets bigger!

I love that all of our kids have been able to use this small dresser.
It was one that my parents passed on to us and it is perfect for holding baby clothes, burp cloths, accessories, and a few baby toys. The oval chalkboard was a Christmas gift and we have been using it for the little Snuggler’s monthly photos.
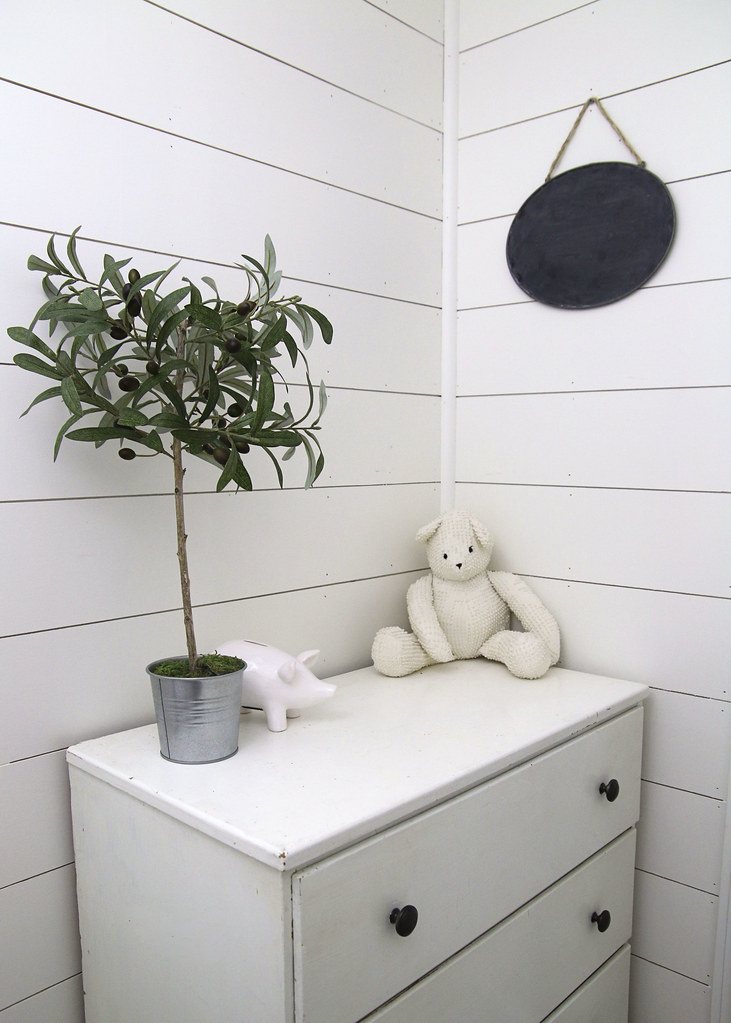 Olive Tree Topiary | Piggy Bank | Teddy Bear (handmade gift)
I found this gray hanging storage at Babies R Us right before they went out of business and I’m so glad I did. (Here is a similar option.) I use it to corral extra diapers, wipes, etc. that don’t fit in our diaper bag or the diaper caddy we move from room to room.

See that ruffle-y crib skirt below? I made it out of an old sheet! It helps to hide an under-bed storage bin that keeps all of the receiving blankets and extra crib sheets tucked away. There is also a little space on each side of the crib that we use to store a boppy and play mat when they aren’t in use.
It’s all about being creative with your storage space, folks!

We just love how this room has turned out and that our baby boy has a room to call his own. It’s an added bonus that it’s attached right to our bedroom so that we are just a few steps away if he needs us at night! What do you think of this Baby Farmhouse Nursery Reveal?