Pretty & Practical Command Center
You guys! I don’t know why it has taken me a year to get a command center set up in our home. Well, actually that is a lie. The reason is that I have been really non-committal on the location of such a thing. However, it has finally happened! Thank goodness! We are the proud owners of a Pretty & Practical Command Center.
This post contains affiliate links for convenience. (Click here to read my full disclosure.)
I kept thinking that a nice and big command center on the wall of the laundry room would be great because it is out of view of the main areas of our home. Plus, the hope was that we would see it every day as we went in and out of that room to do laundry or to go into the garage. I’m here to tell you that our garage is still packed full of junk that we need to either organize or get rid of, so I avoid it like the plague. And the laundry, well, I just hate doing it, so… this command center was relocated to our dining room. Which, by the way, is smack dab in the middle of our home.
Requirements for this space were simple. We needed a calendar to keep track of our family’s busy schedules and a place to sort and store all of our paperwork/mail. Oh, and it needed to be clean and simple. I can totally appreciate command centers with chalkboards, pencil holders, pin boards, artwork, key hooks, and magnet boards. That just not my style though, folks. I like to keep things as uncomplicated as possible.
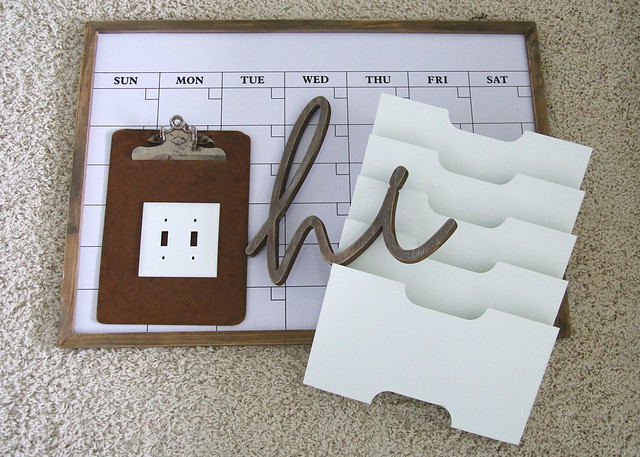
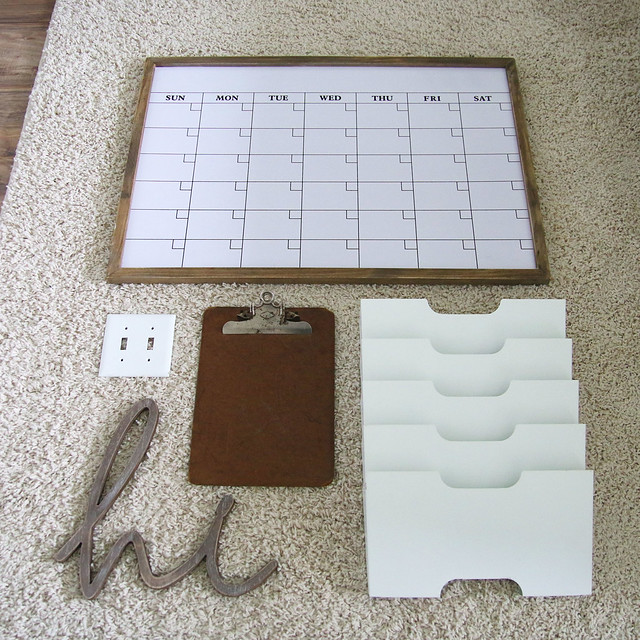
When I’m trying to put together a gallery wall type scenario, I like to lay all of the pieces out on the floor for visual reference.
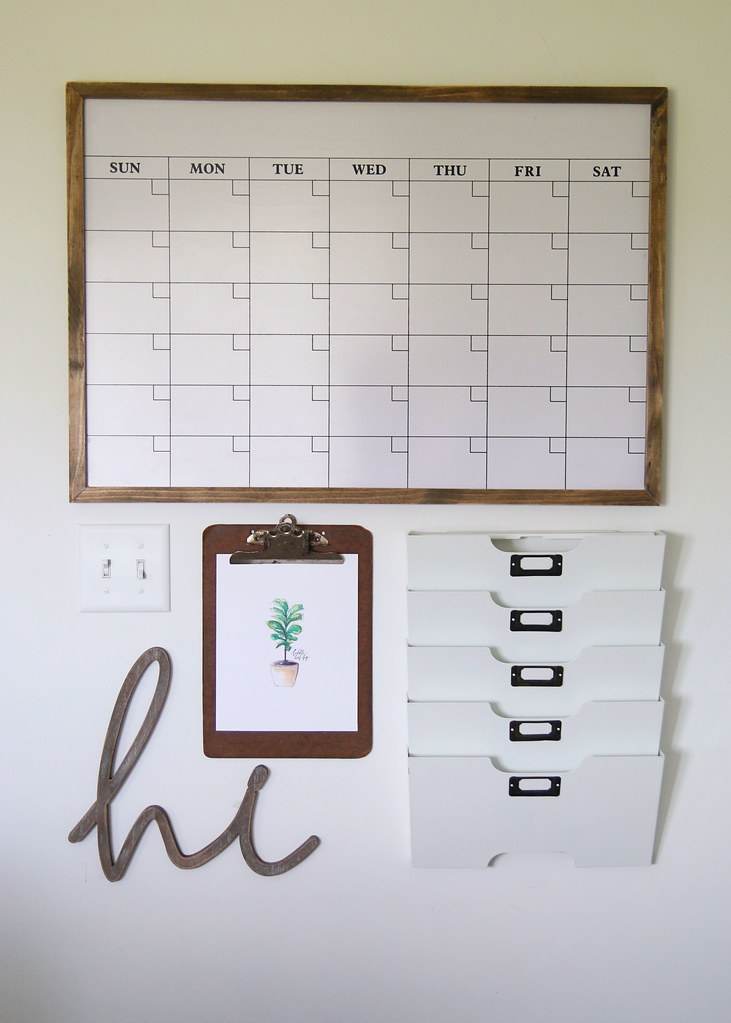
This saves me time and I don’t usually end up having to put unneeded holes in the wall. (I know my husband appreciates that!) You can see below that I have the calendar (originally from Hobby Lobby), paper organizer (which we used in our previous home), and vintage clipboard. I added the wood script word “hi” (also from Hobby Lobby) to balance the grouping. Oh, and since I was working around the light switch, I just took it off of the wall to see how everything would fit.
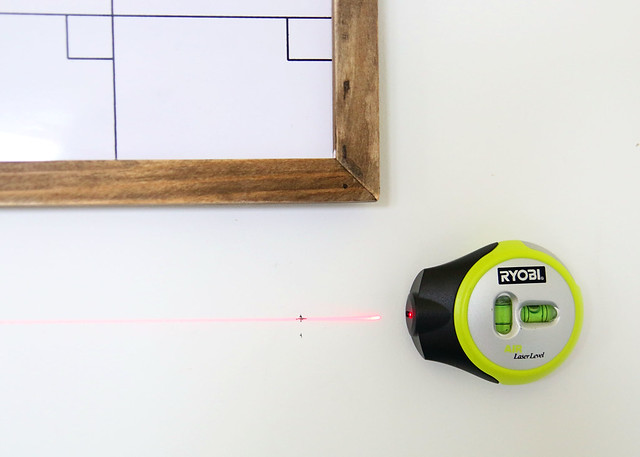
After I was happy with the spacing, I used my trusty Ryobi Laser Level to square things up on the wall. This was a Christmas present from my parents and it has been such a wonderful tool to use! I made my marks and hung up the paper organizer.
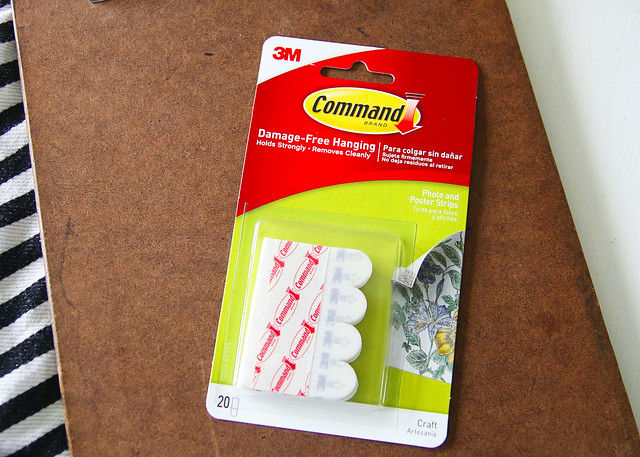
For the clipboard and wood script word, I used Command strips. These seemed like the easiest way to hang up these lightweight items. (Bonus: No Extra Holes in the Wall!)
I also loved these metal label holders that I found and decided to add them to the front of the paper sorters. A little super glue later and they stuck like gum to hair. You know you how hard that is to remove!

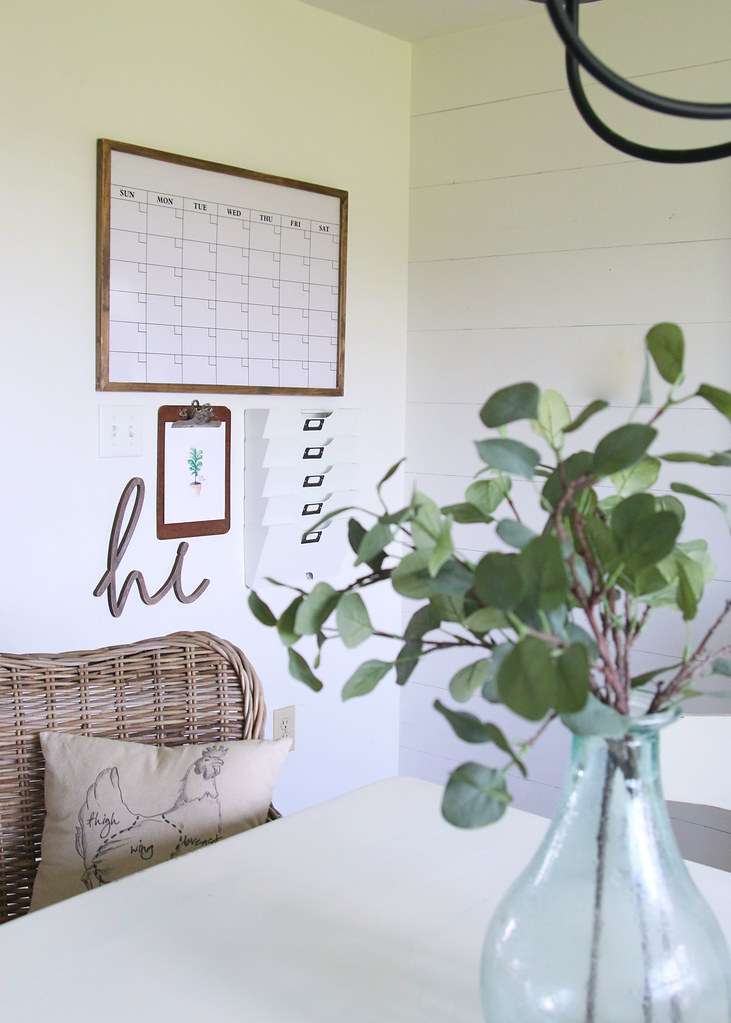
I’m so excited to get the paper clutter and bills off of our countertops!
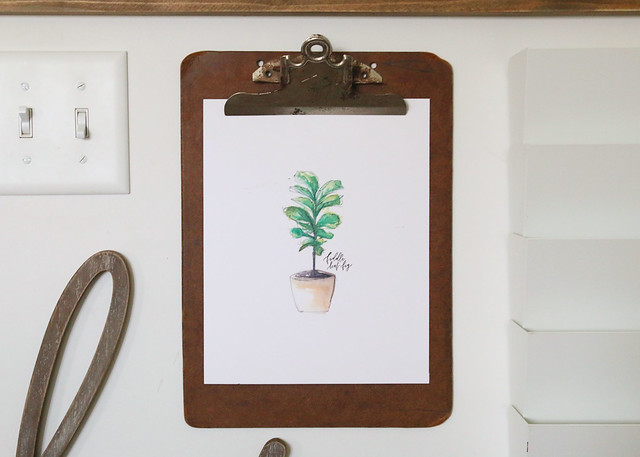
Oh, and I wanted to clarify the clipboard. I love clipboards because they can be so multi-functional. No, really! Use it to hang up some fun free art prints (this one is from Magnolia Market Blog.) Or paint it with chalkboard paint and write a list right on it. You can even use the clip to hold extra pens, pencils, or chalk. I plan on eventually printing out our weekly schedule of activities that remain the same from week to week.
It may be a bit late in the post for this, but I should mention that I actually hate the term “command center.” It sounds so militant. However, that is what these little areas where we organize the chaos of our lives are called, so I’m reluctantly embracing it. Doesn’t it look pretty good?

2 Comments
Sarah
I love this! I found your blog via pinterest. Do you prefer this calendar to the previous calendar that you made?
Thanks!
Erin
Hi, Sarah! I love both calendars, actually. The only reason we replaced the printable one was because the frame actually broke when we moved. Hope that helps!