-
Chalk Cloth Bunting
I love a simple project and that’s what you are getting today. DIY Chalk Cloth Bunting. It’s not just adorable, but can be used for all types of celebrations. Oh, and it’s easy too. Perfect for a lazy day sitting in front of the boob tube, when your energy is drained and minimal is all you can muster.

I had some extra chalk cloth left over from this project, so I decided to use that to make the bunting. Original, right? I think that everyone in blogland has probably made a bunting or banner of some kind (even Emily did it,) and well, I just didn’t want to be left out.
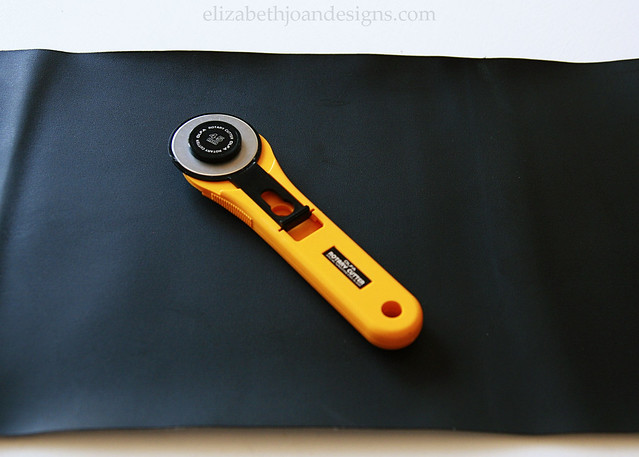
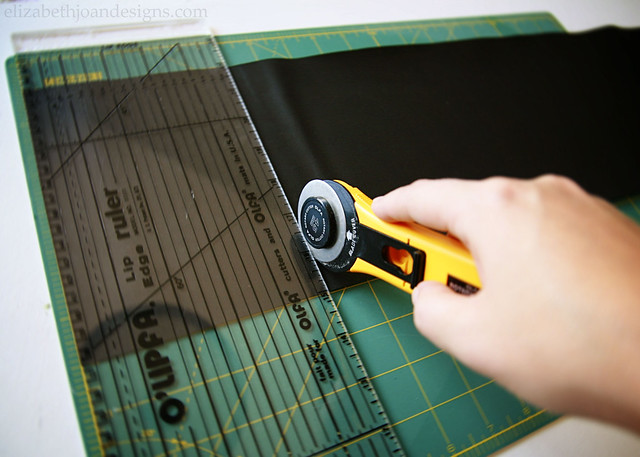
Using a rotary cutter, I cut out 7 pieces of the cloth measuring 5 inches x 7 inches each. Why 5″ x 7″? Because it just sounded good.
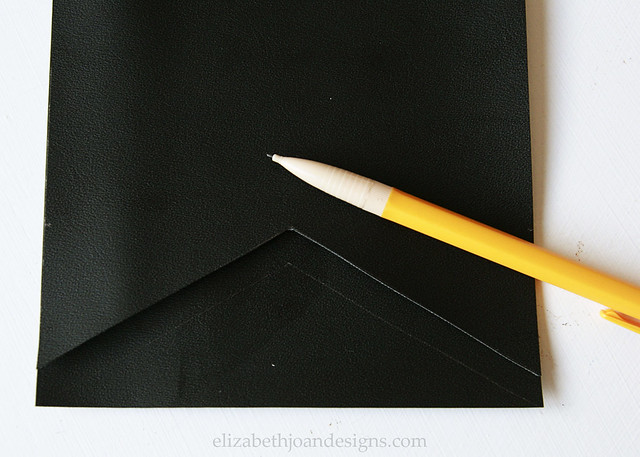
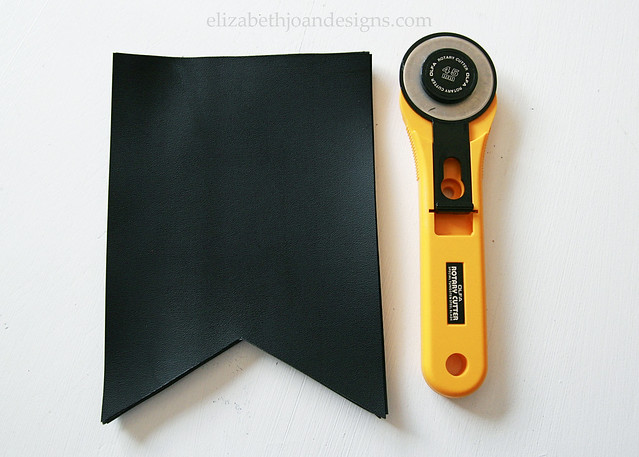
Next, I measured approximately 1.5 inches up and 2.5 inches in from each side (the center) and marked a spot with a pencil on the bottom of each piece. Starting at the corner, I cut a straight line in to the dot on an angle and did that for both sides. Then, I used that piece to trace a cutting line on the rest of the fabric pieces…
And cut out each of them.
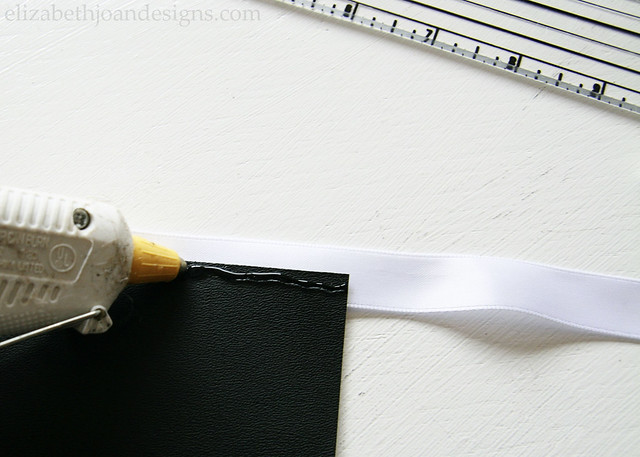
After that, it was time to attach some ribbon.
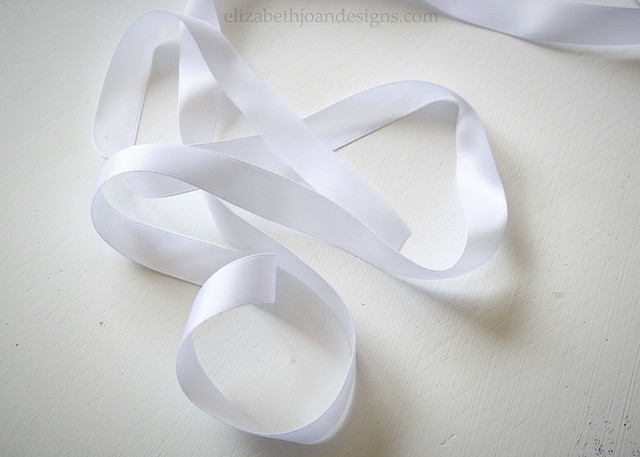
I used ribbon (you could also use bias tape) to attach the chalk cloth pieces together with some hot glue. Just fold the ribbon in half and add glue to the inside part.
The chalk cloth needs to then be primed before anything is written on it. You can find out how to do that in this post. Then just dust off the excess with a dry piece of scrap cloth or fabric.

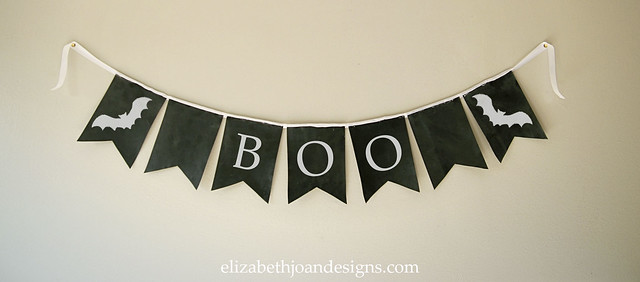
Finally, write out a little message. The best thing about this bunting is that it is customizable and can be used for multiple occasions. Here is how we are using it this fall!
_____________________________________________________________________ You may also like:
Chalk Cloth Map 
Halloween Mantle 
Chalkboard Lettering 
Freezer Paper Stenciled Treat Bag -
Faux Roman Shade
If you’ve been following along, then you probably know that we’ve been working on our kitchen and I wanted to share a little update that has made a big impact on the space.
I love the look of Roman shades (especially this striped one from Dear Lillie) and knew that I wanted something similar in our kitchen instead of the horribly over sized mini-blinds that were there when we bought our home. Seriously, who hangs blinds above the window on the wall?

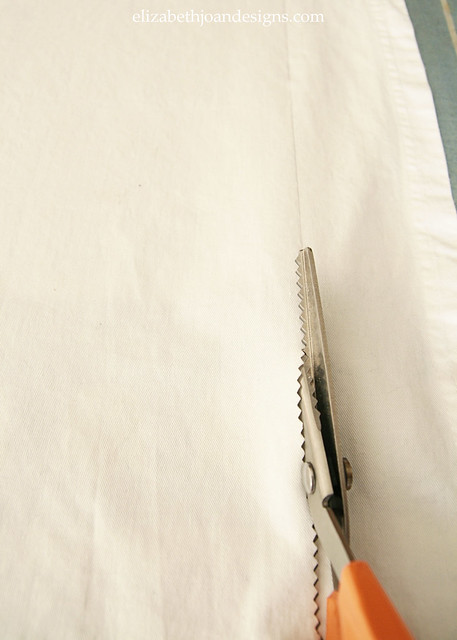
However, I didn’t have the patience to wait for similar fabric to be shipped to me, so I decided to use an old white curtain we had in storage and paint it with stripes. I started by removing the blinds and measuring the window dimensions. Then, I marked where the edges would be on the curtain and cut along the left side and top. leaving some seam allowance and room for a pocket along the top. (I used the existing finished edges on the bottom and right side.)
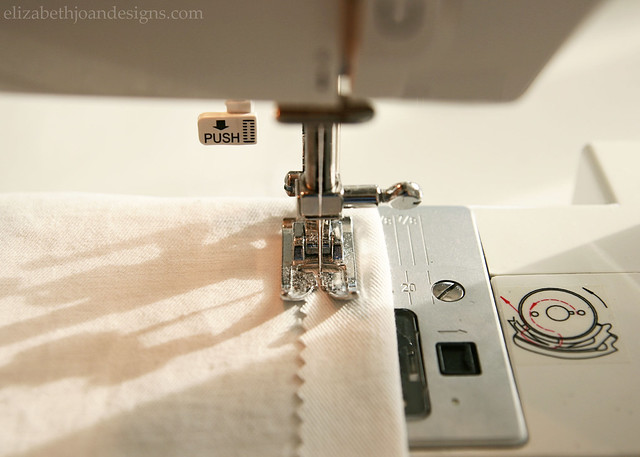
Next, I sewed the unfinished sides, leaving a pocket along the top for a tension rod to go through.
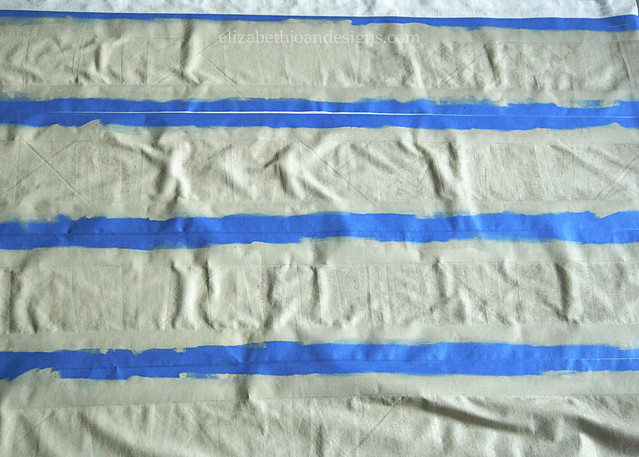
To paint the stripes, I kind of followed this tutorial from Perfectly Imperfect. The color is Benjamin Moore Revere Pewter, which is the same as our wall color in the kitchen.
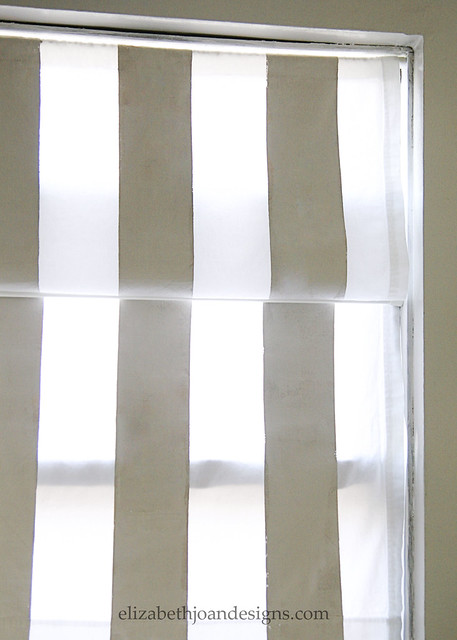
Once everything was dry and the tape removed, I hung the curtain up on the tension rod. Unfortunately, there were some places where the light was still visible through the paint and it looked pretty funky. See?
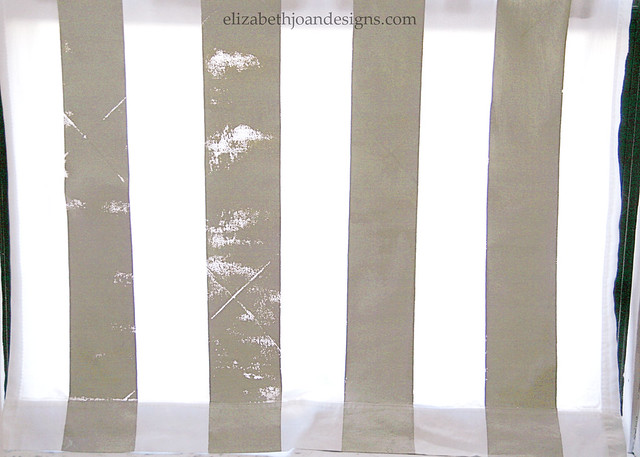
So, I used a paint brush to touch up those spots and everything in the world was good again.
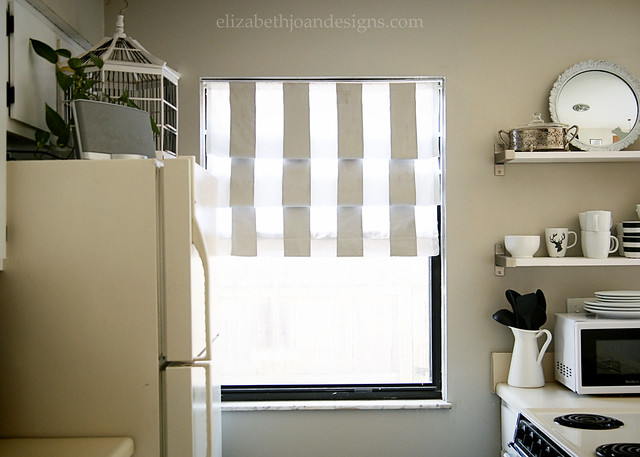
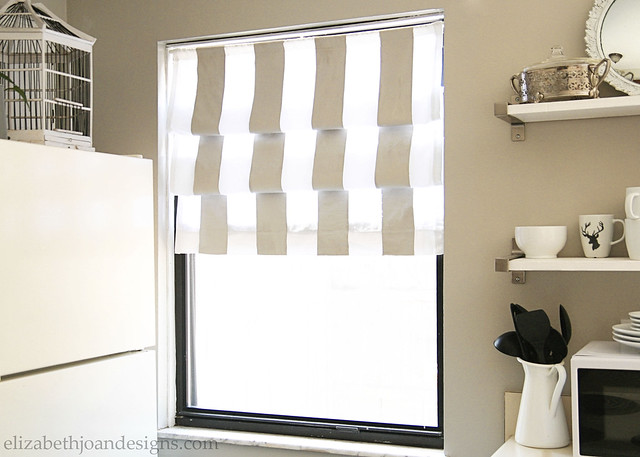
Finally, it was time to make this simple, straight curtain into a Roman shade. I placed two more cheap tension rods in front of my fabric roughly 6 inches from the top rod and from each other.

Then, I pulled a section forward from behind the middle rod and draped it over the front. I did the same for the bottom tension rod too, which gives the look of a roman shade, minus the functionality. (If you are looking for a DIY Roman shade that works, check out Emily’s post, A Shady Project.)
I think this was the perfect item to add some interest to our kitchen!
If you want to see more of what we’ve accomplished in this room, check out the posts Shelf Obsessed and Revamping the Breakfast Nook.
_____________________________________________________________________ You may also like:
Dining Chairs Update 
DIY Roman Shade 
Open Shelving in the Kitchen 
Revamping The Breakfast Nook -
Fighting Oil With Oil
We’ve recently been working hard to transform our dated 1980’s kitchen into something from this century. A major part of this transformation has involved primer/paint and few lessons learned.

We have been using oil based primer on our cabinets and it is the first time we’ve really had any experience with it. We’ve learned that the stuff sticks to everything (yay!) and that this stuff literally sticks to everything (boo.) Like the time my husband, Chris, got it all over his hands and tried to wash it off with soap and water. Not good. It just made it even messier and smeared it around more because, obviously, oil and water do not mix. So while he stood in the bathroom covered in stickiness, I did what any good wife would do and
went to bedheaded to the computer to search for ways to remove the primer.We found that a mixture of olive oil and salt worked great to get the primer off and also gave his hands a good exfoliation in the process. (Who doesn’t want a man with soft hands?) So, when we dropped a paint brush filled with primer on the floor a few days later, I decided to try the olive oil technique on that as well.
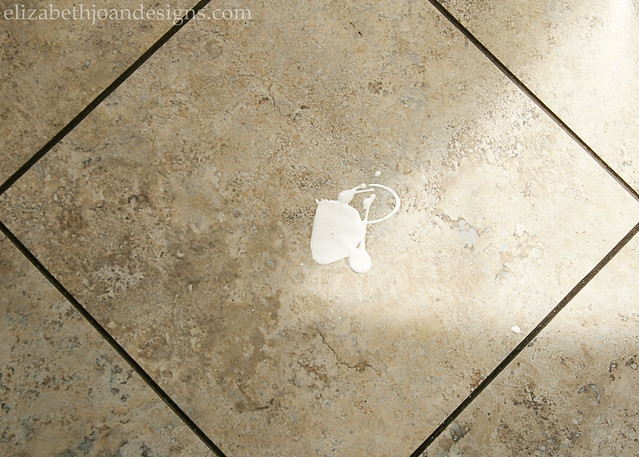
That is after we found that a dry paper towel just smeared that primer around on the floor.
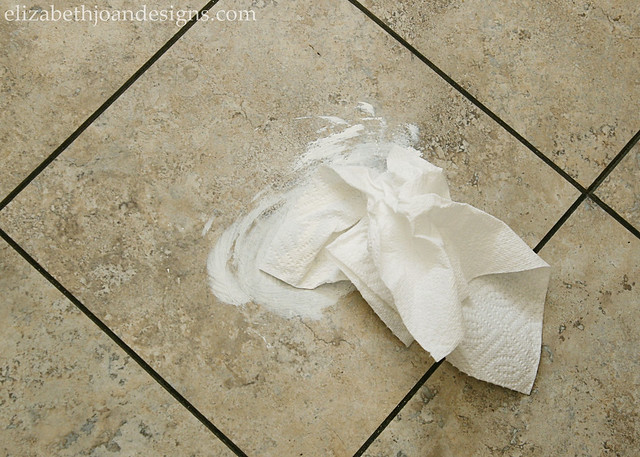
To remove the smear, I initially tried a mixture of olive oil and salt, but found that on our floor we only needed to use the olive oil. You can see how easily it removes all of the primer in this handy dandy video. Enjoy!
A few more details to take into consideration:
– Our flooring is vinyl stick tiles. I’m not sure if or how this technique would work on other types of flooring, i.e. wood, ceramic tile, laminate.
– This technique works on fresh spills and dried primer too, provided you add a little more elbow grease.
– Use olive oil to remove oil based primer and paint from brushes too!
___________________________________________________
You may also like:
Mason Jar Paint Storage 
Tips For Mixing Paint 
Dry Erase To Chalkboard 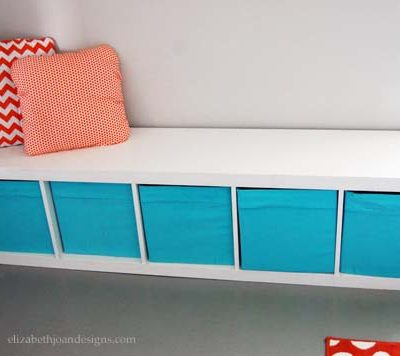
The Key to Painting Laminate Furniture -
Train and Cars Board
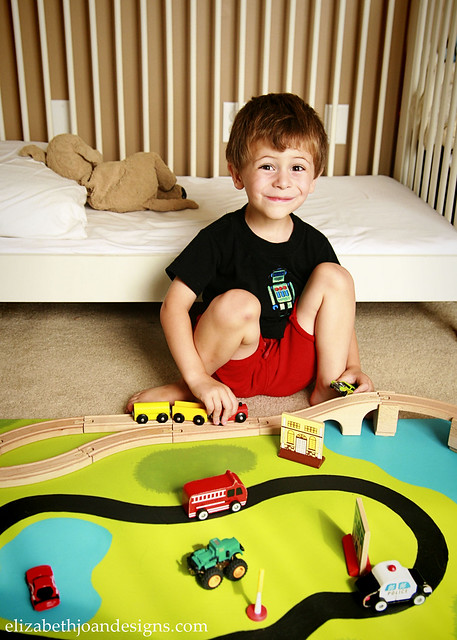
Our 3 year old son loves to play with his cars and trains. He is OBSESSED. He is always toting one around in his hand throughout the house, stores and restaurants. So, I’m sure it is no surprise that he is infatuated with the train tables at Barnes and Noble and at various toy stores.
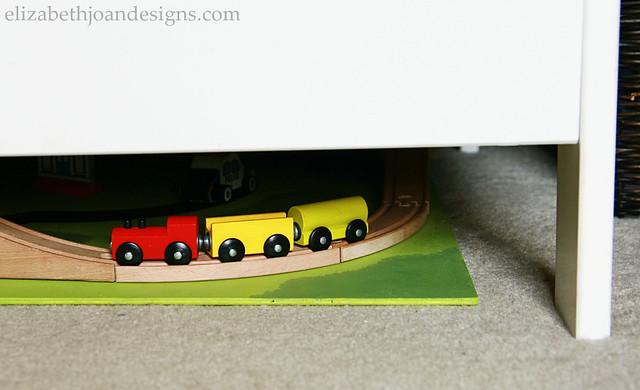
Unfortunately, we just don’t have room for another large piece of furniture in our home, without getting rid of something else. So a train table is out of the question. However, I did find some unused real estate under the little guy’s toddler bed (aka, crib minus the front side,) which meant if we measured everything correctly, we could make a train and cars board that could neatly slide underneath the bed and out of the way. Yay for extra storage!
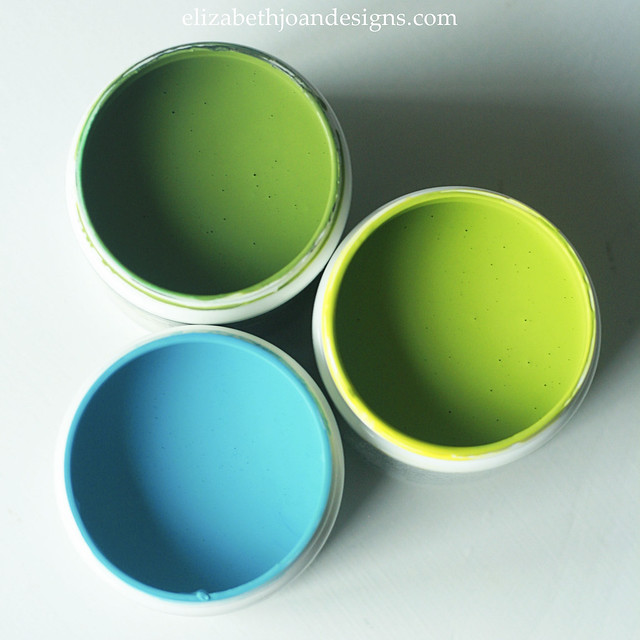
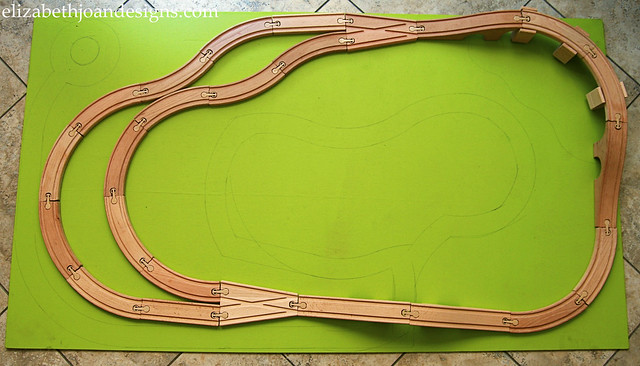
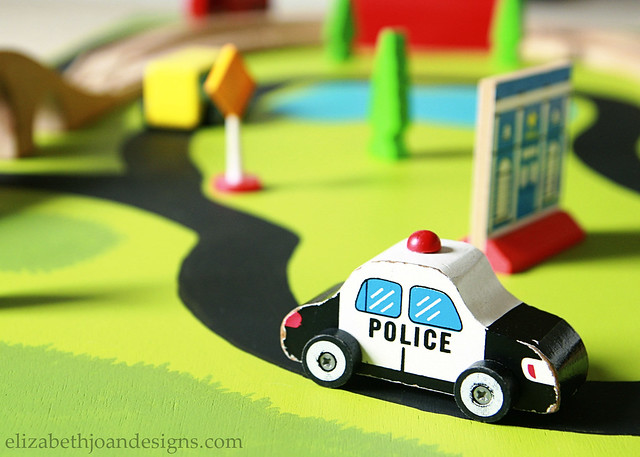
Making the board was super easy and can be completely customized to your own tastes. We knew we needed something big enough to encompass the wooden train and space for roads too. We started with some thin hardboard, a few Behr test paint pots, and chalkboard paint for the roads. (Colors clockwise from top are Green Energy, Intoxication, and Placid Sea.)
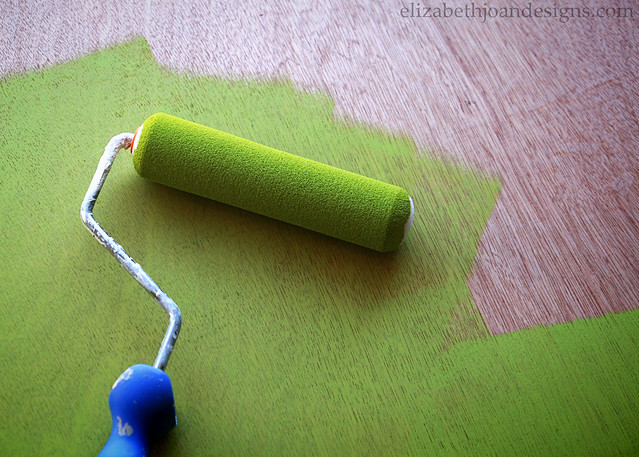
After a light sanding, I used a foam roller to paint the grass color on the board.
Next, we set up the train tracks, using a couple of train sets from Ikea. Once the configuration was how we wanted it, I used a pencil to draw in some roads and water. You may be able to see that there were a few oopsies with my drawing, but it wasn’t anything that couldn’t be fixed with a little extra paint.
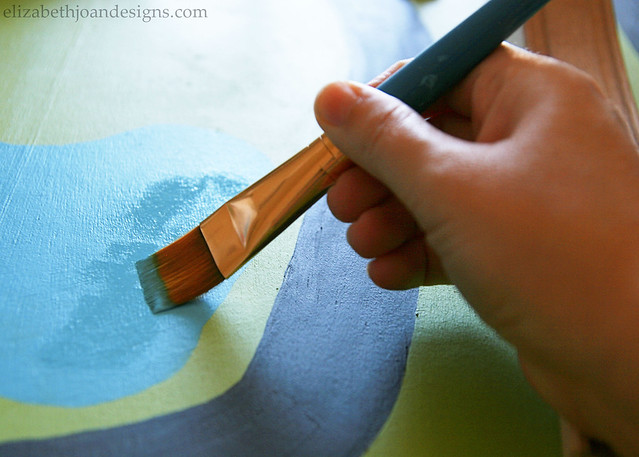
Then, I used a small paint brush to fill in the water, roads and several bushes/tree areas.
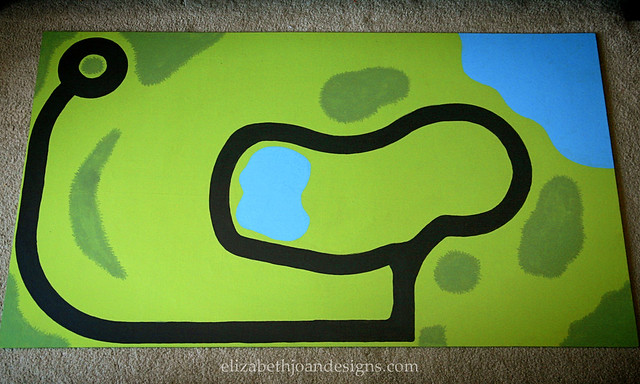
Here is how it looked after it was all painted.
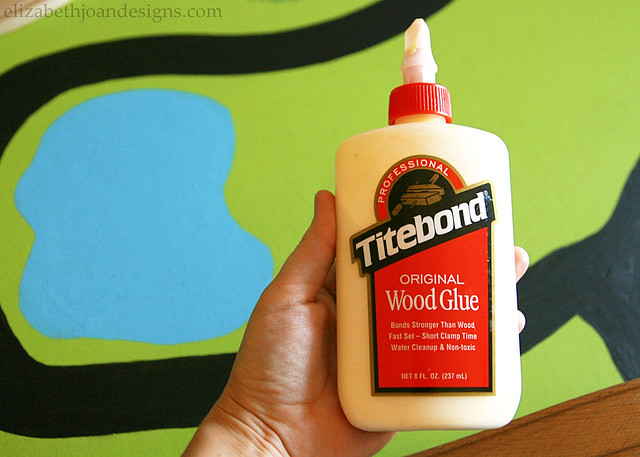
After that, it was time to attach the tracks with some wood glue. I looked at one of the photos I had previously taken of the setup and used that as a guideline to piece everything together. Then just pulled up each piece individually to glue them to the board.
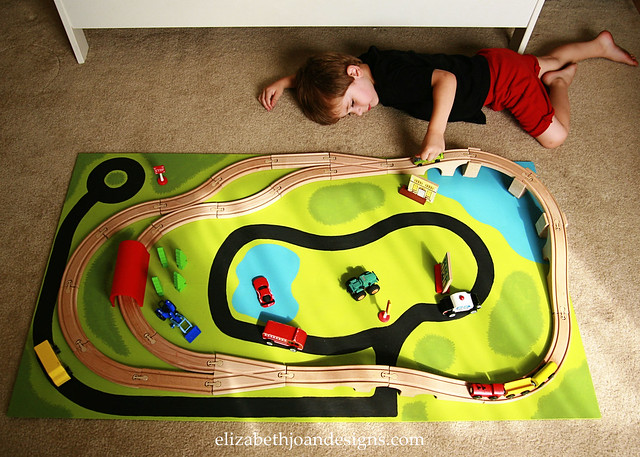
This train and cars board is so fun!
And it fits perfectly under the bed, which saves us a ton of space.
This little guy could not be happier and we love that he now has a fun place to play with his vehicles!
___________________________________________________
You may also like:
Faux Metal Letter 
Ikea Apa Storage Makeover 
Toy Rotation 
Toy Organization