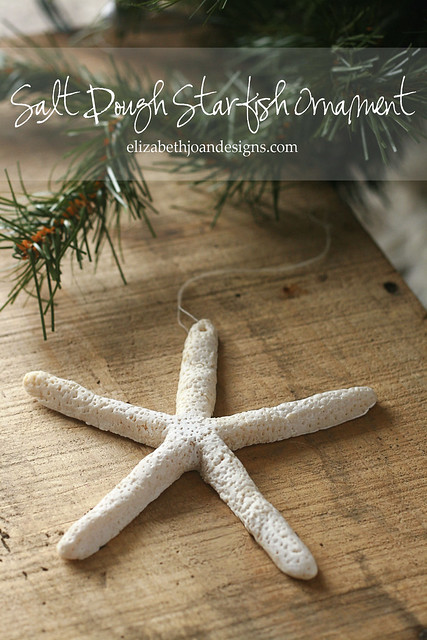
Salt Dough Starfish Ornament
That’s right. The title says it all. I’m veering away from traditional ball ornaments this year (don’t worry, we do have several) and trying something new to remind us of the years we lived by the ocean. So, we made salt dough starfish for our Christmas tree and they are looking quite lovely, if I do say so myself.
Warning: this post is pic heavy. If you don’t like photos, then do not proceed. Just kidding. Who doesn’t like photos?
Overall, we enjoy our main tree being pretty neutrally decorated and have chosen a lot of natural-esque kinds ornaments such as white feathers, spray painted pine cones, silver snow flakes and metal rain drops. (Those occur in nature, right?) It seemed only natural to add starfish to this grouping. And we made them from items we already had in our home. Major bonus!
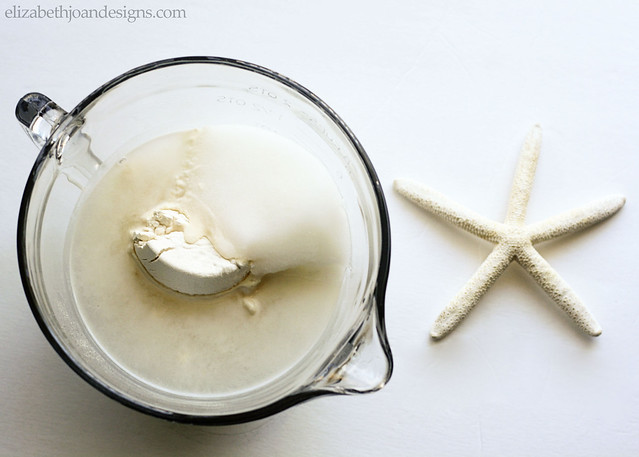
I started out with 2 cups of flour, 1 cup of salt, and 1 cup of water and threw that into a bowl to make my salt dough.
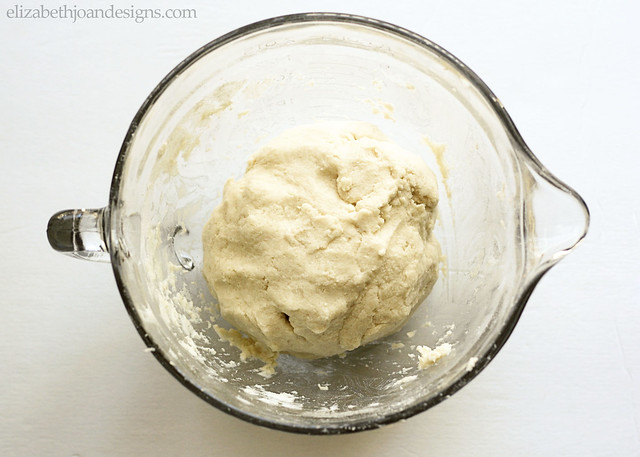
Next, I mixed it all up.
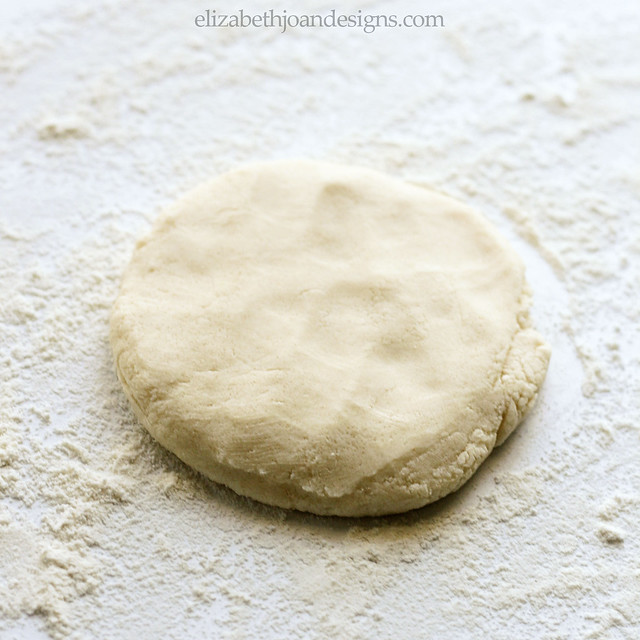
Grabbing a chunk of the dough, I rolled it into a ball and squished it down on a floured surface.
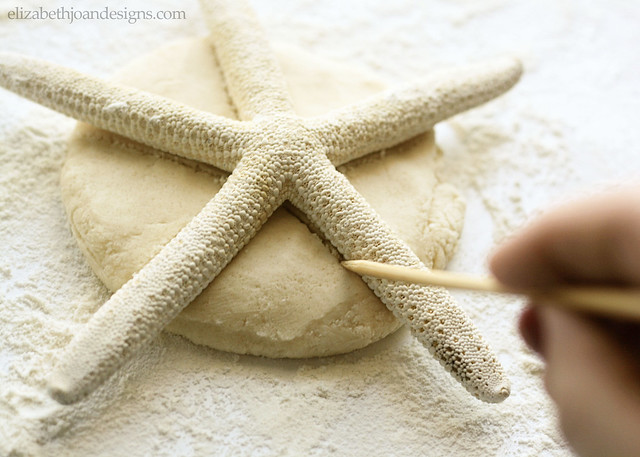
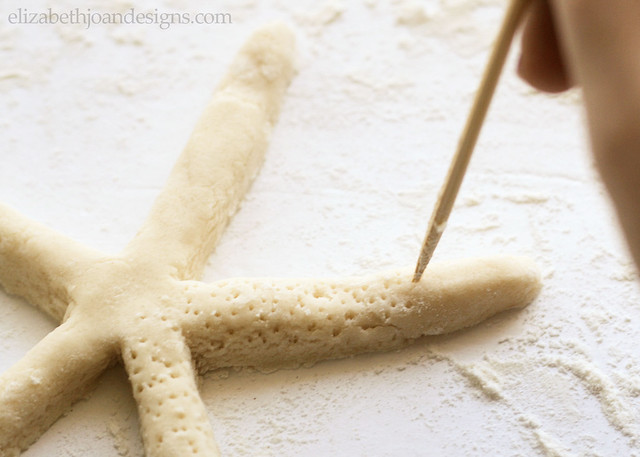
Then, I used a White Finger Starfish that I already owned to measure where the legs would go and marked it with the pointy end of a skewer. (Skewers are the perfect tool for this project, but a toothpick, a pencil, or a fork could totally achieve the same results.) If you don’t have a starfish to use as a template, you could totally eyeball it or download a starfish template from the inter-webs. Where there is a will, there is a way…
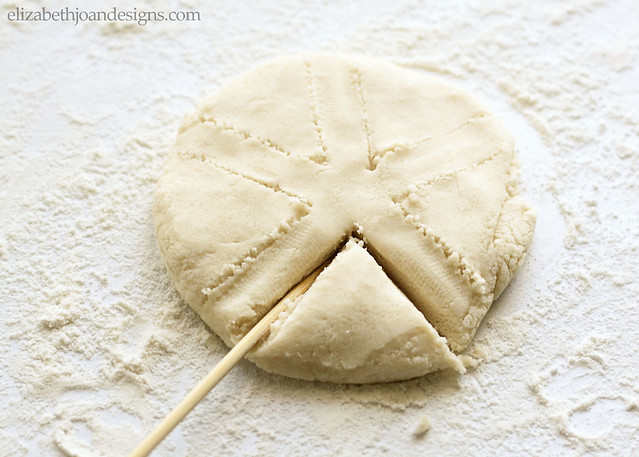
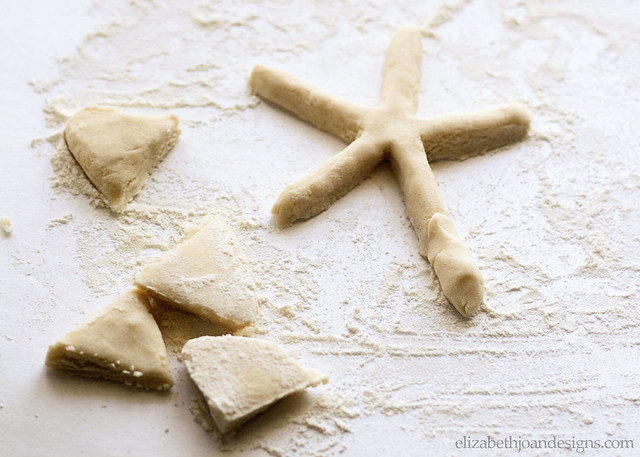
Using the skewer again, I cut out the triangular pieces between each leg piece.
The legs were then smoothed out and received a little extra piece at the end to make them longer.
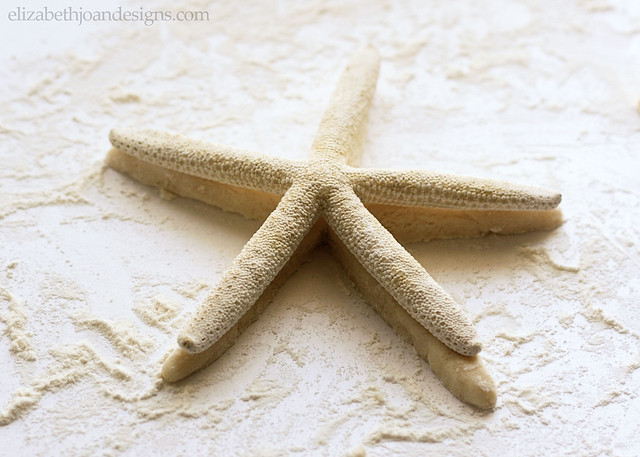
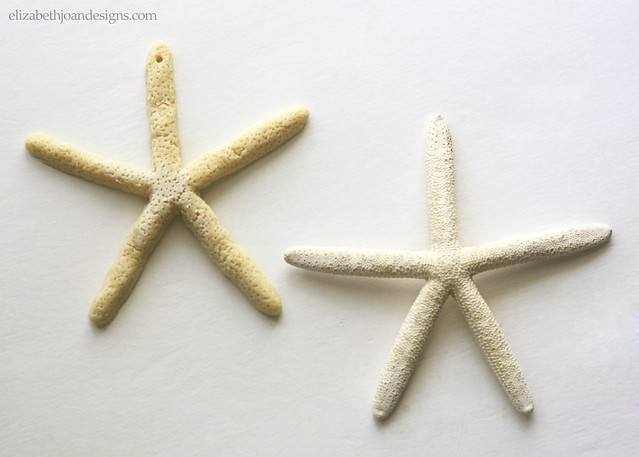
Don’t worry. This next photo is not some weird starfish mating ritual. I was just checking the dimensions to see if they were similar. Not perfect, but good enough! Sidenote: No echinoderms were harmed in the making of these ornaments.
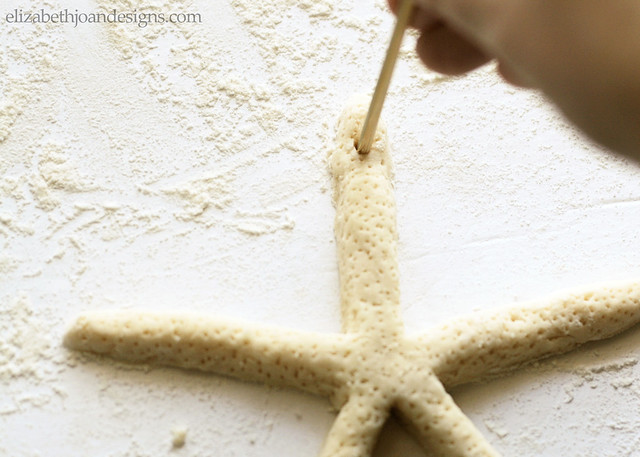
After the salt dough starfish was whole, I again used the pointy end of the skewer to poke tiny holes all over the legs and body…
And the blunt end to make a hole at the end of one leg for some string to go through.
When all of the starfish are finished, bake them in the oven at 200 degrees for a couple of hours until dry. Or leave them out on the counter to dry overnight while you get your sleep on.
I noticed, once mine were dry, that they looked a bit more like the color of first morning urine than the original white I was trying to emulate.
So, I grabbed some white acrylic paint and water and brushed them on the fronts and backs of each sea star. Looks better, no?
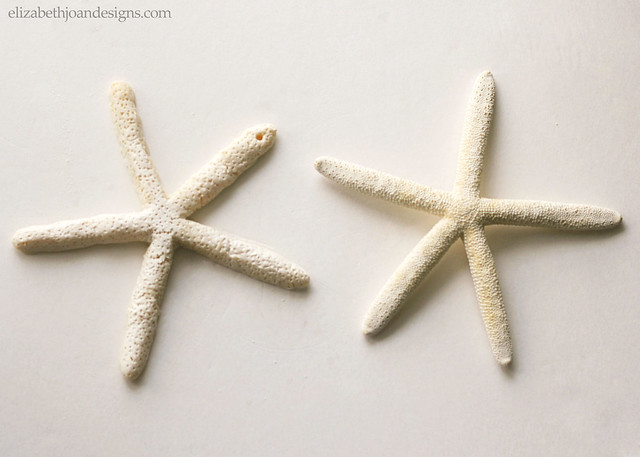
Finally, the paint dried and the starfish were ready to hang on the tree.

I know it isn’t perfect, but doesn’t it look pretty realistic? You can’t even tell that it is salt dough if you are standing more than a foot away from the tree. And the fact that it cost me a whole lotta nothing was the best part. That is always the best part.
22 Comments
MiMero228
WOW, well done! Looks great, you really captured it’s look. It’s so good, I may want to give it a try. I don’t have a starfish to use as a model but, I think I could just use your picture and it might work. Thanks for posting this so fun project.
Erin
Thank you! We would love for you to share your finished results with us if you try to make one of these ornaments.
Ellen
Can u place these outside
Erin
I wouldn’t for fear that water/weather would make them disintegrate.
Susan
Your pictures look great. I think I could do this, I too do not have a starfish, but your pictures are so clear that I believe I can use it as an example. Thank you for your detailed pictures.
Erin
Best of luck if you try this, Susan! And thanks so much for your sweet compliments!
Stephanie Anne D'Onofrio
Simply Amazing that you can actually may see stars out of salt dough without having to kill a live creature. I’m going to have to try this. Thanks
Barb
Thank you so much for your pictorial explanation on these starfish. I tried to make them last night with my 5 year old grandson and they all ended up breaking cause I was rolling the legs separate and trying to meld them together and in the meantime, my grandson was having a ball using up the rest of the dough with the cookie cutters I had bought. And yours are pretty close to perfect. Beautiful, in fact. I hope I can achieve this!
Erin
So sorry to hear you were have a rough time getting them to stay together, Barb! Best of luck if you try our method and thanks for stopping by!
Barb
Hi Erin,
Quick question: Why didn’t you make your dough circle bigger to accomodate the length of the starfish legs; so you didn’t have to add any dough to the legs after? I just know this step is going to trip me up and I’m gonna have E.T. knobby ends on my starfish, lol. I was able to find two different sizes of pencil starfish today at AC Moore and if I can skip this step, I think I’ll be good to go.
Thanks,
Barb
Erin
Hi Barb,
Honestly, this was a fly by the seat of my pants kind of project. If I were to make more of these, that is definitely something I would take into consideration. Feel free to make your own dough circles bigger, if that will make this work better for you! Hope that helps and let me know how it turns out!
BARB
Thanks, Erin!
Just wanted to make sure I wasn’t missing something. Will send a pic of my finished project. Couldn’t have done this without your website. Thanks again!
Barb
Erin
You’re welcome, Barb. Best of luck!
Debra Hendriks
How about a toothpick where legs come from body? I need to make MANY…and would prefer them to stay together…eek ! Lol
Debra Hendriks
GOTTA do this…THANK you!!!!!!
Courtney
Approximately how many starfish would this recipe yield?
Erin
Hi Courtney,
I believe I was able to get 8 or so out of this batch, but the size of the starfish used as a template would really determine how far you could make the dough go. Hope that helps!
Sunny
Awesome idea! Going to try this tomorrow. Quick Q – You mentioned using white acrylic paint and water to brighten it up. Went mix water to the paint? And any particular ratio of paint to water mixture? TIA
Sunny
typo -“Why mix water to the paint”
Erin
Hi, Sunny! The original color of the dough was pretty yellow-y and I wanted to brighten it up a bit, but not make the starfish a stark white color. By mixing a 2:1 ratio of paint to water, the effect was essentially a whitewash, which brought the color closer to the natural starfish. I hope that helps!
Ann
I’m going to try this project this afternoon. Your photos are well done and make it easy to follow the simple procedure. I was just about to order a starfish cookie cutter off the internet, but I like your idea so much better. They’re beautiful.
Will send a photo with the results.
Marcia
Hi, the flour used.. is it wheat flour?