-
Mason Jar Paint Storage
We had been stockpiling an assortment of partially-full paint cans and our supply was out of control! Do you know how much room all of those containers take up? I don’t have an exact unit of measurement, but let’s just say a great deal of our precious storage area housed those buckets. In an effort to gain more space, I decided to condense these latex paints into mason jars I already own. This storage method is also much more attractive. Bonus!
This is the process I went though:
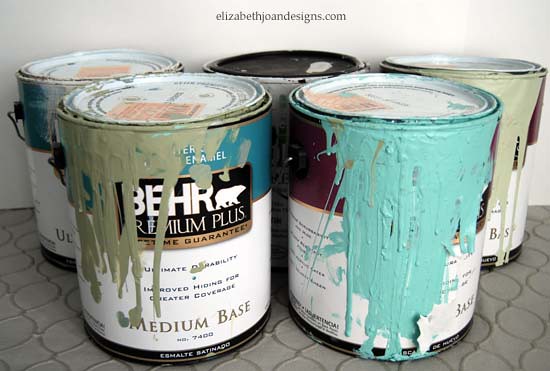
First, I gathered up all of those half-full buckets. There were actually a few more than this photo shows, but I went ahead a got rid of them. The paint was either dried up or I couldn’t even get the cans open.
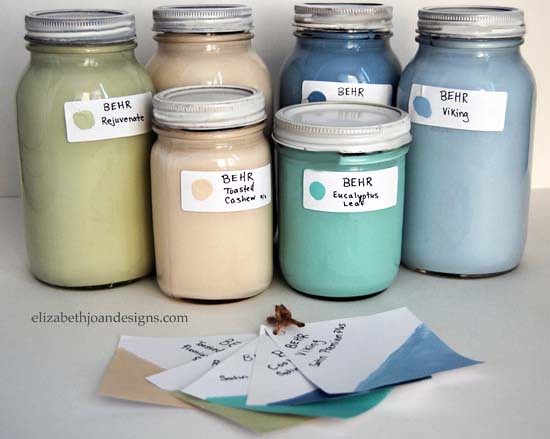
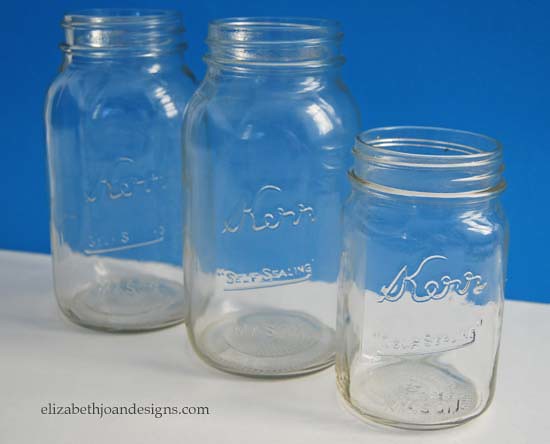
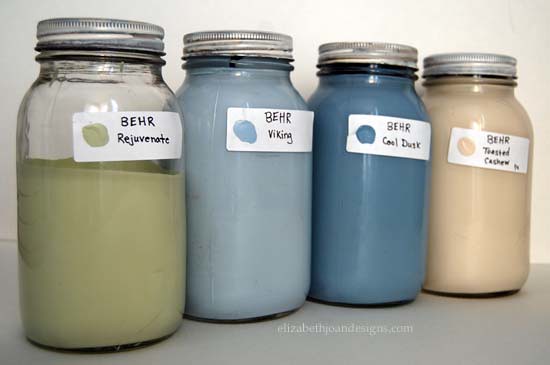
Next, I located some of our empty mason jars and started the transfer.
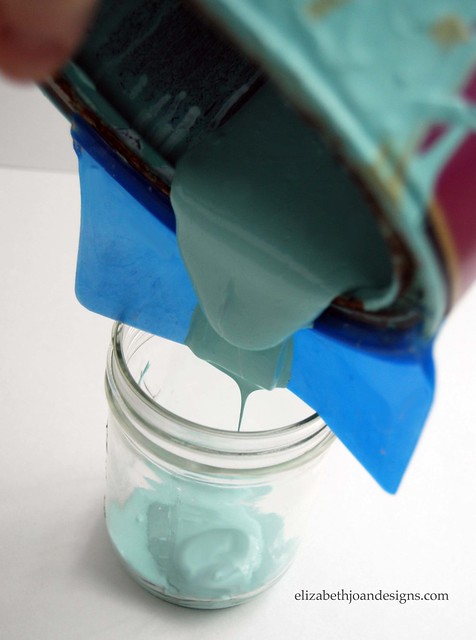
The pouring went fairly smoothly, but I did keep a few paper towels at arms reach for those moments when things got a little messy.
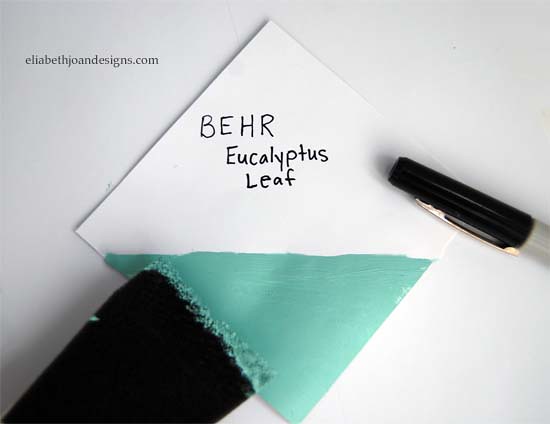
Then, I used address labels to mark each jar. This way I will know the exact name and brand of each paint color.

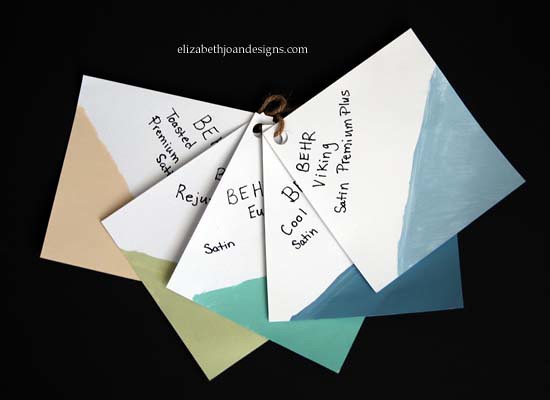
After that, I created my own paint samples that are a smidgen more detailed. (See photos below.)
I punched a hole through them and tied them all together with twine.
Finally, I screwed the lids on each jar. Yay! Aren’t they cute?
Oh, the room I will save with this adorable paint storage alternative. Do you have any special tricks you use to save space in your own home?
-
Entryway Remodel Part 3: The Reveal
Trim. Check. Paint. Check. Bench cushion. Check. This check list can only mean one thing: the reveal of entryway is here!
When we last left off, it looked a little something like this:

Here are the final detail steps we took to get our beautiful hallway…
First, I filled all holes and gaps with nail hole filler and caulking. As you can see, there were tons of them on the shelf.


Next, we secured 5 hooks to the shelf. This provided more hanging space for coats, bags, scarves, etc.

Then, Adam framed the closet area with trim. He found that the air compressor nail gun attachment was the most efficient way to do it.


After that, it was time to paint the trim. I taped off everything with frog tape. Frog tape has proven to leave cleaner lines than plain old regular painter’s tape. Well, at least when I am painting.

Here are a couple great buys I found at Target. I love Target! These baskets were on clearance for $2.68 each. I purchased three of them. We mainly use them for school papers.

I also found these fun little chalkboard for a steal for $0.30 for a pack of eight.

I made this seat cushion out of foam and upholstery fabric purchased at Jo Ann Fabrics. Don’t be fooled. I found this cushion to be extremely challenging to make. I just couldn’t seem to get the fit right, but once I did, it was awesome. Yippee!

On the wall opposite of the bench, we hung a few hooks to hang our coats and backpacks.

Now the details are all wrapped up.
Can I get a drum roll please?
Tada!

I added five of my boxes to baskets on the top shelf. They house hats, gloves, reusable bags, umbrellas and other items we like to grab on the way out.Once the weather is a bit nice, I am hoping to get out in our garage and build a couple crates to toss our shoes in.

What do you think? We are so pleased with this area. Yes, it did take over a year to complete, but we LOVE it!
-
Painting the Town Neutral
Ok, not the town, but our new house! Can I get a whoop?
It’s probably no secret that I’m a big fan of neutral color palettes. I love color, but for some reason I’m always drawn the the neutrals when I start putting our home together. (Black, white and gray anyone?) Since our previous place was a rental, we weren’t allowed to paint. And almost everything was covered in FLAT white paint. Ugh. Don’t get me wrong though. I love, love, love white. But when you have 2 kids and 2 dogs, flat paint just doesn’t cut it. I need washability people!
To say that I’m excited to change things up is an understatement. Honestly, I happier than Pharrell to be able to put that brush to the wall. (Just try and tell me that you can listen to that song and your day is not a even a little brighter!)
Click here to open the Pharrell Williams – Happy (Official Music Video) on Youtube. Together with my husband, we picked out some soothing colors that will hopefully flow well together. All of our color choices are from Benjamin Moore, except for one from Restoration Hardware. Weird how that worked out.

This is just an initial paint palette and is subject to change in the future as we start getting color on the walls and decorating. Let’s take a closer look at which colors will be used for which spaces, shall we?

The main floor of our home is painted with yellows, oranges and browns, lending to that Tuscan feel. I can definitely see how those colors could liven up a space with the right decor. But as I mentioned before, I’m a neutral girl, and Tuscany is more of a place that I, personally, would like to visit vs. live in, so we are doing things a bit differently for our kitchen, living room, and family room/ playroom.

As I mentioned before, I love white, but we just hated the fact that our rental was painted with flat paint, although having white walls was really wonderful for some photography stuff. So we are planning on using some white eggshell finish paint in our bedroom. Our son’s room will get the gray treatment and our daughter chose a calm and airy blue.

Neither of our bathrooms have windows, so I’m hoping that these colors won’t make them seem too dark or smaller than they are. We may end up adding some sort of wall treatment too, if we need to brighten up the spaces more.
So, that’s the direction we are planning on going. We haven’t figured out paint colors for any of our storage spaces (laundry room, pantry, etc.,) but there will be plenty of time for that after we get the main living areas of our home looking how we want them. Yeah, that includes not only painting the walls, but the trim as well. Sounds like fun, right?
-
Kid’s Table Makeover
About a year and a half ago, I was browsing a neighborhood garage sale near a friend’s home and I found a really adorable matching kid’s table and chairs. It was priced at $20.00 for the set. We had already owned a table and chair set for the kiddos, so 20 bucks was a bit out of my price range, even though I liked this one much better.

Later that evening, I headed back to that same friend’s house for a girls’ night and noticed that cute wooden set, curbside, as if it was just waiting for the garbage man to collect it. My natural instincts to rescue it kicked in and before I knew it, it was mine. *Insert evil laugh here.*
After sitting around here for quit some time, I decided to give the table and chairs the makeover they had been screaming for.

First, I used our hand sander and 80 grit sandpaper to remove the old finish from the wood. This process was a huge pain in the butt. It seemed like years had passed before I had finished removing it all, but in reality, it was only 4 days.

There were a few hard to reach places I used the sanding attachment on our dermal tool to buff.

Once all of the old stain had been cleared away, I treated the wood with 120 grit sandpaper.

Next, I wiped down all surfaces to eliminate the dust.
Then, It was time to stain the wood. The stain my husband and I agreed on was Rustoleum Weathered Gray. When, I applied it to a small section, I was surprisingly disappointed with the look. It was too gray! (That is something I never thought I would say, since each room of my house contains some form of gray.) It looked more like I had painted it rather than stained it. My solution to this problem was to mix this weathered gray with Minwax Special Walnut stain. The Minwax is the exact stain I had used on my dining room table. Hooray for no additional cost!
The combination of these two stains worked perfectly! It was exactly the look I going for, a warm distressed gray-ish color.

Finally, I applied 4 coats of Minwax Polycrylic to give the table and chairs a little shine and a lot of durability. It is a kid’s table after all.

I am so happy with the final product! Even with all the work of sanding, this has been one of my favorite projects to date.