-
Sloppy Dot Curtains
Ninety nine point nine percent of the time, I am an extremely decisive person. I know what I want, when I want it. However, this was not one of those times.

The curtains in our home have pretty much always been plain white. We like white. It’s bright and airy and lovely and awesome. But, for several years now, I’ve contemplated something more. Maybe a pattern or a graphic. So, I made a decision and decided to make my own and they did not turn out too shabby.

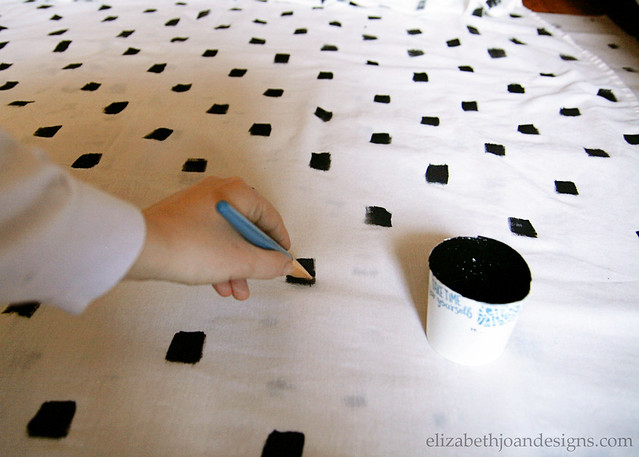
I started with a pair of Ikea’s VIVAN curtains (they run for about 10 bucks a pop, so I wouldn’t have been out much if I royally messed them up) which were laid flat on a canvas drop cloth.Then, I used a craft brush and black acrylic paint mixed with fabric medium to make the dots.

There wasn’t really a plan or pattern going on with all of this. I just sort of staggered the dots on the fabric, but they are by no means perfect. And I just “smooshed” the paint brush back and forth, which we will pretend gives the dots a sort of organic type look. Totally professional, right?
I really like the graphic look that they have.

Oh yeah. I also used some of the previously mentioned Oil Rubbed Bronze (used on my desk/nightstand) to spray paint the curtain rod (IRJA, also from Ikea for $1.49.) Unfortunately, the length of the rod is a bit shorter than I would like it, so now I’m on a mission to find something that will better suit the width of the window.

I think everyone in the Fam was pleasantly surprised with how these curtains turned out. They’ve even become a favorite lounging spot for our Golden Retrievers.

-
Spring Cleaning Tips and Checklist
You may or may not know that planning out all of your spring cleaning tasks can take just about as long as actually cleaning your house. Well, this is at least true for me this year. My husband joked that I should spend more time doing each of these jobs instead of writing a blog post about them. But hey, we live in upstate New York. Spring won’t be here for at least a few more months. Right?

To help you save some time, I have a free printable checklist for you. This is a pretty thorough list, so don’t feel overwhelmed. Just take things one, tiny assignment at a time and your home will be gleaming before you know it.Download this printable from THE GALLERY.

Here is a list of some helpful hints I have discovered along the way. Basically, tips, tricks and things I think might just work.
1. Abolish Dust
When dusting, move around the room clockwise, or if you are a daredevil counterclockwise, starting with the highest points and working your way down to the floor. This will enable you to get your room thoroughly dust free.
2. Eliminate Stains and Odors
Combine 1 tsp. of original Dawn dish soap, 1 Tbs. of distilled white vinegar, and 2 Cups of water. Apply to spots on the carpet and scrub. This solution is amazing on getting out those old, smelly, carpet stains.

3. Cleaning Painted Walls and TrimTo clean your painted walls, start with a clean rag and water. If that doesn’t work, dip the cloth into water mixed with a little dishwashing soap. (I personally like the original blue Dawn for cleaning.) Be sure to rinse the wall well with plain water when you have removed the stain or you’ll have soap scum leftover. Nobody wants that!
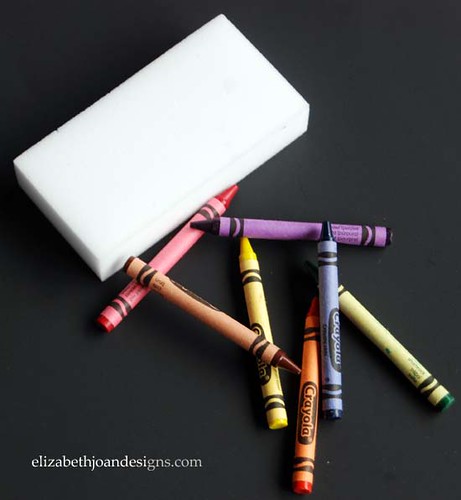
*Helpful mom tip: I have found that a damp eraser sponge can work miracles on getting crayon marks off of walls, tile flooring, and painted furniture.
4. Wash Your WindowsClean the residue off of the window using vertical strokes on one side of the glass and horizontal on the other. The sun can dry your glass pretty quickly, which can leave your window looking streaky, so this is a job better left for a cloudy day.
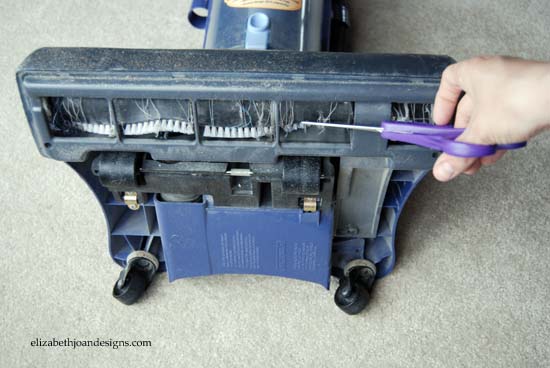
5. Minor Maintenance on Your Vacuum Cleaner
Cut away threads and hair from the rotating bristles and insert a new filter. Also clean the canister, attachments and hoses with water. You’ll step-up its performance and make cleaning a cinch.
*Warning: Let everything dry completely before using the vacuum. Running it with wet parts could be very dangerous. So, play it safe!
6. Reorganize and De-clutter BookshelvesWe have a few large bookshelves in our great room and I know they can get pretty cluttered, almost to the point of embarrassment. To start, sort books by size and subject. Line books, some vertically, some horizontally, in a well-balanced pattern. This will be eye pleasing and keep things organized all at once.
7. Start Growing Herbs and Vegetables Inside
Start kitchen herbs and vegetables inside and transplant them outside later in May when there is no longer a danger of frost. Click here to see how you can use toilet paper rolls to start your plants.

Put on a pair of cotton gloves and wipe the slats of your blinds with your dampened fingers, or blow the dust off with a hairdryer set on cool.
9. Clean Tiles and Grout
Clean bathroom and kitchen tiles with a homemade cleaning solution of water and baking soda. Mix 1/4 cup baking soda into a gallon of water. Mop the liquid across the tiles. Let it dry. Then stand back and admire your squeaky-clean floors.
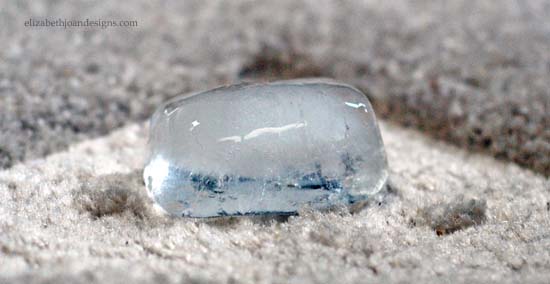
10. Get Dents Out of Carpet
Have you recently move furniture? Set an ice cube on the indentation, let it melt, then gently rub carpet fibers with your fingers or someone else’s. Dent be gone! (Spritzing the spot with a little water would probably work the same, but this just looks cooler.Literally.)
Well, hopefully someday soon, spring will make its way to this frozen tundra, we call New York, and I can get to my cleaning.
We are sending you warm weather wishes and we hope you have a happy, successful spring cleaning!____________________________________________________________________________________________
You may also be interested in…
How to clean your make-up brushes.
-
Starting Plants In Toilet Paper Rolls
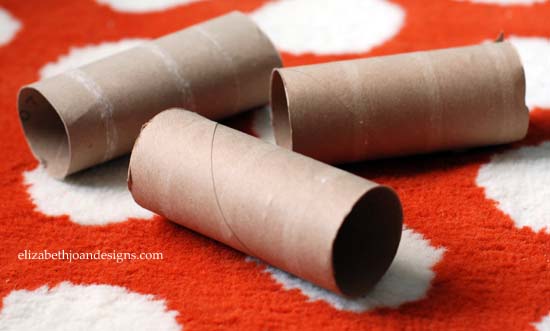
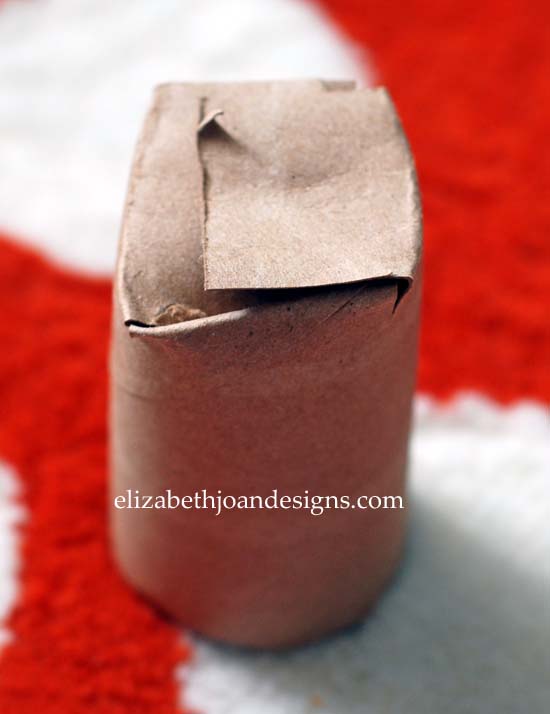
Do you remember the adorable heart shaped stamps I shared around Valentines Day? Well, this time I am bringing you a completely different use for a toilet paper roll. These little cardboard tubes make a fantastic, decomposable home for starting plants.
First, I started saving our empty toilet paper rolls, paper towel rolls and wrapping paper rolls months in advance, so I was prepared to begin the seedlings.


I thought about writing directly on each one, but my two little guys helping me with planting and their listening skills weren’t exactly the best. They would put seeds in whatever spot they wanted. My system of coloring coding toothpicks worked amazingly. After the kids sewed the seeds, they placed a toothpick in the corresponding paper roll.
This key will help me later with identifying each plant.


-
Your Designs This Time
Next Monday, March 17, we are inviting all of our readers to join us in a linkup . This will be a weekly event where you can share your creative projects right here at EJD to inspire all. So, mark your calendars and come prepared to link up your best. The linkup goes live at 8:00am Monday Morning. Hope you see you there!
