10 Minute Wood Cutting Board
Every once in awhile, I come across some extra wood from a project. You know, those random pieces that are left over after everything is cut. And since I’m not really a big fan of just throwing them away, I went in search of something to do with them. After perusing the interwebs, I found a great tutorial from Centsational Girl for DIY Wood Cutting Boards.
This post is by no means some sort of amazingly new way to make a cutting board. I just used Centsational Girl’s guide and thought I would reiterate just how simple and quick this awesome project is. After you find the wood you want to use, there are only 4 steps.

1. Trace a handle onto the wood piece. I made a template by cutting a piece of cardstock to the width of the wood (8 inches) and folding it in half. Next, I free-handed the shape of a handle on it and cut it out. Then, I opened it back up and traced around the edges.
2. Cut out the handle. I grabbed my handy hubs and had him help me cut with a jig saw, so I could take pics and not chop off my hand in the process. Thanks, Honey!
3. Sand everything smooth and wipe clean.
4. Condition the wood with mineral oil.
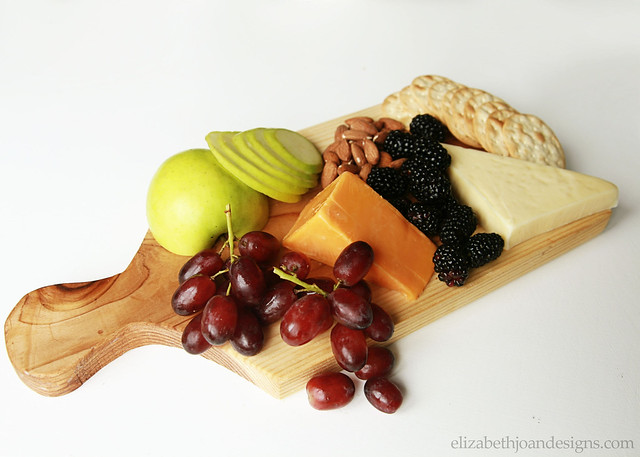
And that is it. The cutting board is then ready to use.

This project literally took only 10 minutes from start to finish. I think it honestly took longer to gather and style all the food on top.

So, if you find yourself with some extra lumber, this is a great project to tackle that won’t take up a lot of time, but yields quick and fulfilling results.
You may also like:


22 Comments
Kendra @ www.joyinourhome.com
Love this! I’m always buying new plastic cutting boards…and now I see how easy I could make my own! Thanks ladies! You are so takented!!
Erin
That’s what I thought, Kendra! No more cheap plastic cutting boards. ;)
Adrian
Oh my gosh! I just showed this to my husband and neither one of us knew how easy it was to make a cutting board! Guess what he’s doing for me next weekend?
Erin
OMG, Adrian! So easy, right? My husband and I have both decided that all of our future cutting boards will be personally made by us. So easy! Best of luck on yours, too!!!
Ginnie
This would make the perfect gift! Filing this idea away for a day when I have access to power tools;)
Erin
Ginnie, you will love how easy this is once you have your tools!
Leigh Anne
You girls are amazing! I love these cutting boards. I’d love to make some for Christmas presents. Thanks for linking up at Link It or Lump It, I’m featuring this next week!
Erin
Oh, Leigh Anne! Thanks so much!!! We are so excited and honored!
Erica
Wow, so beautiful! I’m terrified of using a saw, but perhaps I could get hubby to do it for me ;) Thanks so much for linking up at Link It or Lump It!
Erin
Yes, Erica! Get your hubby to help. Neither of you will regret it!
Erlene
Great way to make something useful from leftover wood. What type of wood did you use?
Erin
Hi, Erlene! I believe we used maple, but I think that any untreated hardwood would probably work well.
Erlene
Hi ladies. Just wanted to lyk that your post was one of the most clicked links on Merry Monday and you’ll be one of the features. Hope to see you tomorrow at 6pm PST.
Erin
Oh, wow! Thank you so much, Erlene!
Pingback:
Pingback:
Pingback:
Pingback:
Pingback:
Pingback:
Frazier Mark
Though poplar may look nice it is not a good wood to use for cutting boards or butcher blocks. With poplar being soft as it is, it is a good place for bacteria to hide from previous food preparation. I would use woods like Teak, Maple, Cherry, or Walnut. Maple looks good, and is not all that expensive. It is also a very common wood for cutting boards. Hope this helps.
Erin
Thanks for all of the info! These are definitely things for someone to keep in mind if are interested in making a long-lasting, quality piece. As mentioned in the post, this cutting board was made with scrap wood, so we knew going into it that it may not be the best for such a project. However, it is still going strong after 3 years of use and we haven’t had any problems. Thanks for stopping by!