-
Corn Husk Wreath & Thanksgiving Blog Hop
Today we are sharing a DIY Corn Husk Wreath and a Thanksgiving Blog Hop. Eleven bloggers have come together to help you prepare for the upcoming Thanksgiving holiday.
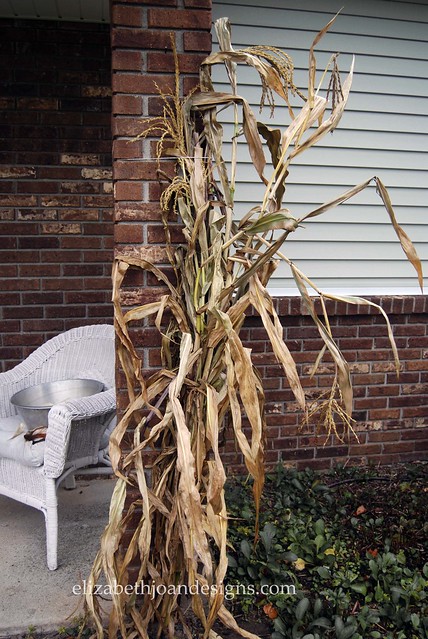
Every day when I drive my boys to and from preschool, I pass a little fall farm stand. After driving past it 4 times a day, 5 days a week, it started to call my name. “Emily. Emily. You know you want to stop.” I finally decided to listen to the crazy voices in my head and see what treasures they were selling. To add a touch of fall festivity to our front porch, I carefully shoved three bundles of corn stalks into my car. We do not have a huge car, so I had to feed these puppies in from the back hatch and push them between the boys car seats without injuring anyone. Luckily, we all made it home safely.
When we got home, my wonderful husband helped me attach the stalks to our brick pillars. After a day or two of displaying them, I started to wonder what else I could do with corn stalks. That’s the moment when the brilliant idea of making a corn husk wreath came to me.
Supplies
– Corn stalks with corn still attached
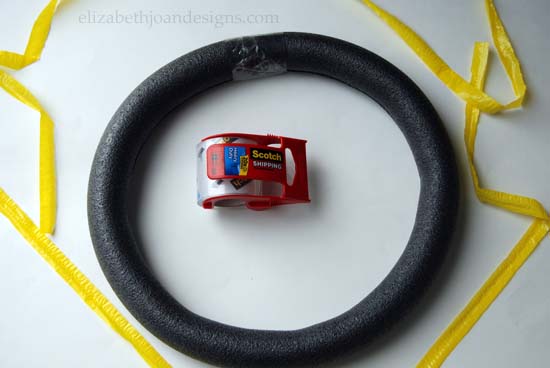
– Pipe insulation tube wrapping (I used this as my wreath form.)
– Burlap
– Hot glue gun and glue sticks
– Large container for soaking corn husk
– Bleach
– Packing TapeFirst, I removed the plastic seal and taped the ends and center of the pipe insulation together to create a wreath form.
I covered the entire tubing with burlap to conceal it. The burlap also prevented me from completely melting the form with the hot glue.
Next, it was time to collect my corn husks from the stalks. I shucked the corn. (Never thought I’d say that in a blog post.)
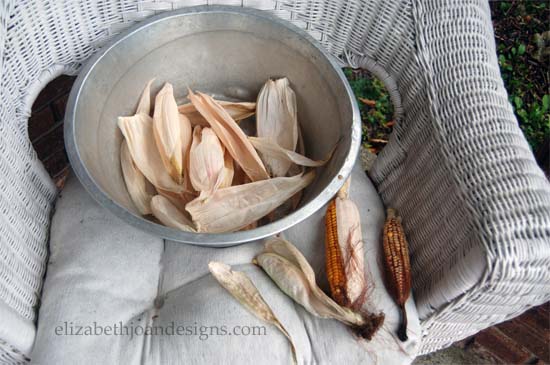
Because these bundles had been getting a little old, I soaked the husks in a bleach/water solution to kill any mold that started to grow.
I placed all of the wet husks flat onto a towel to begin to dry. Something I learned along the way was to not let them dry completely. They seemed to mold to the shape of the wreath form better when damp. If they were too wet the hot glue wouldn’t stick to them.
Then, I glue the husks to the burlap in layers. I used A LOT of glue sticks, but it was well worth it.
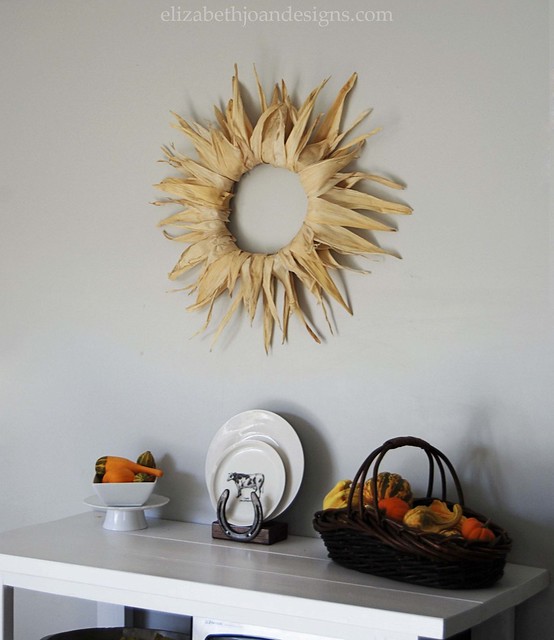
Finally, I completed the wreath by trimming the ends of a few unruly pieces.
I am so pleased with how this project turned out and it only took me about 30 minutes. It will make the perfect harvest decor for Thanksgiving.
____________________________________________________________________ Hop on over for more Thanksgiving inspiration from our bloggy friends!
Home Made by Carmona / Elizabeth Joan Designs / Hawthorne and Main /
Dwelling in Happiness / For My Love Of / Bumble Bree Blog / Not a Trophy Wife /
/ Latte Everyday / Renovar Design____________________________________________________________________ You may also like:
Horseshoe Plate Holder 
Grateful Art 
Book Page Wreath 
Pinecone Fire Starters