-
Favorite Neutral Fall Decor & Vignettes
Fall is our absolute favorite time of year. The changing leaves, the cooling temperatures, pumpkin spice lattes, and Halloween may just be the best things ever! Plus, there are so many fun projects and crafts that people put up during this time of year, so I thought I would share some of our Favorite Neutral Fall Decor & Vignettes.
Fall Mantle by Blooming Homestead

Fall Dining Room by Liz Marie Blog

Autumn Chalkboard Window by Maison de Pax

DIY Feather Art by City Farmhouse

Fall Mantle by Proverbs 31 Girl

Fall Vignette by Rooms For Rent

Neutral Fall Mantle – Design Dining & Diapers

Which one is your favorite? Let us know! If you want to see more of our favorites, come hang out with us on Pinterest! Or follow us on Instagram (Erin’s Instagram/Emily’s Instagram) to see what we are up to today! Hope you are having a great week!
-
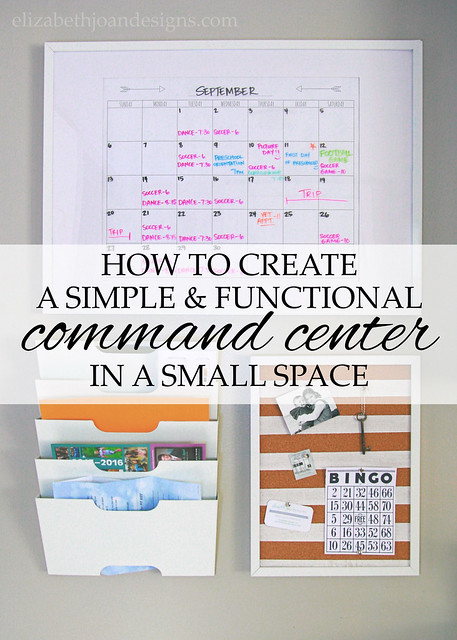
Create a Simple and Functional Command Center
With both of my kids in school this year, it was time to figure out an organizational system for our paperwork. Not that we aren’t organized normally. However, with two rugrats bringing home enough paper to equal half of a rain forest worth of trees, we needed something that would keep everything in check. Enter the command center!
This post contains affiliate links for convenience. Click here to read my full disclosure.
Over the years, I have seen some pretty amazing command centers.
These spaces are usually centrally located in the home. They contain everything needed to keep the household running smoothly. Stuff like calendars, clocks, chalkboards, bulletin boards, binders, folders, files, menu planners, and the list goes on. I knew that I didn’t have room for all of that business (just a tiny wall in our kitchen). So, I had to figure out how to create a simple and functional command center in a small space.
To cover the basics, I ordered all of our main command center pieces from Ikea. (Ikea didn’t compensate us for any of this; we just really liked the price and how the pieces came together.)
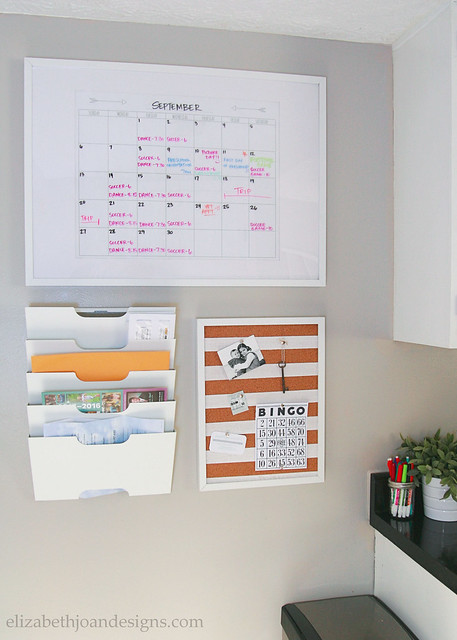
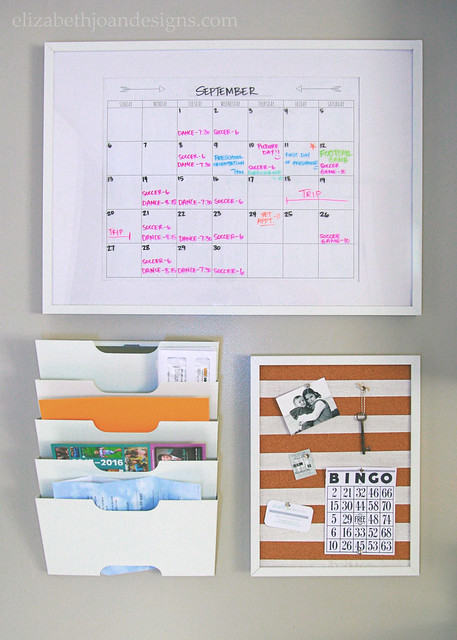
Our calendar is something I whipped up and had printed as an engineering print (18″x24″) at our local print shop. I placed it in a large Ribba frame (19 3/4 x 27 1/2) with the mat. We can write the important stuff on the front of the plexiglass and erase it easily. Hopefully, this will keep us from forgetting dance/soccer practice and anything we need to be available for.

This printable is free of charge and for personal use only. Download this printable from THE GALLERY.

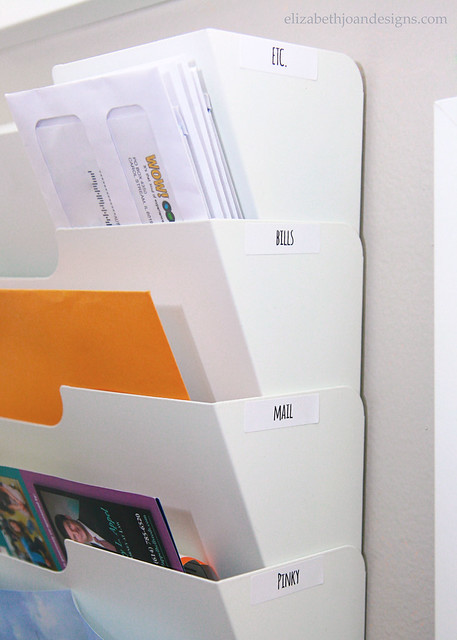
To organize all of our papers and bills, I ordered the Kvissle Wall Magazine Rack. Each of the kids gets one slot for important school papers. The rest are designated for bills and other mail. And the Etc. slot holds blank paper for note taking and a weekly calendar for menu planning.
I placed a striped painted cork board in another smaller Ribba frame for little bits of fun or info.

All of the colored dry erase markers are corralled in a small canning jar, along with a few extra pencils, and placed on the counter for easy access.

Because of this little wall in our kitchen our family organization is not up to par! And I am feeling a lot less anxiety with this system in place.
 Do you have a family command center? How do you keep organized during the school year? We would love to hear from you. Let us know in the comments below!
________________________________________________________________ You may also like:
Buffet Table 
5×7 Letters and Numbers 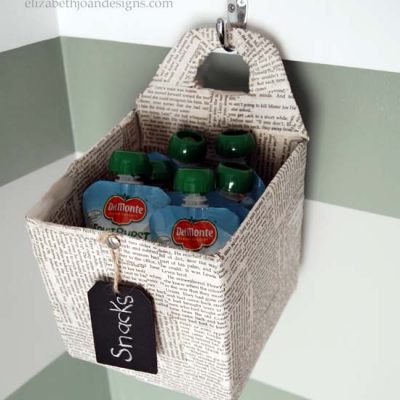
Hanging Snack Basket 
Revamped Mini Folding Table &Chairs -
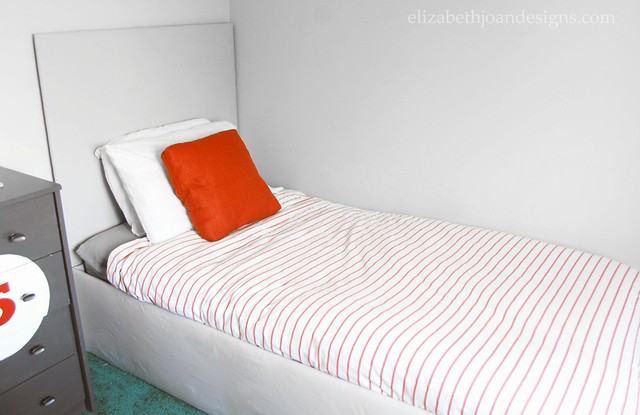
DIY Upholstered Bed Frame Part: 2
Recently, I shared the first steps of the bed frame my husband and I are making for our youngest son. Today, the story continues with the DIY Upholstered Bed Frame Part:2. Follow along to see how we finished things up and added a fabric covered headboard.

Supplies for Headboard
Plywood measured to the width of bed frame
(2) 1x4s measuring 4′ each
Quilt Batting
Fabric
Staple gun with lots of staples
Drill and screws
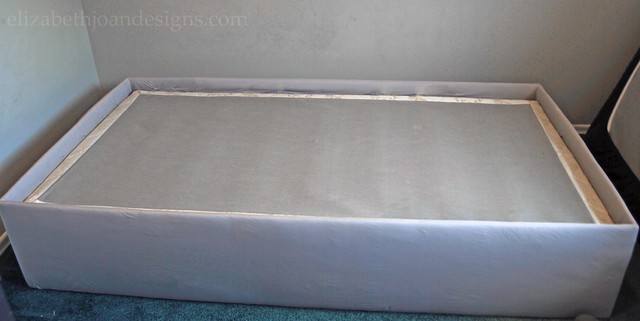
(4) L-shaped bracketsOkay, this is what the bed framelooked like where we left off last time.
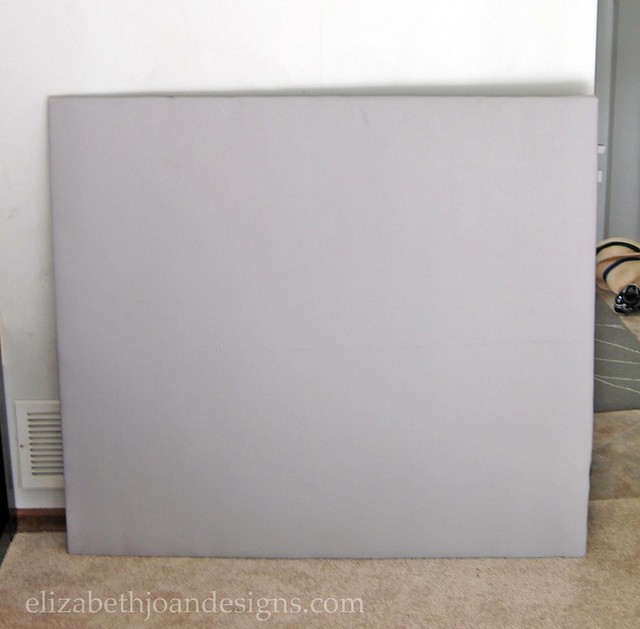
To create the headboard, I started by wrapping the plywood with quilt batting and attaching it with staples to the back.

Next, I stretched the fabric tightly over the padded plywood and stapled around the edges of the back to secure.

Then, two L-shaped brackets were attached to each of the 1x4s and the non-fabric side of the plywood near the top and bottom of the plywood. This created legs for the headboard.
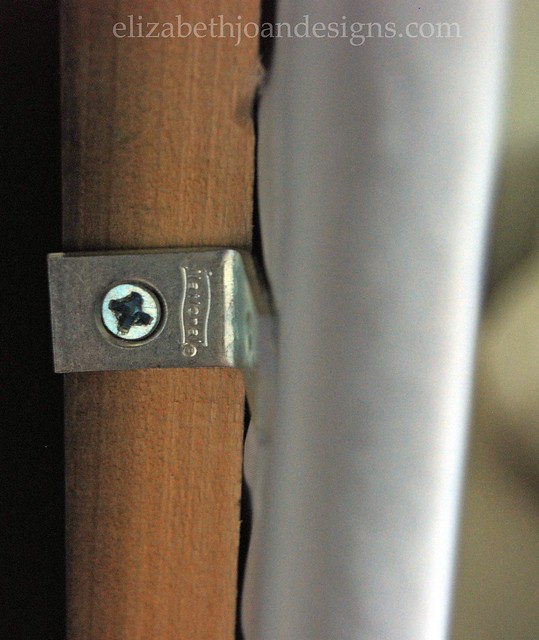
Finally, we secured the legs to the bed frame with screws.
We are so happy with how this turned out. It was a big project, but totally worth all the effort.
_____________________________________________ You may also like:
Buffet Table 
Childhood Dresser Makeover 
Frayed Heart Pillow 
Pinky’s Painted Desk
-
Slow Cooker Taco Soup
Since my daughter has started back to school, we have found ourselves super busy and I have little time in the evenings to slave over the stove trying to cook a healthy meal for the fam. Luckily, my slow cooker is there to save me! Yesterday, I whipped up this slow cooker taco soup and the meal basically prepared itself while we finished everything else on the to-do list.

This is one of my go-to slow cooker recipes because it is so simple and easy to put together. Basically, you just layer the ingredients inside and a few hours later you have a hearty meal that is super delicious. And even though I call it a soup, it is thick like a stew. I suppose you could always add a little extra water if you wanted it thinned out more.
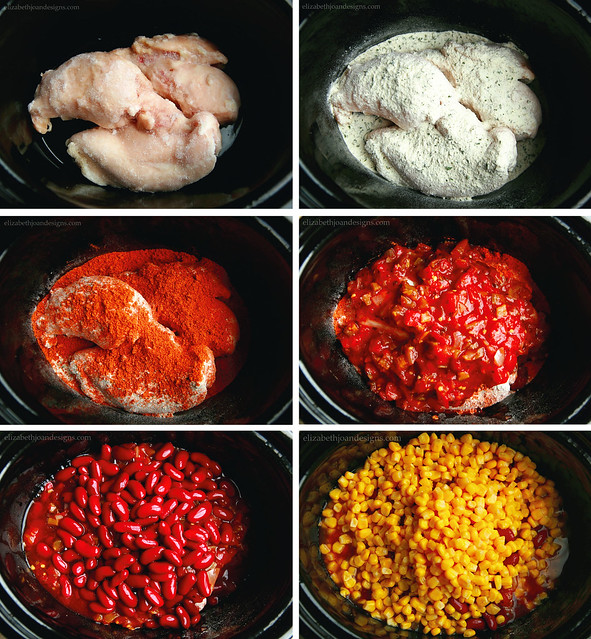
I started with 3 frozen chicken breasts and added ranch mix, taco seasoning, salsa, kidney beans and corn on top, in that order. (That seriously takes less than 5 minutes.) Then, I set the slow cooker on high and let it cook for several hours. Before serving, I shredded the chicken with a fork and stirred everything up.
Doesn’t it look yummy?

We like to garnish our
stewsoup with fresh cilantro, cheese and greek yogurt (instead of sour cream), but it would also taste great with some diced avocado, olives or jalepenos on top. Oh my goodness! It is so amazingly delicious and easy to make. Plus, you can vary the taste, depending on the spiciness of the salsa you use or by throwing in more taco-y ingredients. Try it out and let us know what you think!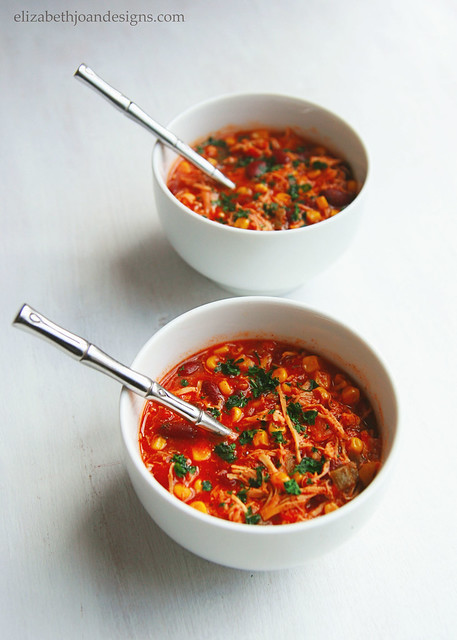
Slow Cooker Taco Soup from Elizabeth Joan Designs
Yield
8 servings (serving size: 1 cup)Ingredients
3 Frozen Boneless Skinless Chicken Breasts
Ranch Mix
Taco Seasoning
Jar of Salsa
Kidney Beans (Canned, not drained)
Corn (Cannded, not drained)Preparation
1. Layer all ingredients in slow cooker in order. (Chicken, Ranch Mix, Taco Seasoning, Salsa, Kidney Beans, Corn.)
2. Cook on high, 3-4 hours or until chicken is fully cooked. Shred chicken with a fork.
3. Serve with with your favorite toppings.