DIY Upholstered Bed Frame Part: 2
Recently, I shared the first steps of the bed frame my husband and I are making for our youngest son. Today, the story continues with the DIY Upholstered Bed Frame Part:2. Follow along to see how we finished things up and added a fabric covered headboard.

Supplies for Headboard
Plywood measured to the width of bed frame
(2) 1x4s measuring 4′ each
Quilt Batting
Fabric
Staple gun with lots of staples
Drill and screws
(4) L-shaped brackets
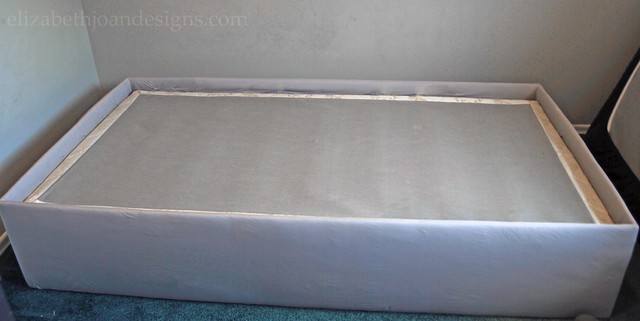
Okay, this is what the bed framelooked like where we left off last time.
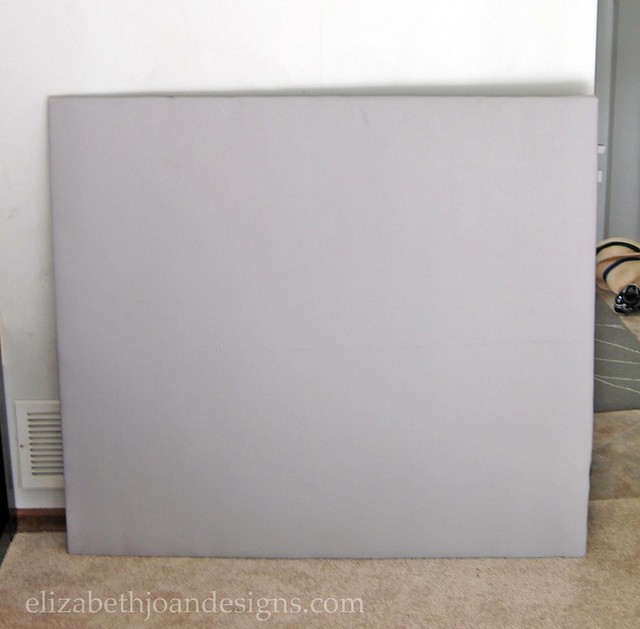
To create the headboard, I started by wrapping the plywood with quilt batting and attaching it with staples to the back.

Next, I stretched the fabric tightly over the padded plywood and stapled around the edges of the back to secure.

Then, two L-shaped brackets were attached to each of the 1x4s and the non-fabric side of the plywood near the top and bottom of the plywood. This created legs for the headboard.
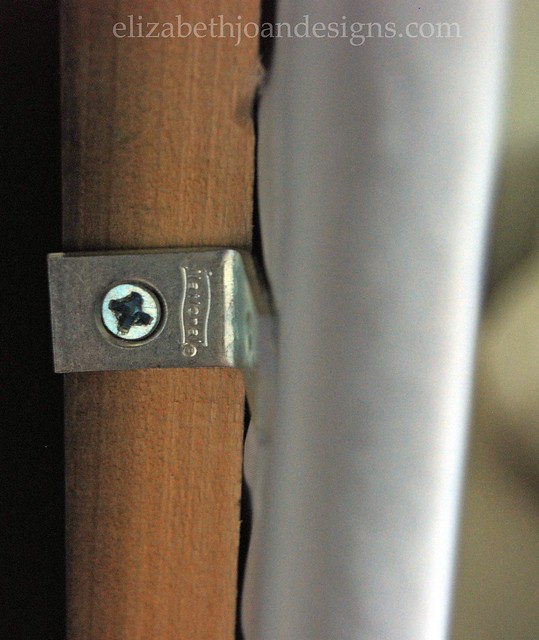
Finally, we secured the legs to the bed frame with screws.
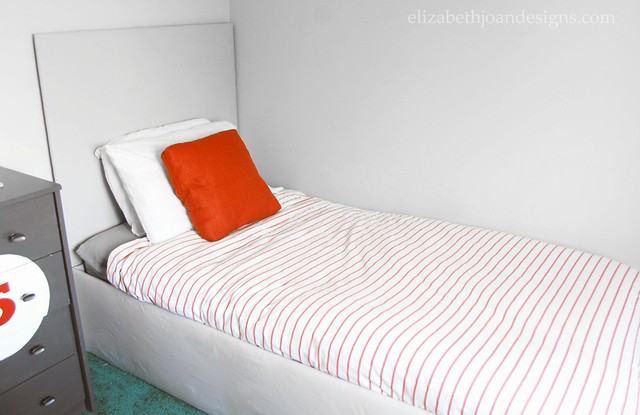
We are so happy with how this turned out. It was a big project, but totally worth all the effort.
You may also like:


