-
We All Scream, For Ice Cream!
“This shop is part of a social shopper marketing insight campaign with Pollinate Media Group™ and Wet-Nap, but all my opinions are my own. #pmedia #showusyourmess http://my-disclosur.es/OBsstV”
Here in upstate New York, everyone is eagerly awaiting the warm weather to arrive and stick around a bit. But, as usual, mother nature is taking her sweet old time. To show her that she can’t bring us down with her frigid windy weather and casual snow storms, I decided to have an ice cream party for
myselfmy boys.
I headed off to Walmart, you know, because of their every day low prices, to pick up some of the essentials for the party. While I was there, I decided to forgo the traditional napkins and picked up a canister of Wet-Nap. After all, this was a party for a 2 year old and 4 year old. Things were bound to get messy. (I used a $0.55 off coupon. You can get it here, while supplies last.)

As party time was approaching, my four year old kept reminding me “Mommy, it’s not just any party. It’s an ice cream party!” To say that he was excited would probably be an understatement.
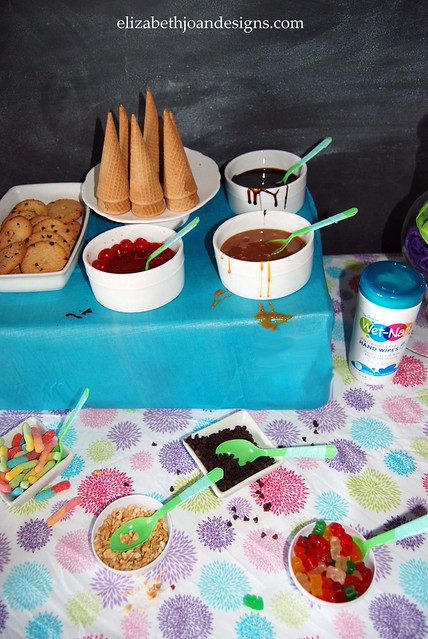
I set up the ice cream bar, using a fun colorful bed sheet I had purchased at the thrift store for only $2 as my table cloth. It was the perfect thing to bring some bright cheeriness to our gathering.
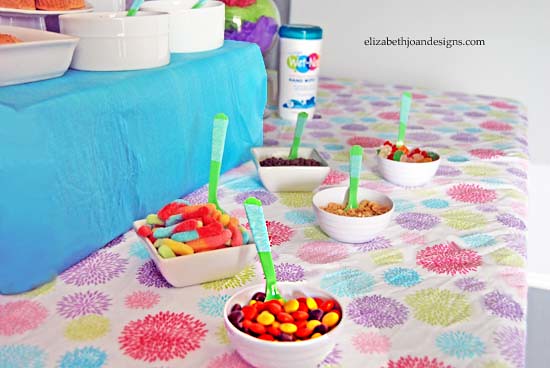
I also made a few tissue paper flowers for more color. The back drop of my display was a chalkboard wall we have in our playroom. This made for inexpensive decorating.

Aqua washi tape was added to my neon green plastic spoons to jazz them up a bit. Super simple!

My little men had a blast with this party.

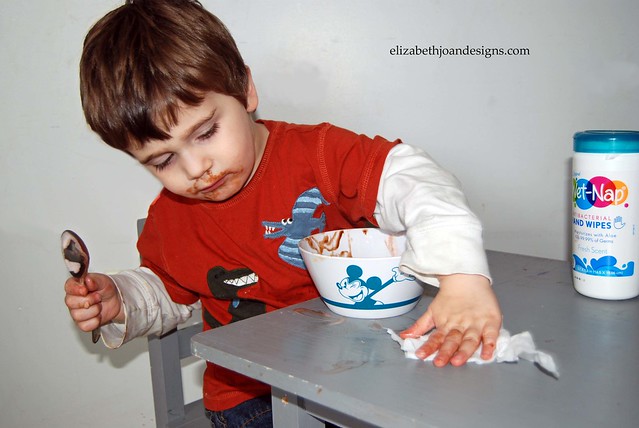
As predicted, things got pretty messy.
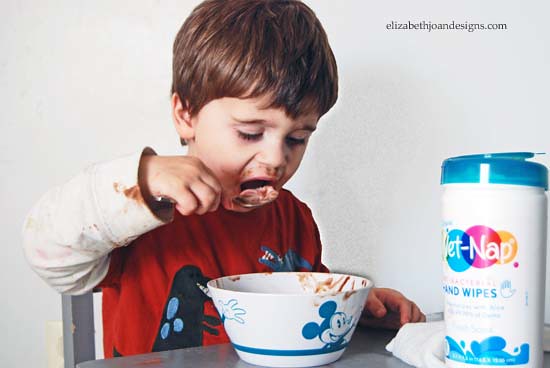
But nothing my two year old couldn’t clean up. The Wet-Nap made it a breeze!
So, take that mother nature! Finally, a win for us!
-
Gardening Easter Basket
It is always fun to come up with Easter baskets for our kids and we always try to integrate some fun, non-candy type items. This year, we decided to do some gardening paraphernalia, so that the kids could grow their own little plants. (Don’t get me wrong. There will still be plenty of Peeps, Cadbury Eggs and Jelly Belly Beans at our house.)
Since I was the one whipping these up, I decided to glam them a bit with some gold, much to my husband’s chagrin. However, once he saw how things were turning out, he decided that things weren’t looking too bad. Probably because I’m not gold-i-fy-ing furniture or decor in our home.
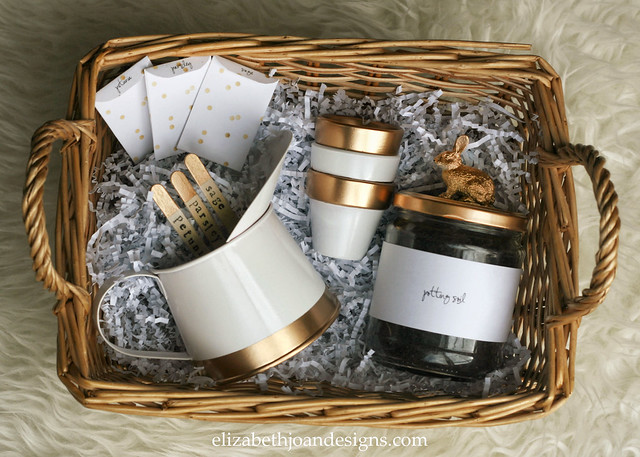
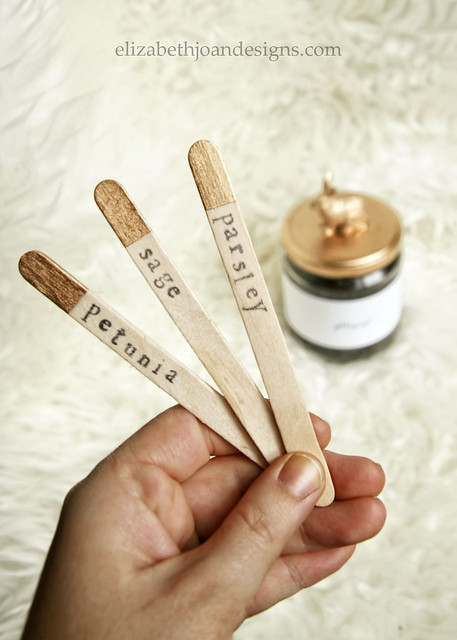
The set includes 3 small, painted terra cotta pots, potting soil, 3 seed packets, 3 plant markers, and a watering can. I used an old salsa jar to hold the soil and attached a small rabbit to the lid with some gorilla glue. Then that got a few coats of gold spray paint.
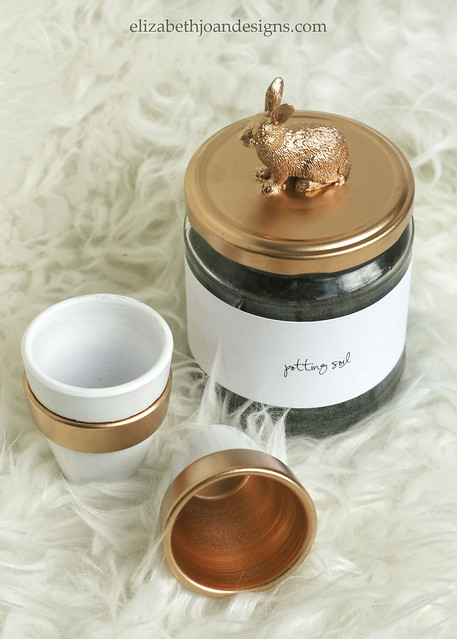
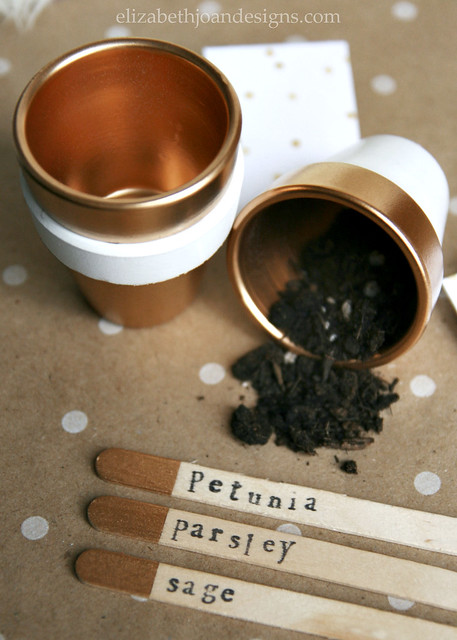
The cute little pots were so adorable and the perfect sizes for tiny hands. I dressed them up with some white and gold paint.
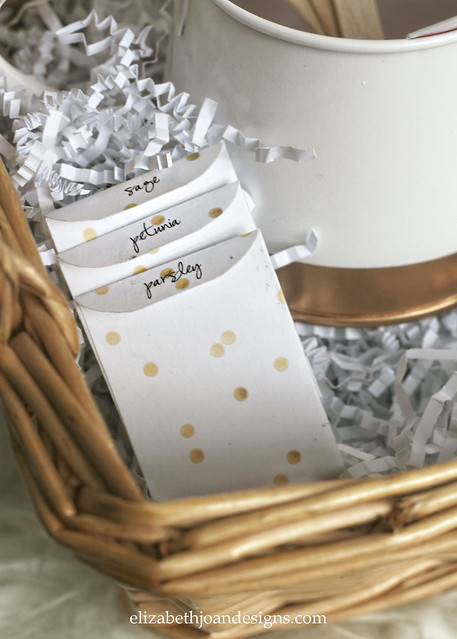
To make the seed packets, I printed out a template I found online and traced that onto some gold polka dot cardstock. Then I cut them out and glued them together. Super easy.
And the plant markers were simple too. A little gold paint and some fun stamping was all there was to it.
I’m sure that my kids are going to love planting these seeds and I love that this little Easter basket project turned out so cute! Now if I can just find some chocolate bunnies dipped in gold…

What kinds of items do you like to give for Easter? Do you go for candy or toys? Or something else completely?
-
Nine Awesome Moving Tips
As you may remember, we recently moved to a new home and we are so happy to finally be done with all of the boxes and extra clutter that comes along with that. Moving can be such a time consuming (and sometimes frustrating) process. When we found out the date for our upcoming move, we started the process of decluttering and packing. Everyone does that, right? But, I wanted to share with you some not so obvious moving tips to help make the transition a little smoother. Some of these we used and some we will be keeping in mind for next time.

1. Make a floor plan.
This may sound silly, but by creating a floor plan of your new place, it will be much easier to direct movers or friends/family who are helping you. Not everyone will know what rooms you are using for what purposes. You don’t want the family room boxes and furniture in the living room and little Billy’s bedroom mixed up with Susie’s because that would be a huge pain in the booty. Draw it by hand, whip one up in your favorite graphics program or use floorplanner.com.
2. Label and color code boxes.
Most likely, when you are getting ready to move, you are writing something on the outsides of the boxes to help you out. If you aren’t, you are doing yourself a disservice. Each box should be labeled with the room that it will be going to, as well as what items are inside. Each room can also be assigned a color (kitchen = yellow, master bedroom = blue) and all of the boxes for that room would be marked with the coordinating color tape or paint.3. Bag clothes.
This one saved us a lot of time. Instead of boxing up our clothes, we grabbed some clean trash bags and placed them over the tops of the clothes right over top the hangers.
4. It’s what’s inside that counts.
Really think about what is going to go in each box and try to keep like items together. A large box wouldn’t really be a great choice for heavy items such as books, because it would be harder to move around. And you definitely don’t want to stuff your toothbrushes in with the toilet brush.5. Pack a necessities bag.
Chances are that when you get to your new place, you won’t get everything unpacked in one day. It is important to have the things you will need, like a change of clothes, toiletries and a towel for showering. Don’t kid yourself. You know you are going to be pretty ripe smelling after working so hard.
6. Use available space.
I refuse to pack the contents of our dresser drawers into boxes, just to put them right back in once we get to our destination. Let your drawers be the boxes and save yourself time and money. Also, don’t forget to fill up other empty spaces, such as a slow cooker (load your spices into it) and trash can (cleaned and sanitized so it is ready to go at the new place.)
8. Stop utilities and change address with USPS, banks, insurance, credit cards, etc.
This one is probably pretty obvious, but at the last minute when you are running around trying to get everything finished up, it is something that is easy to over look.9. Send moving announcements.
After everything is said and done, don’t forget to let your family and friends know your new address too. We have yet to do this. Oops. I’m horrible at mailing things, like my Christmas thank you cards. Don’t judge me. The first step is admitting you have a problem, right?I hope that these tips help you when you get ready to make your next move. We would love to hear any ideas you may have for making the house to house change easier too!
-
Kid’s Table Makeover
About a year and a half ago, I was browsing a neighborhood garage sale near a friend’s home and I found a really adorable matching kid’s table and chairs. It was priced at $20.00 for the set. We had already owned a table and chair set for the kiddos, so 20 bucks was a bit out of my price range, even though I liked this one much better.

Later that evening, I headed back to that same friend’s house for a girls’ night and noticed that cute wooden set, curbside, as if it was just waiting for the garbage man to collect it. My natural instincts to rescue it kicked in and before I knew it, it was mine. *Insert evil laugh here.*
After sitting around here for quit some time, I decided to give the table and chairs the makeover they had been screaming for.

First, I used our hand sander and 80 grit sandpaper to remove the old finish from the wood. This process was a huge pain in the butt. It seemed like years had passed before I had finished removing it all, but in reality, it was only 4 days.

There were a few hard to reach places I used the sanding attachment on our dermal tool to buff.

Once all of the old stain had been cleared away, I treated the wood with 120 grit sandpaper.

Next, I wiped down all surfaces to eliminate the dust.
Then, It was time to stain the wood. The stain my husband and I agreed on was Rustoleum Weathered Gray. When, I applied it to a small section, I was surprisingly disappointed with the look. It was too gray! (That is something I never thought I would say, since each room of my house contains some form of gray.) It looked more like I had painted it rather than stained it. My solution to this problem was to mix this weathered gray with Minwax Special Walnut stain. The Minwax is the exact stain I had used on my dining room table. Hooray for no additional cost!
The combination of these two stains worked perfectly! It was exactly the look I going for, a warm distressed gray-ish color.

Finally, I applied 4 coats of Minwax Polycrylic to give the table and chairs a little shine and a lot of durability. It is a kid’s table after all.

I am so happy with the final product! Even with all the work of sanding, this has been one of my favorite projects to date.