-
Playroom Storage Makeover
I don’t think I’ve ever shared photos of our playroom before. It is a finished space in our basement that serves as a multi-purpose room (playroom/family room/office/guest room.) The major work horse in the playroom is a huge shelving unit (Expedit from Ikea) which holds all of our games and our son’s small toys in the black bins (Drona). For quite awhile, I’ve wanted to change things up. So, I decided to do a playroom storage makeover, focusing on what we currently have.

There are so many amazing storage solutions for toys available these days. I love these charcoal and ivory rugby bins from the Container store, but at almost $100 for 8 of them, it seemed that I could come up with something similar for our current black bins and save myself some dough.

I thought of several different ideas, from covering the bins in fabric to painting stripes, but I just couldn’t commit to any one idea. Then, while perusing Ikea’s website I found black and white stripe place mats (Ljuda) for 1.49 each and decided they would be perfect for the job.
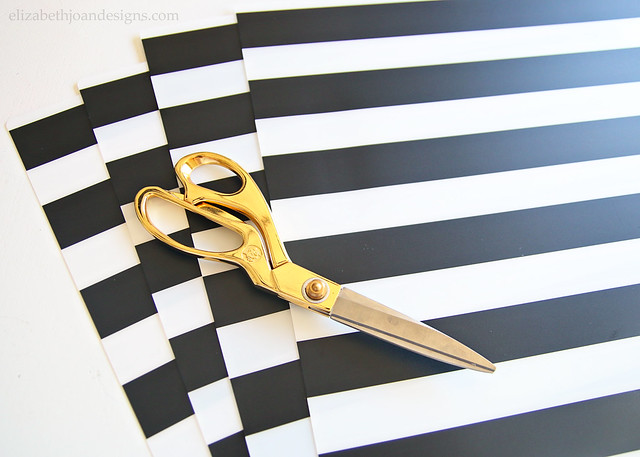
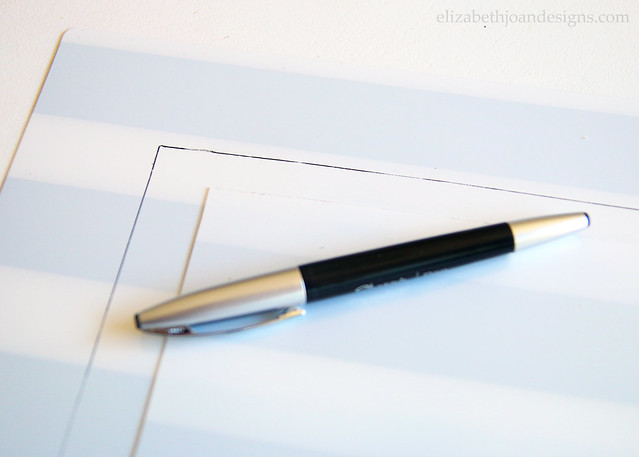
After taking the measurements of the bins, I cut one of the place mats to size and used it as a template for the rest of the pieces.
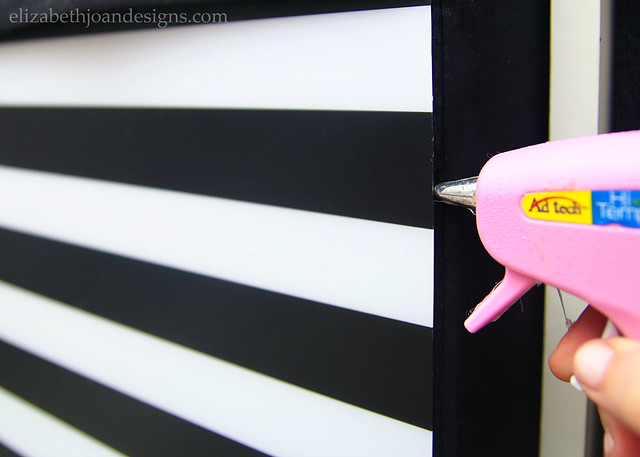
Then, I inserted the cut place mats under the fabric fold at the top of the bins and used hot glue to secure them to the fronts. Super easy.
I love how the stripes add some playfulness to the plain boxes and if for some reason we tire of the contrast, we can just flip the boxes around and they will look just like they used to.

So, what do you think of this simple playroom storage makeover? Do you like all of the stripes or the simplicity of the plain black bins? I would love for you to leave a comment and let me know!
________________________________________________________________________ You may also like:

Ikea Apa Storage Makeover 
Open Shelving in the Kitchen 
Boxes Into Baskets 
Paint Dipped Box Baskets -
Free 2016 Printable Calendar & Planners
It seems like 2015 has been a whirlwind of a year. (Although, I hear as you age the years tend to get more whirlwind-ish!) With all of life’s chaos, I’m sure I’m not the only one who needs a little help making sure things go smoothly. So today, I’m sharing a way to get things under control. Check out our Free 2016 Printable Calendar & Planners and get a jump start on planning your year!

Who doesn’t want a free printable calendar? I love the combination of pretty fonts and simple graphics this one offers. Plus, you really can’t go wrong with my favorite color combo of black and white. (See how I decorate with black and white in the fall home tour post.)

In addition to the regular annual calendar, I’ve included a few more goodies. There’s a Weekly Planner…

A Menu Planner and Shopping List…

And a Bill Pay Checklist. (All of which will work great in conjunction with our command center.)

I even added a pretty front cover page to make gifting this freebie a breeze! Wrap the set up with some pretty ribbon or send it off to your local print shop to have it printed and bound.
If you are looking for a way to get your life more organized in 2016, this is a great way to start! Simply click the link below to download.

Download your free 2016 Printable Calendar & Planners.
Want to see more where this came from? Check out the Printables Gallery!
All of our printables are currently FREE for download for personal use only. However, this is subject to change in the future, so snag them at no cost while you still can! (View Terms of Use.)____________________________________________________________________ You may also like:

Knit Vases 
5×7 Letters and Numbers 
Last Minute Silhouette Ornament 
Wrapping Paper Bow -
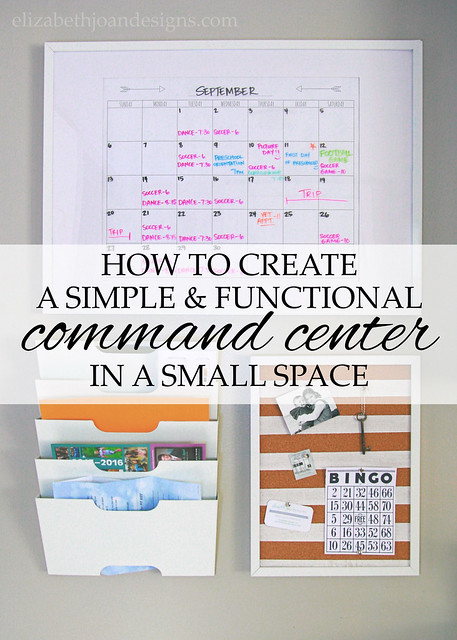
Create a Simple and Functional Command Center
With both of my kids in school this year, it was time to figure out an organizational system for our paperwork. Not that we aren’t organized normally. However, with two rugrats bringing home enough paper to equal half of a rain forest worth of trees, we needed something that would keep everything in check. Enter the command center!
This post contains affiliate links for convenience. Click here to read my full disclosure.
Over the years, I have seen some pretty amazing command centers.
These spaces are usually centrally located in the home. They contain everything needed to keep the household running smoothly. Stuff like calendars, clocks, chalkboards, bulletin boards, binders, folders, files, menu planners, and the list goes on. I knew that I didn’t have room for all of that business (just a tiny wall in our kitchen). So, I had to figure out how to create a simple and functional command center in a small space.
To cover the basics, I ordered all of our main command center pieces from Ikea. (Ikea didn’t compensate us for any of this; we just really liked the price and how the pieces came together.)
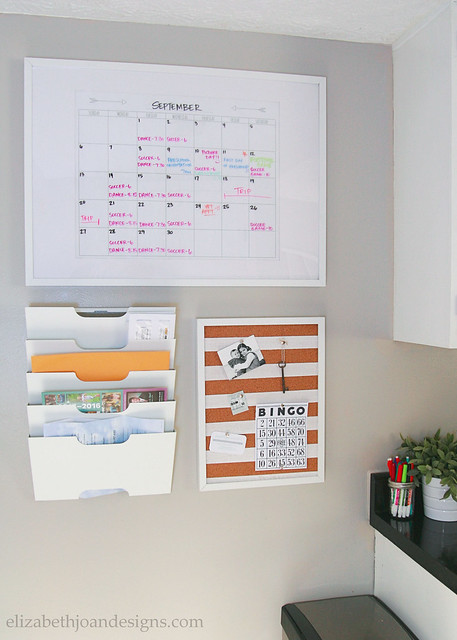
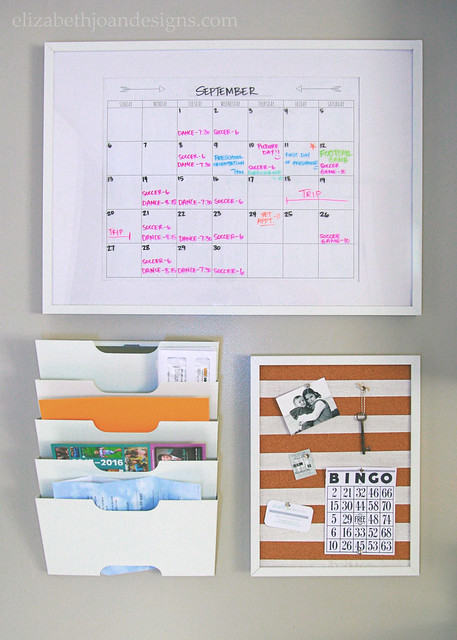
Our calendar is something I whipped up and had printed as an engineering print (18″x24″) at our local print shop. I placed it in a large Ribba frame (19 3/4 x 27 1/2) with the mat. We can write the important stuff on the front of the plexiglass and erase it easily. Hopefully, this will keep us from forgetting dance/soccer practice and anything we need to be available for.

This printable is free of charge and for personal use only. Download this printable from THE GALLERY.

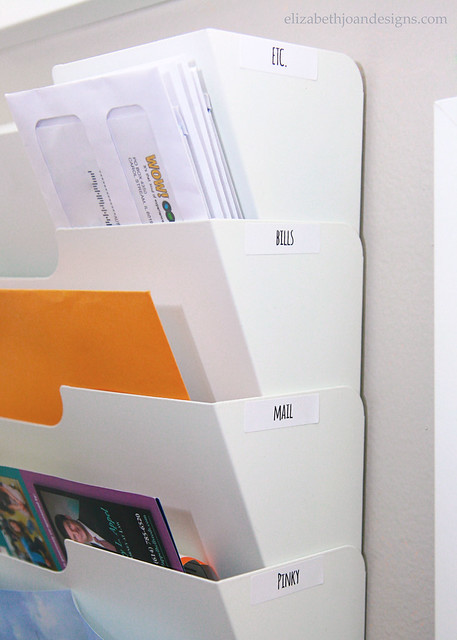
To organize all of our papers and bills, I ordered the Kvissle Wall Magazine Rack. Each of the kids gets one slot for important school papers. The rest are designated for bills and other mail. And the Etc. slot holds blank paper for note taking and a weekly calendar for menu planning.
I placed a striped painted cork board in another smaller Ribba frame for little bits of fun or info.

All of the colored dry erase markers are corralled in a small canning jar, along with a few extra pencils, and placed on the counter for easy access.

Because of this little wall in our kitchen our family organization is not up to par! And I am feeling a lot less anxiety with this system in place.
 Do you have a family command center? How do you keep organized during the school year? We would love to hear from you. Let us know in the comments below!
________________________________________________________________ You may also like:
Buffet Table
5×7 Letters and Numbers 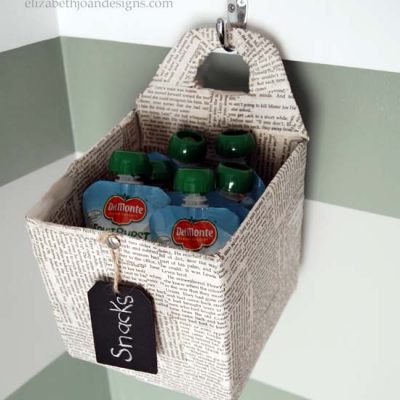
Hanging Snack Basket 
Revamped Mini Folding Table &Chairs -
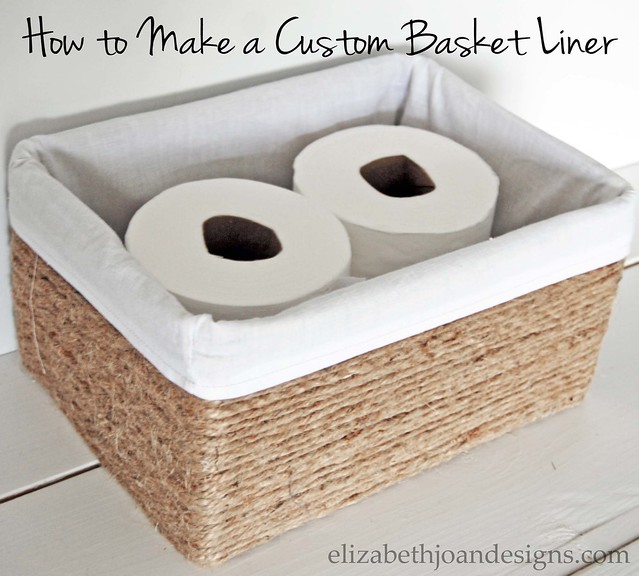
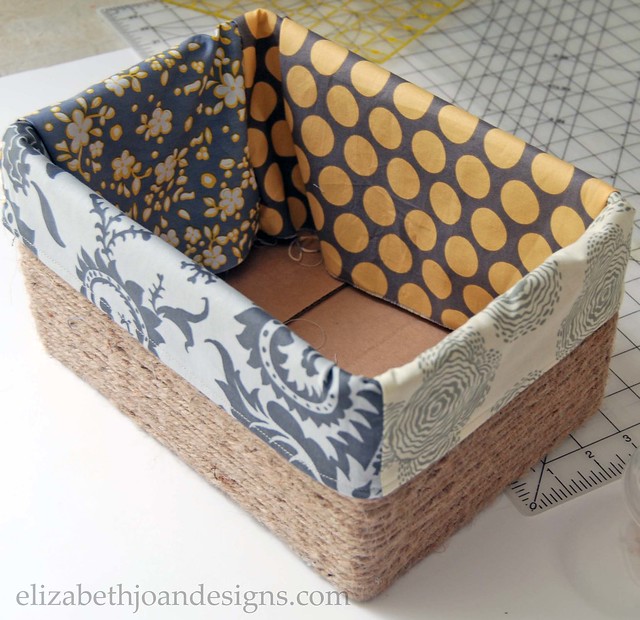
How to Make a Custom Basket Liner
Since re-sharing our Boxes into Baskets post, we have had many requests for a tutorial on how to make a custom basket liner. I have put together a step by step guide for you. (Yes there a lot of steps, but don’t be intimidated. It should only take about 30 minutes to make.) Without further ado, here are instructions and tips so you may create your own.
Disclosure: This post may contain affiliate links, which means we may receive a commission if you click the link and purchase. Please check out our disclosure policy for more details.
Supplies
Basket/Container – Anything you would like to line.
Tape Measure– I personally like a fabric one for projects like this.
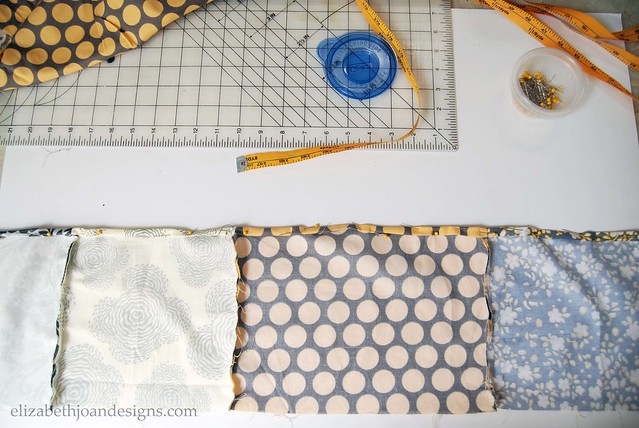
Fabric– This can really be anything you want to make your liner made out of. I usually use inexpensive muslin to keep the cost down, but today I am using different colors of fabric to make it easier to follow along.
Rotary Cutter– Scissors work too!
Cutting Mat– This is optional. You may not need one if you are using scissors.
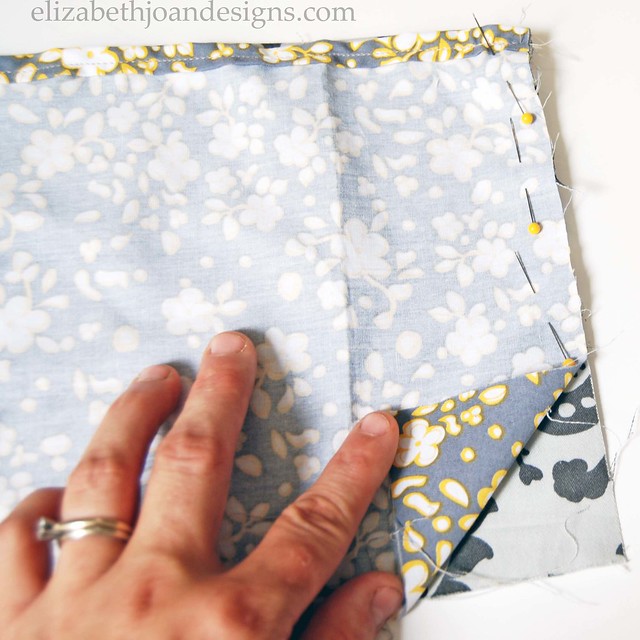
Straight Pins– In my opinion, an absolute must.
Sewing machine– Hand stitching is also acceptable, but may take a little longer.* If you don’t sew and still want to make a custom basket liner, exchange the sewing machine for Thermoweb Heat’n Bond Hem Iron-On Adhesive-3/8″X10 Yards
, a clothes iron, and ironing board. (Check the Thermoweb Heat’n Bond packaging to make sure your fabric choice is conducive to working with this product. Cotton is usually a safe bet.)
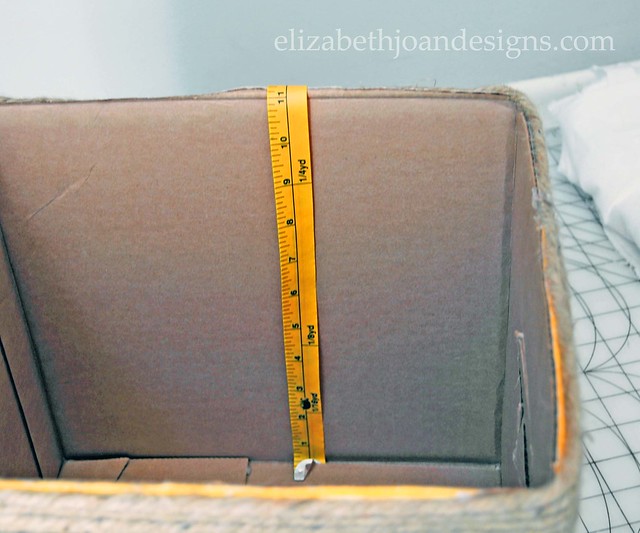
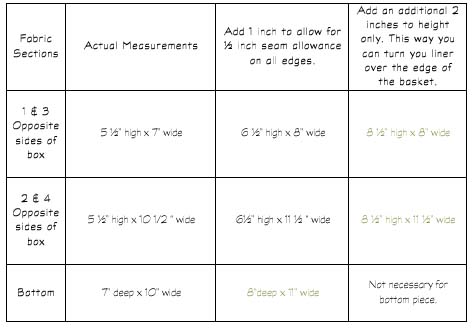
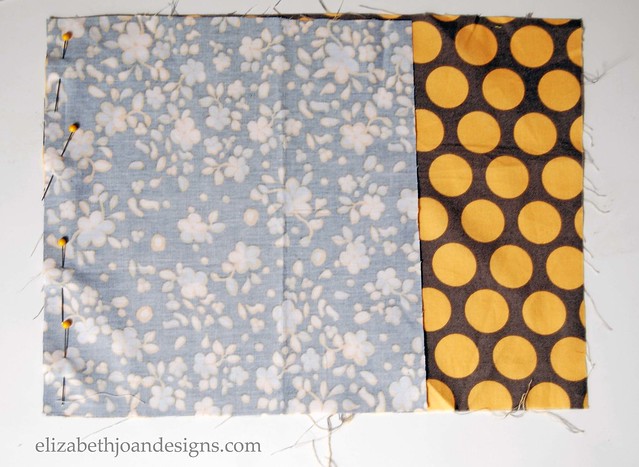
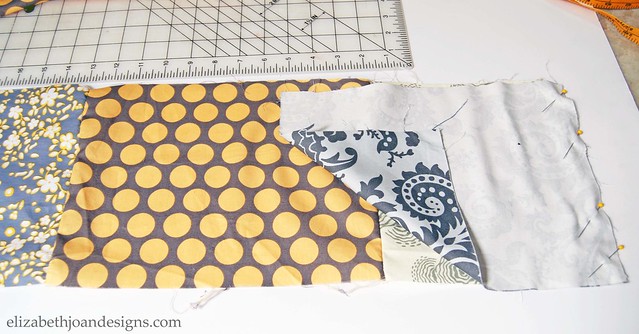
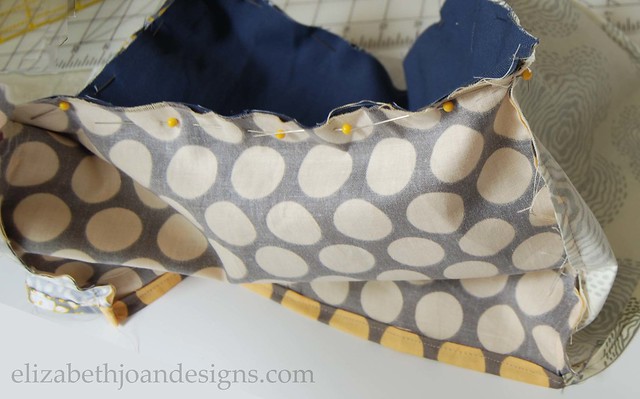
1. Use your tape measure
3. Use the rotary cutter
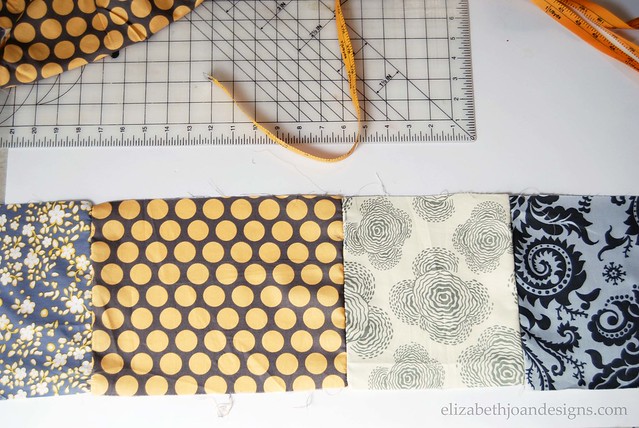
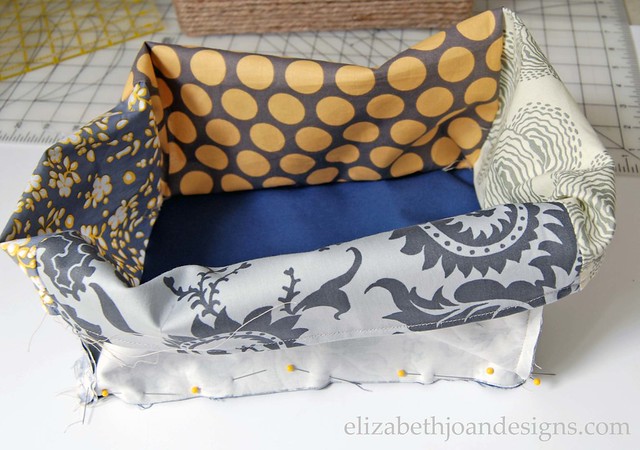
For tutorial purposes, these are the fabrics I used for each section. 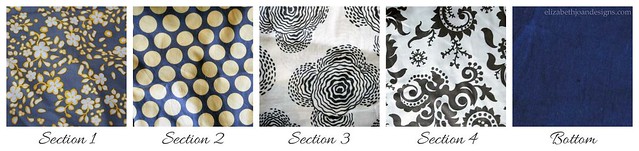
* For the non-sewers out there, every-time you see the word “sew” in this tutorial, place and pin the Thermoweb Heat’n Bond Hem Iron-On Adhesive-3/8″X10 Yards

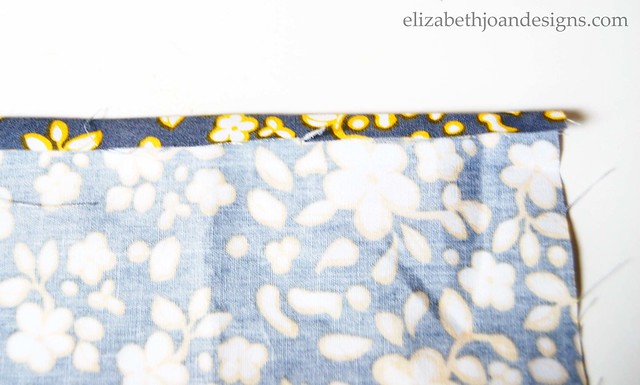
7. Fold top edge of fabric strip.

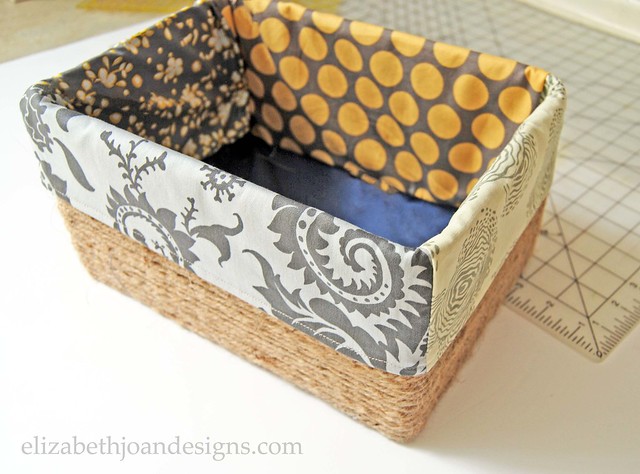
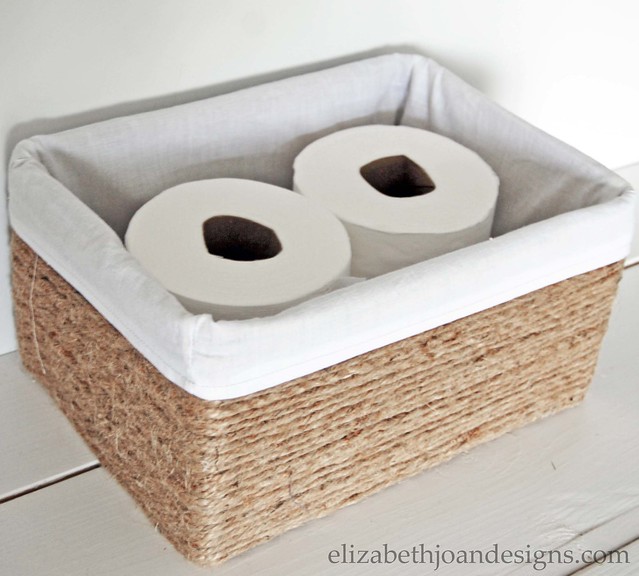
Here is how mine turned out using the muslin fabric.
__________________________________________________________ You may also like:
Boxes Into Baskets 
Half Bathroom Reveal 
No Sew Receiving Blanket 
Industrial Numbered Storage
Paint Dipped Box Baskets