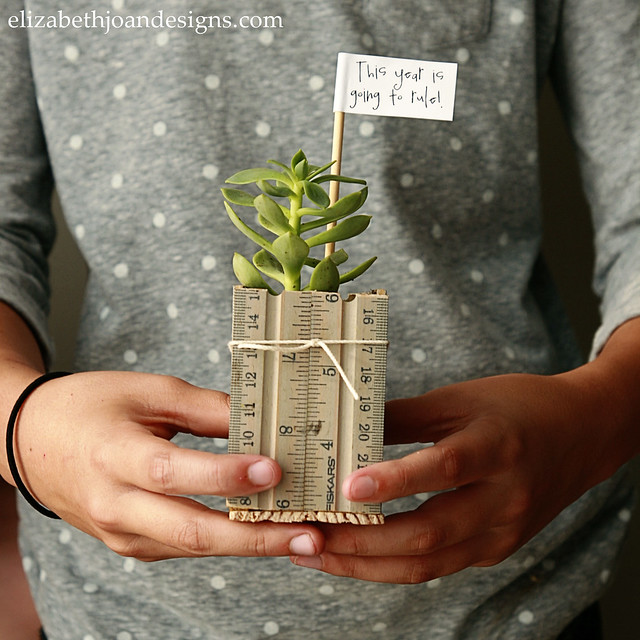
Ruler Succulent Planter & Back to School Blog Hop
It’s almost time for school to start and that means everyone with kids is scrambling to buy school supplies, get some new clothes, and figure out who this year’s teacher will be. To make things easier, we’ve come up with a fun idea for an easy teacher gift to kick the year off on a good note.
But, since this is a Back to School Blog Hop, we’ve joined up with a great group of bloggers to share even more projects and printables to help the start of the school year be more organized and go off without a hitch. Check out all of the awesome ideas at the bottom of this post.
So, for this project, we hacked into our stash of extra wooden rulers (left over from our Ruler Drum Shade.) What? You don’t have a superfluous supply of rulers? No worries. You can get them for relatively cheap at pretty much any store that offer school supplies. Here’s what we used to make our Ruler Succulent Planter:
– Three 12 inch wooden rulers
– Needle nose pliers
– Hack saw
– Wood glue
– Large C clamp
– Scissors
– Sand paper
– One gallon freezer bag
– Small succulent
– Potting soil
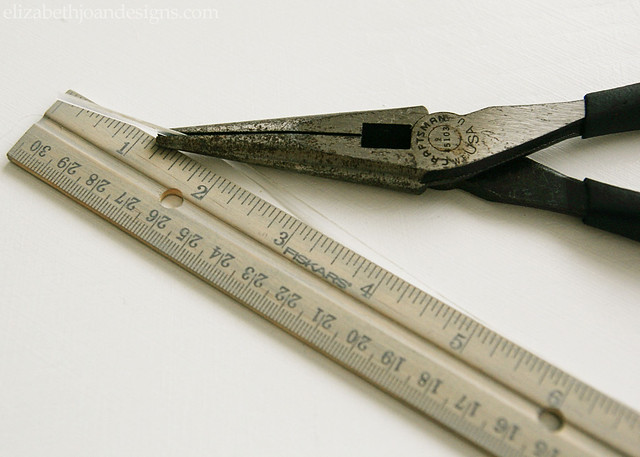
Use the pliers to remove the plastic or metal straight edge piece from one side of the rulers. (You can try to pull them out with your fingers/nails, but I was having no such luck.) Cut each edging piece into approximately 3 inch sections with scissors.
With the hack saw, cut each ruler into quarters (also in 3 inch sections.)
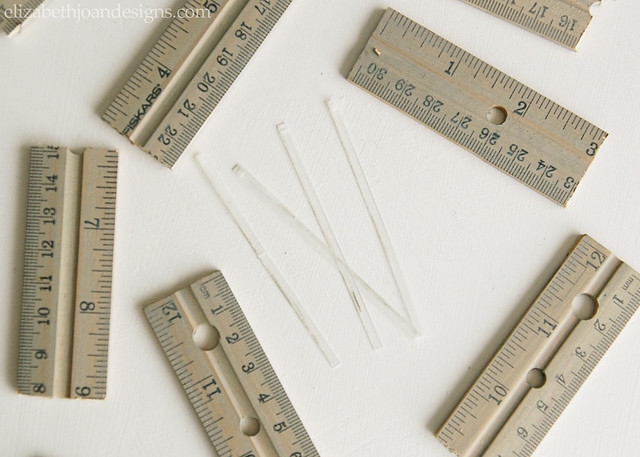
Next, we attached two pieces of ruler together. To do this, evenly divide the ruler sections into two groups. We will call them group A and group B. Re-insert the cut edging pieces into group A. Add a line of wood glue along the side where the plastic or metal edging piece was on group B and then push A and B together. The straight edge piece will then be in the middle of the two ruler pieces, which will help make everything a bit sturdier.
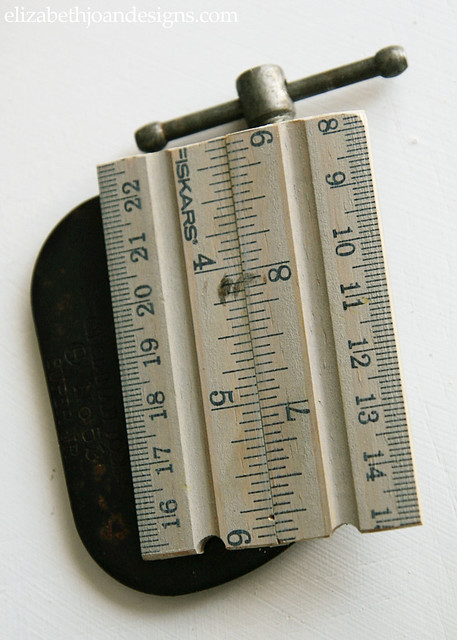
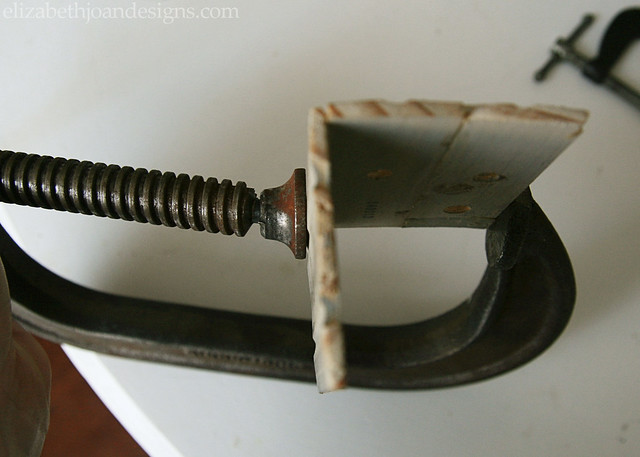
Add some more of the wood glue to the side of one of the sections and then use the C clamp to hold a second piece on to create a 90 degree angle. (If this is getting too confusing, just refer to the photos.) Do this for all 4 sides and the bottom piece of the planter to make an open top box.
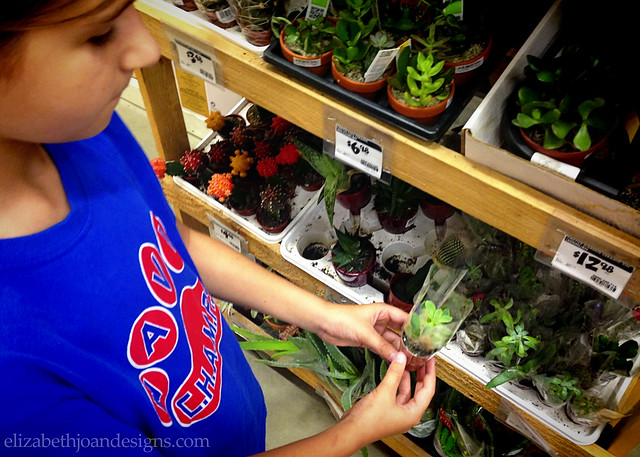
While we were waiting for the glue to dry, my daughter and I ran to the store to grab a little succulent. Here she is picking out her favorite.
Ok, back to the project.
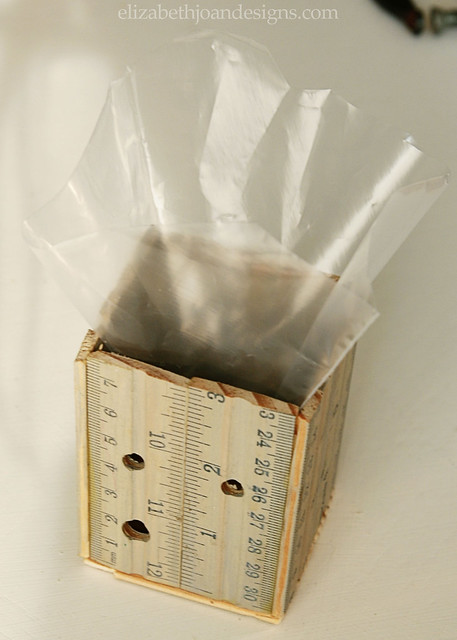
Once the planter is all put together and dry, cut a large square out of the corner of the freezer bag with scissors and insert this new “bag” into the planter. Trim any excess off, so that the top of the bag is just below the edge of the box.
Then all that is left is to add some potting soil and plant your cute little succulent.
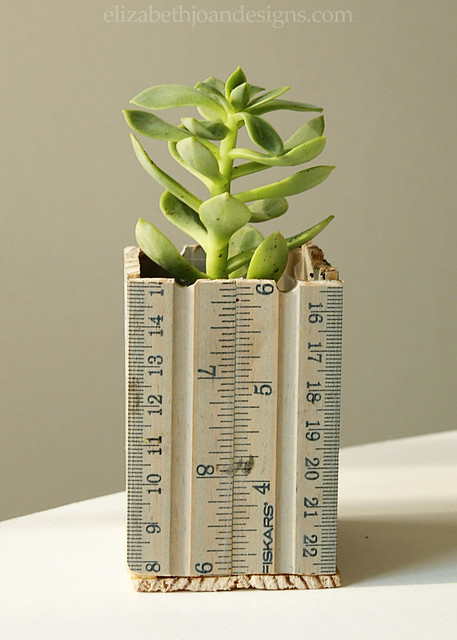
I know this process sounds pretty wordy, but the planter was really easy to make.
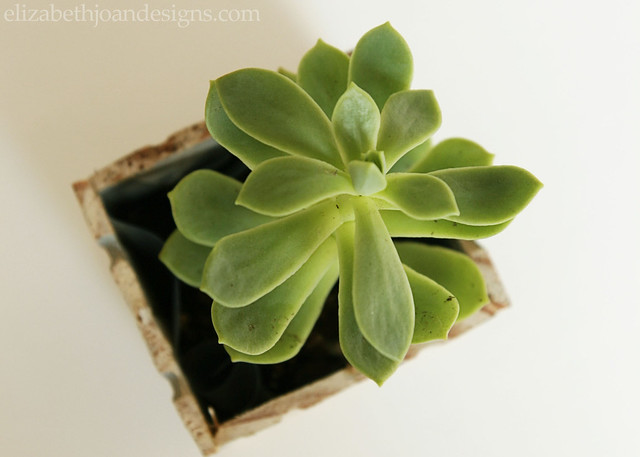
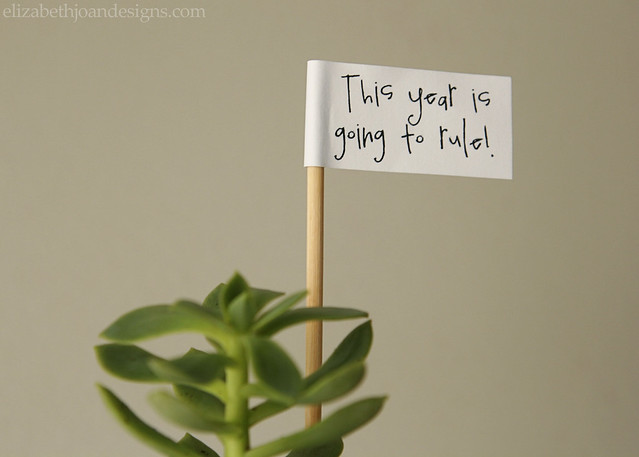
And it will make the cutest little back to school teacher gift, especially since we threw in this witty little flag.
We love that this succulent will be easy for my daughter’s teacher take care of and add a little life to her desk or window in the process. What are your favorite gifts for teachers, besides the obvious, but delicious, apple?

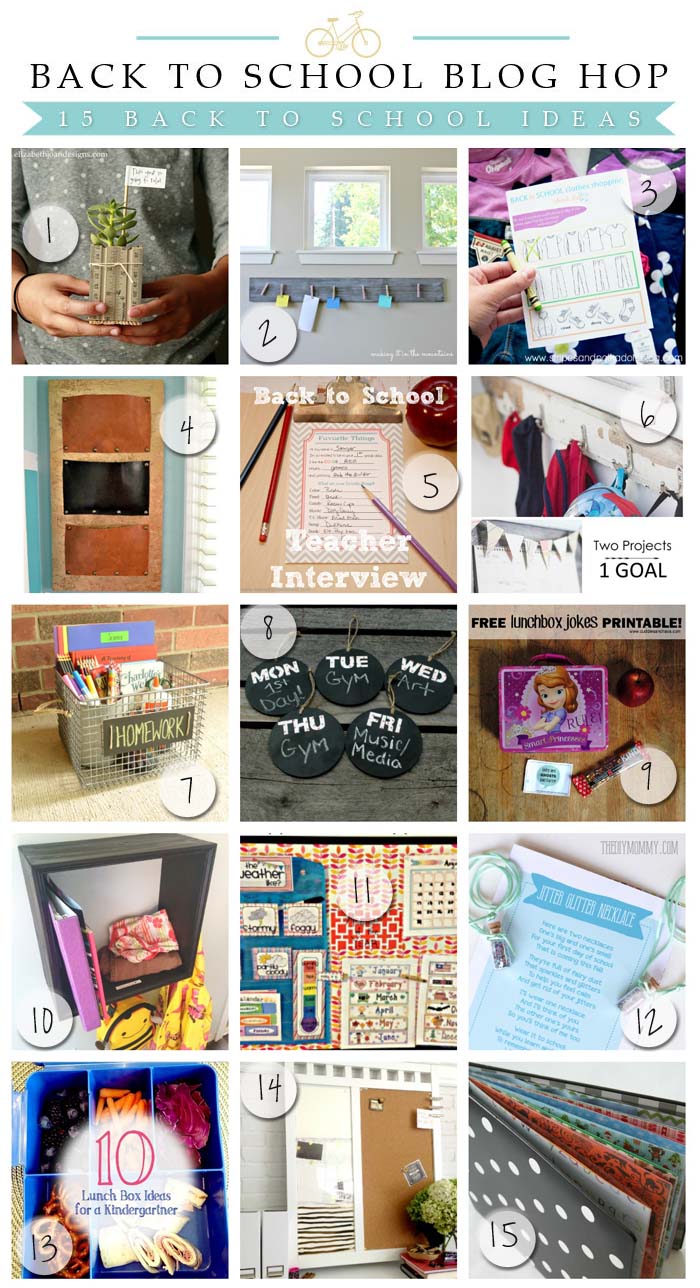
4. For My Love Of 5. Home. Made. Interest. 6. Restless Arrow
7. Little Red Brick House 8. Little House Of Four 9. Cuddles and Chaos
10. Our House Now A Home 11. Kent Heartstrings 12. The DIY Mommy
13. Curly Crafty Mom 14. Houseologie 15. Canary Street Crafts


42 Comments
Pingback:
Pingback:
Pingback:
Kimm at Reinvented
Such a cute idea, almost makes me wish I had children young enough for teacher gifts! :) So glad to have found you, and wanted to welcome you to our Ohio Blogger Facebook group! You have a beautiful blog, I’ll be following! Have a great day.
Kimm
Erin
Thanks so much, Kimm!!
Sarah @ Little Red Brick House
This is so adorable! Way better than an apple, LOL! You guys have the best ideas!
Erin
Thanks, Sarah!
Katie @ Little House of Four
This is such a cute idea! I Love the use of rulers instead of an ordinary planter, so clever!
Erin
Thanks, Katie!
Amy | Canary Street Crafts
Such a cute idea!! Thanks so much for putting the blog hop together!
Erin
Glad you joined us, Amy!
Pingback:
Pingback:
Pingback:
Kat@Home. Made. Interest.
Ladies, this is such a cute idea! Who doesn’t love succulents, right? I know some teachers who are going to be very happy this year!
Erin
Thanks, Kat! Aren’t succulents great?
Kristi
LOVE this! SUCH a fun idea ladies!!!
Erin
Thanks, Kristi!
Cassie @Kent Heartstrings
LOVE this! Succulents are easy and fun and the ruler…sheesh so cute!
Erin
Thanks, Cassie!
Emily
This is the sweetest idea, I love the little phrase “this year is going to rule.” Adorable!
Erin
Thank you, Emily!
Leigh Anne
Love this, so cute!!
Erin
Thanks, Leigh Anne!
Hanna Caldwell
I’m seeing so many things with succulents around the craft/blogging world and am loving them as gifts! Such a cute little gift idea!
Erin
Thank you, Hannah!
Jen
This is SUCH a cute idea! There are so many times when teacher gifts are cute in theory but I wouldn’t actually want them in my own house— this does not fall into that category! I want one!
Erin
Oh, thank you, Jen!
Kendra @ www.joyinourhome.com
What a cute gift!! I might just be making two :) Such a fabulous round up of back to school, ladies!!
Erin
Awesome, Kendra! Thanks!
Pingback:
Christina @ The DIY Mommy
This is so incredibly adorable! I’m a sucker for succulents, and the ruler planter is very clever. Thanks for sharing and for inviting me to be a part of the blog hop!
Erin
Thanks for joining us, Christina!
Amber
What a fun idea! Thanks for hosting girls and allowing me to be a part of it!
Erin
Thanks, Amber!
Carrie @ Curly Crafty Mom
I have obsessed with succulents, so of course if I were a teacher… I would LOVE this! Plus, the idea of using rulers for a planter is brilliant! Plus, those wooden rulers don’t really cost that much. Thanks so much for getting the blog hop together!
Erin
Thanks, Carrie!
Breanna
These are so stinkin adorable! If I was a teacher I would love to get one as a gift!!
Erin
Thanks, Bre!
Carmody
Love this! So clever.
Erin
Thanks, Carmody!!
Alix
This is to good and thanks sharing this information and article