When I posted about my vanity/nightstand/desk, we were considering a chair to go with it from Ikea. This is not that chair.
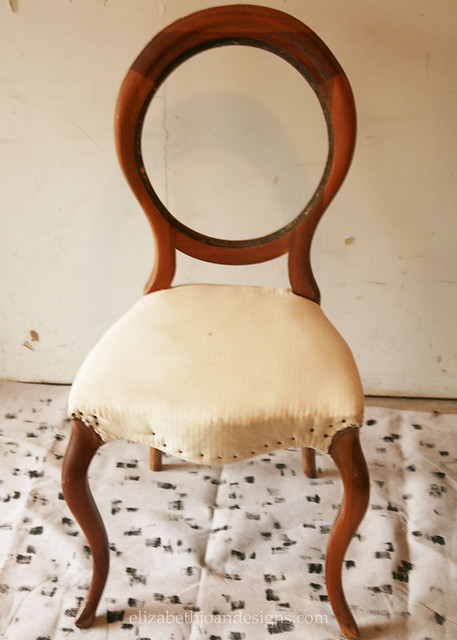
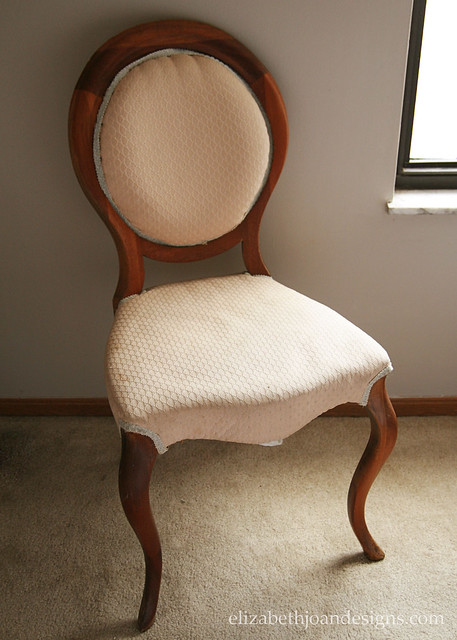
Back in April, while visiting Emily, I mentioned that I was still needing a chair for our “office.” Lucky for me, Emily keeps a hoard of curbside treasures in her basement and among them was a beautiful old chair that needed a little love. And since she didn’t have room on her plate to take on another project at the time, she graciously helped me squish this chair, along with about 700 other items from her house into my car.
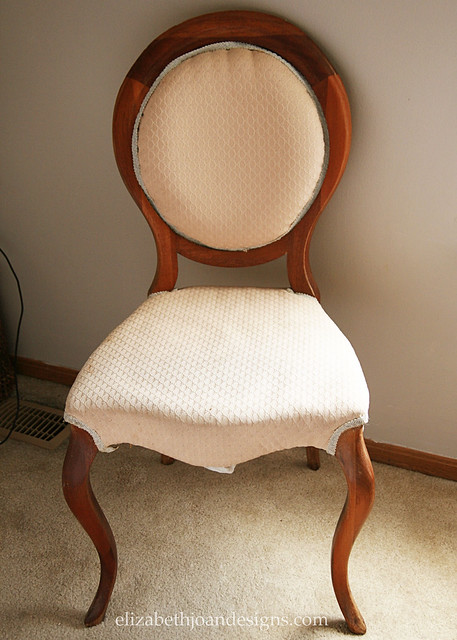
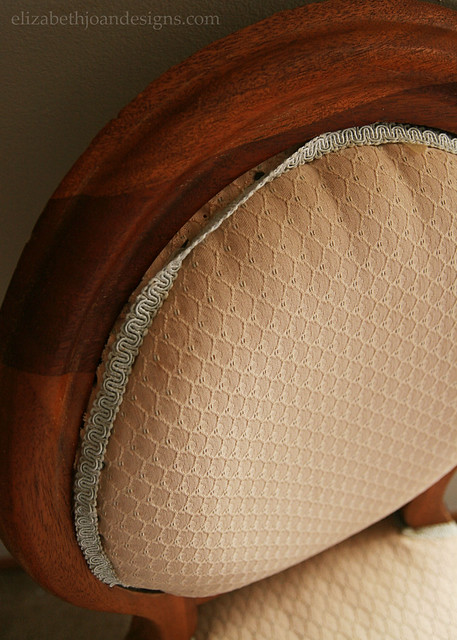
You can see that this chair has a great shape, but the upholstery was just all wrong. Stained, falling apart and in need of some help.
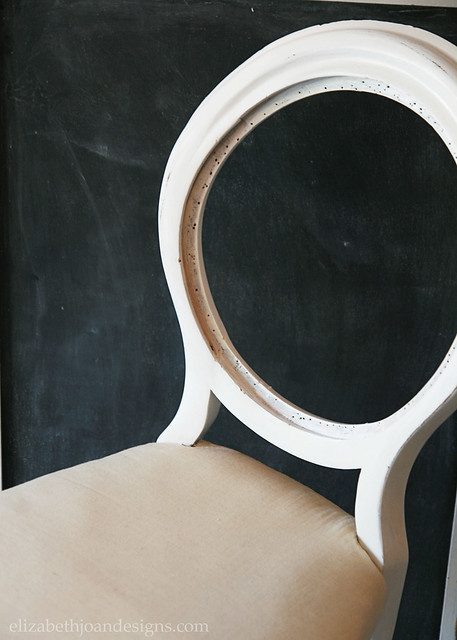
After a little looking around, I found this inspiration piece from Restoration Hardware. So, I grabbed my supplies and got started. First, I ripped removed the existing fabric, back cushion, etc., and set it aside. Unlike the fabric, the seat was in pretty good condition, as well as foam back piece. The hardest part was pulling out all 2 million of the rusty, tetanus laced upholstery tacks that attempted to hold the whole shebang together.
Next, the frame got a few coats of white paint and primer, plus a little sanding to give it an aged look.
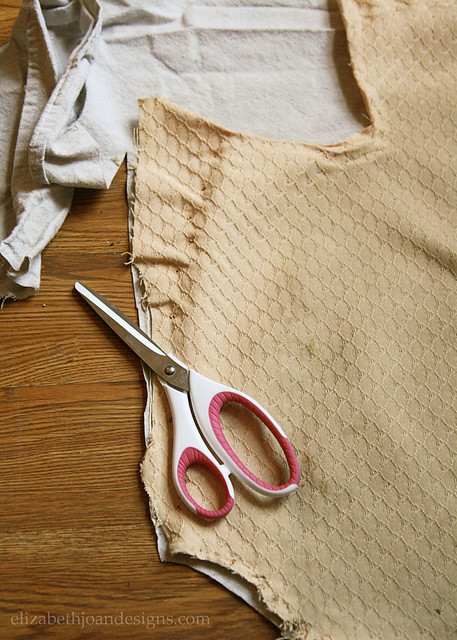
Then, it was time to grab the fabric that I saved back from the previous upholstery job. Using the original pieces as a template, I cut the new fabric (canvas drop cloth) to size.
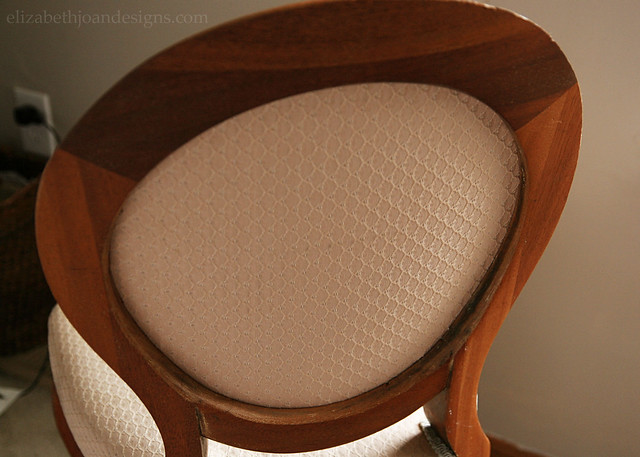
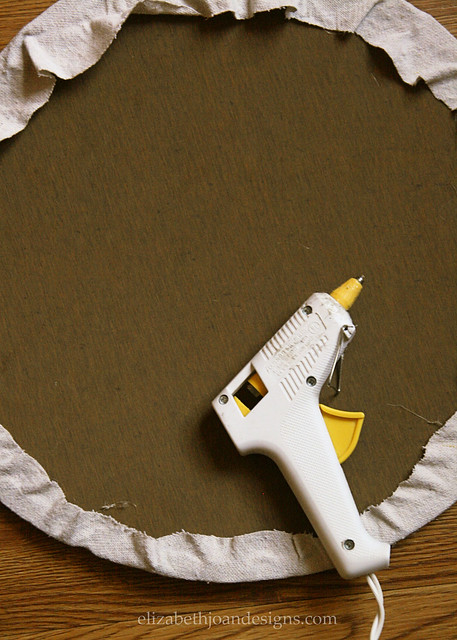
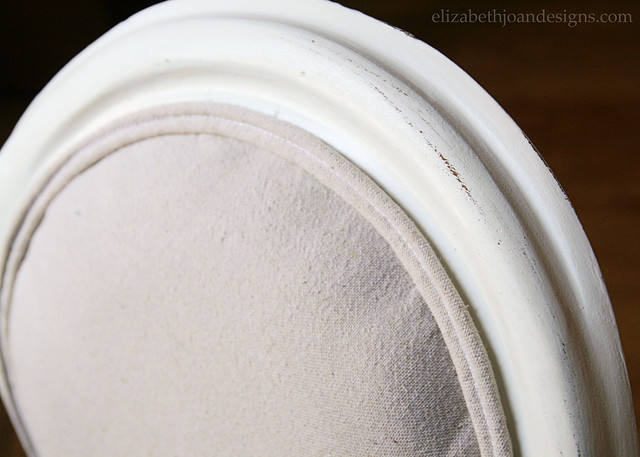
After that, with some hot glue, I attached the fabric piece for backside to a round-ish piece of veneer that I had pulled out when taking everything apart. Yes, that’s right. Veneer. Like the kind used for counter tops in the 1970’s with gold flecks in it. I think our grandparents had it in their home. Oh, the memories. (The gold flecks are on the other side.)
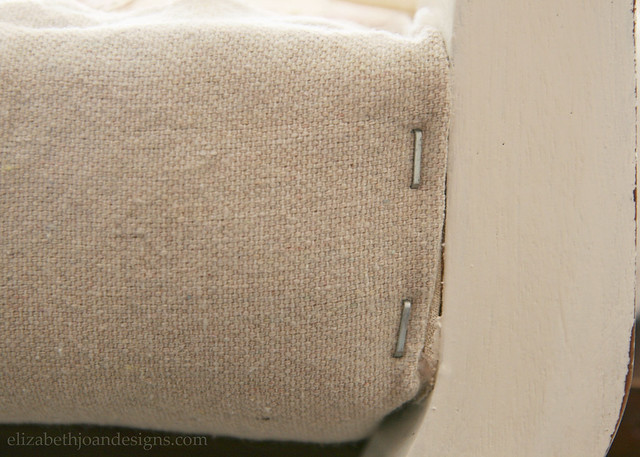
For the seat, I cut a piece of batting to give it a little extra oomph and then attached that and the canvas along the bottom with staples. Make sure the fabric is taut!
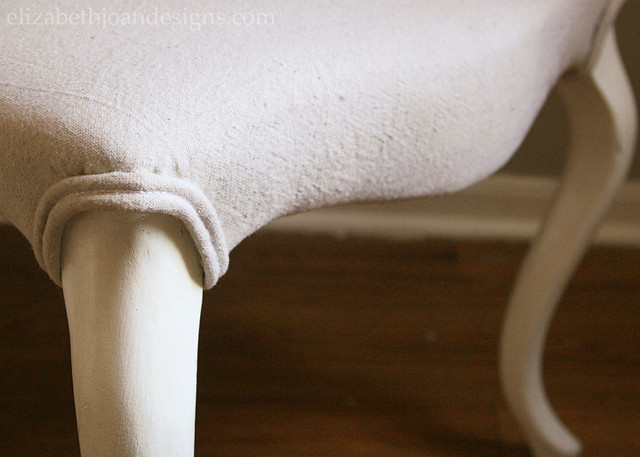
More stapling along the sides of the legs… My hand was very sore during and after this process.
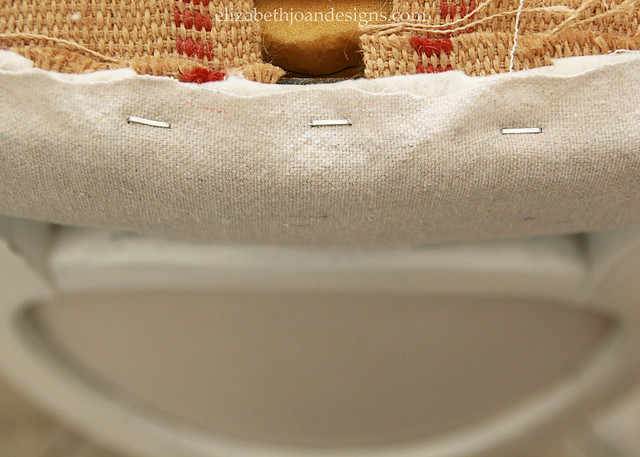
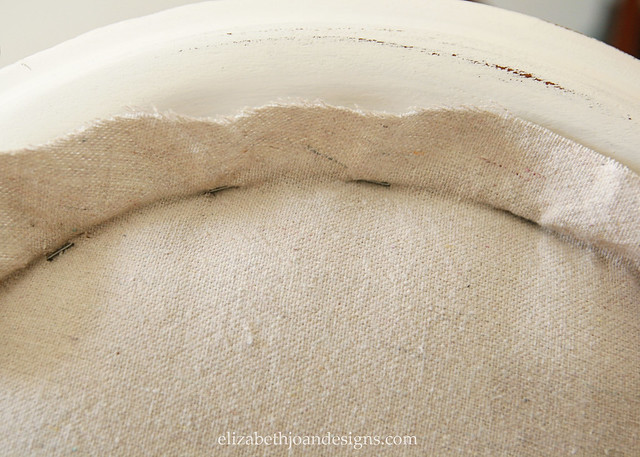
The back rest was a bit more daunting to complete, so I called in my hubby for help. I used hot glue to attach the foam pad to the veneer piece so that it would not move around while we were working. Then, hubs stapled the batting and fabric to the inside edge of the chair, while I held everything tight.
I made sure to trim any excess fabric beyond the staples.
Finally, with more hot glue, I attached a double welt cord to the back and around the legs to cover all of the staples and fabric edges.
I loved and used this tutorial from Little Green Notebook to make the double welt cord.
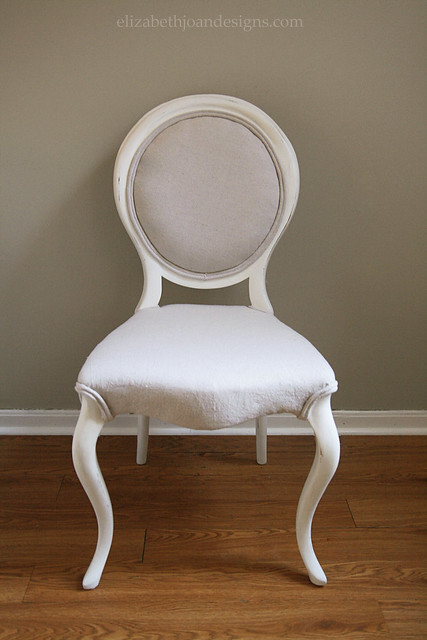
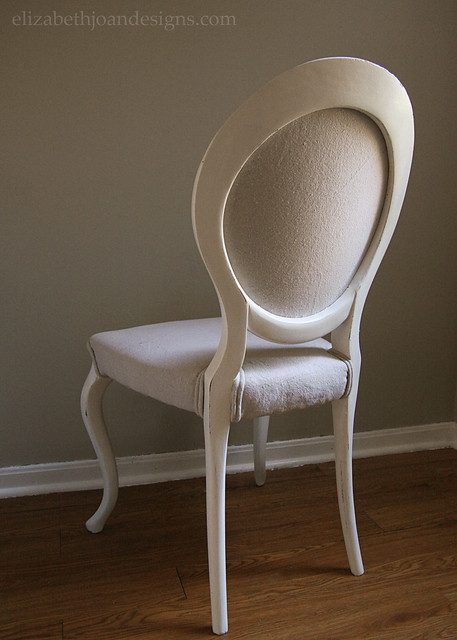
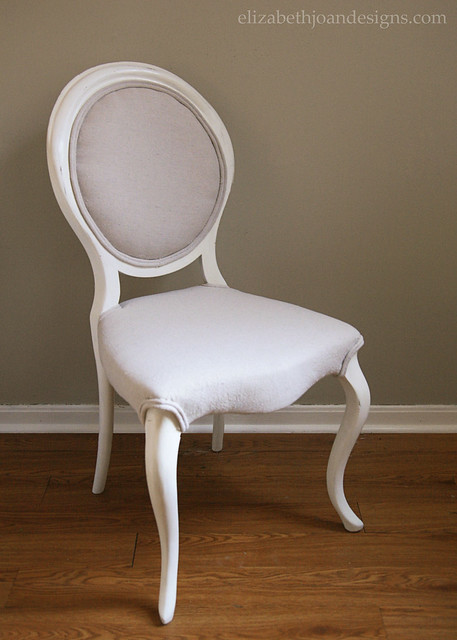
Ooh, la la!
And because everyone loves a good before and after…
Doesn’t it look amazing?! I love it so much more than I could have imagined. Have you ever tried doing your own upholstery? How did things turn out? Does anyone else get crazy pains in their hand while using the staple gun? Maybe that’s just me…
Love how the chair turned out! What a transformation!! Would love if you want to link this up over at our Motivational Monday link party on Burlap and Babies.
Loooooovvvvveee! I love the shape of these classic chairs and your update is just perfect. Love the colors you picked. Thanks for partying with us at The Makers ladies. We love having you each week!
You did an amazing job on this! Thank you for sharing. You will be one of the features tomorrow at the Make it Pretty Monday party at The Dedicated House! Hope to see your prettiness again at the bash! Toodles, Kathryn @TheDedicatedHouse
I love this makeover! Great job! A similar fabric to the dropcloth look is “Osnaburg” sold at Walmart it has a lovely natural color that I think you would love! It’s cheap too!


14 Comments
For My Love Of
The chair looks beautiful! Seems like a lot of work but looks totally worth it!
Erin
Thanks, Corinna! It definitely seems like a lot if work, I think the difficulty was more in my head than the actual work turned out to be!
Kayla @ Home Coming
What a transformation! I really love the classic feel that you gave this chair. I’m inspired. I’d love if you’d link up to The DIY’ers! http://homecomingmn.blogspot.com/2014/06/diyers-5.html
Erin
Thanks, Kayla!
Amanda {Burlap & Babies}
Love how the chair turned out! What a transformation!! Would love if you want to link this up over at our Motivational Monday link party on Burlap and Babies.
{http://www.burlapandbabies.com/2014/06/motivational-monday-jun16.html}
Erin
Thanks, Amanda!! We appreciate the invitation!
Erlene
Amazing transformation and I love the double welted cording. Pinned. Thanks for sharing on Merry Monday Linky Party.
Erin
Thank you, Erlene!
Corey @ TinySidekick
Loooooovvvvveee! I love the shape of these classic chairs and your update is just perfect. Love the colors you picked. Thanks for partying with us at The Makers ladies. We love having you each week!
Erin
Aww, thanks Corey!
Kathryn Griffin @TheDedicatedHouse
You did an amazing job on this! Thank you for sharing. You will be one of the features tomorrow at the Make it Pretty Monday party at The Dedicated House! Hope to see your prettiness again at the bash! Toodles, Kathryn @TheDedicatedHouse
Erin
Oh, thank you so much, Kathryn! What an honor!
Jennifer
I love this makeover! Great job! A similar fabric to the dropcloth look is “Osnaburg” sold at Walmart it has a lovely natural color that I think you would love! It’s cheap too!
Erin
Thanks so much for the heads up on the Osnaburg fabric! Will definitely have to check it out!